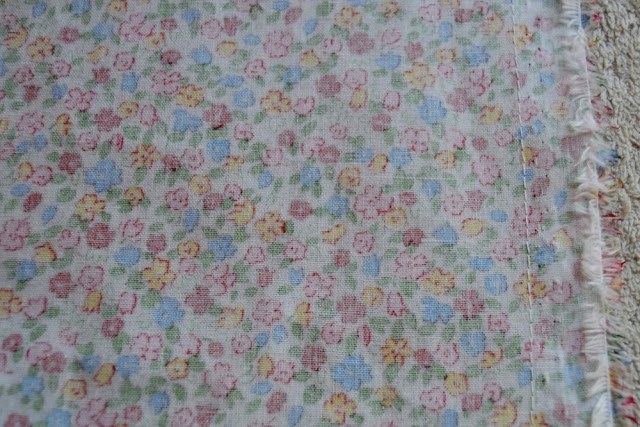
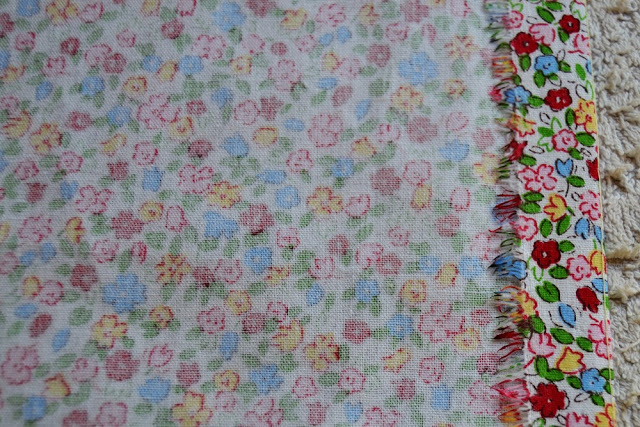
The Carme blouse pattern 2.0 is here! As it’s one of my first pattern, the sizing was not up to date, but I’m happy to tell you that you can now sew this blouse from size 34 to 52.
The pattern includes a print-at-home file as well as copyshop version. Get your copy here: Carme blouse pattern.
We’re almost done with the Carme blouse! Today we’ll hem it. We’ll use a narrow hem (0,5 cm or 3/16″) but you don’t need a special foot. Let’s see how to do it:
On Wednesday, we’ll see the last part of this Sew-Along, the buttons and buttonholes placement. Have a great week!


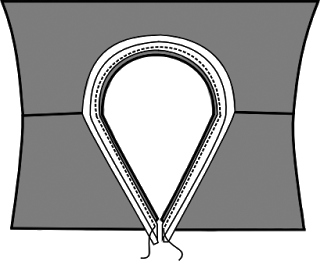 Here is the illustration for this step in the instructions booklet. The instructions tell you to “finish the neckline with bias binding: with right sides together, pin the bias binding to the neckline matching the edges. Stitch on the first fold line. Fold the bias binding to the inside twice and edgestitch.”In pictures, this would look like that:
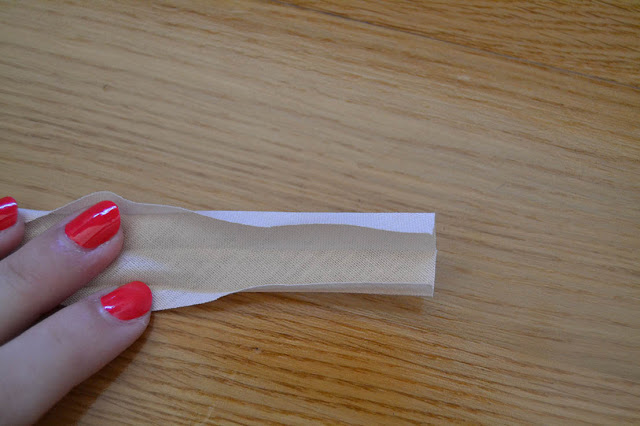 Here is your bias binding: double fold and a pretty normal width, here approx. 2,5 cm (1″) when completely open.
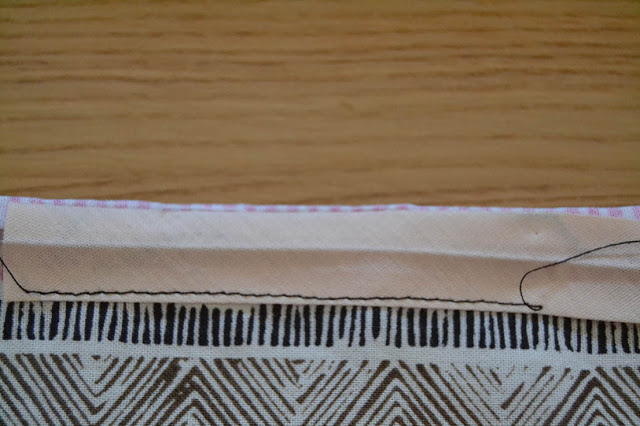
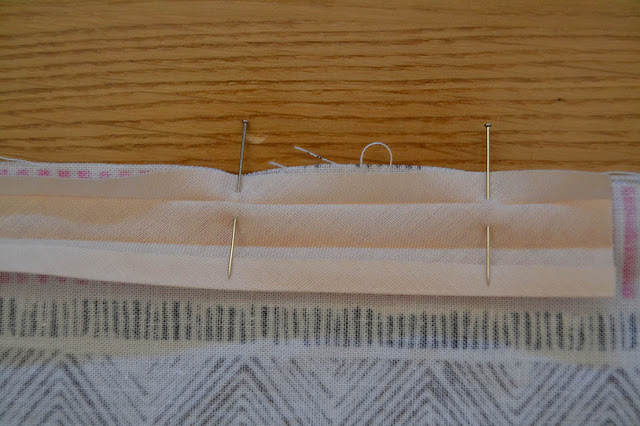 First, pin the bias binding on the neckline, with right sides together (oups, my fabric is upside down, make sure yours is with right sides together!). The bias binding raw edge should match the fabric raw edge.
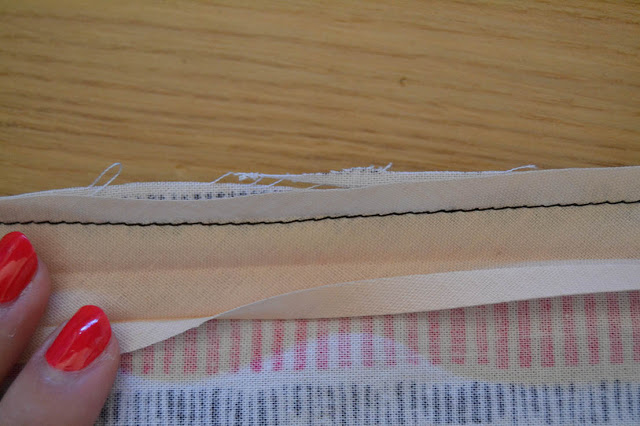 Then stitch inside the first fold line crease. This should be between 0,3 and 0,5 cm (1/8″ and 3/16″) from the edge.
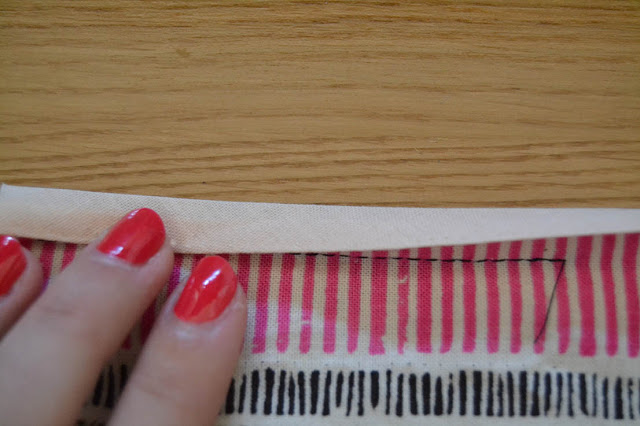
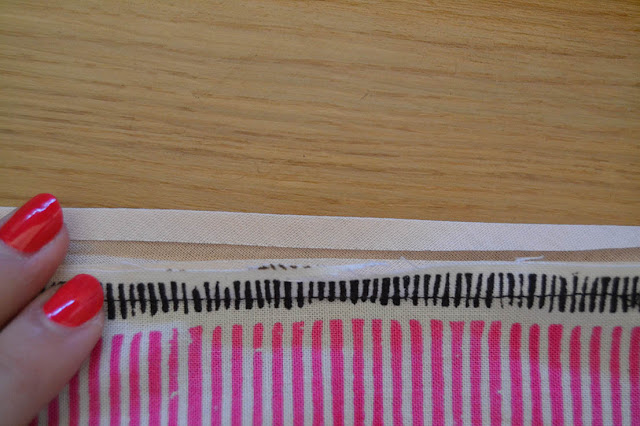
 Fold the bias over the seam allowances along the center fold and then fold it again to the inside. Press. Edgestitch.
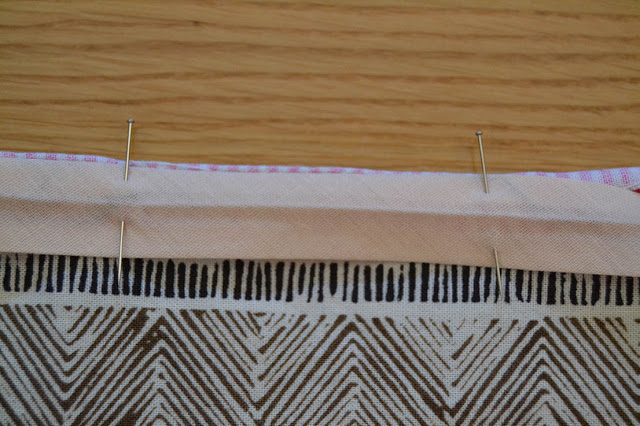
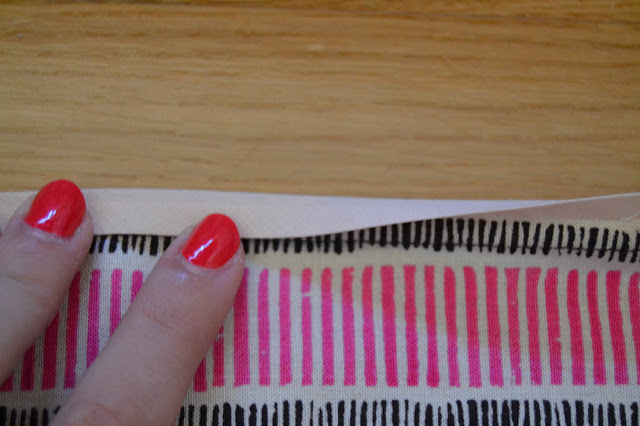
 You can also fold the bias binding only once to the inside. This will give you more structure to the hem, but I would recommend this only for the sleeve and dress hem, not the neckline.
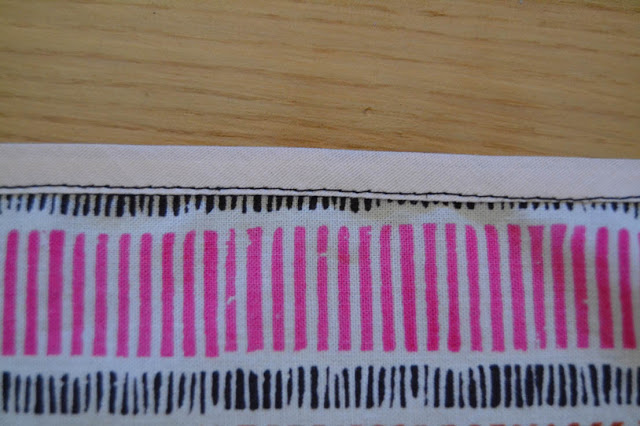 Pin the bias binding to the neckline, matching the raw edges. I like to pin it to the wrong side but this is a personal preference, you can also pin it right sides together. Stitch inside the first fold line crease. Fold the bias binding over the seam allowances to cover them and edgestitch (make sure your binding covers the first line of stitching you did). This would look nice with a constrating color binding.Please let me know if you have any questions.