It’s a jacket! You were a few to have guessed in the right direction, the buttonholes might have helped.
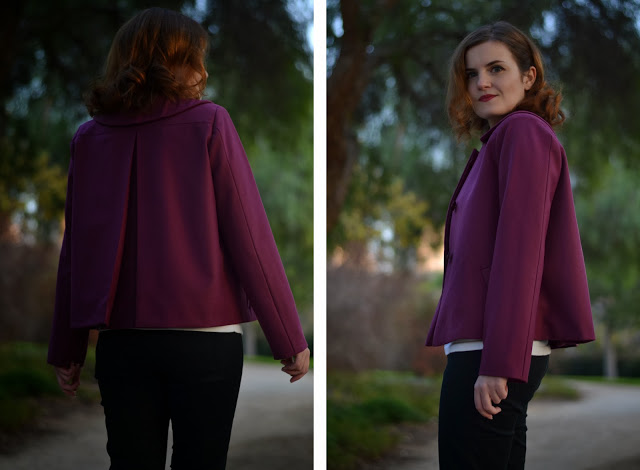
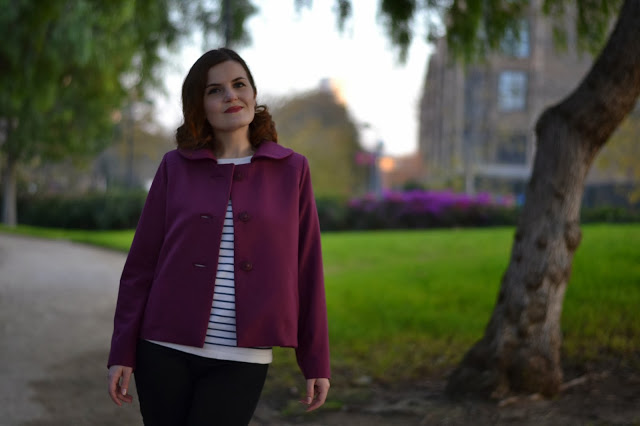
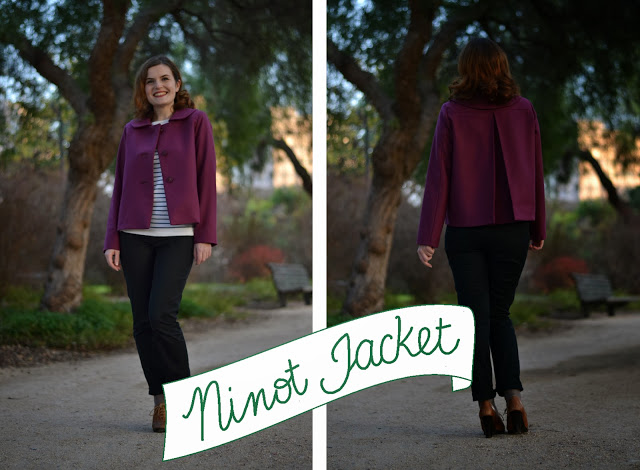
The Ninot Jacket is a short swing jacket, with a deep inverted pleat in the back. This style was very fashionable during the 40’s and 50’s (and you know how much I love these years…). As much as I love a fitted jacket, I think the small volume given by the back pleat makes it ideal for an everyday jacket, with enough structure to look sophisticated for the evening in the right fabric (think tweed with some lurex or brocade, amazing no?).
And for the “Couture” touch, bound buttonholes and welt pockets.

There are 2 versions of the jacket:
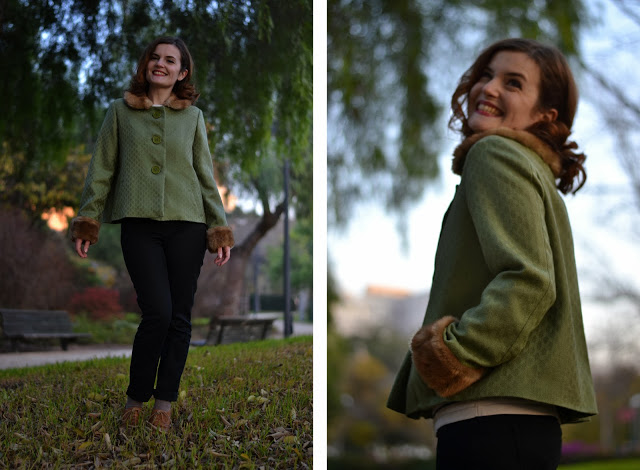
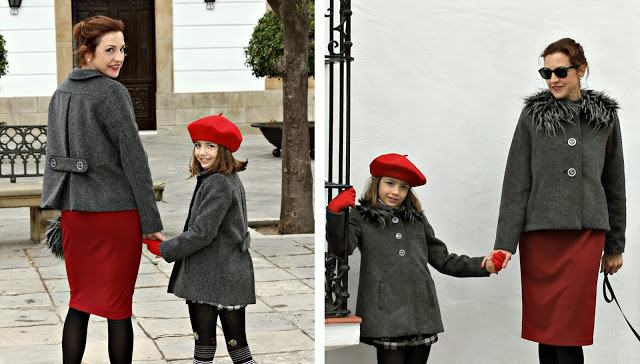
Version A is fully lined and has a Peter Pan collar. It’s perfect for making in wool crepe (like the burgundy one above), wool, flannel, tweed, brocade… Winter time fabrics! And why not add a little faux-fur to the collar and cuffs like the green version above? It feels so luxurious…
Version B is unlined (seam allowances are finished with bias binding for a clean and fun finish). It’s collarless and has button back and sleeve tabs. It would be a cute jacket for spring made in gabardine, linen or cotton twill for example (with contrasting bias binding).
There are minimum tailoring techniques (the bound buttonholes can be replaced by machine-made buttonholes), the sewing level required is intermediate (a tutorial serie is already planned).
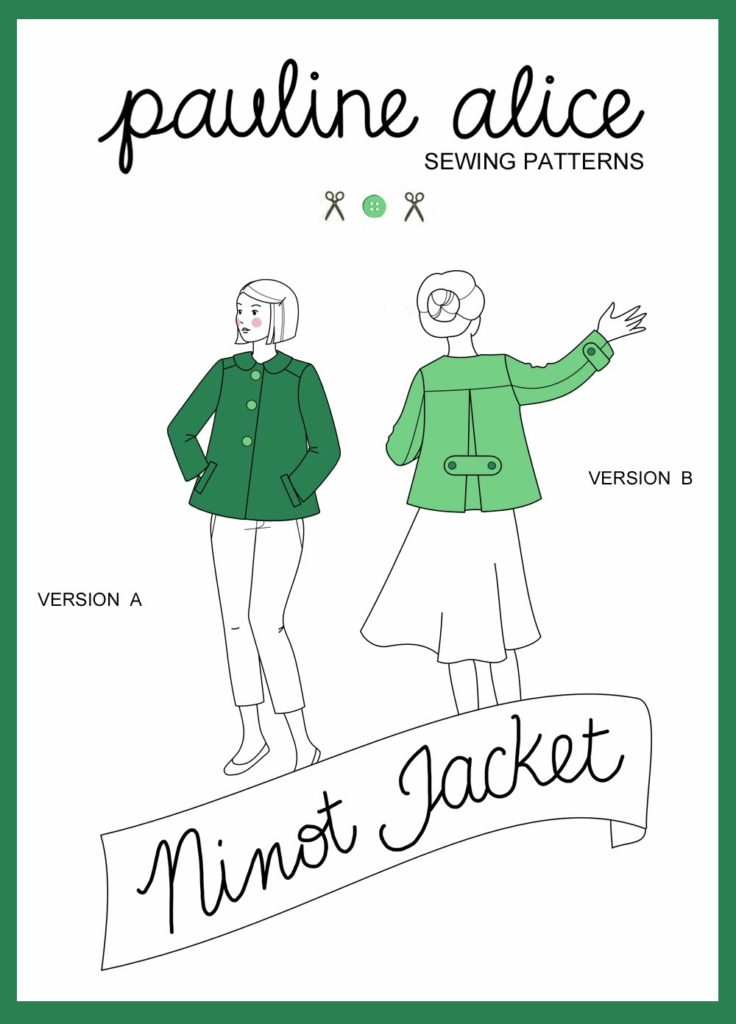
I hope you like the Ninot Jacket. Feel like making it? Buy the pattern here!


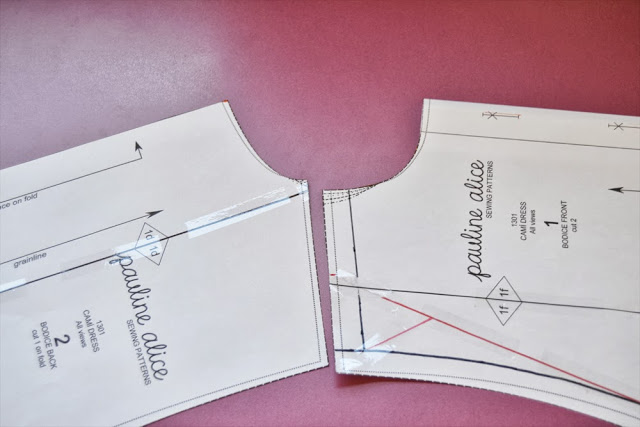
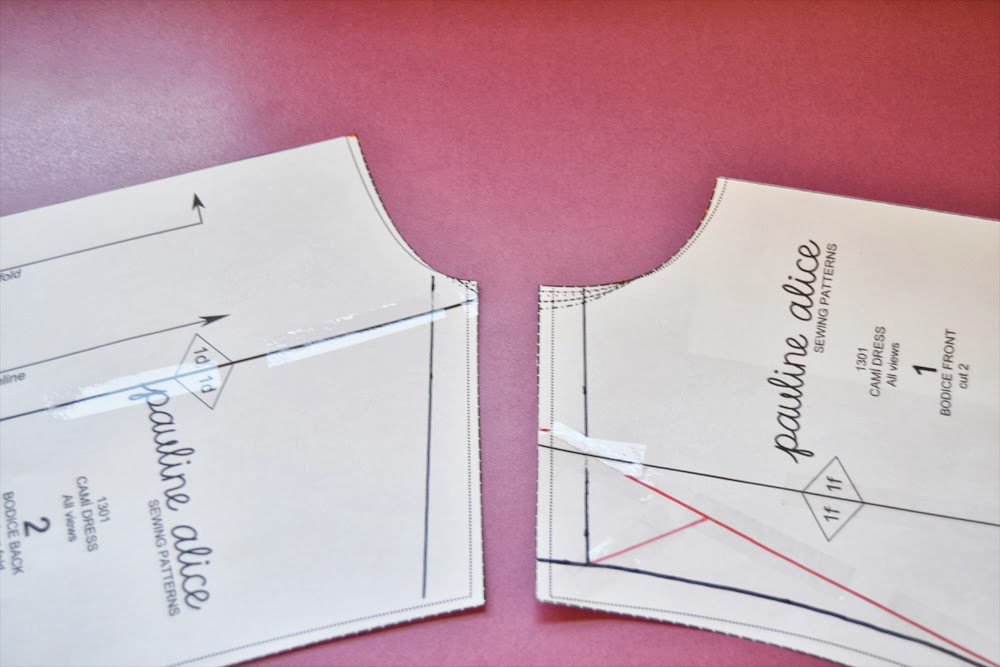
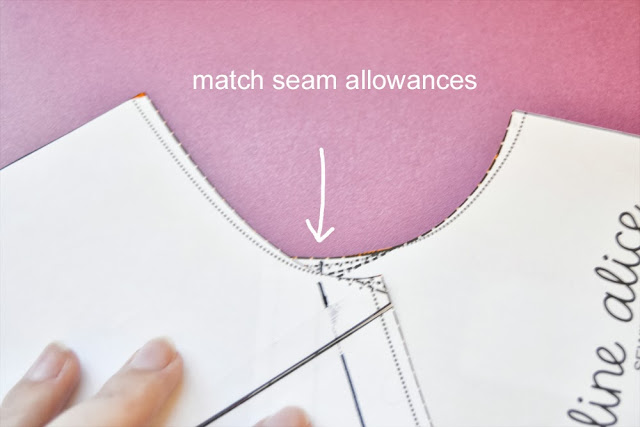 2. Match the seam allowances at the neckline.
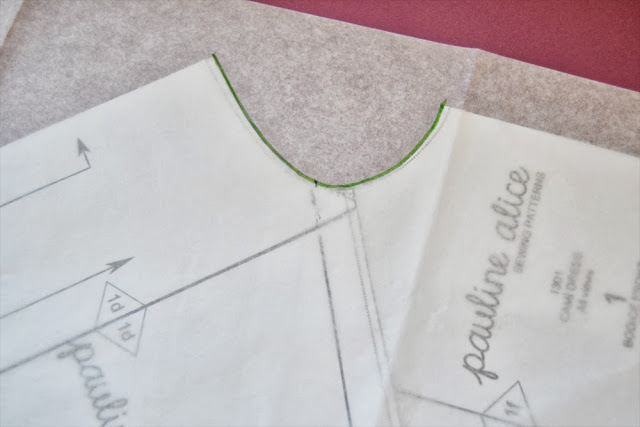
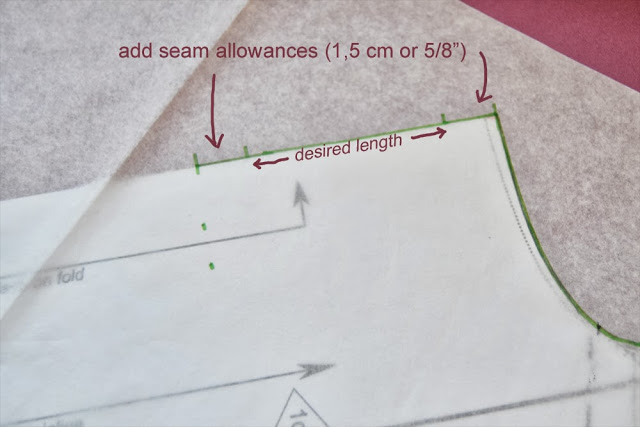 5. As my back bodice pattern is cut on the fold, I am going to draw a full collar on the back. The peter pan collar pattern will be cut on the fold as well. Decide how long you want it to be and add 3 cm or 4/5″ (1,5 cm or 5/8″ seams at the top and bottom). Start tracing the total length all around the neckline.
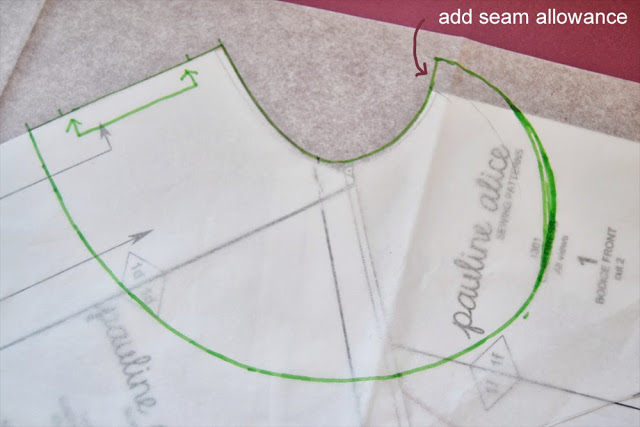 6. Once you arrive at the front seam, add a 1,5 cm or 5/8″ seam allowance. Finish the collar with a nice curve.