Home Tags Posts tagged with "piping"
Tag:

piping

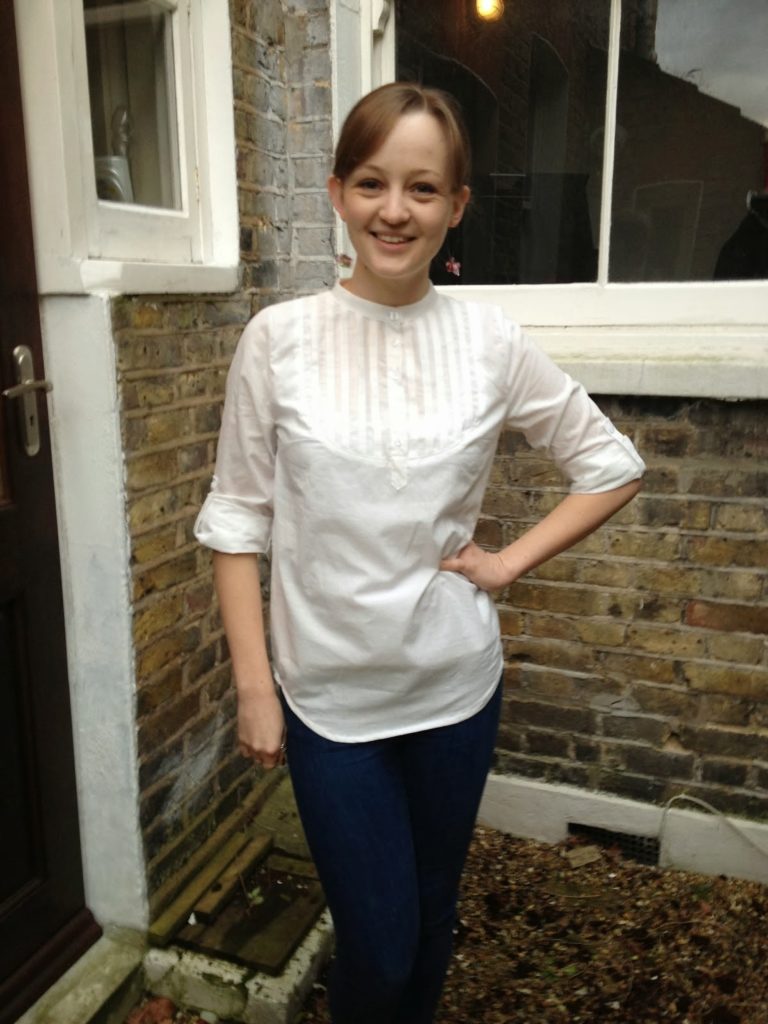
Today, we’ll start with the first video tutorial of the #AlamedaSewAlong! Yeah!

I had a lot of fun last spring making the videos for the Carme blouse Sew-Along and you were a lot to tell me that it was a huge help to have these visual tutorials, so here come the Alameda videos!

You’ll recognize the music 😉

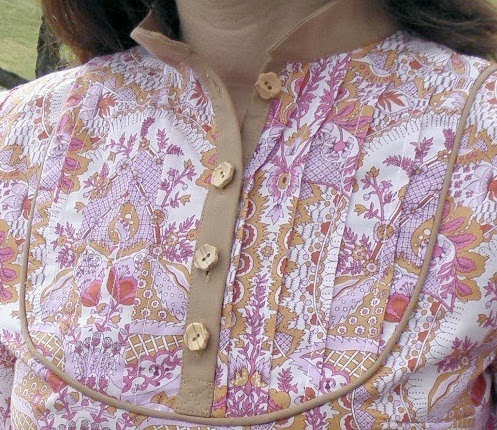
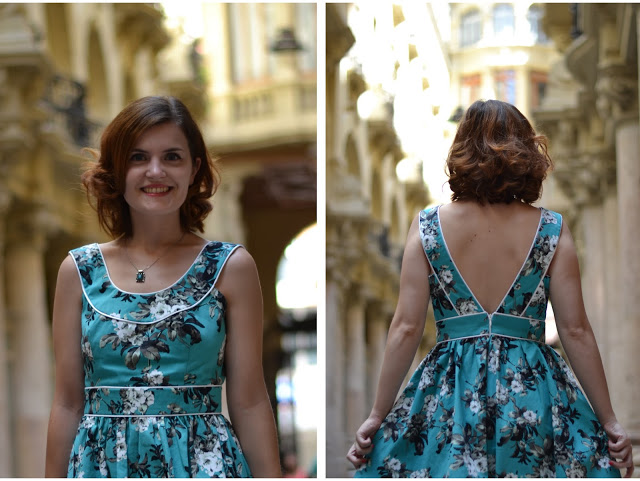
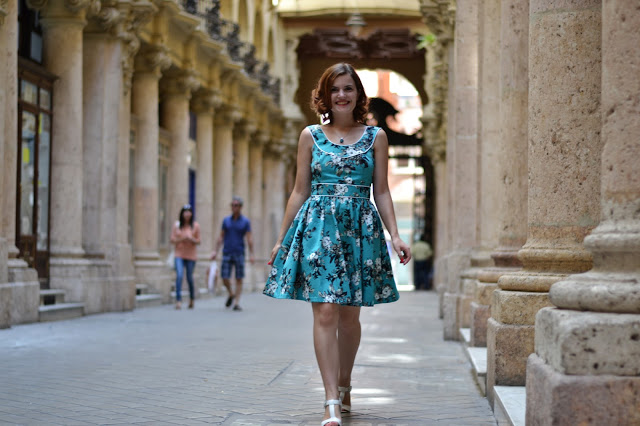
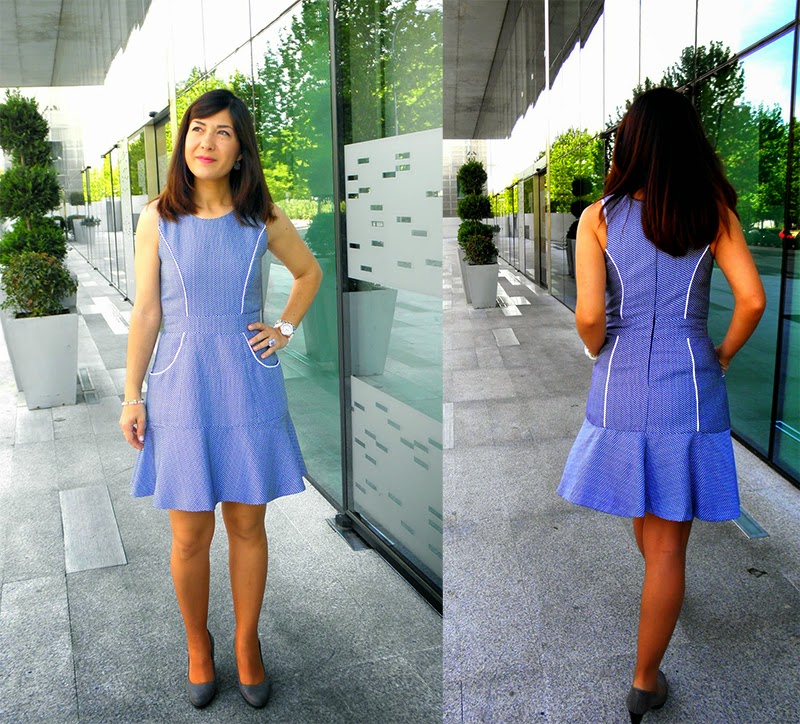
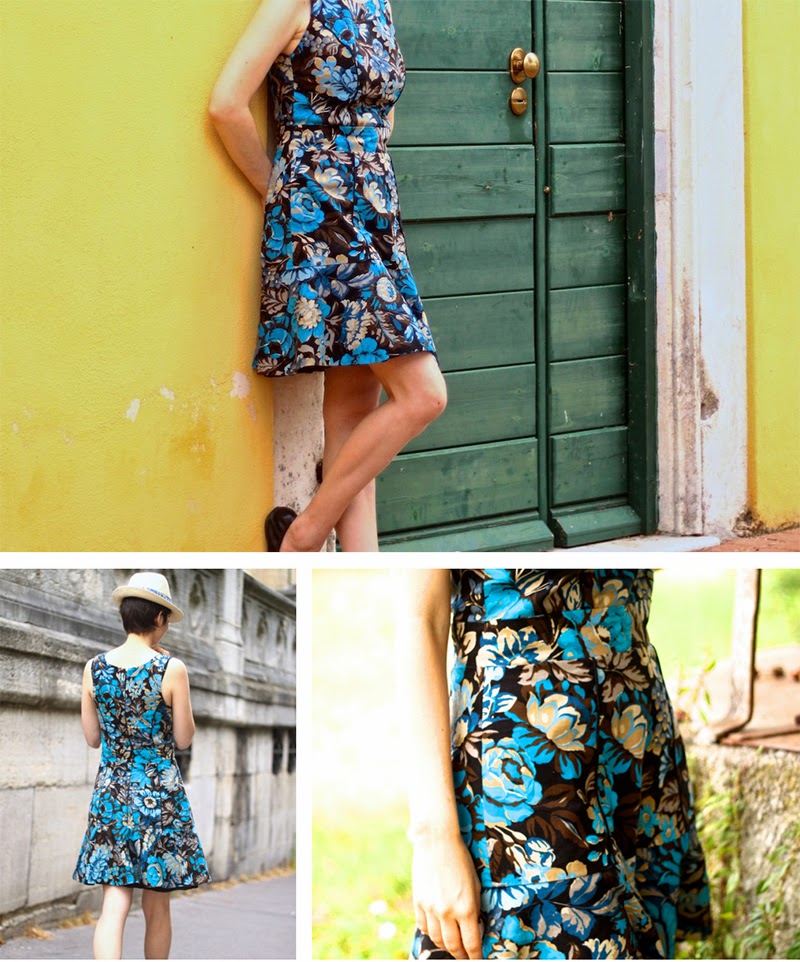
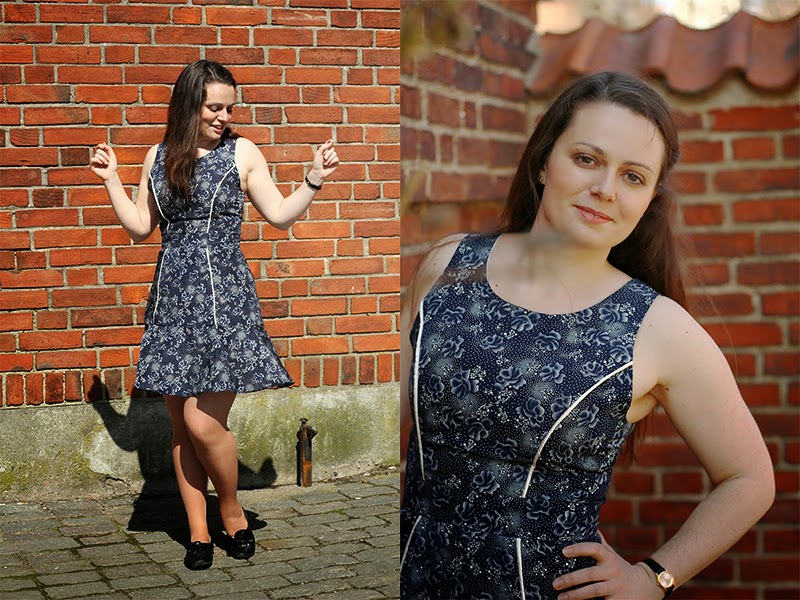
Piping is a great decorative option and such an easy way to add a pop of colour to your Alameda dress. I invite you to see the inspiration boards to get ideas on what colour you want to choose: contrast, patterned piping, the same colour, leather…

And remember that you can buy it already-made or you can make it yourself! See for yourself on this tutorial I made back in April.

To watch the video in Youtube, click here.

I hope you liked it. See you on Monday with the bodice video…


0 comment
0 FacebookTwitterPinterestEmail


How do you feel about a Sew-Along?
You’ve been asking for one for the new pattern, the Alameda dress, so I thought I would repeat the experience and prepare some videos for you like for the Carme blouse (you seemed to like it, no?).
The Alameda dress is not difficult, it’s an intermediate seamstress level, but I think a beginner with good bases would be more than ready to make it. The more complex steps are adding the piping to the princess seams, stitch the lining and the invisible zipper. And with the help of a Sew-Along, no need to fear these techniques.
Let’s see what we’ll cover in the first week:
  • Choose the right fabric and lining for your Alameda
  • Make the ajustements (FBA and SBA, shortening or lengthening, join different sizes)
Then we’ll start with the video tutorials:
  • Stitch the piping
  • Make the bodice and bodice lining
  • Sew the skirt (with pocket option)
  • Attach the zipper
  • Finish (fellsticth and hem)
Grab your Alameda Sew-Along button, prepare your hastags #AlamedaSewAlong, get the pattern if you don’t have it (Alameda Dress pattern) and #paulinealice and start thinking about your fabric. We’ll talk about that on Monday, July 21st for the official start of the Alameda Sew-Along!


10 comments
0 FacebookTwitterPinterestEmail
Today I’m going to show you the versions of some of the amazing testers I had for the Alameda dress pattern (you might recognize them! What can I say, if the experience has been great, I like to repeat with the same testers… but keep on reading until the end if you are interested in being a tester).
I’m lucky to have testers from different countries (I need testing in 3 languages, remember) so let’s travel with them. Check out their blogs for the details and more pictures.
First stop is Madrid with Sonia:


Sonia made the Alameda dress with the pockets of the skirt (View B) and she chose to emphasize the princess seams with white piping. I love how flattering it looks! The blue and white fabric looks so fresh and summery, perfect for a sunny day in the spanish capital…
Annie packed her test version with her to go to Tuscany, and boy did she bring amazing pictures!!! Her Alameda smells of sun, olive oil, flowers in a wild field, of dolce vita…


After the sun of the Mediterranean, let’s go to a much colder horizon: Sweden with Joëlle. By using this beautiful black and white fabric with contrasting white piping, she made a dress easy to  coordinate and to wear to a lot of different occasions.
Thanks to all the lovely ladies who volunteered to test the next patterns. I am now working on the next pattern testing so you might be contacted. Un fortunately, I won’t be able to ask all of you for this time, but I hope to be able to turn testers so keep checking your emails in the following months 😉  THANKS!!!
And now, are you interested in volunteering for testing the next patterns? Last time I asked for testers I was beginning and I thought it would be nice to make a new round and ask you if you would like to help me.
What you need to know:
-the schedule for testing is quite tight so please be sure you’ll be able to sew and meet the deadline.
-no need for any specific level (from beginner to advance, just mention it in the mail).
-please let me know your name, size (measurements or other pattern size for reference) and blog if you have one.
Many thanks!


23 comments
0 FacebookTwitterPinterestEmail
Piping! That’s such a great detail to add to any design and so easy to make as well.
I’ve been playing with piping lately and eventhough you can find quite a lot of colours at the store, wouldn’t it be great to make piping in your favourite fabric?
Let’s see how to do it!
12
1. This is some store-bought piping. You can see how it’s made: a cord is sandwiched between a bias strip of fabric and there is a stitching line very close to that cord. The strip of fabric beeing cut on the bias allows for a lot of flexibility in the piping, making it great to outline any curve seam line.
3 
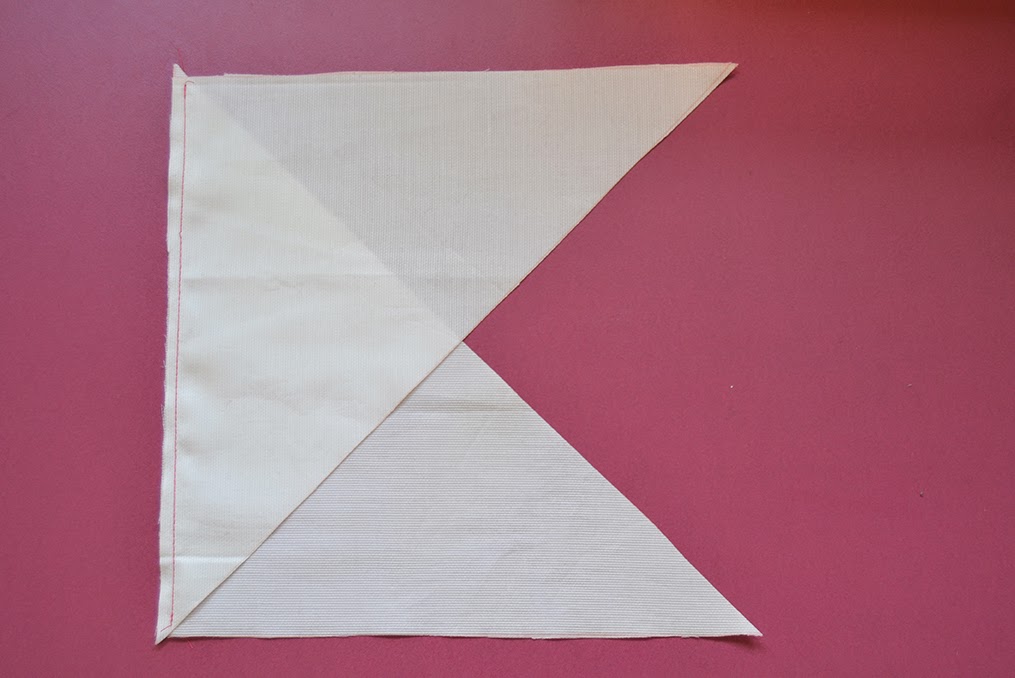
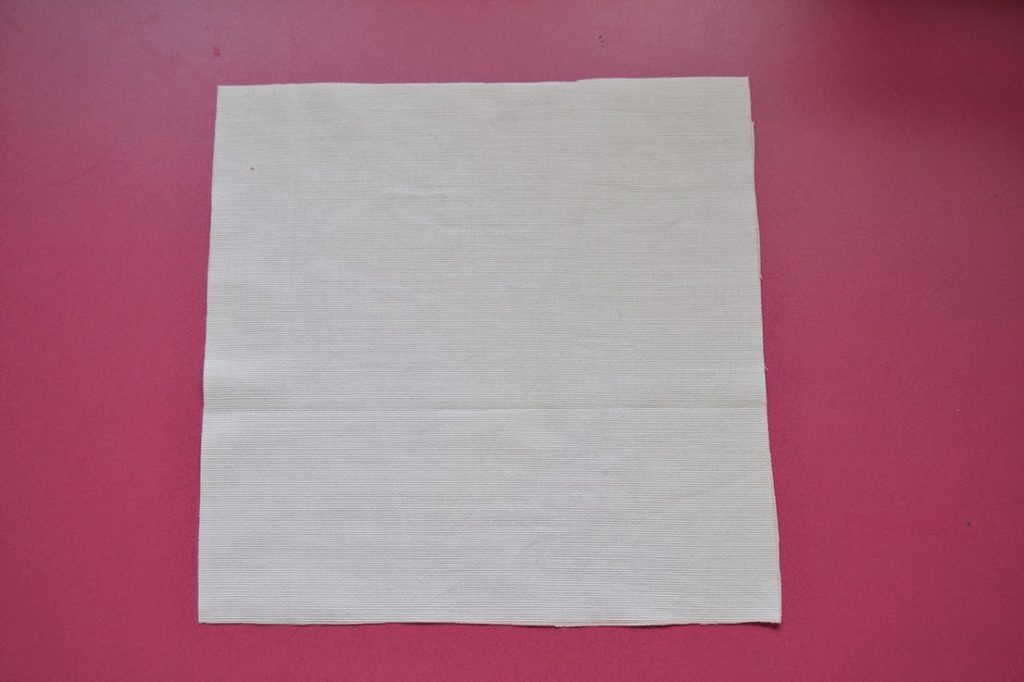
2. Cut a square piece of fabric. I made mine 25 cm x 25 cm (10″ x 10″) but you can make it as big or small as you want. With this size, I was able to make a 2,4 m strip of bias (2 1/4 yards).
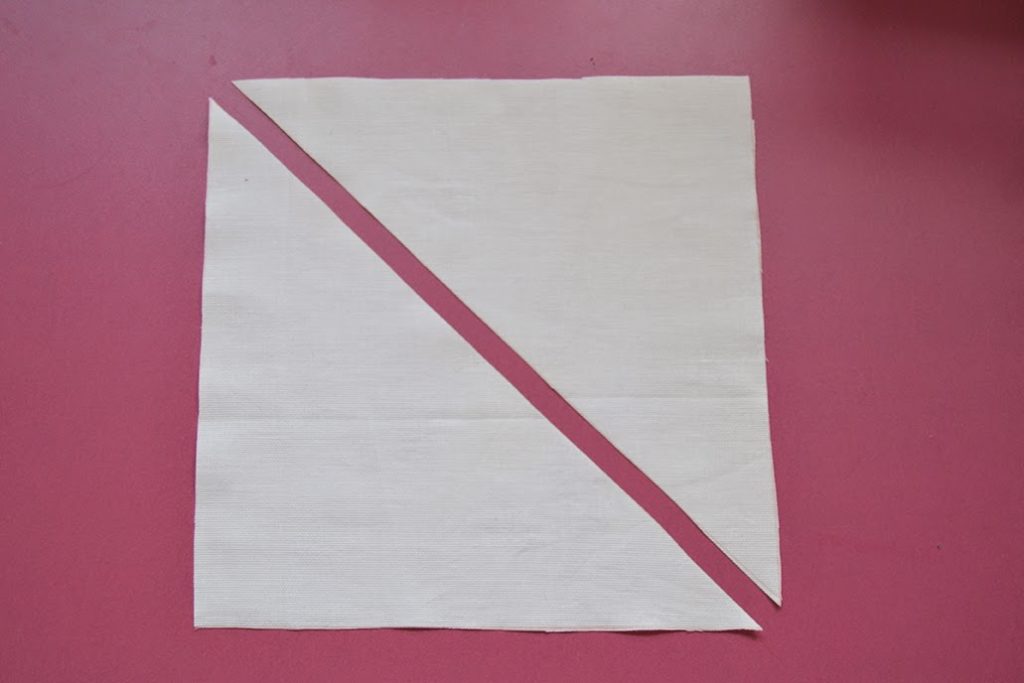
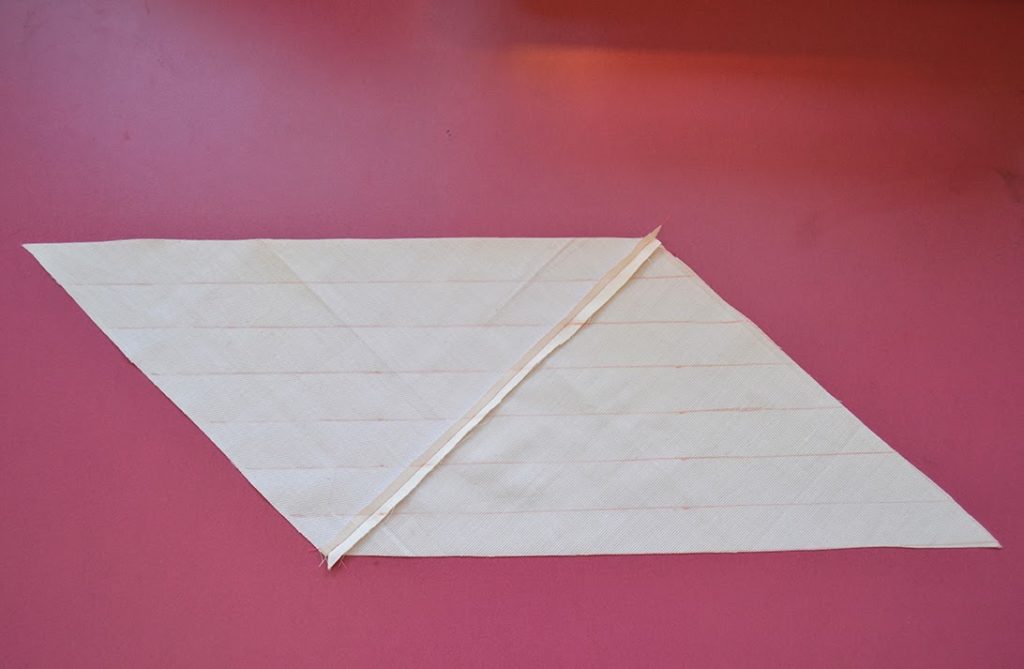
4
3. Cut the square in half diagonally. This will give the bias.
5
4. With right sides together, stitch the sides together (the straight ones, not the diagonal ones!) very close to the edge. 6
 5. Press the seam allowances open with the tip of the iron.
7 6. Draw parallel
lines every 2,5 cm (1″) starting at the top (along the bias) on the wrong side of the fabric. The last line might be slighty smaller (mine’s 2,2 cm), that’s because my seam allowances were a little bit too deep.

8


7. That’s the tricky part, at least for me. With right sides together, bring the edges together and match the lines along the seam line. The first row of each side should be offset, like on the picture. Pin together and stitch very close to the edge.

9
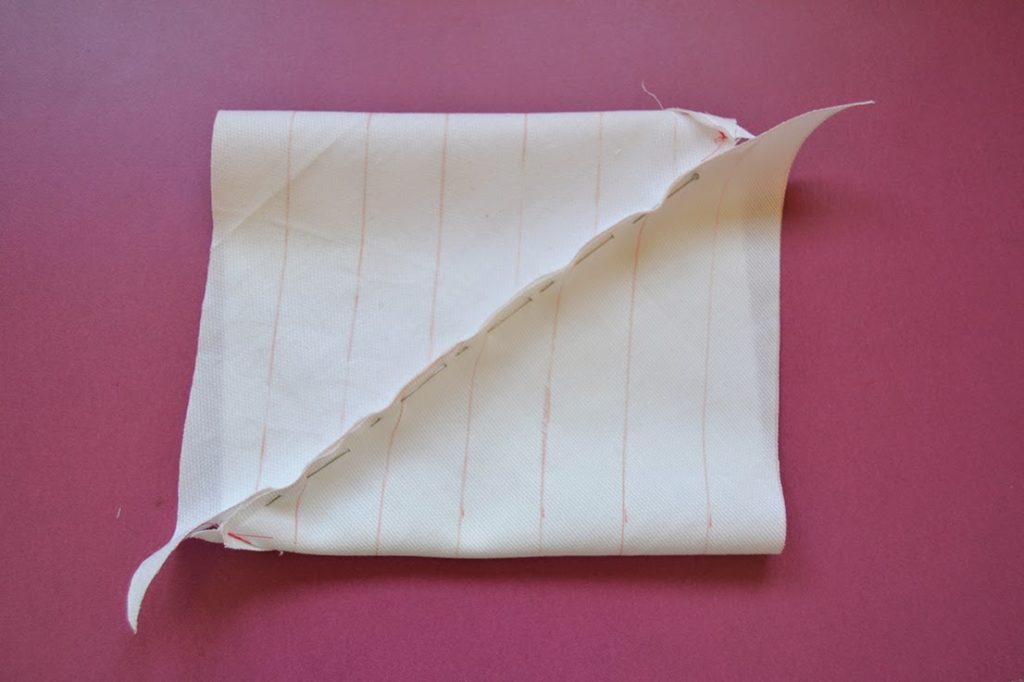
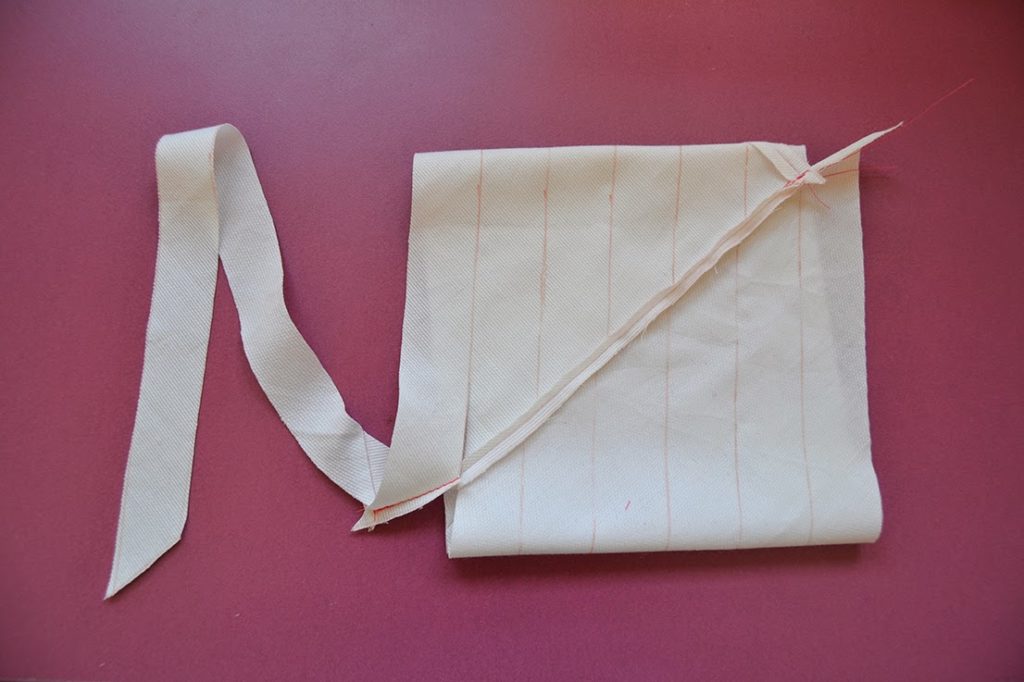
8. After the tricky part, the fun one! Now that you have a tube, start cutting the first offset row following the continuous line until the end.

109. Now you have the strip of fabric cut on the bias and you need your cord.

11
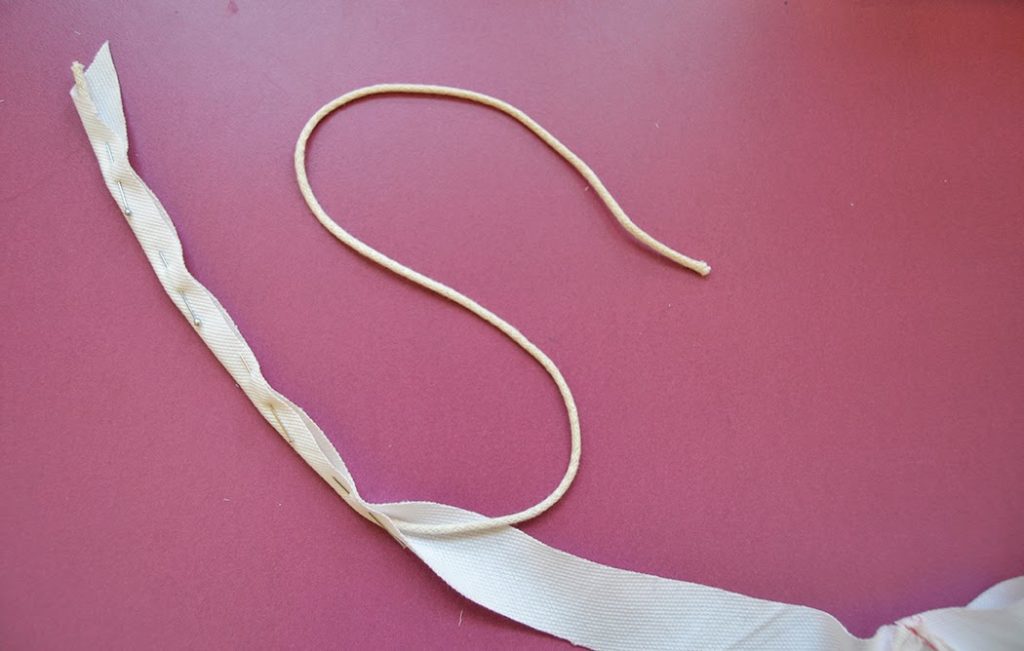
10. Place the cord on the wrong side on the bias, fold the bias in half to sandwich the cord and secure it in place with pins.

12
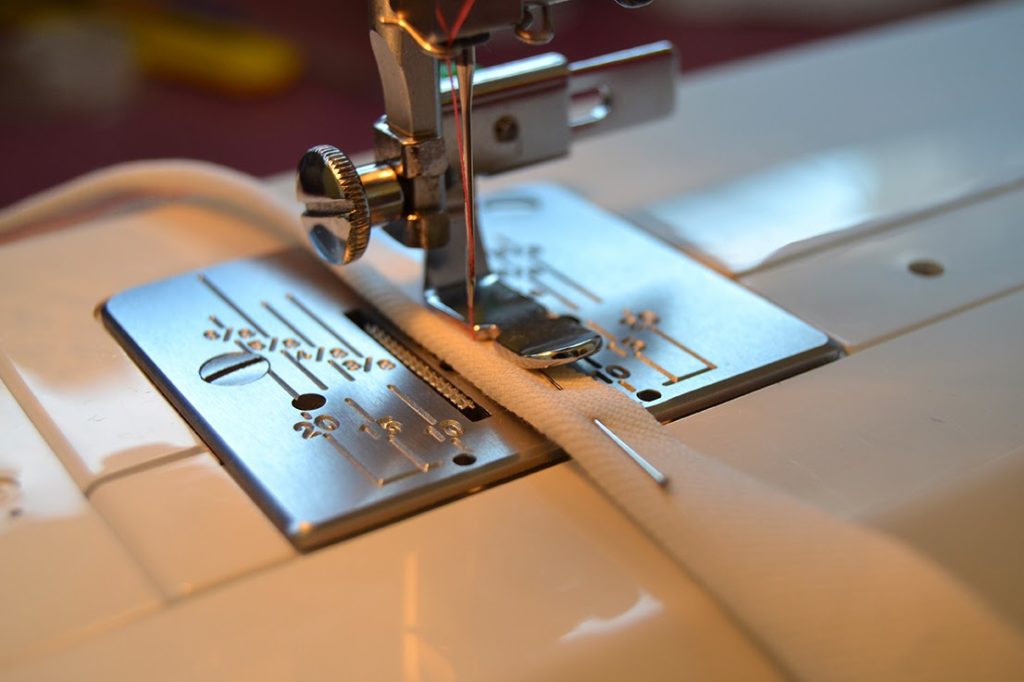
11. With a zipper foot, stitch as close as possible to the cord (possibly with a matching thread! I’m using a constrating one so you see it better).

13
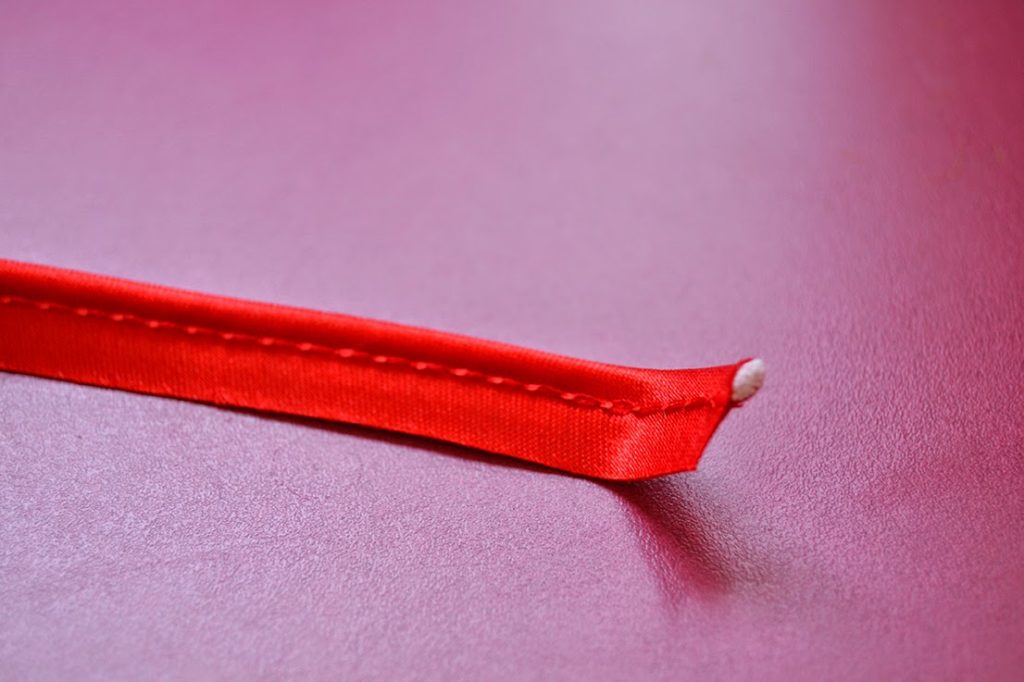
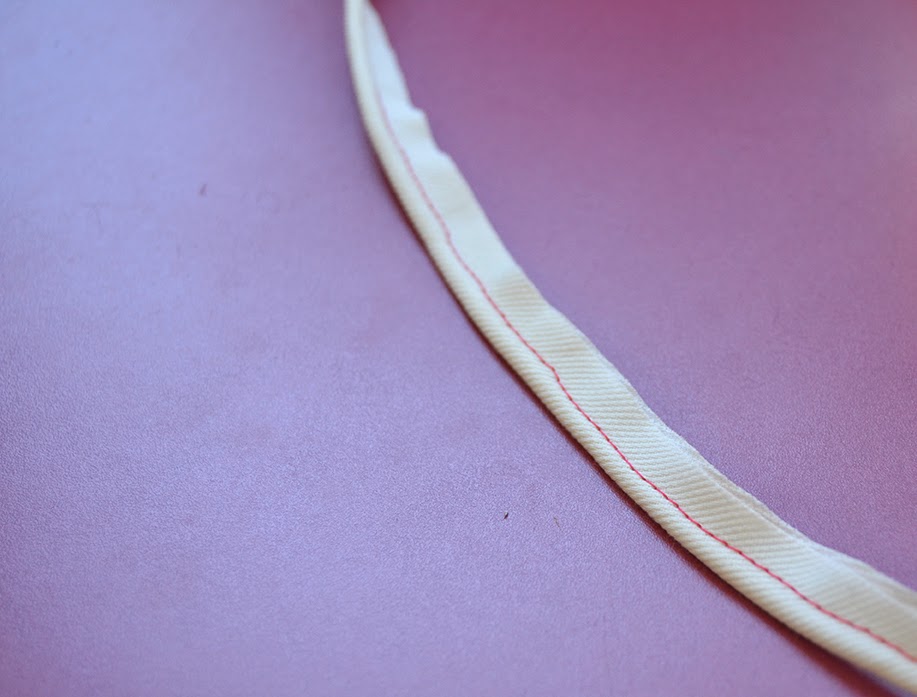
12. There you go! You made your own piping! Now use it in some great outfits!
Here are some ideas: here and here.
Do you use piping often? And do you buy it or make it yourself?


20 comments
1 FacebookTwitterPinterestEmail
Here is round 2 of the testers versions of the Carme blouse pattern!
Read about the first part here.
Fiona from Diary of a Chain Stitcher chose a white cotton lawn, breezy and with a nice drape, to make her Carme. That will be such a great blouse to wear in spring and summer. It also shows beautifully the pin tucks details.
Like the busy seamstress she is, Sonia from La Pequeña Aprendiz found the time to make 2 Carme: one blouse and one dress variation. This is so lovely! And see how she incorporated the piping around the yoke: genious idea!
I hope these lovely ladies have inspired you!
On Friday, we’ll discuss the Sew-Along schedule.
9 comments
1 FacebookTwitterPinterestEmail
Hello, as promised, here is the Piping Dress:
 

piping-dress-sewing-pattern-1

I drafted the pattern myself and I still have to improve the shape and the fit, but I am quite happy. The bodice is one piece with front darts and it is sewn to the yoke/straps at the collar and at the back. The bodice and the gathered skirt are joined with the waistband. I also added in-seams pockets (so useful!).
Fitting the yoke/straps was a nightmare: I had to make 2 more muslins before getting it ok and I am still not completely satisfied (as you can see, the back rides up a little bit).


piping-dress-sewing-pattern-2

Even with these little problems, I love the dress. The shape is very nice and flattering, the fabric is amazing and the piping details set it apart. And the open-back, what can I say about it? I just love it! I am fulfilling my summer to-do list one item at a time: this one checks the retro dress inspiration moodboard.


piping-dress-sewing-pattern-3

Would you like to be a pattern tester? Wait for wednesday post for all the details…
Have a nice week!

pauline-sewing-pattern

34 comments
0 FacebookTwitterPinterestEmail