 There’s nothing I like more to sew and wear than coats! And more than once I’ve cursed my sunny (and too warm) city because winter is too mild to wear heavy outerwear.
But it was time for me to take my pencils, my ruler and my fabrics to offer you the pattern of a nice coat full of possibilities: the Quart coat!

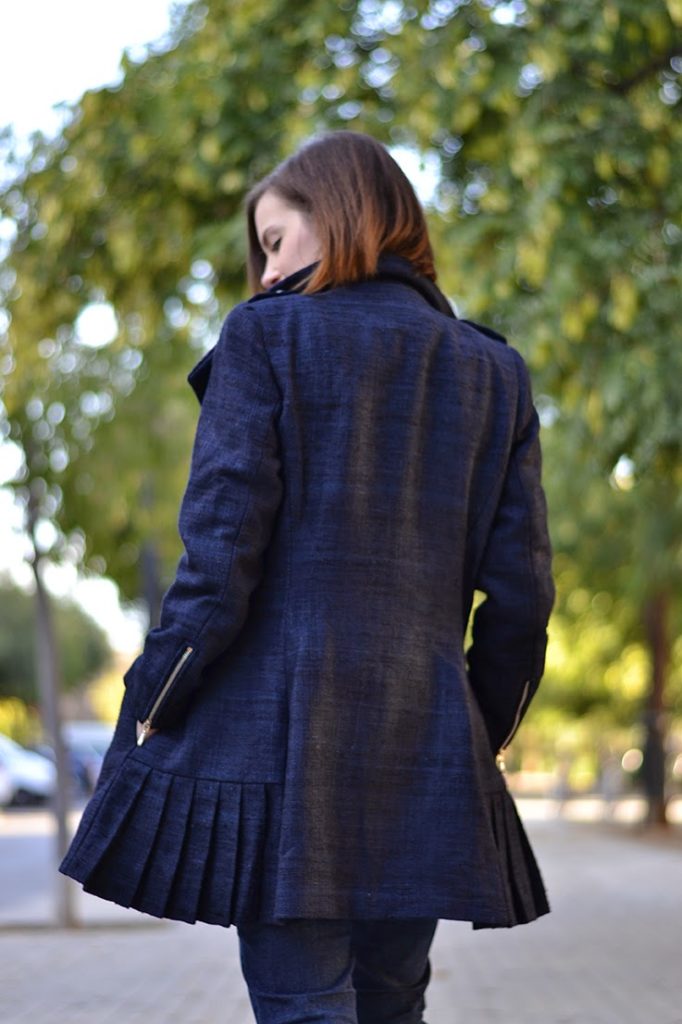
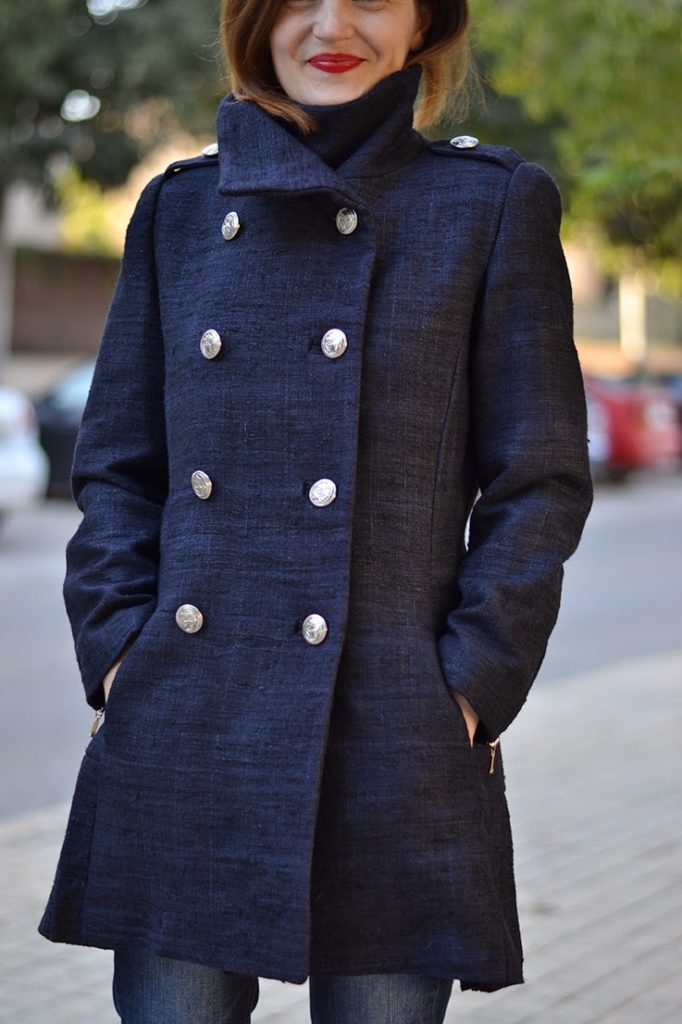
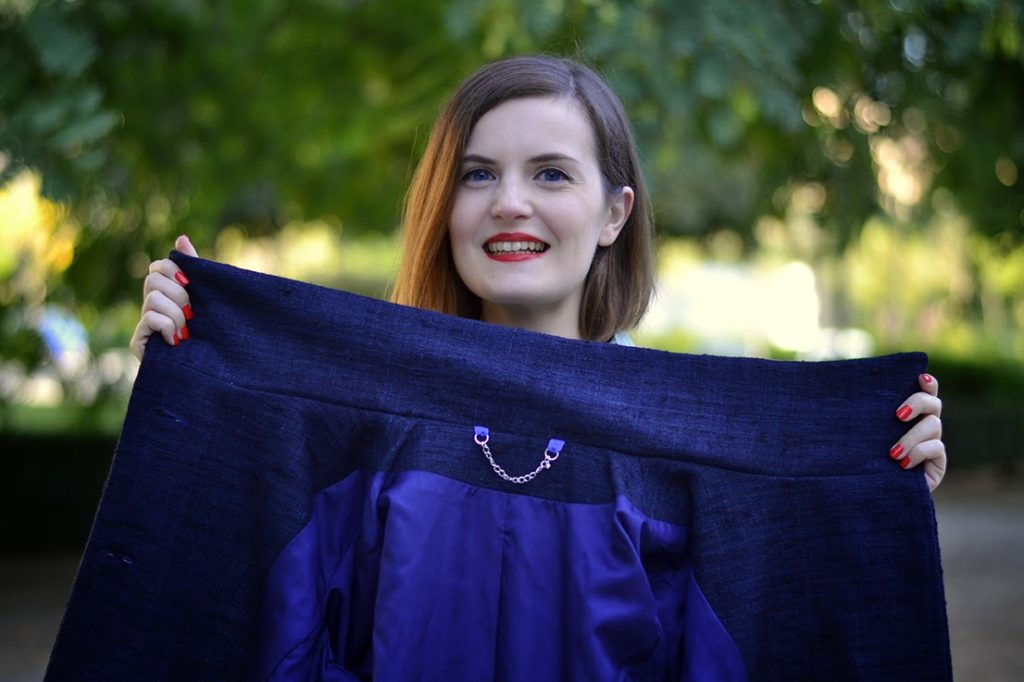
 With its high collar, pockets and long zipped sleeves, the Quart coat will protect you from the cold with style. The princess seams will highlight your figure nicely and the pleated side is the perfect girly detail.
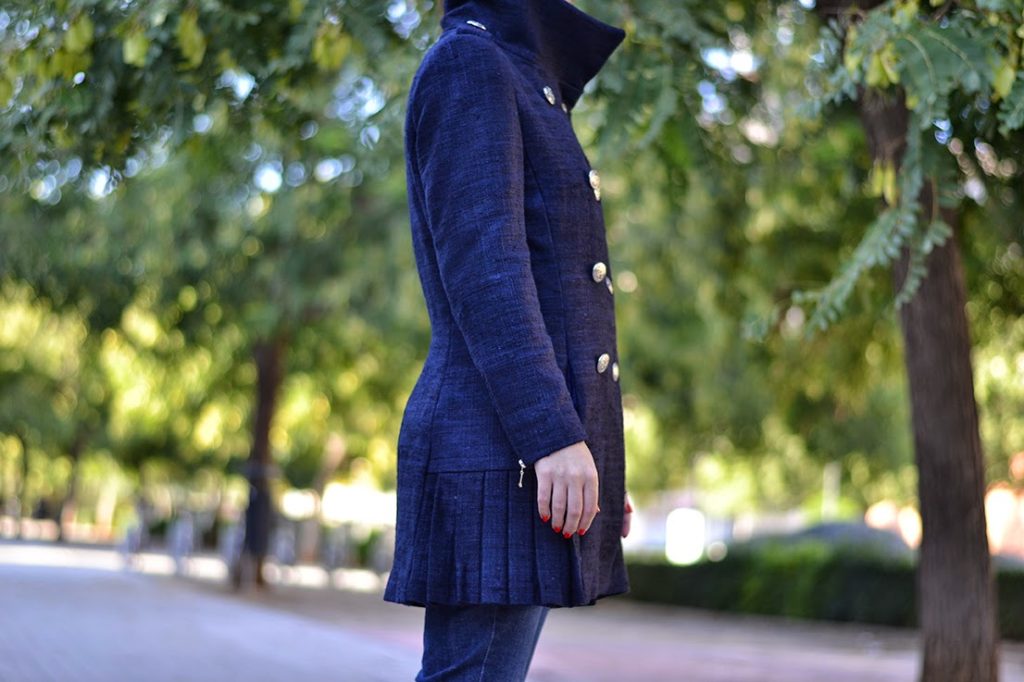
Quart coat pattern made in navy blue raw silk.
I was inspired by Burberry’s military style: elegant and classic outerwear that will match easily with whatever you’re wearing and that you’ll love wearing year after year.
Besides, the Quart coat can be made in wool coating for winter as well as lighter fabrics (gabardine, twill…) for a trenchcoat version perfect for mid-season.
Besides, the Quart coat can be made in wool coating for winter as well as lighter fabrics (gabardine, twill…) for a trenchcoat version perfect for mid-season.
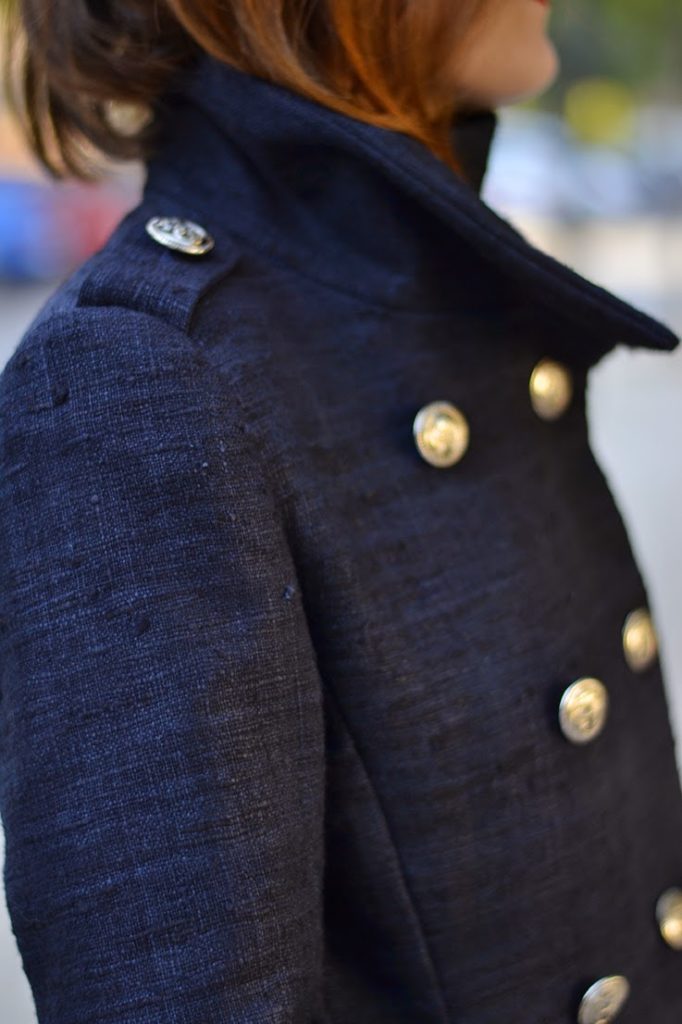
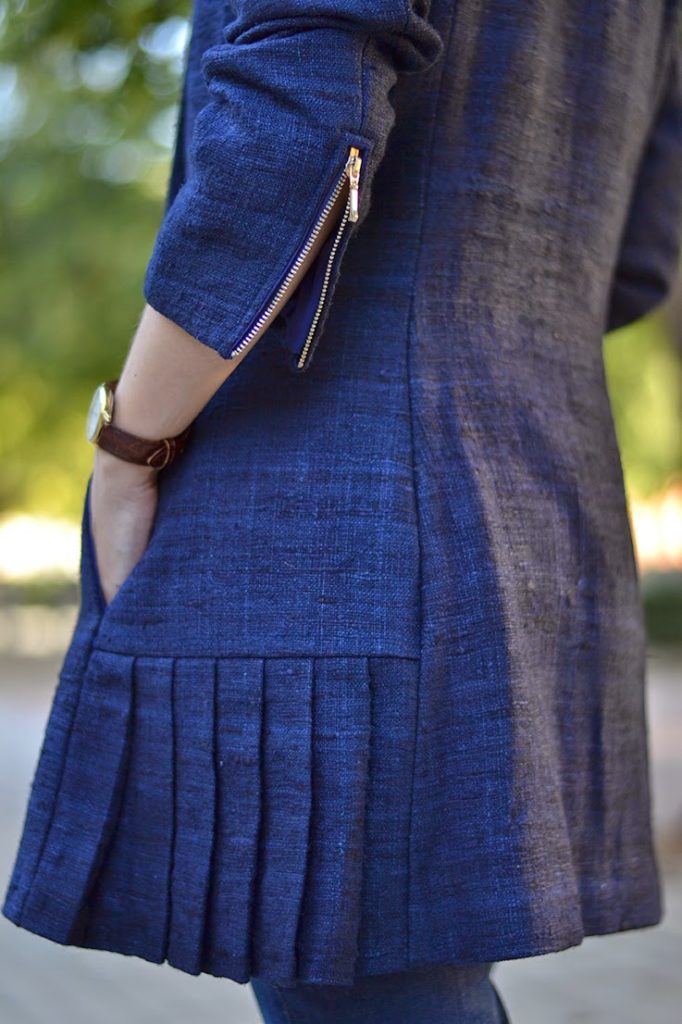 The Quart pattern, with its advanced level, has these small details that will make the intermediate seamstress progress and will please the expert ones (think handstitched interfacing, bound buttonholes, zipped cuffs, epaulettes…).
The glossary on the last page comes back on the terms and techniques essentials to make this pattern. And because it’s starting to be an habit now, I’m already preparing a photo tutorial to follow in depth the Quart coat construction.
Head to the shop and get the Quart coat pattern!
I can’t wait to see what you’ll come up with, your thoughts on the pattern and to show you the testers versions.
Have a great week!
 ps: I’d like to remind you that you can take advantage of your order of the printed pattern to receive the new folders for free! If you have pauline alice printed patterns still in their (thin) envelopes, add their names in the comment box when confirming your order and they’ll be sent without any additional cost.


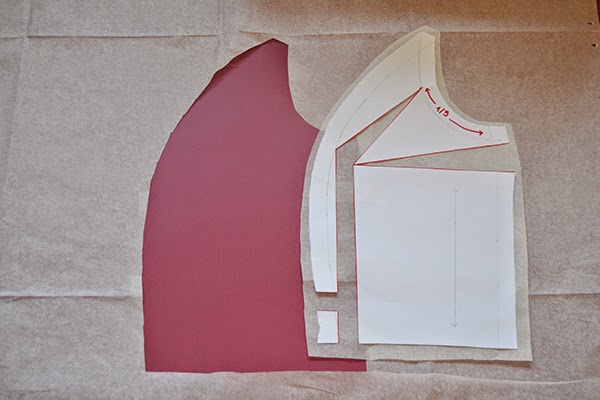
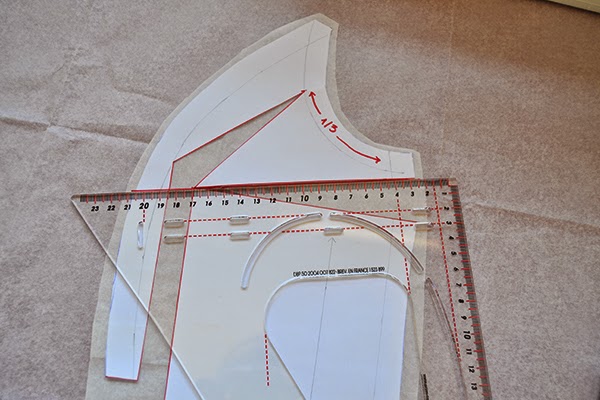
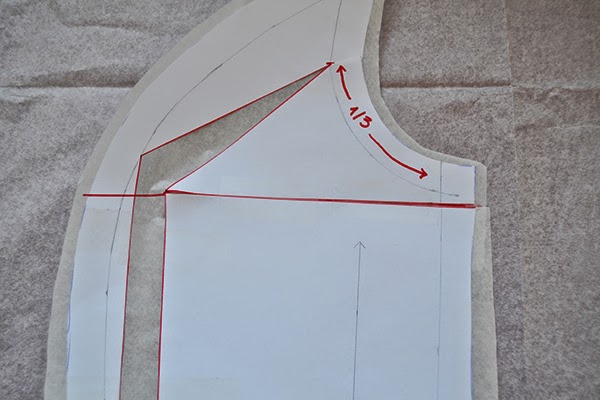
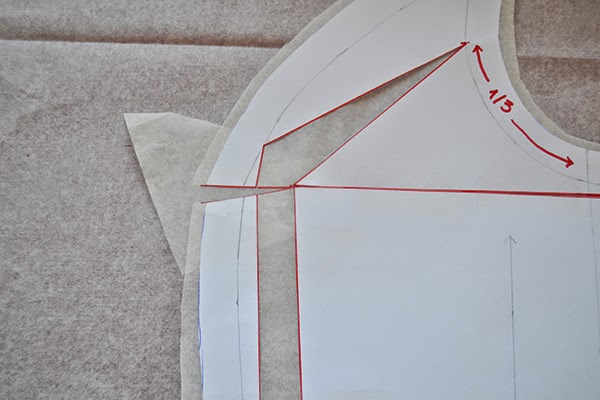
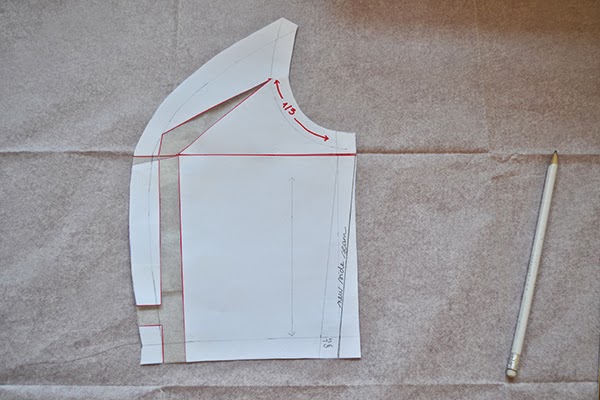
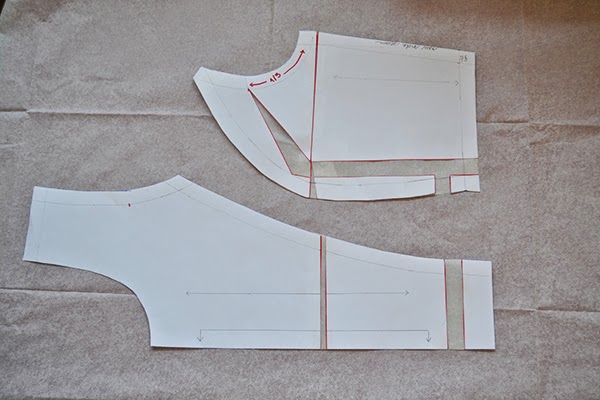
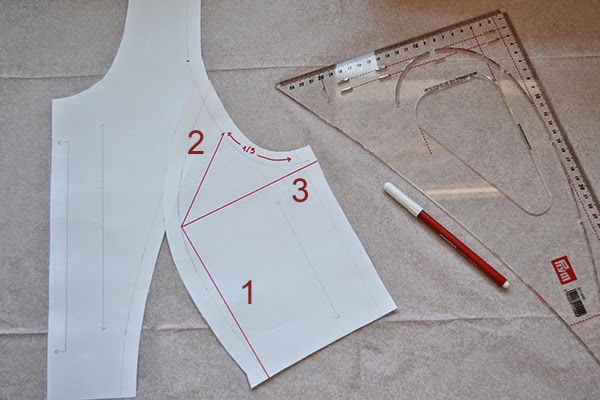 Let’s take Maria’s measurements again: her bust measurement is 92 cm (36″) when the one corresponding to her size 38 is 88 cm (34 1/2″), there is a 4 cm (1 1/2″) difference. She’ll cut the pattern in size 38 and add 2 cm (3/4″) at each bust seam to make the full bust adjustment, without increasing the waistline or the neckline.
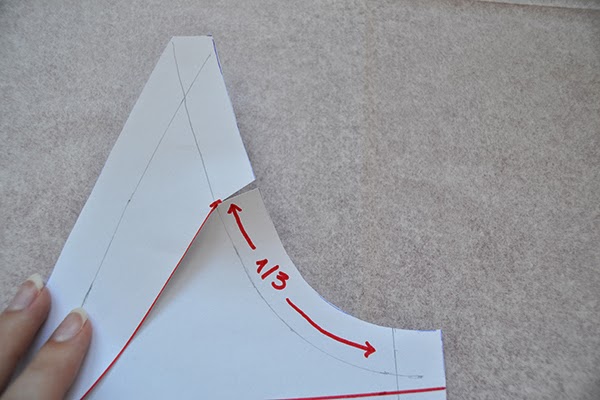
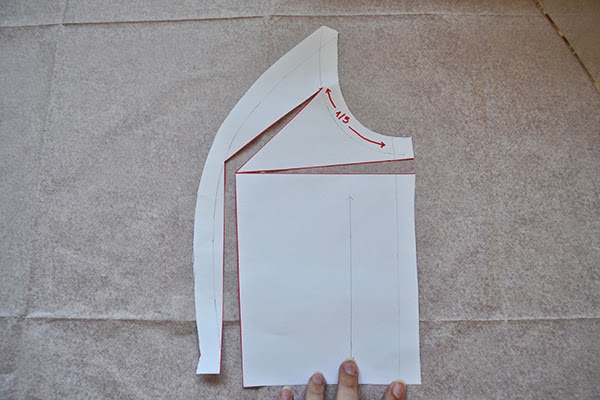
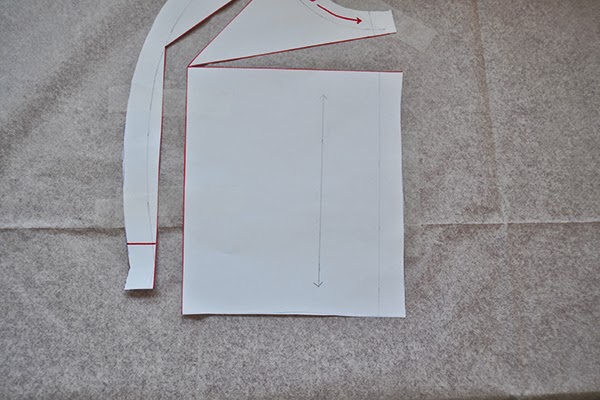
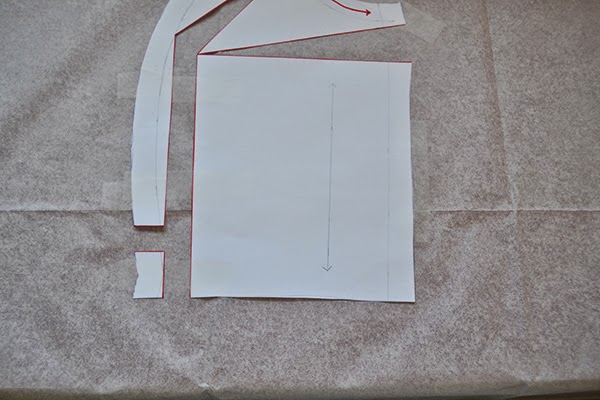
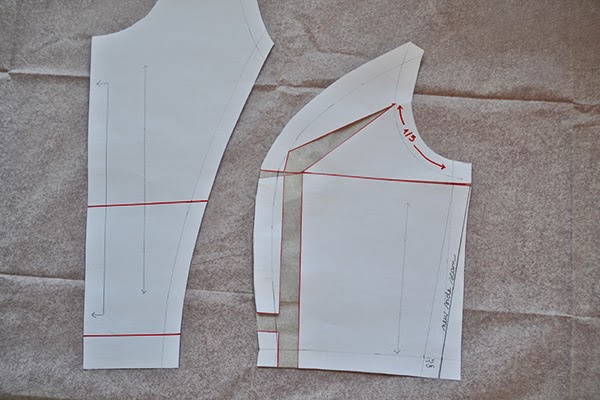
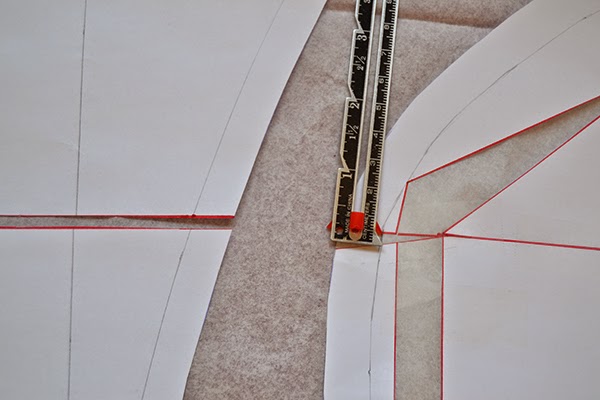
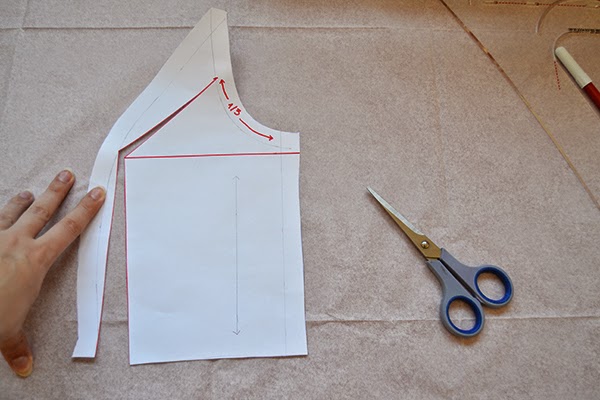 2. Cut lines 1 and 2 and stop when you reach the seam allowance.