When designing the Sorell trousers, I thought they would make a great pair of shorts as well. This is such an easy variation to make: just cut the legs above the knee ast desired length.
 I like my shorts short so I cut mine about 8 cm below the crotch seam, including the 4 cm hem. I also added about 2 cm to the side seam at the hem to get them a little bit wider around the thighs.
 I used linen for this version, it wrinkles a lot but is very comfortable to wear when it’s so hot like now. I really like the safari feel they have.
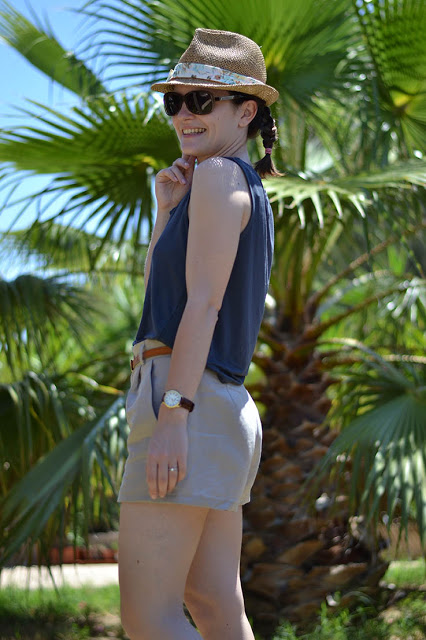 If you want to see a denim version, head over to Anne‘s blog. Inspired by her version, I didn’t add the back pockets either 😉


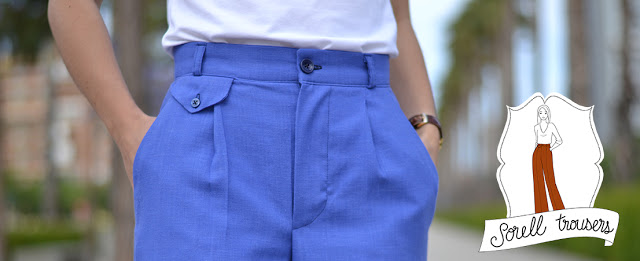

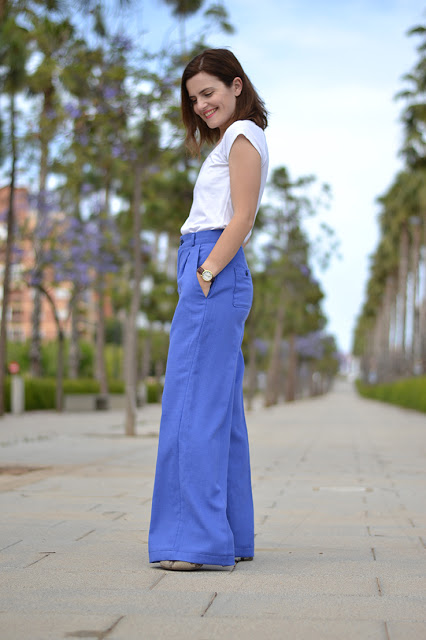
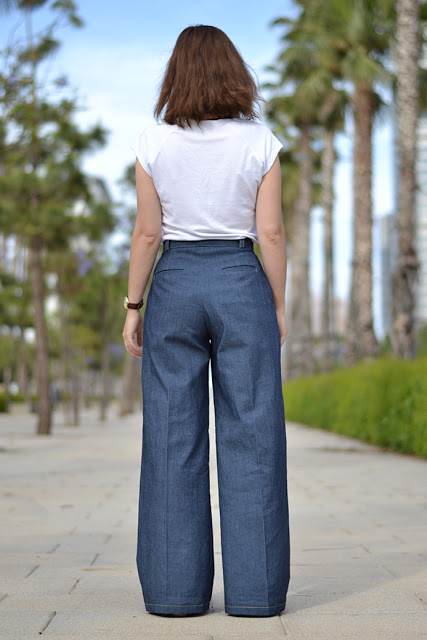
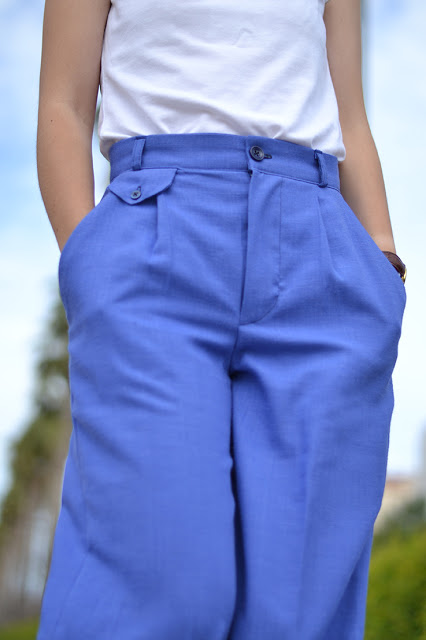
 For a vintage look, the trousers legs are wide but the waist and hips are fitted so if you are between 2 sizes or you’re afraid to be unable to sit after lunch, choose the bigger. Anyway, the best solution it still to make a muslin (even a simplified one with the main pieces).
 The
The 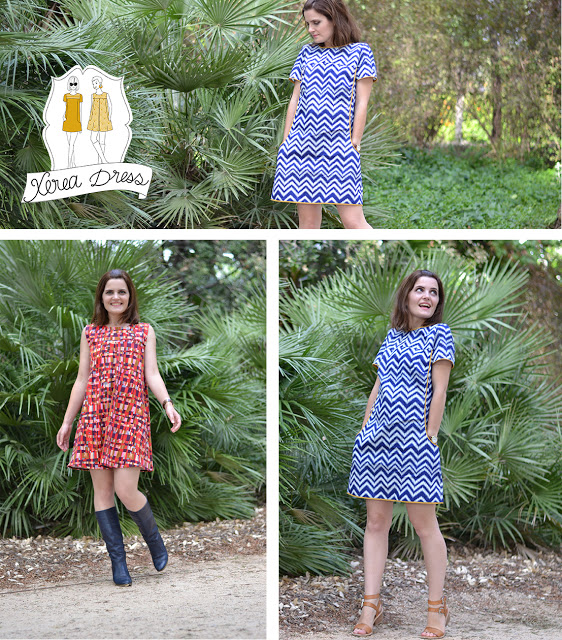 The
The  I also wanted to tell you we are opening today the collective blog «
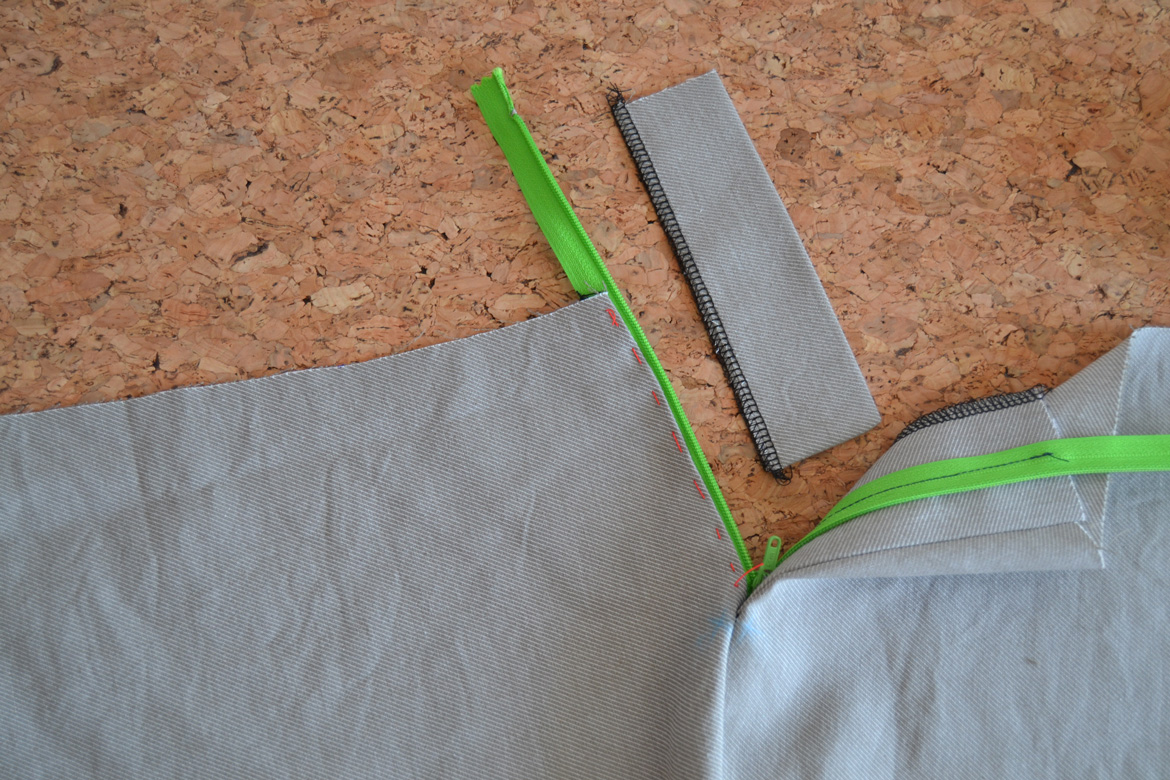
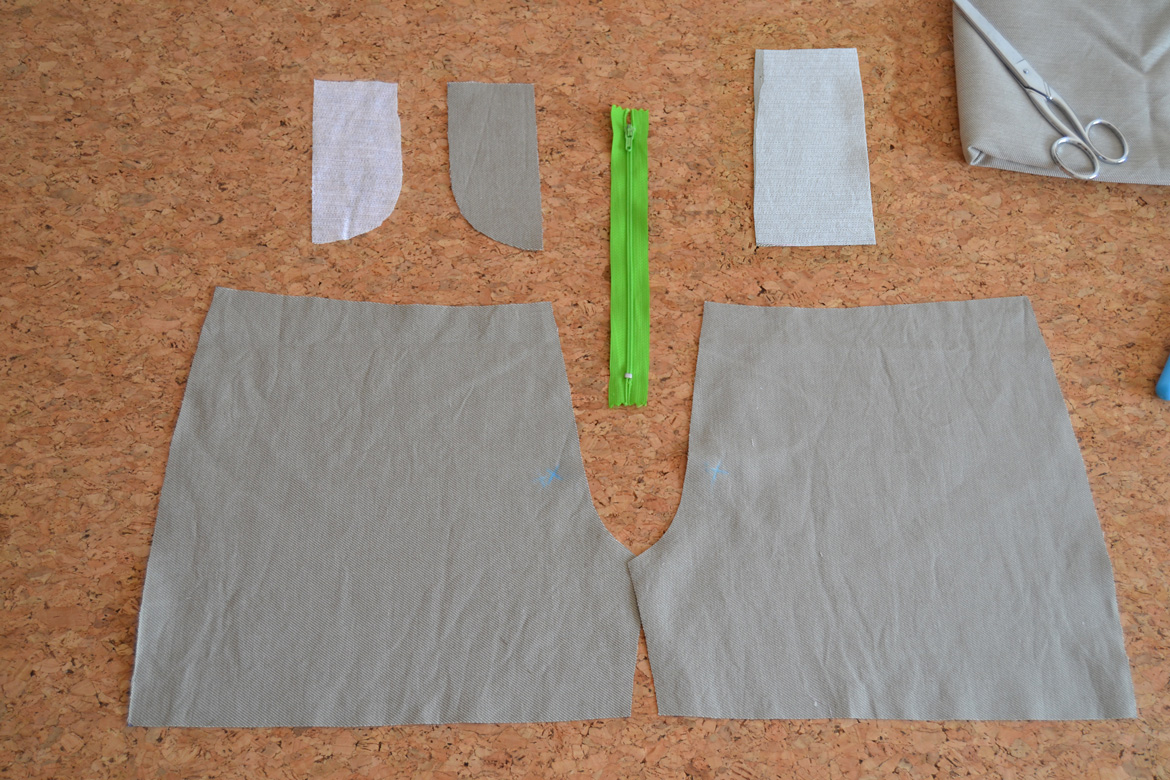 1. These are the pieces you’ll need to install the zipper:
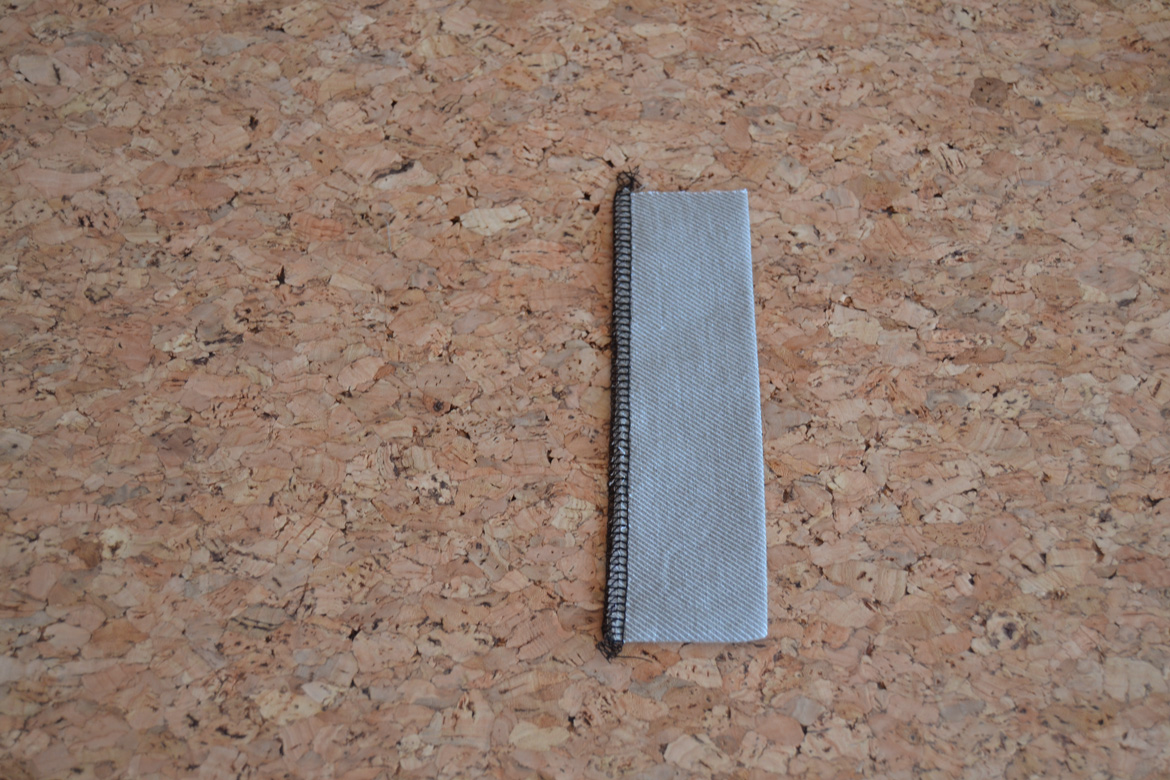
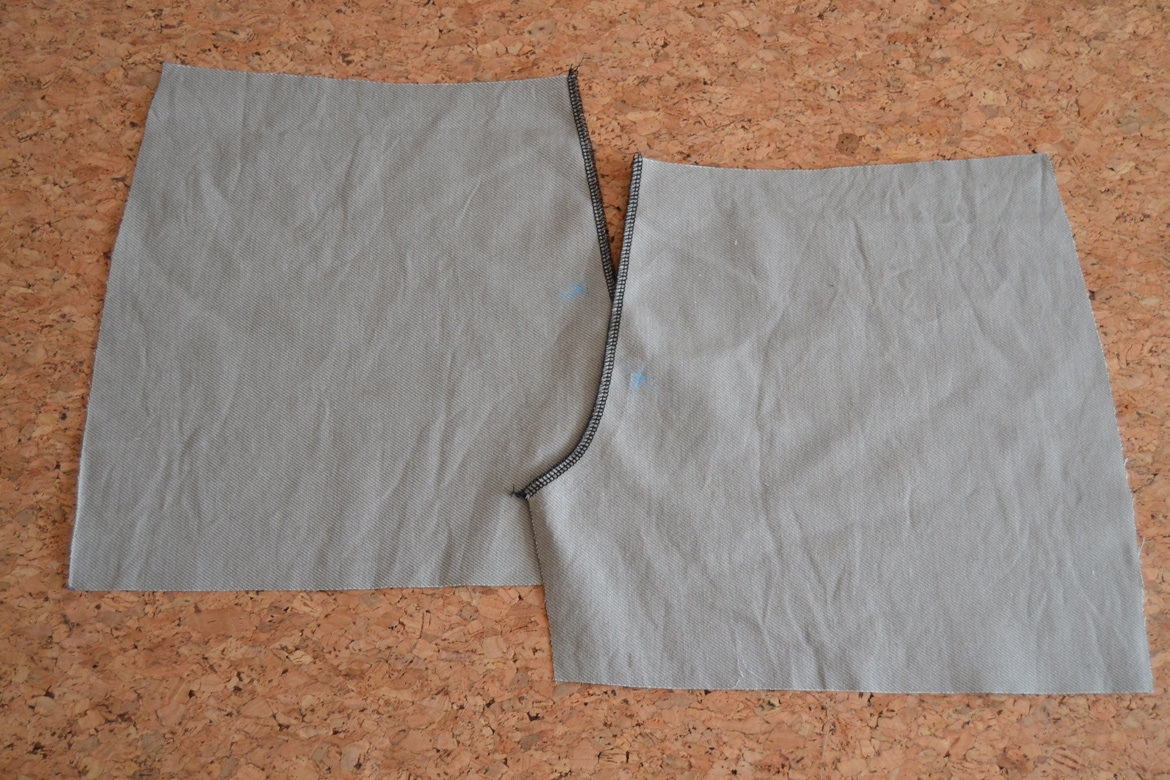 2. Finish the center front seam of the front pieces with serger or zigzag stitch. Repport your marks on the front pieces.
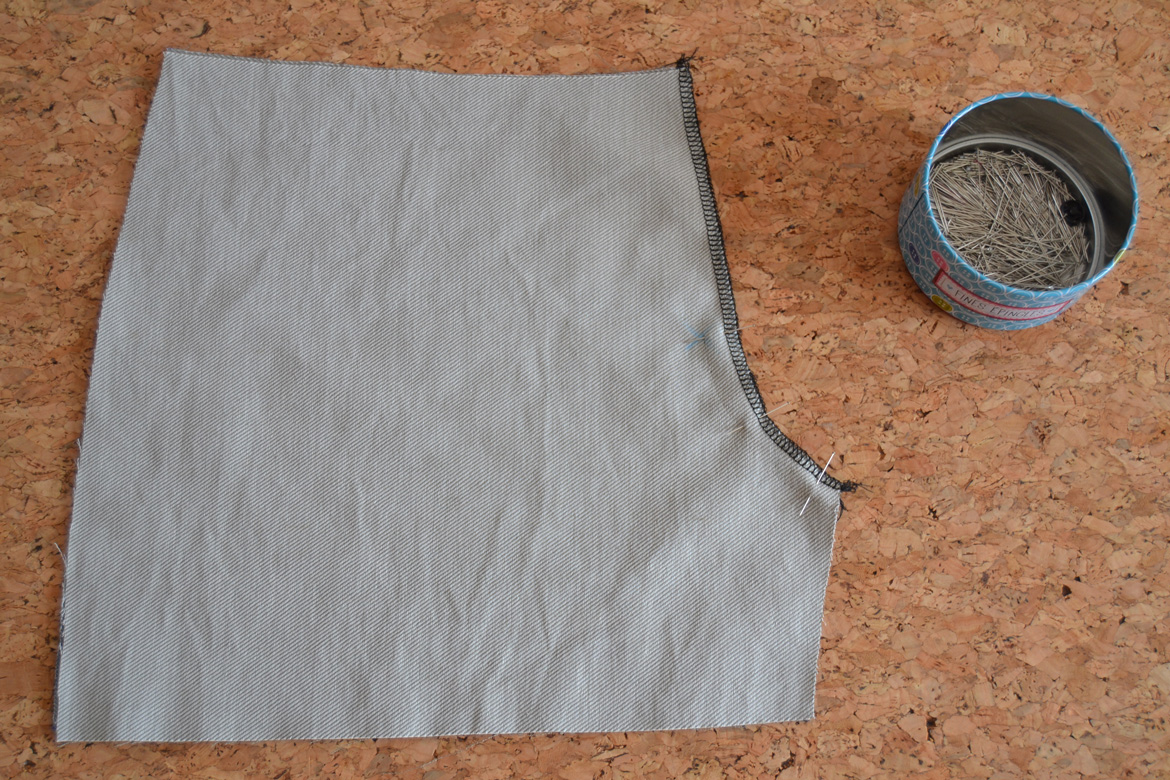
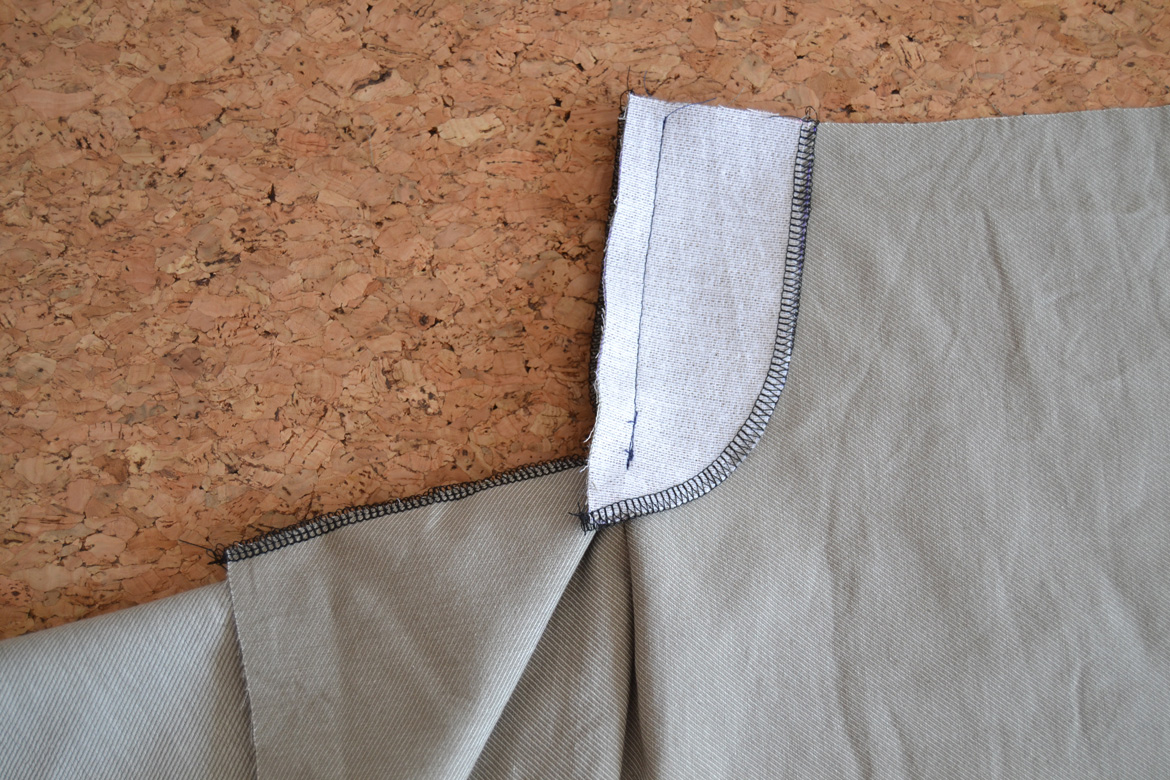
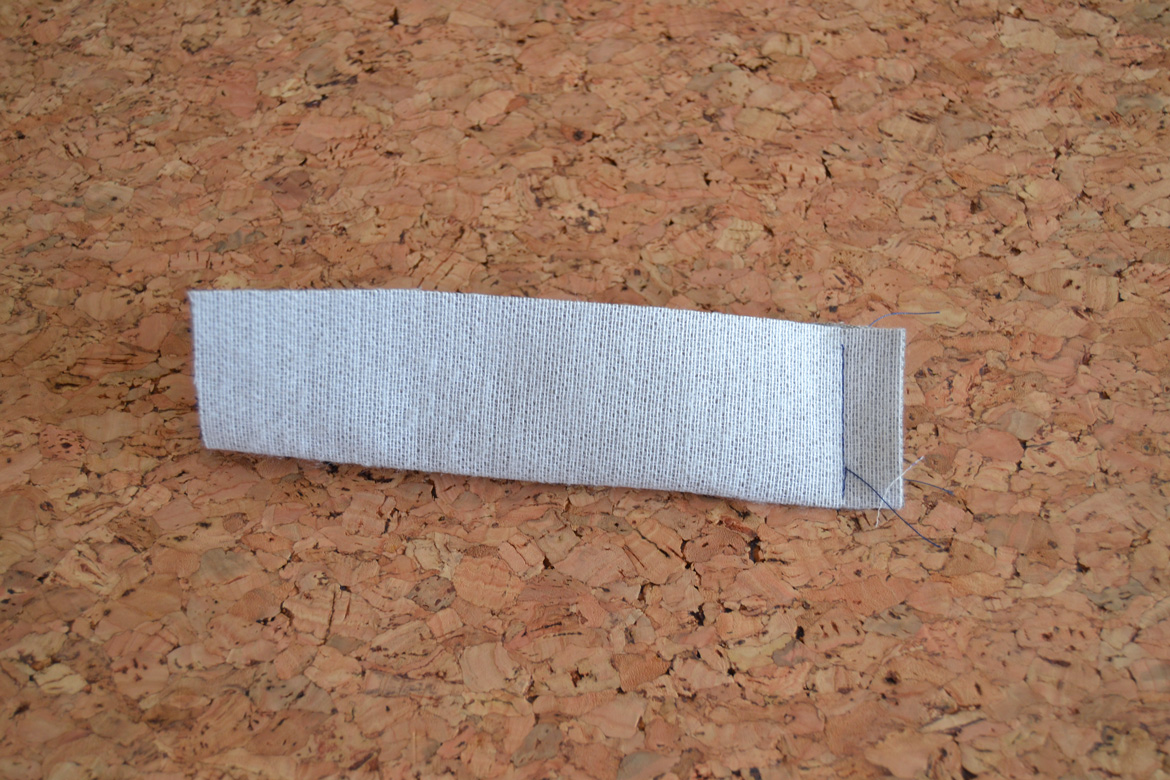
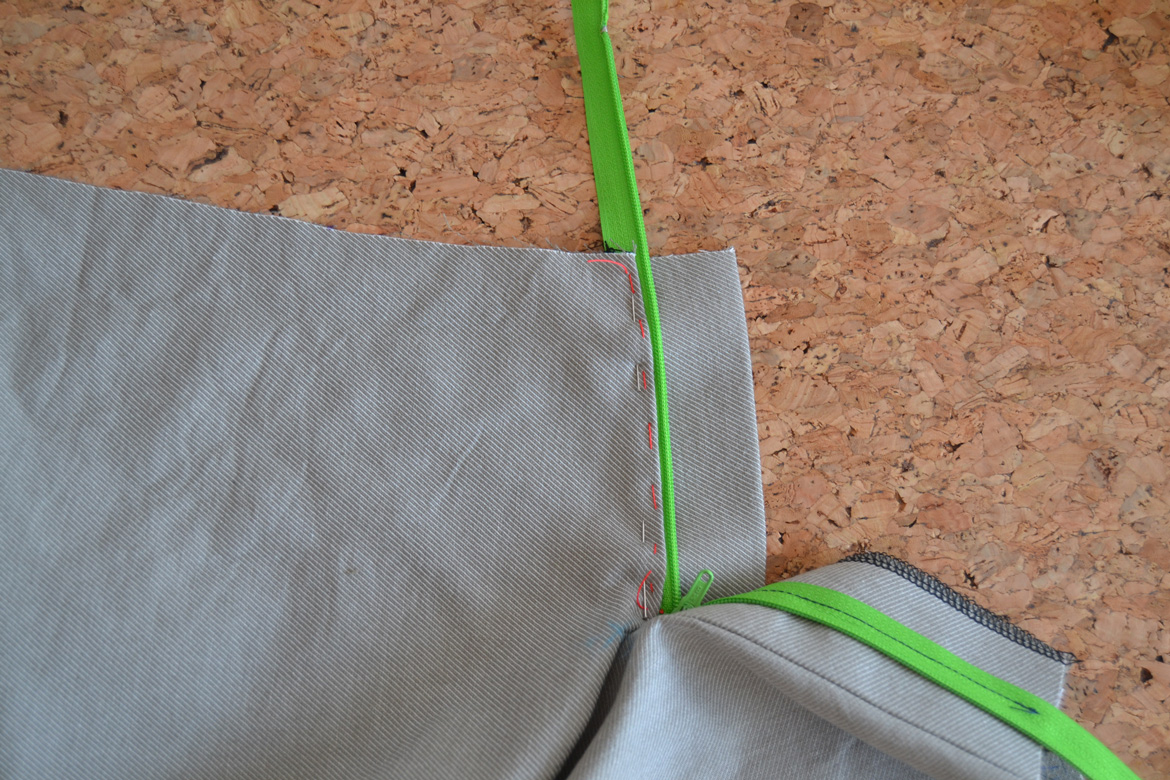
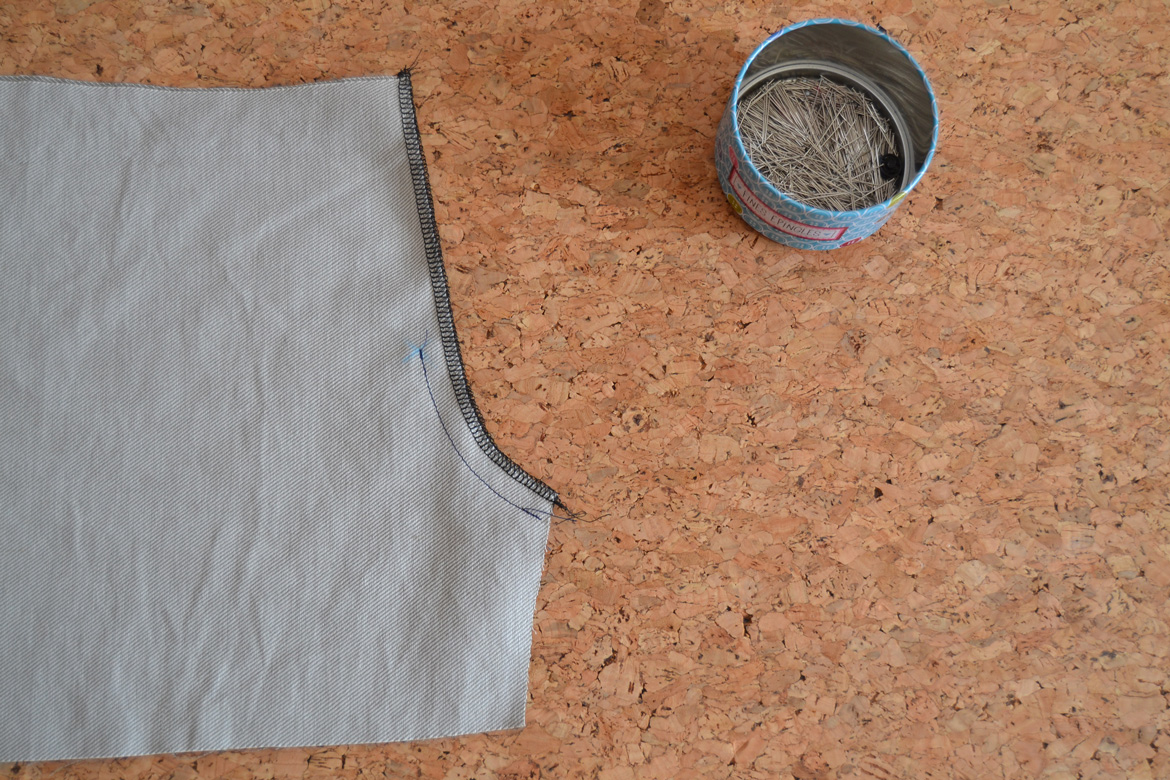 3. With right sides together, pin the front pieces together at the center front seam.
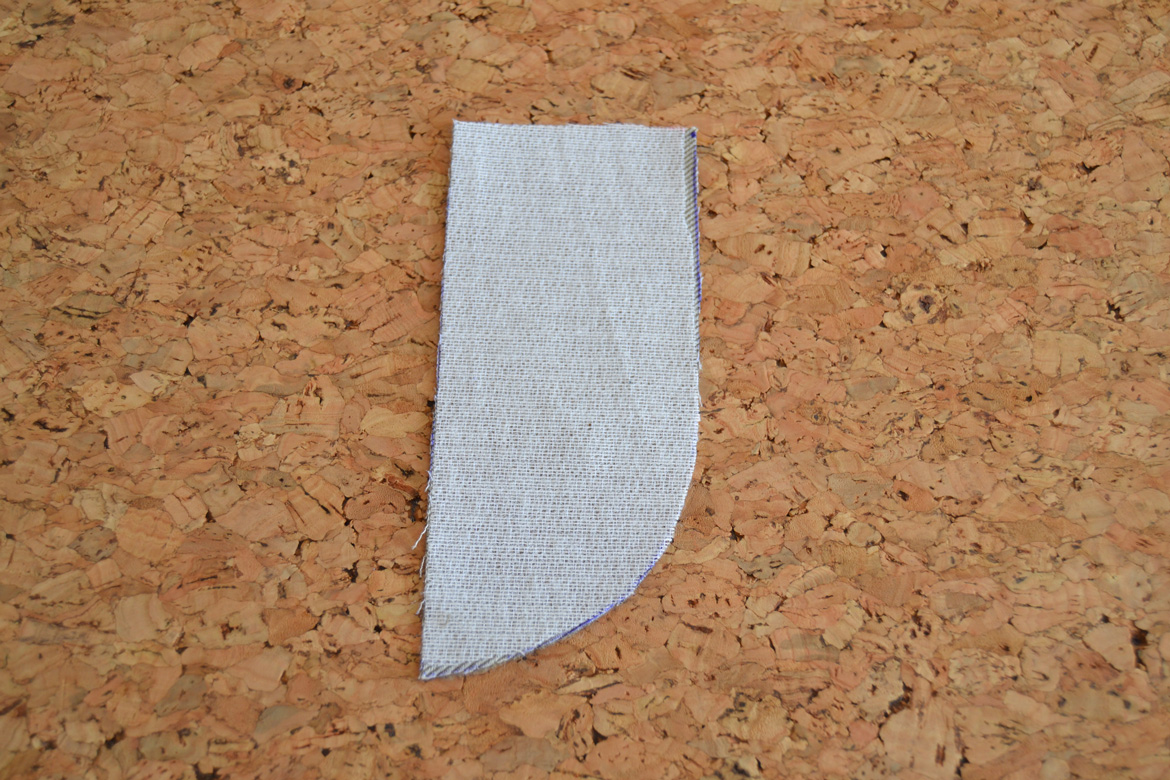
 5. Interface the fly facing piece.
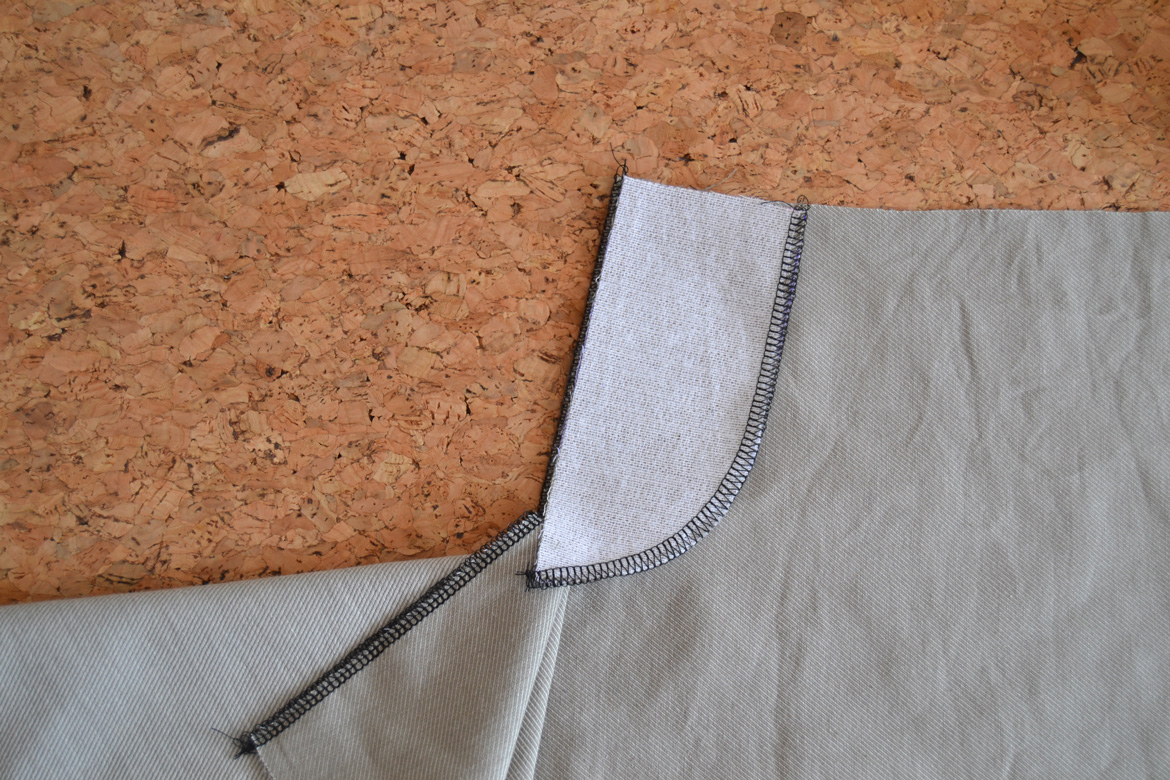
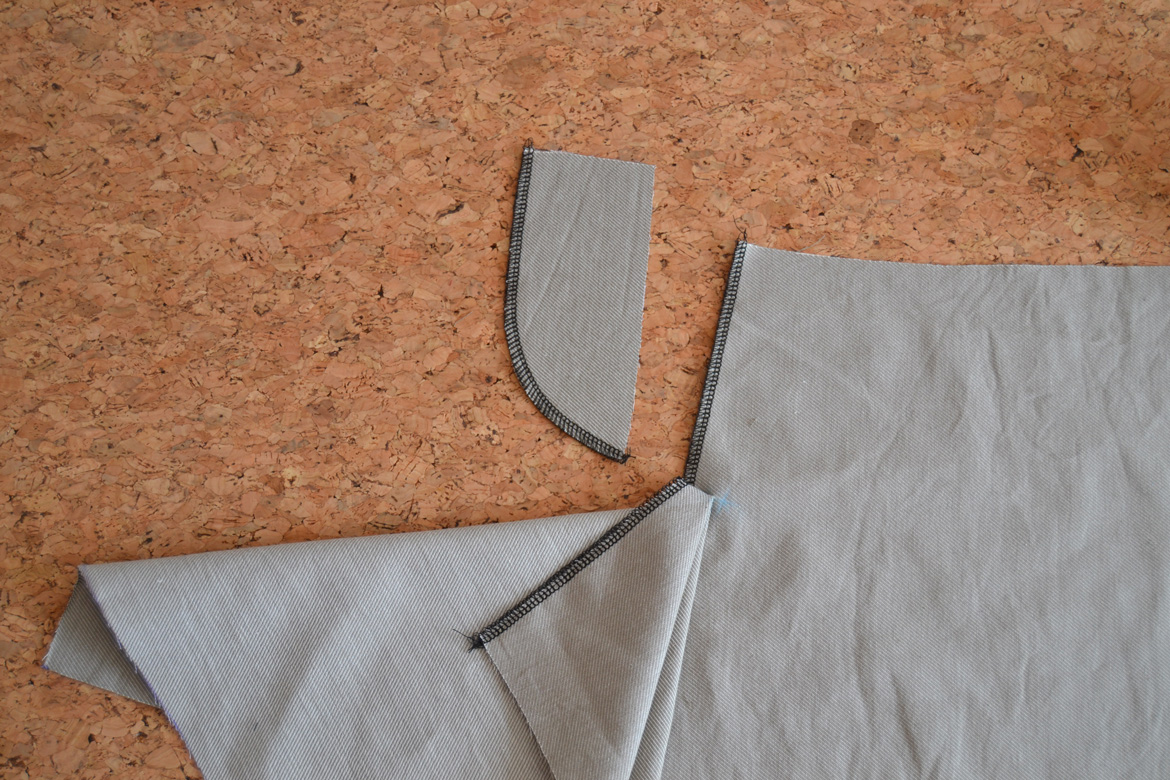
 7. Pin the fly facing to the left side front piece (when you wear the trousers) with right sides together.
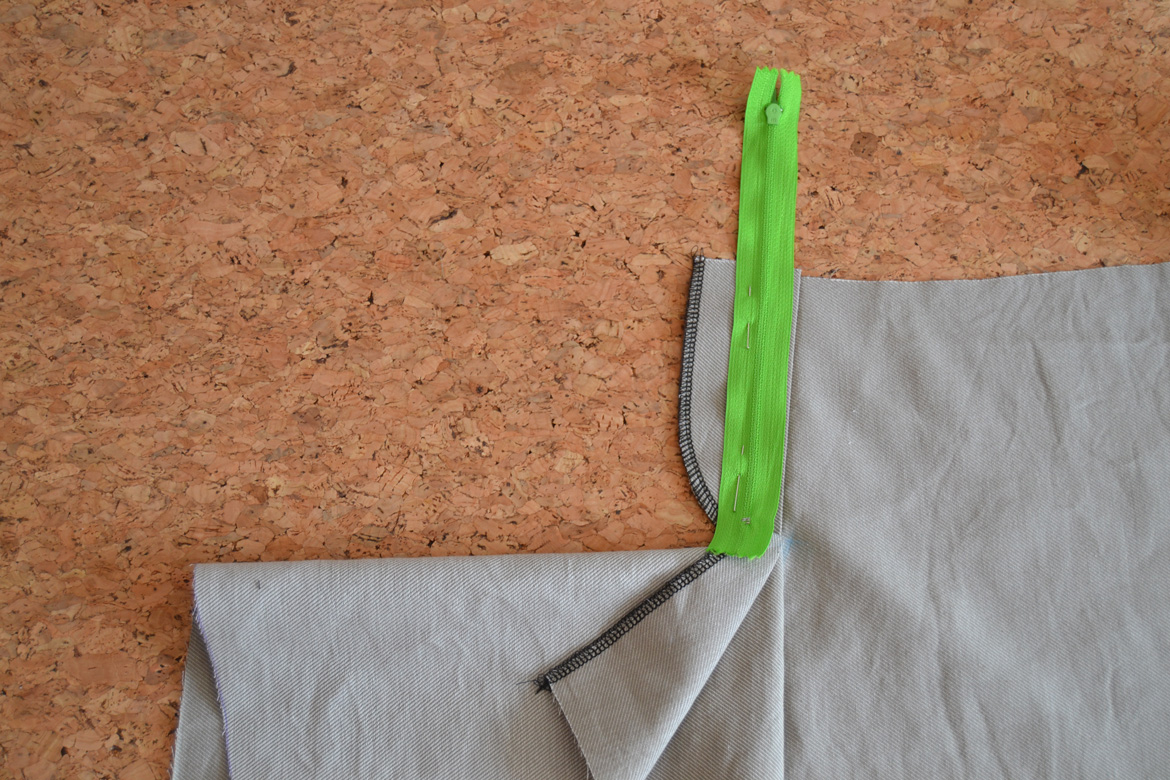
 9. Open the fly facing. Trim and press the seam allowances toward the front.
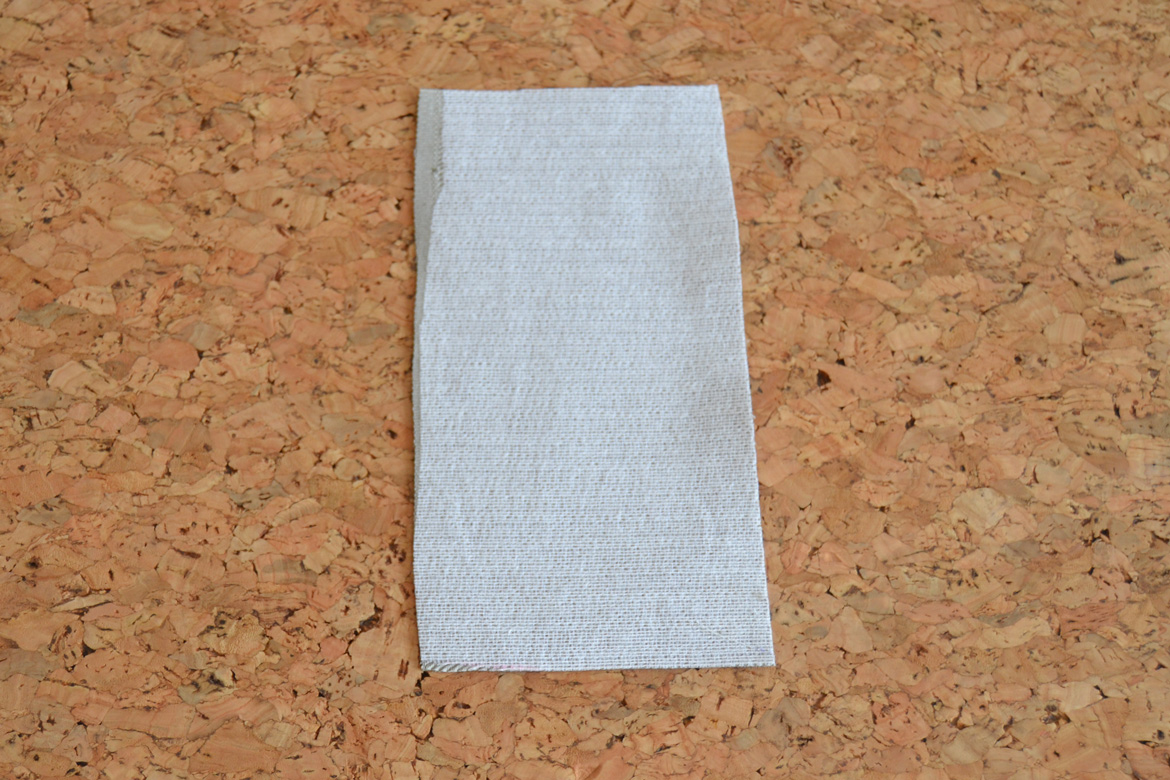
 11. Interface the fly shield piece.
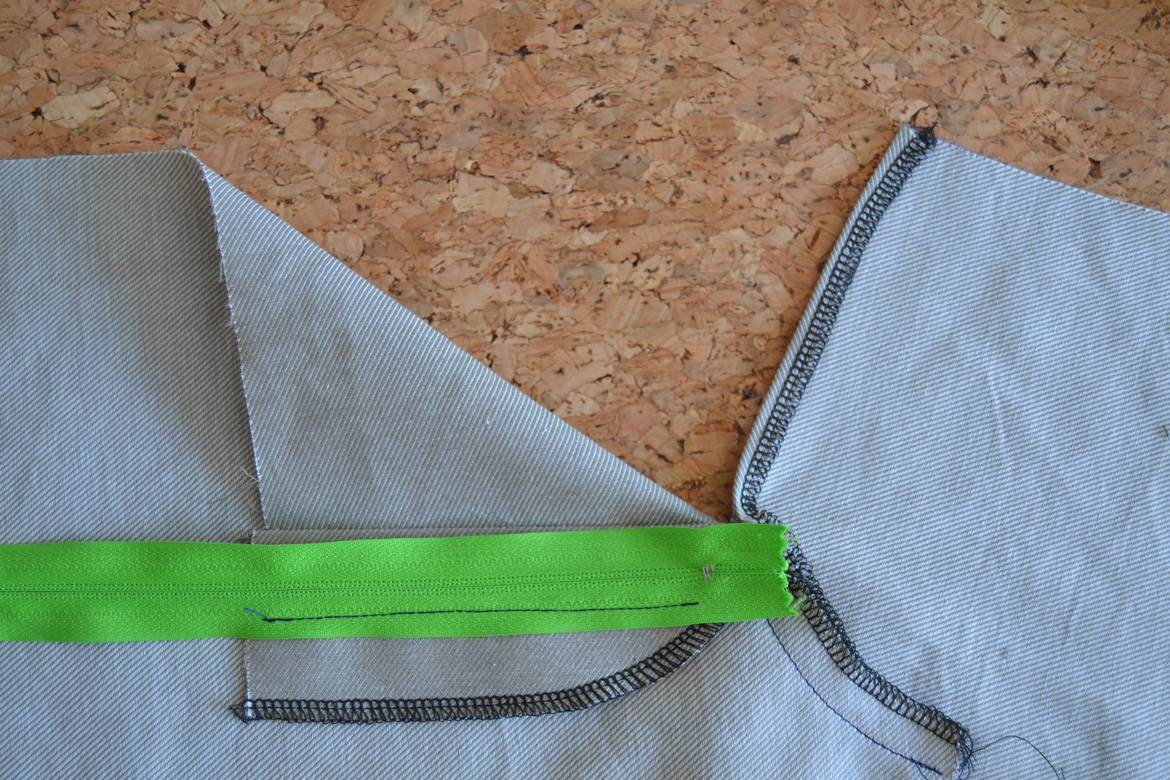
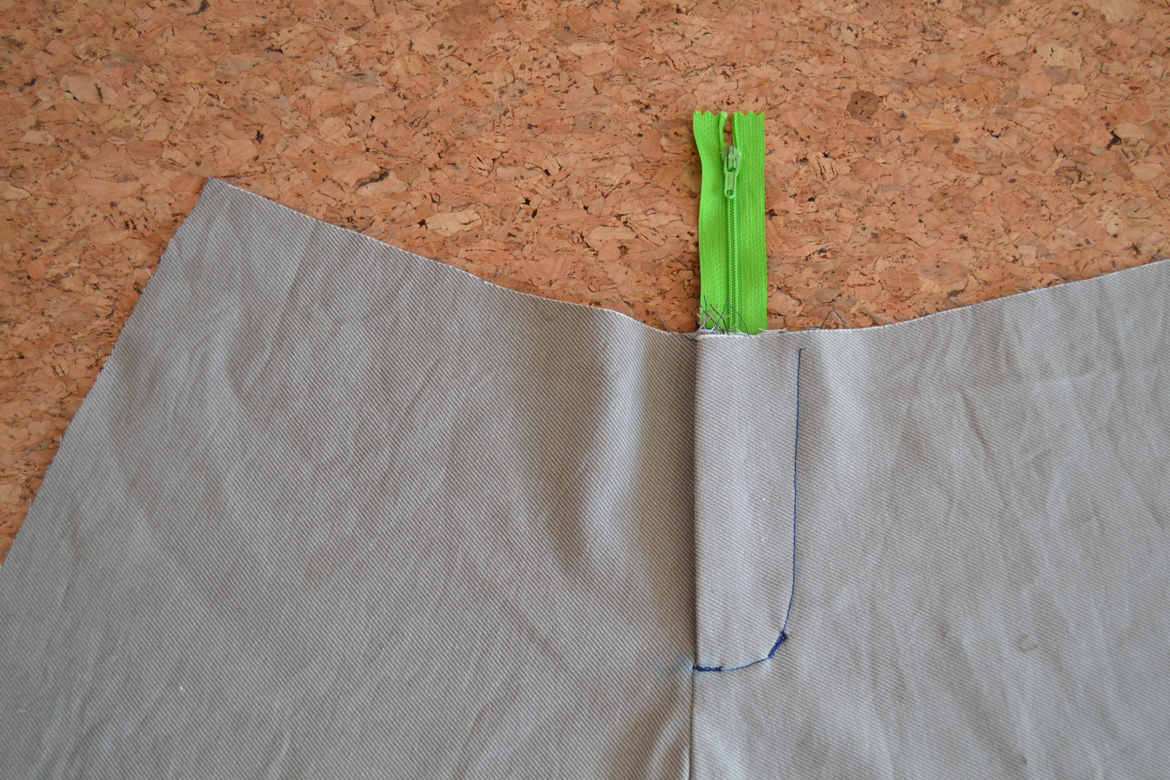
 14. Press the right side front piece (when you wear the trousers) 0,5 cm (1/4″) toward the inside.
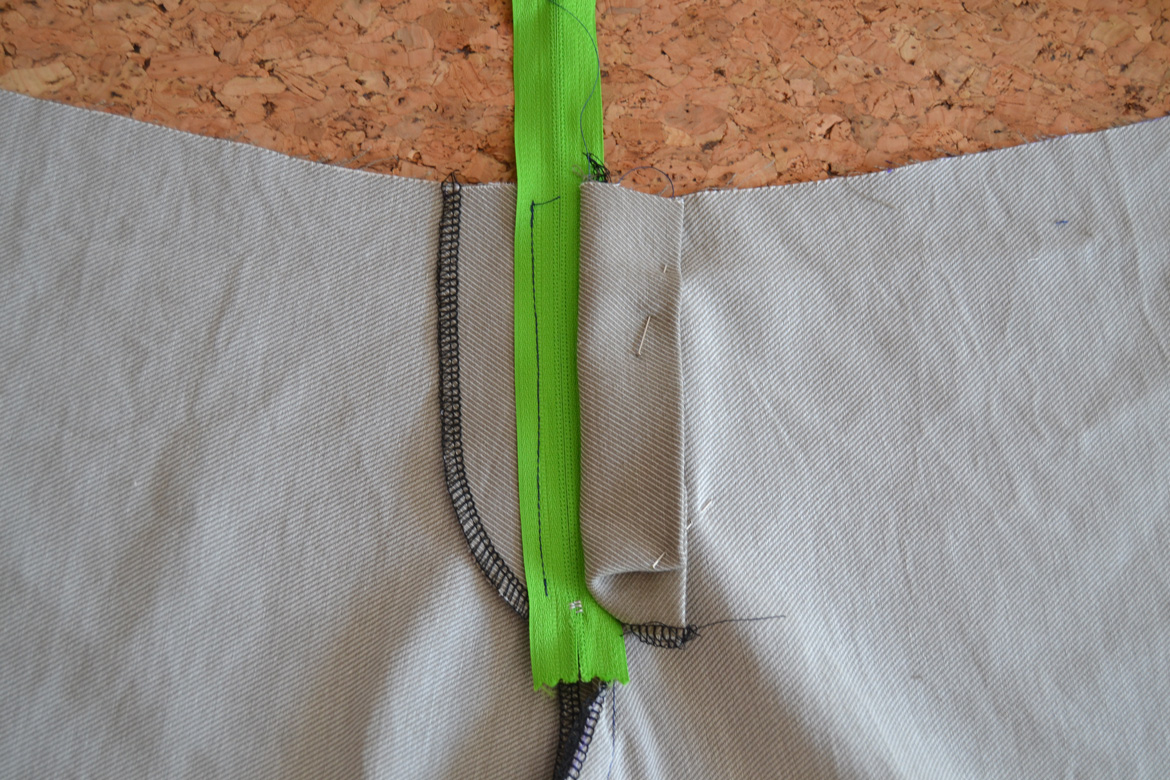 18. Pin the fly shield out of the way so that it won’t get caught when we sew the fly topstitch.
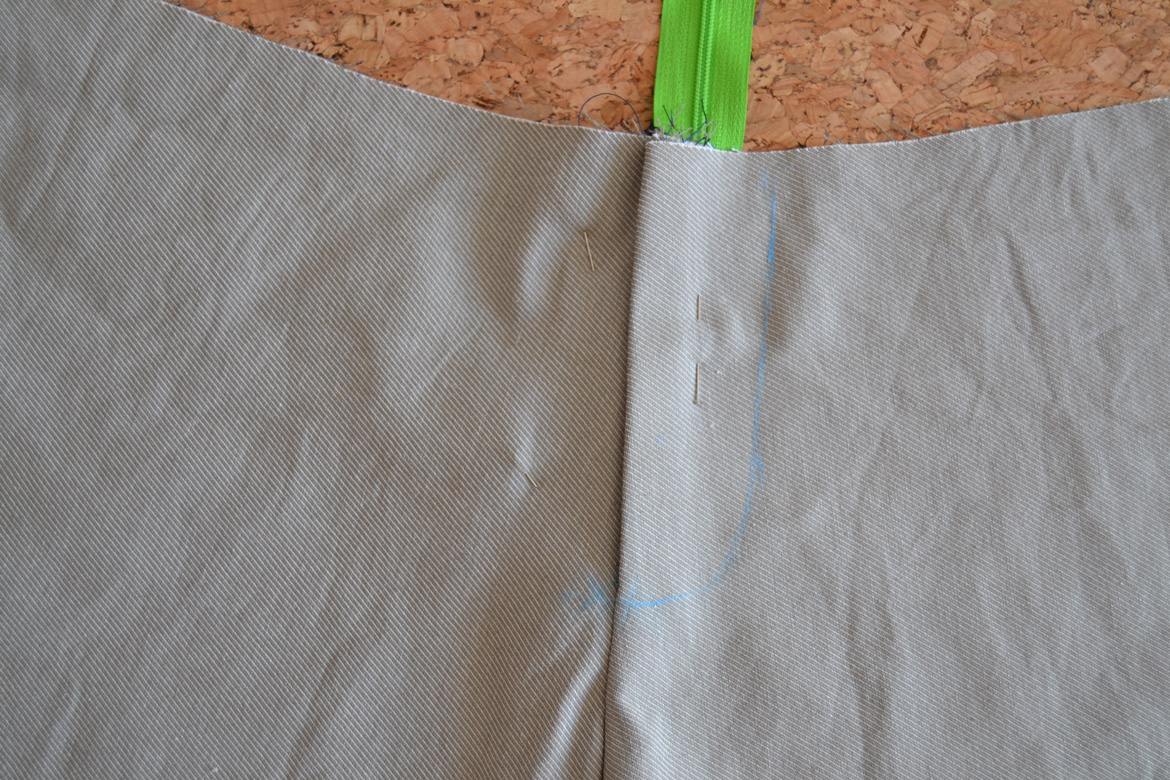
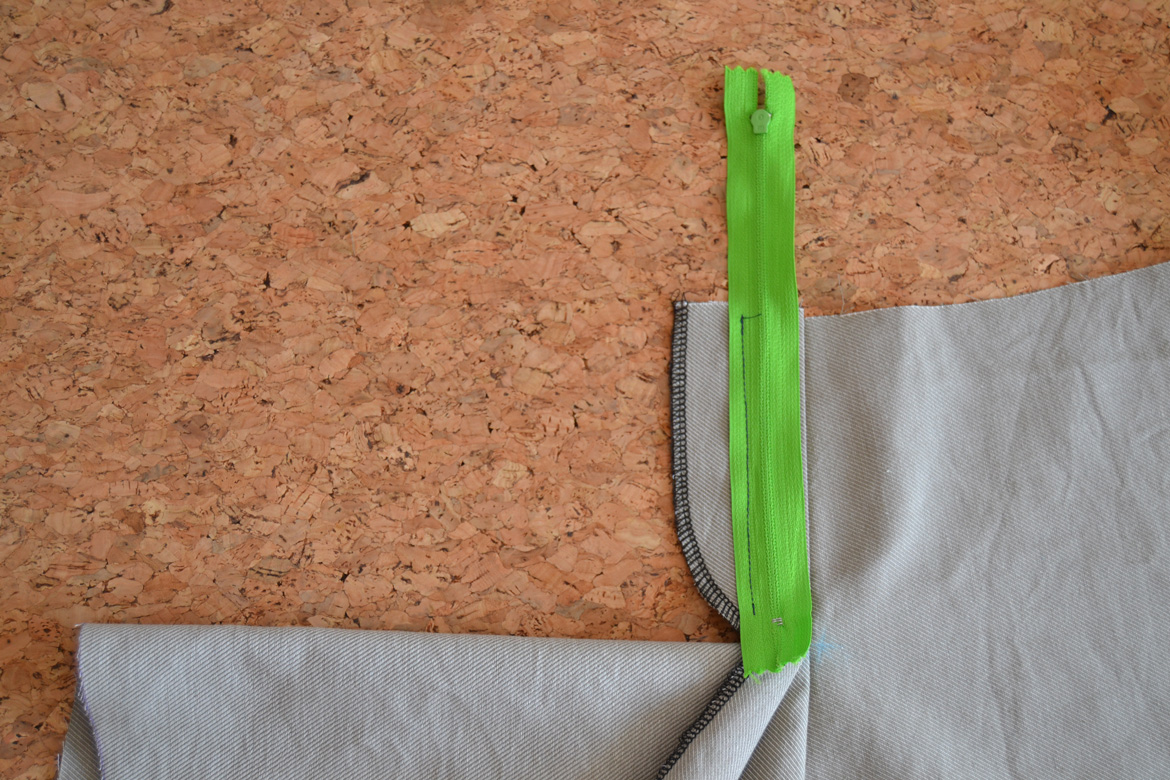
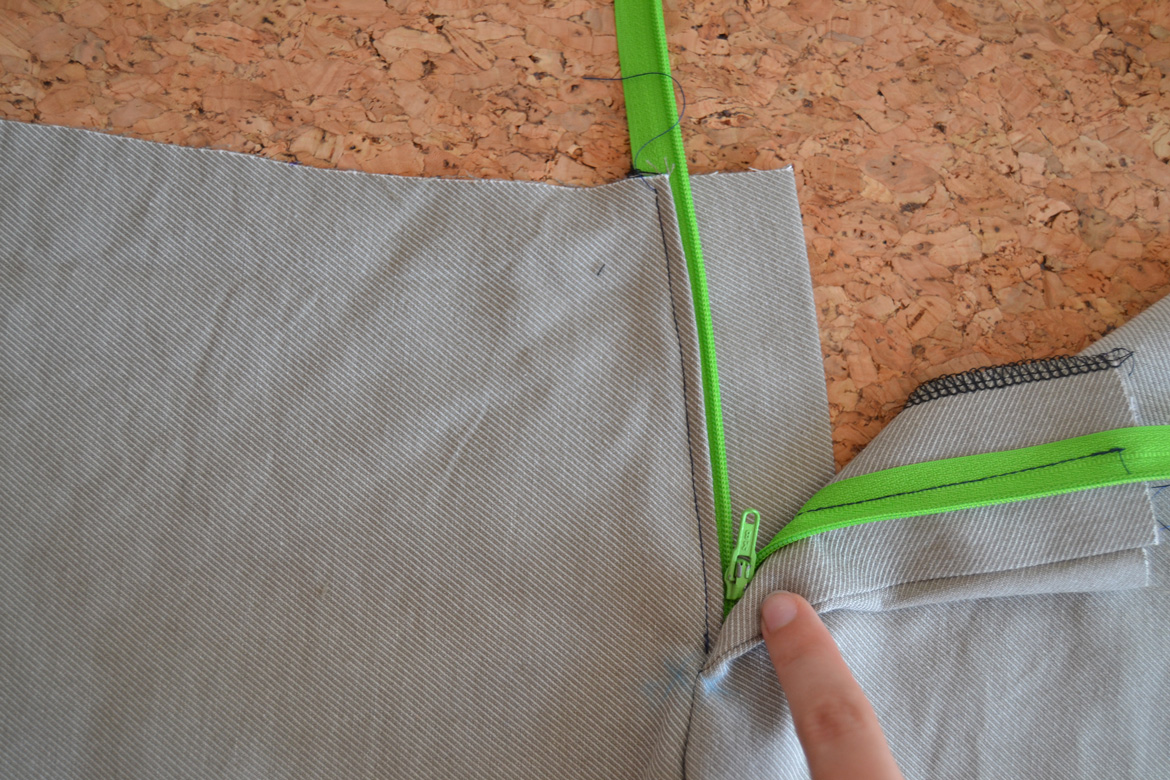
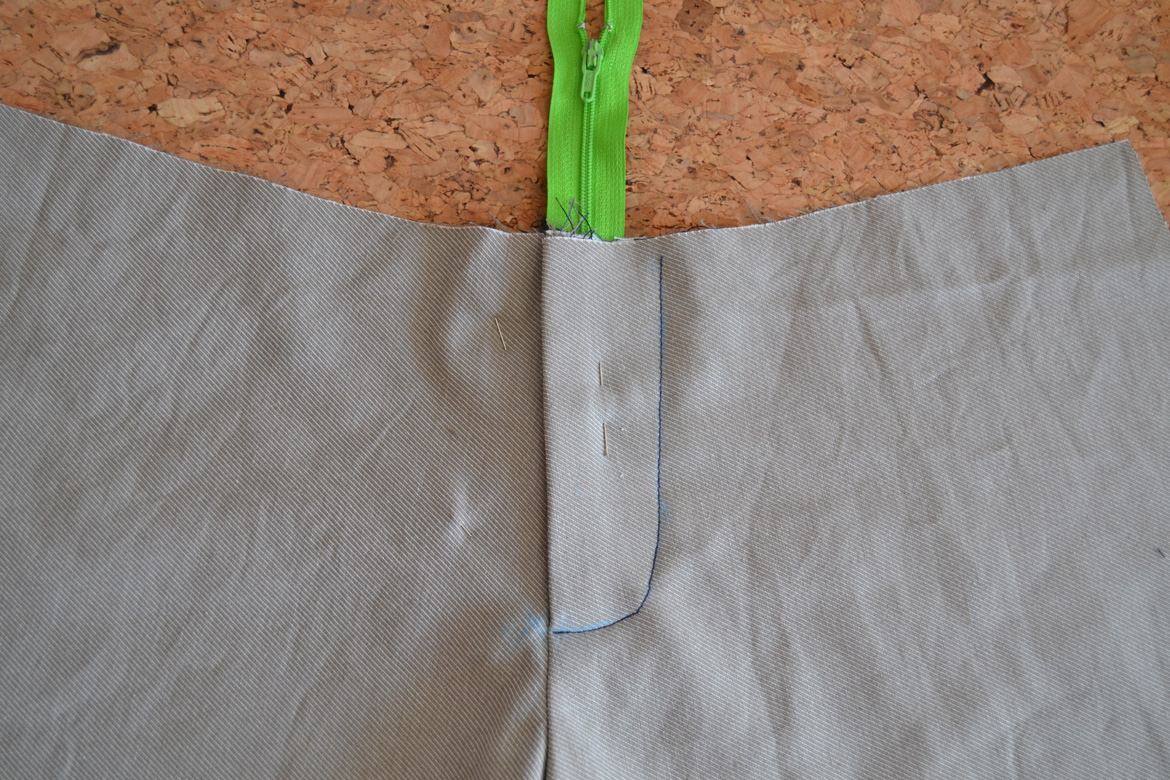 19. Close the zipper (but don’t cut it yet). Place the trousers front correctly and draw the topstitching line (you can use the front pattern piece or the fly facing as guide).
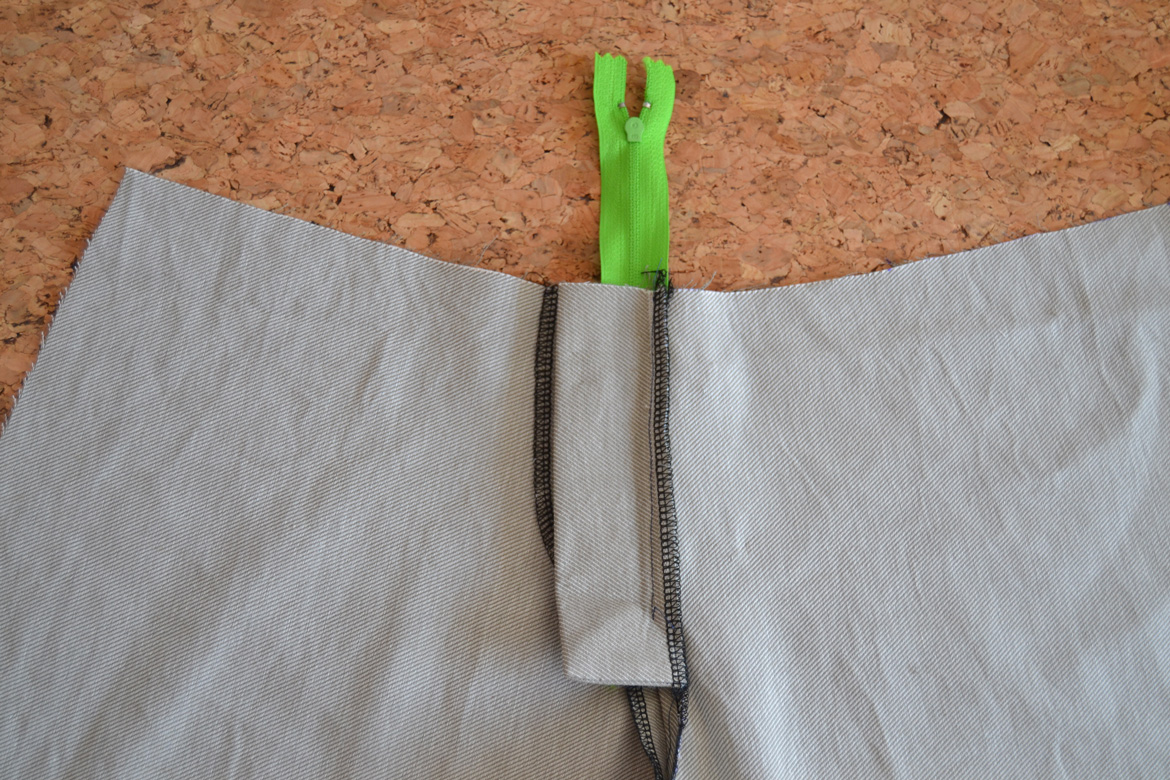
 21. Unpin the fly shield and place it over the zipper. Pin in place again.
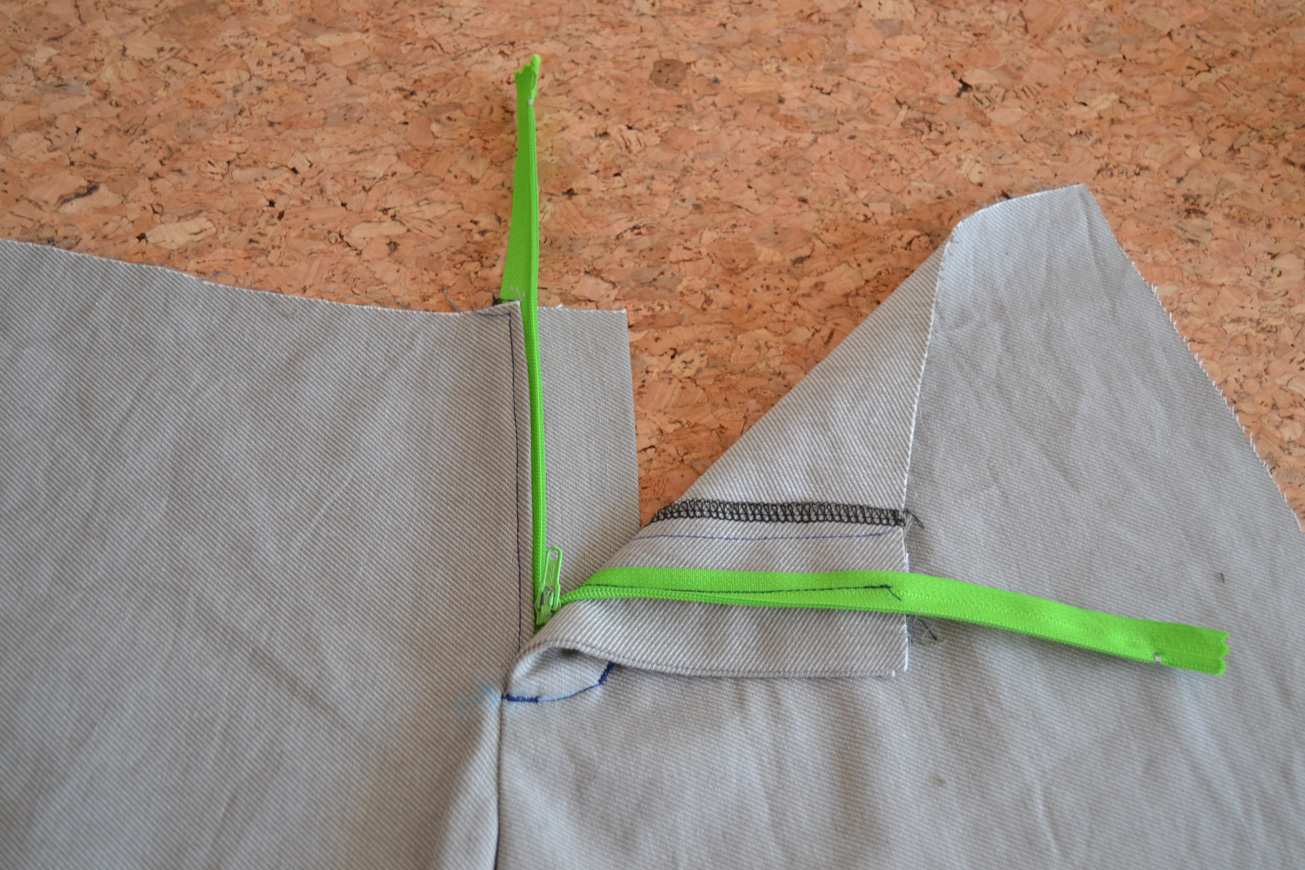 23. There you go, an easy way to insert a fly front zipper!
 When
When 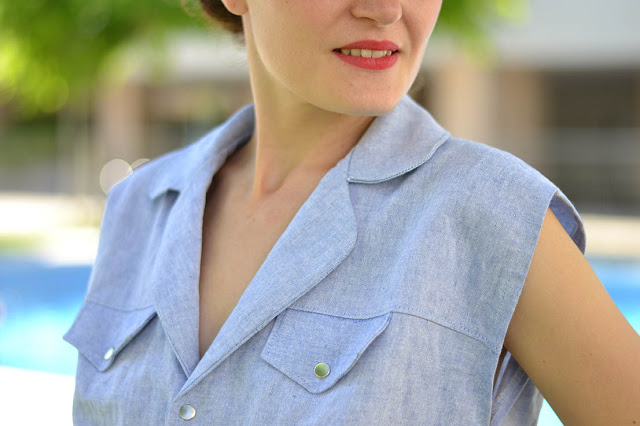 It was my first garment from RDC patterns and I chose the size according to the measurements, size 36. I could have used the smaller one as it’s a little bit too big (I have to wear it with a belt and it makes some pleats around the waist, not very nice). So for the next one, I’ll go with size 34 and reduce the bodice length just a tiny bit as I’m way shorter than the height its designed for.
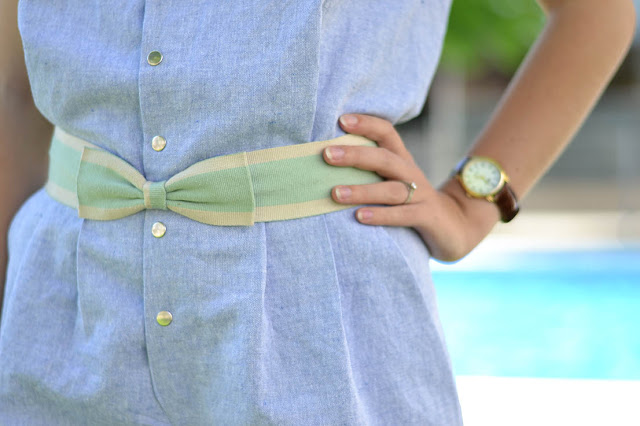
 Other than than, I’m happy with my Dominique! The light blue linen I bought is perfect for summer, I managed to hammer the snap-on buttons quite well and I love the short version: I find it playful and elegant at the same time.Very soon I’ll show you the Juliette shirt I made…


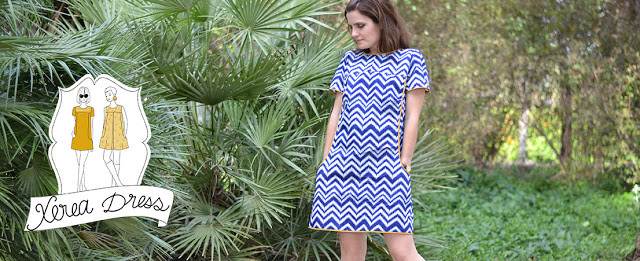 Today let’s talk about the perfect summer dress: the
 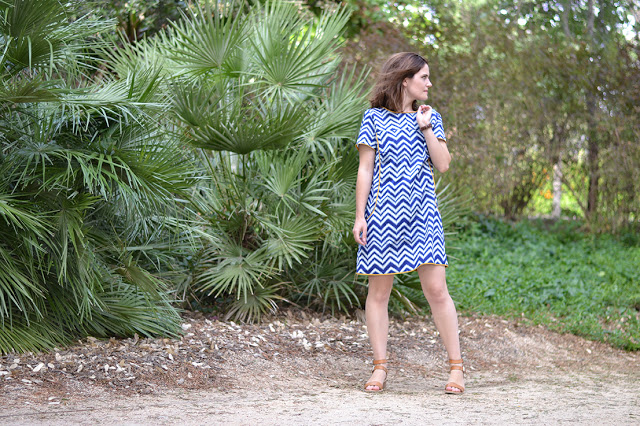 Xerea
Xerea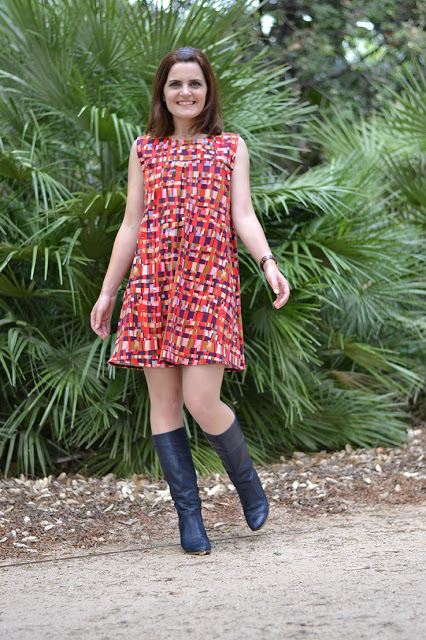 For fabrics, I would recommend fabrics with some drape, in particular if you choose the shift dress.
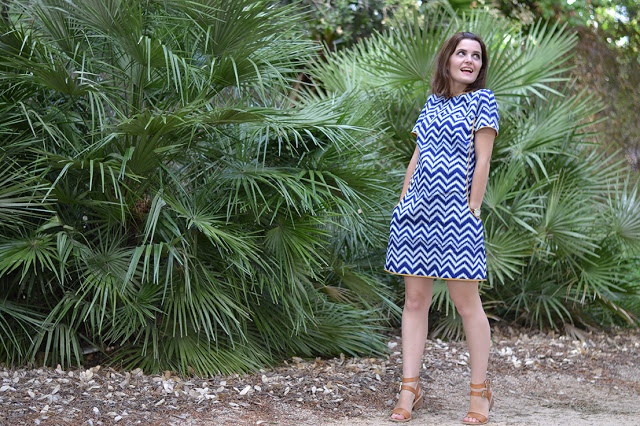
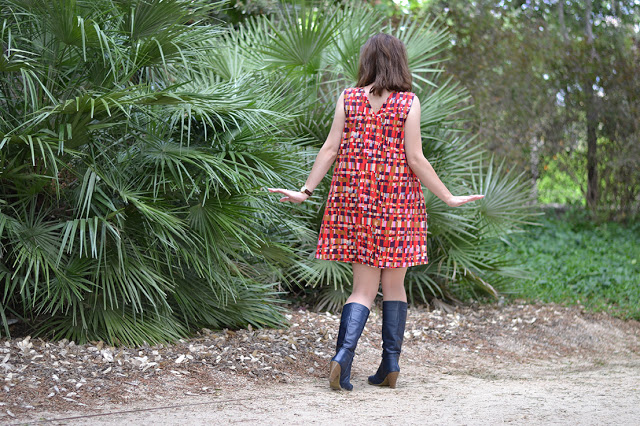 The yoke design allow you to use contrasting fabric very easily: how about color blocking or lace accents? All the hems are finished with bias binding, make your own with matching fabric for an invisible finish or add some subtle contrast to your dress.
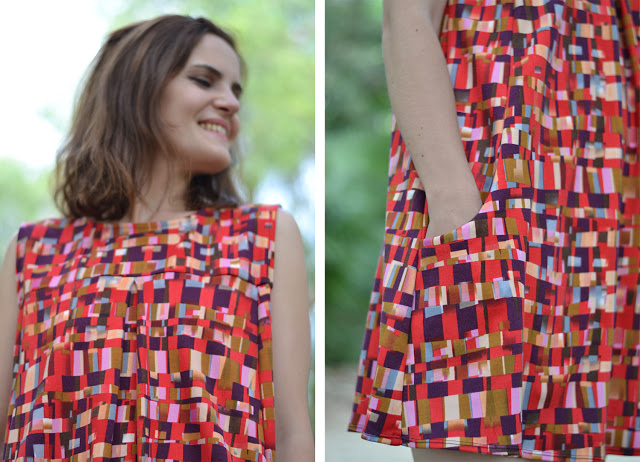 I hope you’ll like the new patterns, the