
Today, let’s learn how to sew a fly front zipper on your Port trousers. Sewing the zippers on trousers is often one of the most feared step but it really shouldn’t. With this step-by-step photo tutorial, you’ll see it’s actually quite easy!
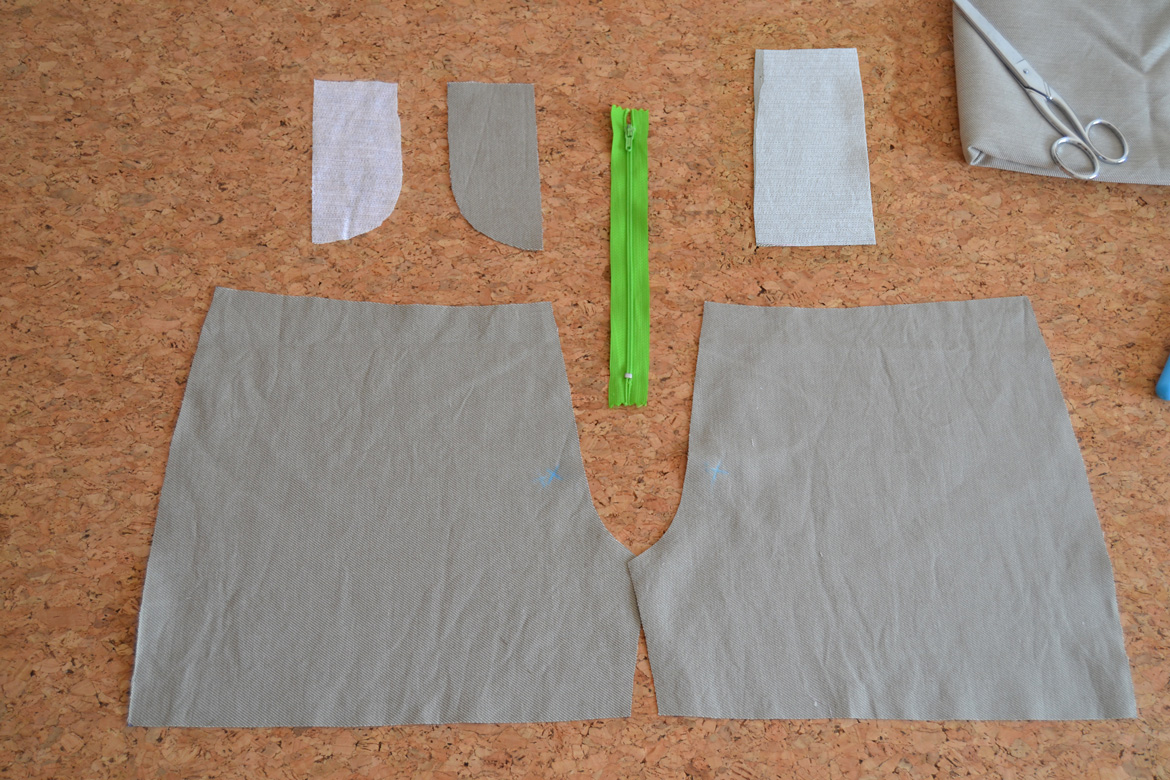 1. These are the pieces you’ll need to install the zipper:
-Fronts x 2 in main fabric
-Fly facings x 1 in main fabric and interfacing (some patterns have the fly facing included in the front piece, like the Sorell trousers for example, and this tutorial is going to be easier to apply in this case).
-Fly shield x 1 in main fabric and interfacing
-Zipper 15 cm (6″) long (it can be longer as in this tutorial)
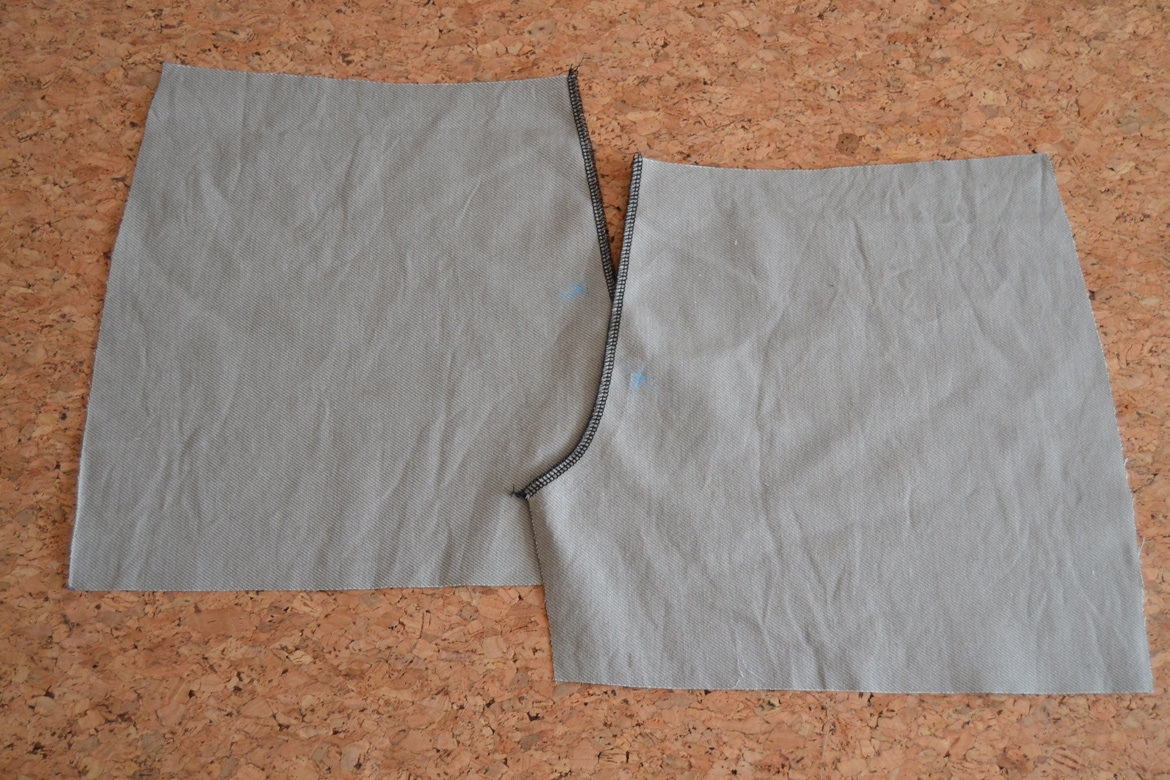 2. Finish the center front seam of the front pieces with serger or zigzag stitch. Repport your marks on the front pieces.
 3. With right sides together, pin the front pieces together at the center front seam.
4. Stitch from the inseam to the dot mark with a 1,5 cm (5/8″) seam allowance.
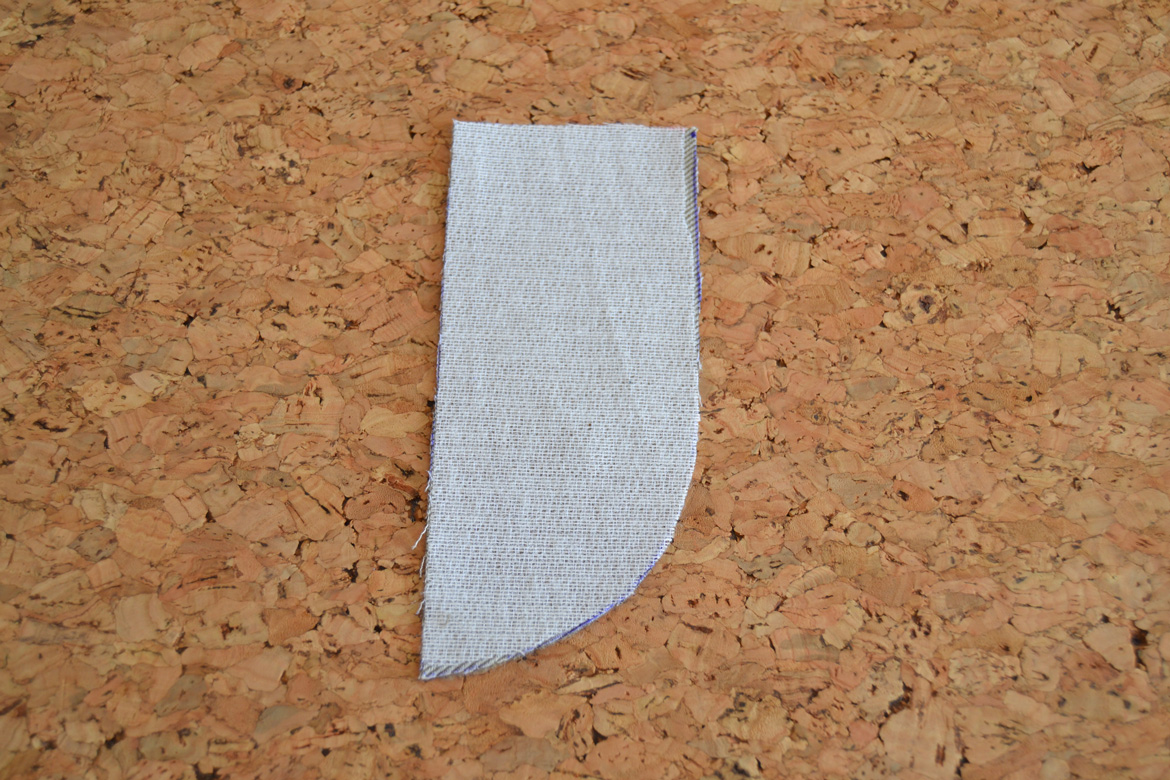
 5. Interface the fly facing piece.
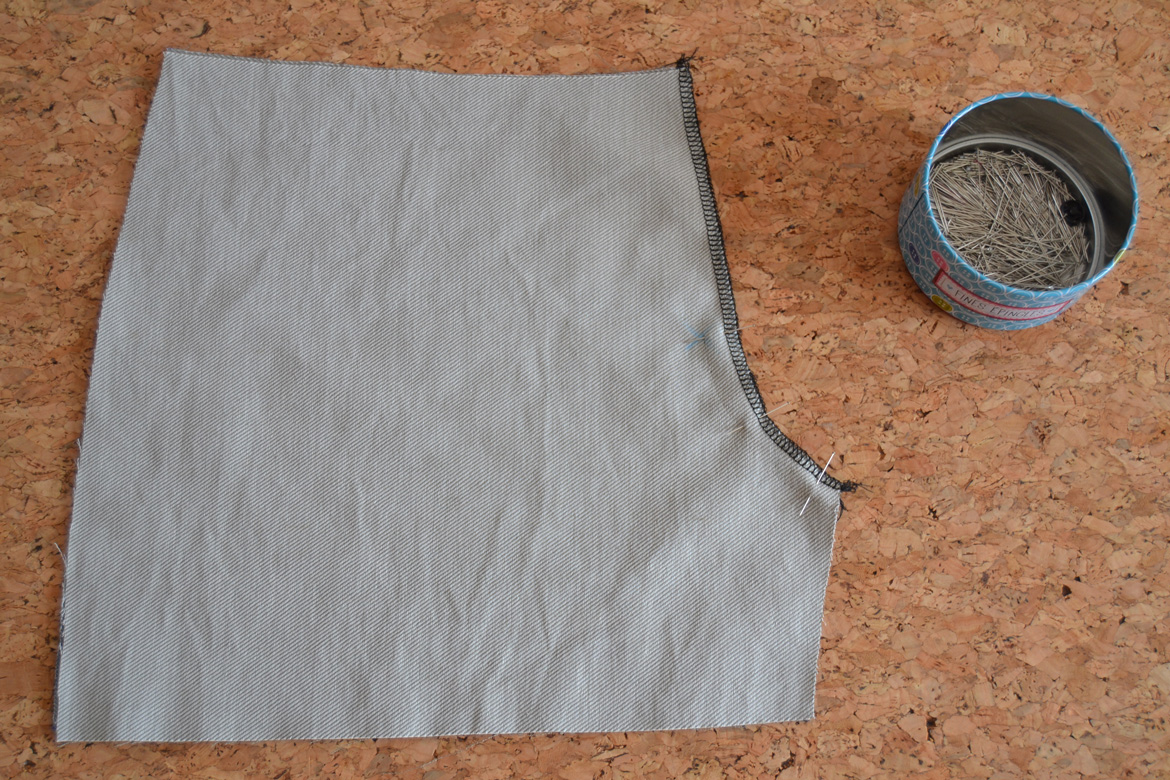
6. Finish the curved seam.
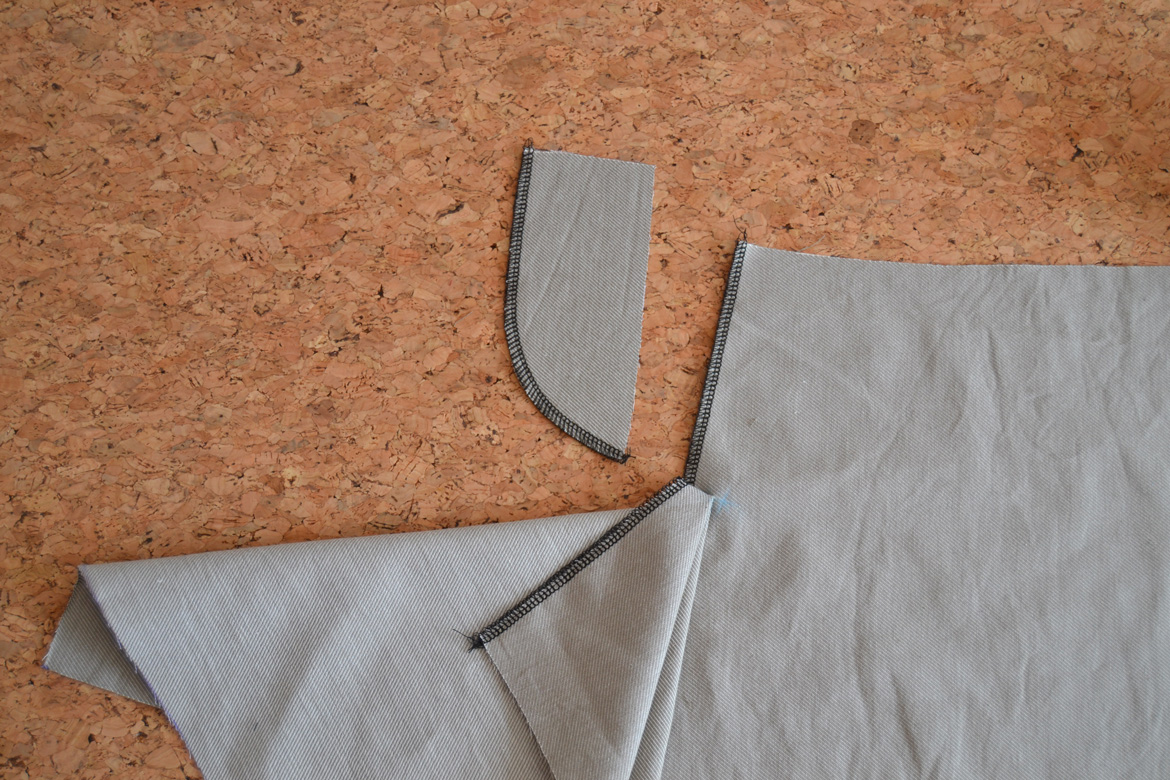
 7. Pin the fly facing to the left side front piece (when you wear the trousers) with right sides together.
8. Stitch together from the top edge to the dot mark with a 1,5 cm (5/8″) seam allowance.
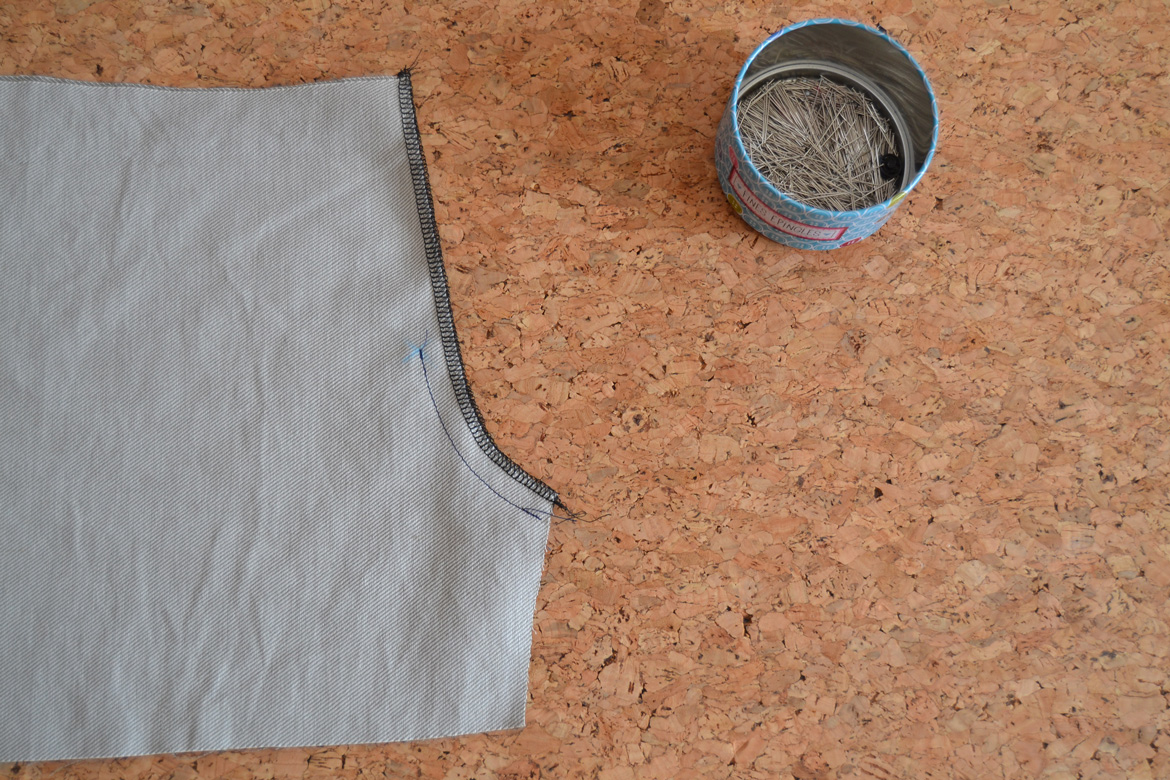
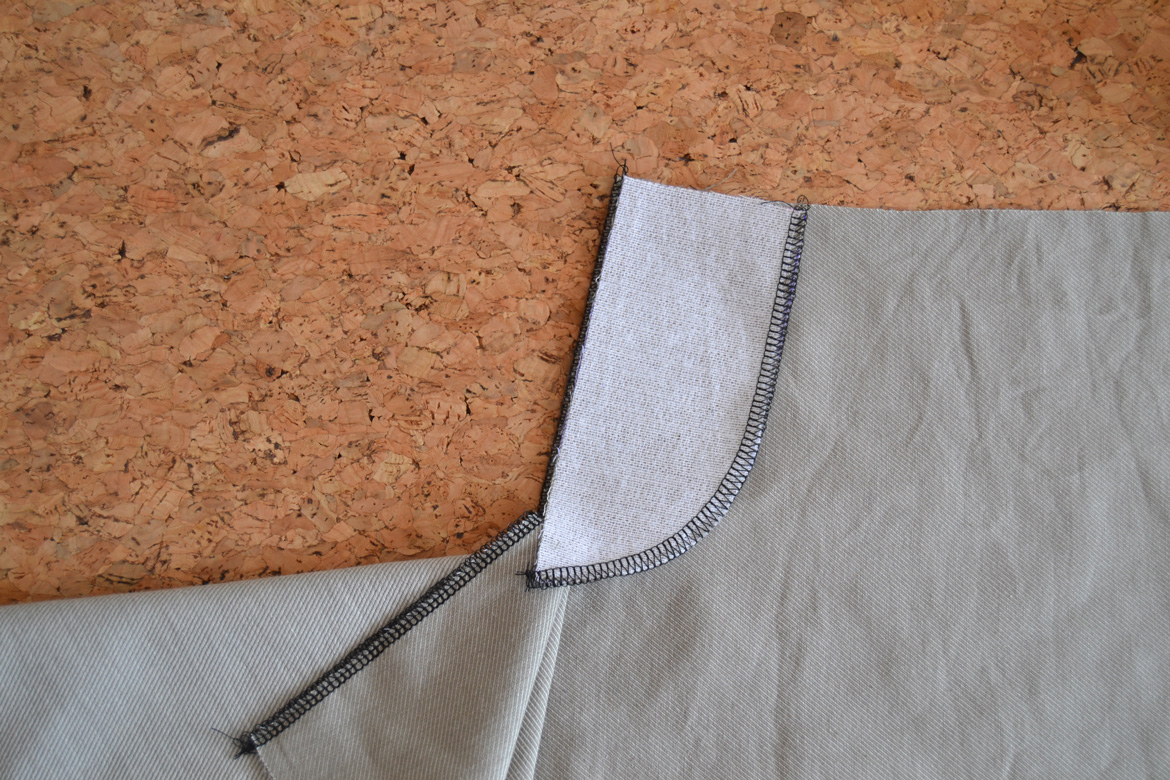
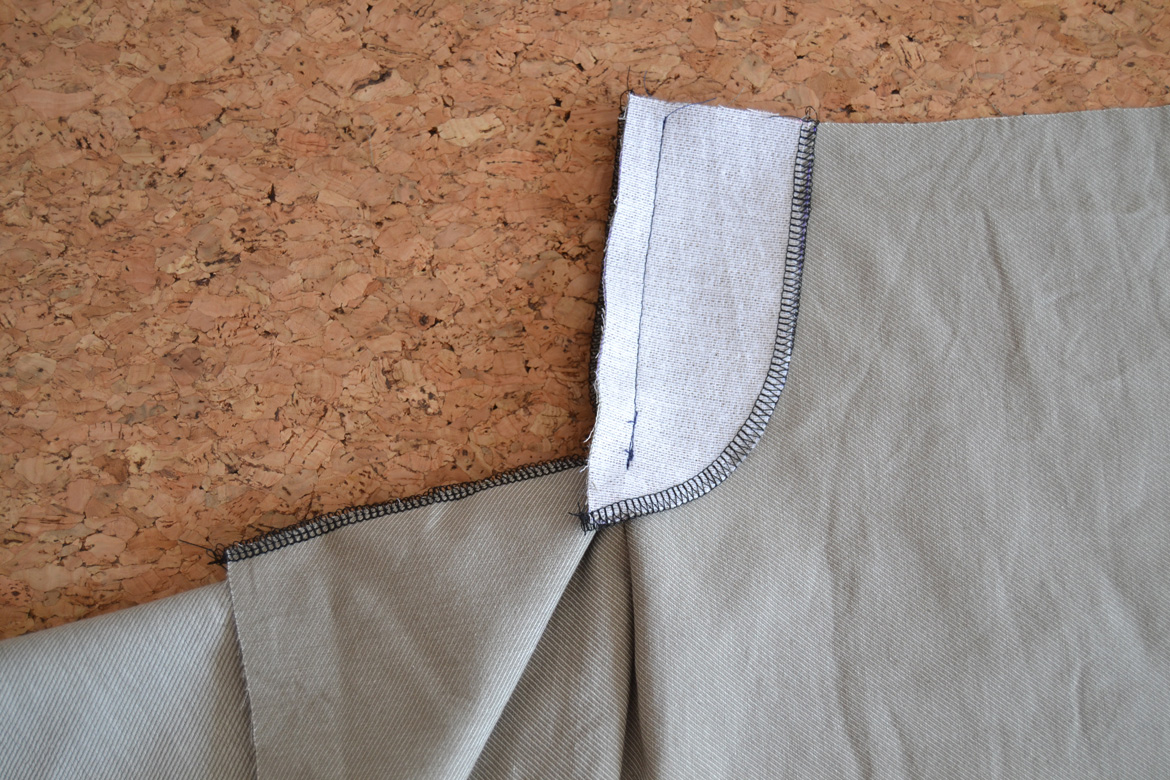
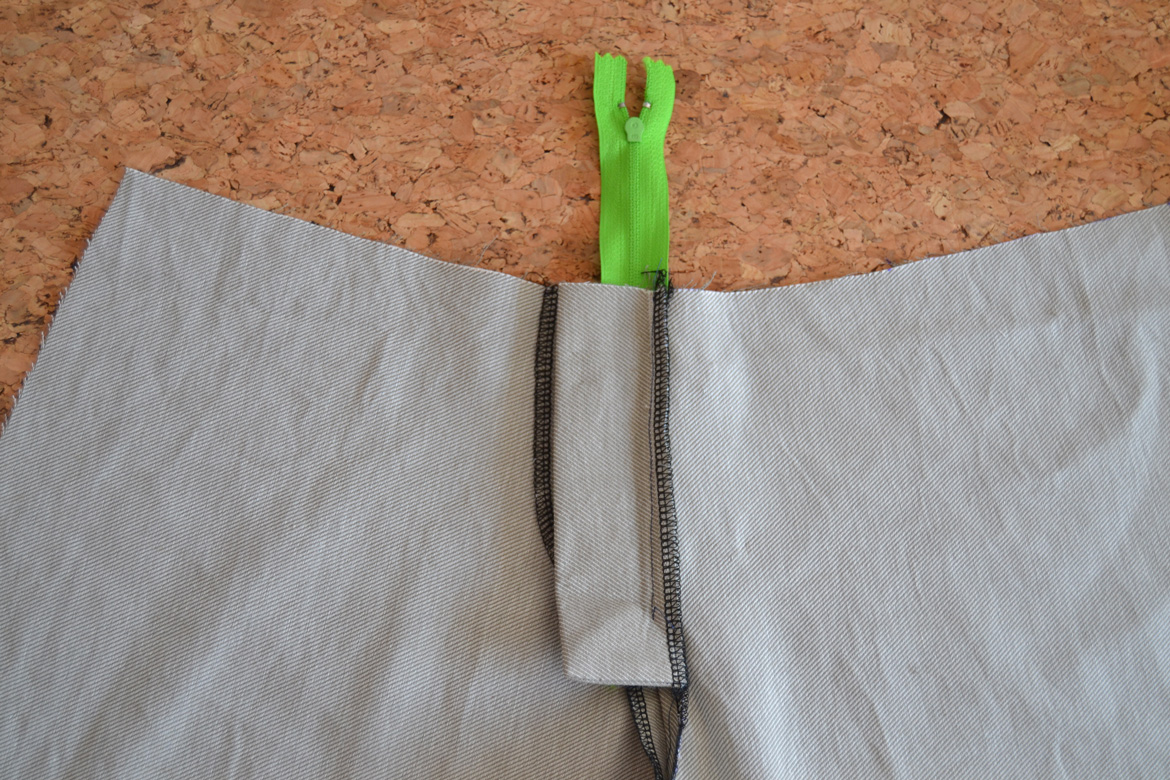
 9. Open the fly facing. Trim and press the seam allowances toward the front.
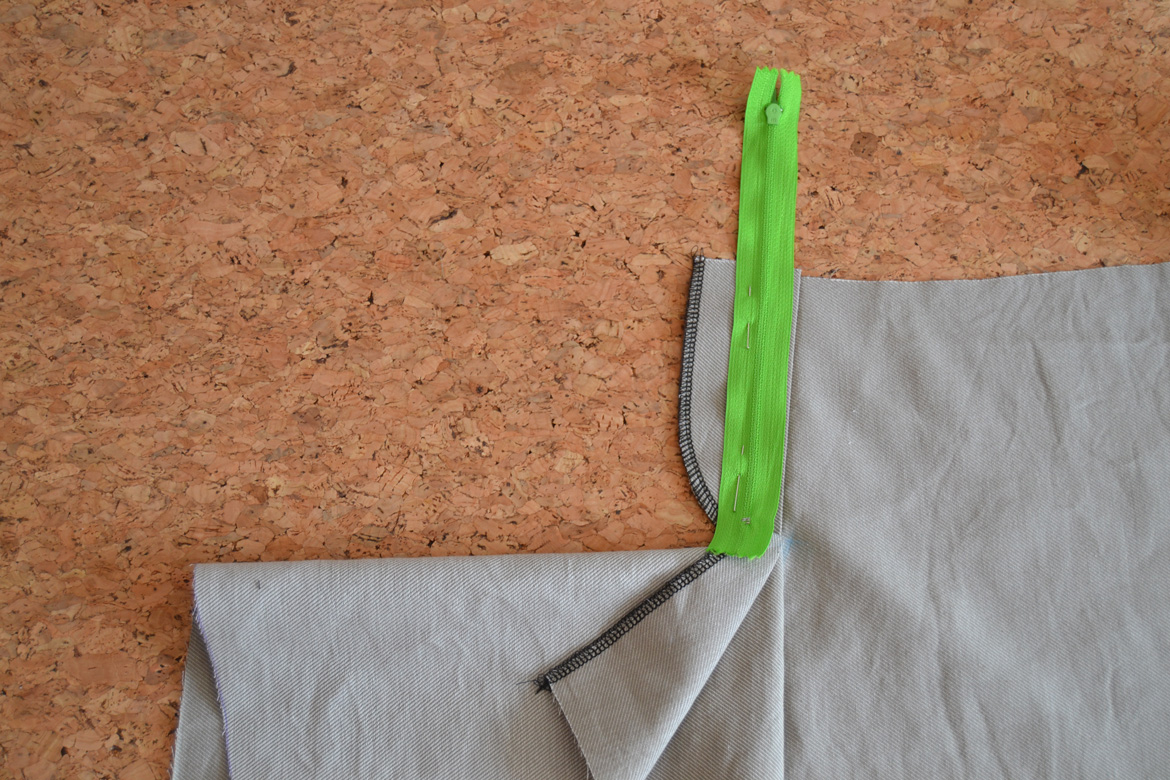
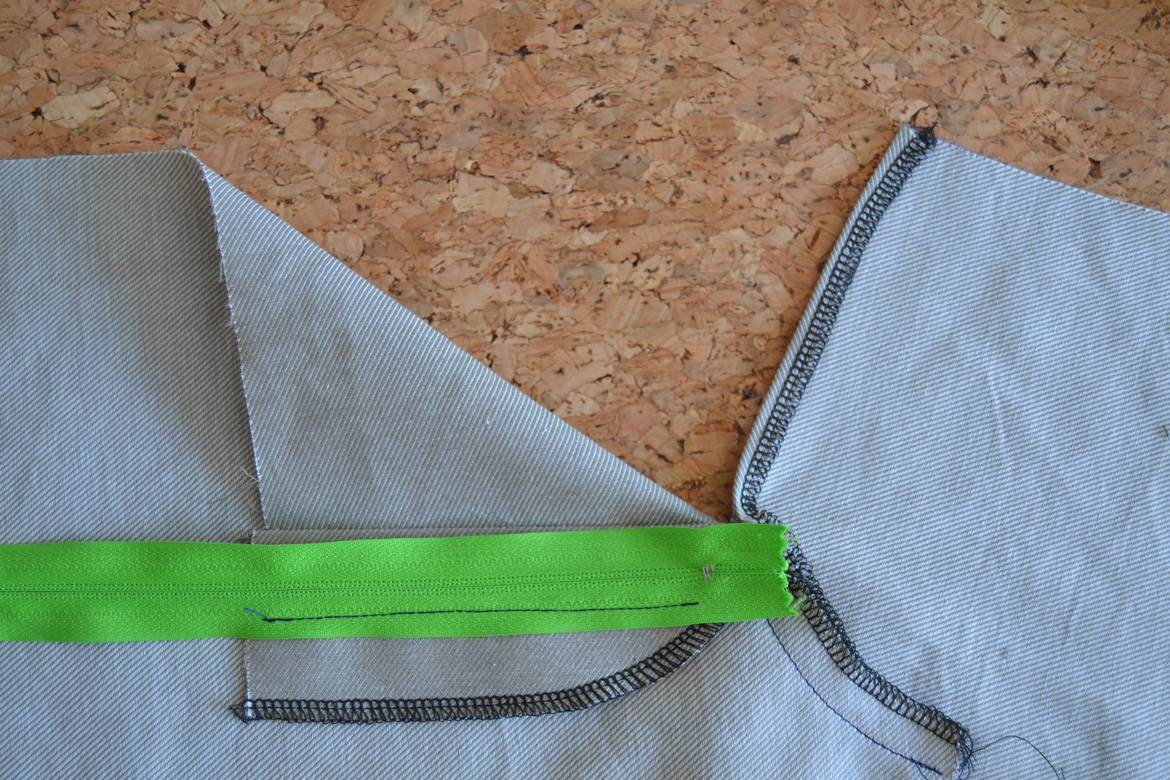
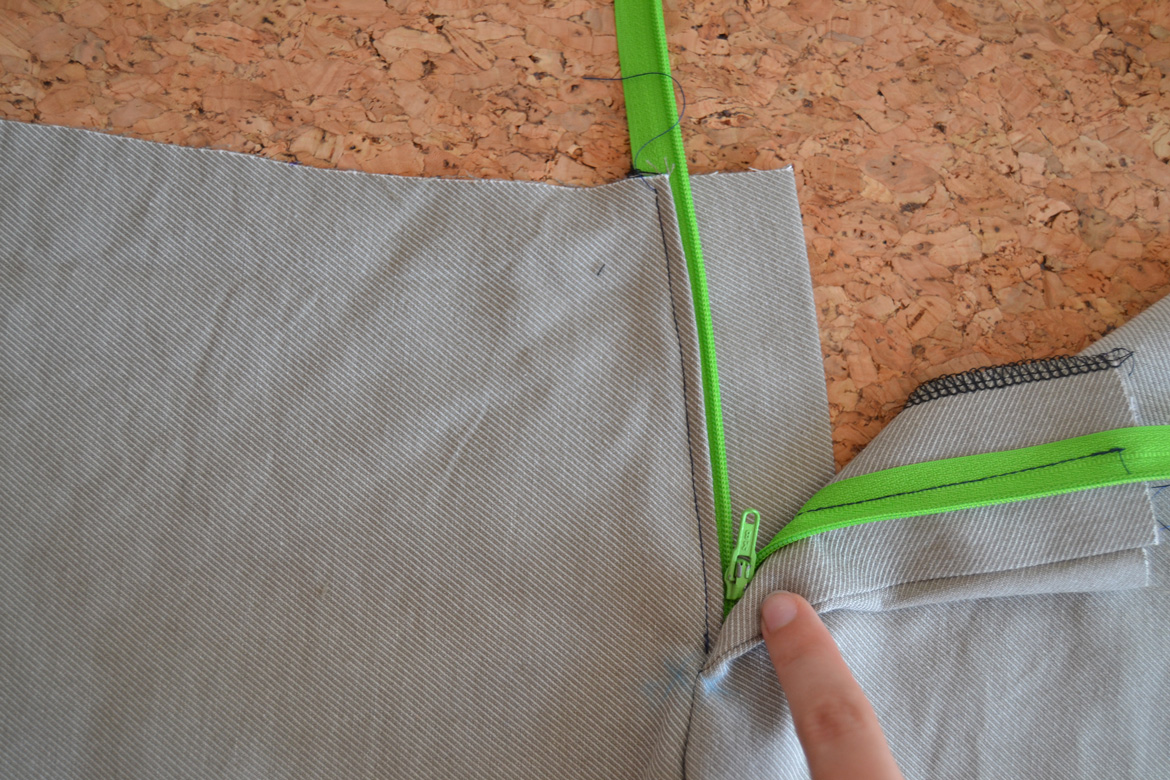
Place the zipper face down (with the teeth toward the fabric) over the zipper facing, with the zipper ribbon touching the front seam. The zipper end should arrive just above the dot mark.
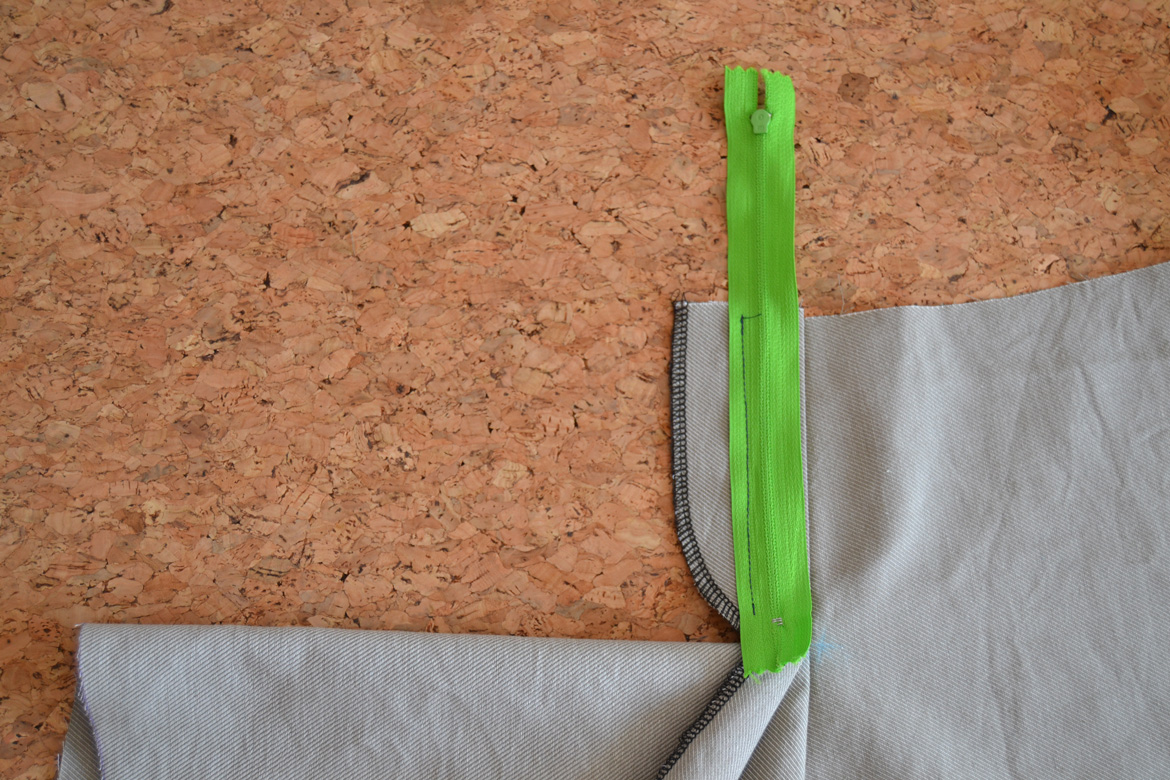
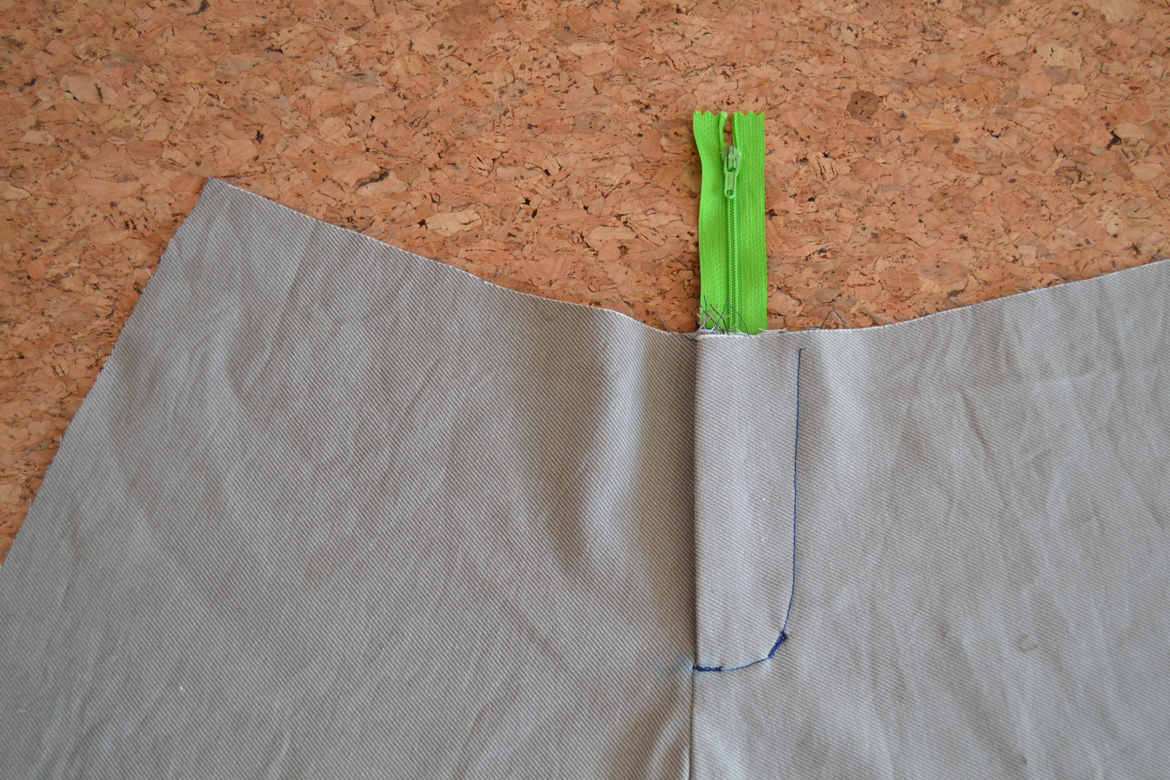
10. Stitch the left side of the zipper ribbon to the fly facing. Turn the facing in and press lightly.
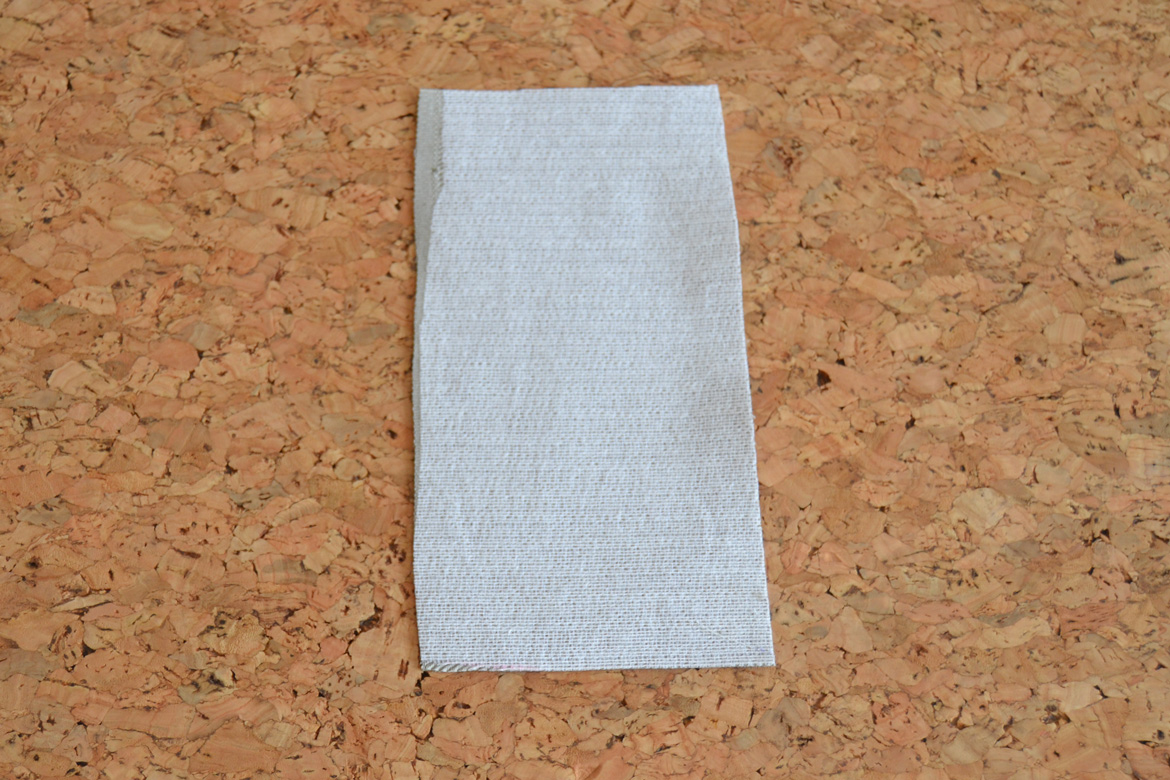
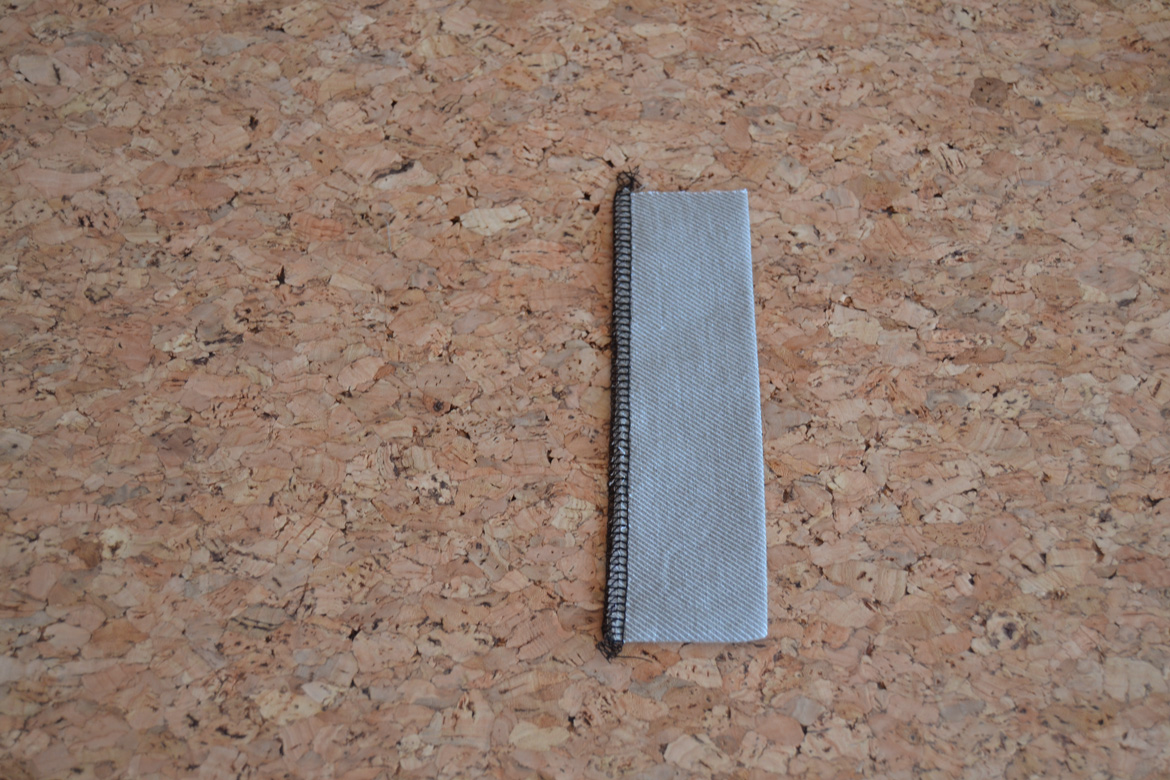 11. Interface the fly shield piece.
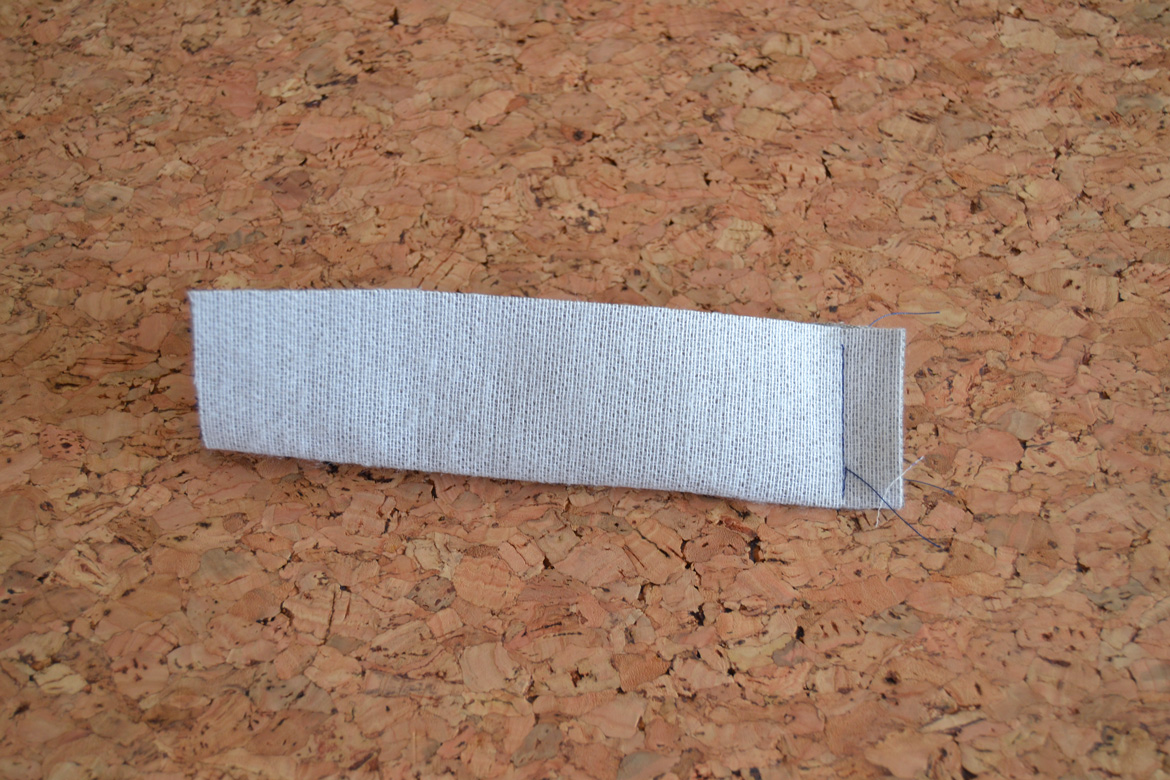
12. Fold it in half lengthwise and stitch the bottom edge with a 1,5 cm (5/8″) seam allowance.
13. Turn the fly shield inside out, press and finish the edge with a serger or zigzag stitch.
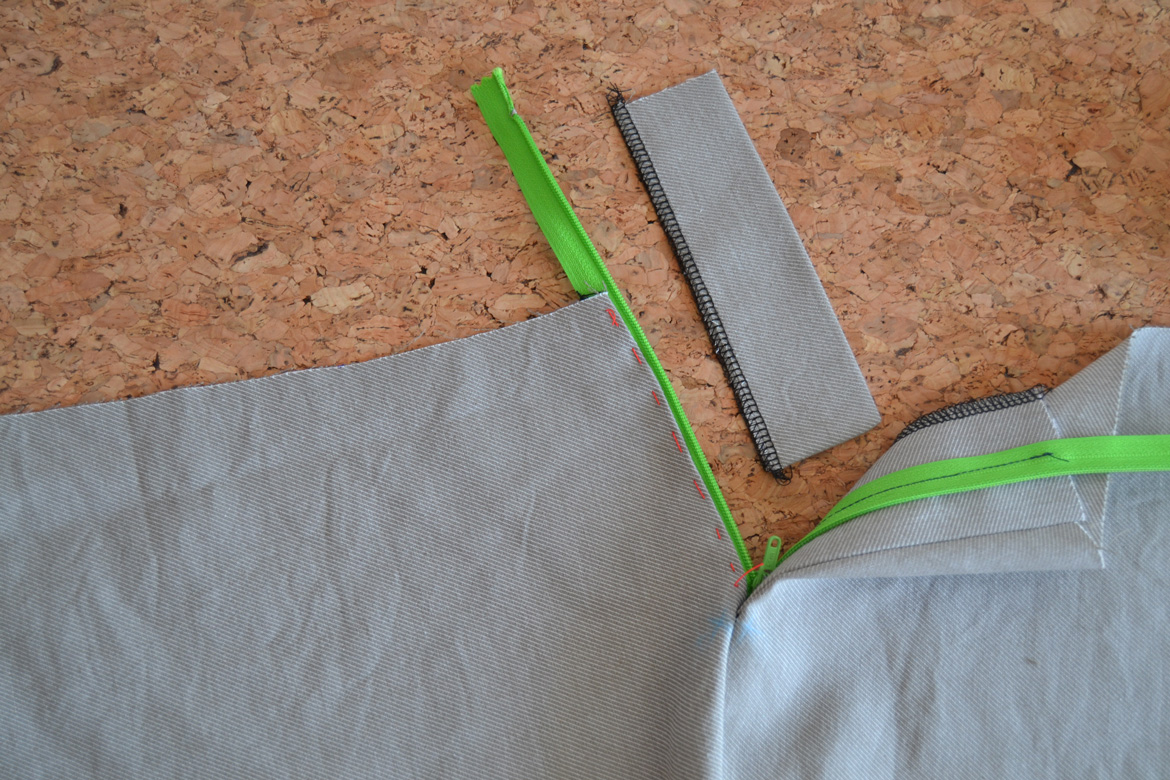
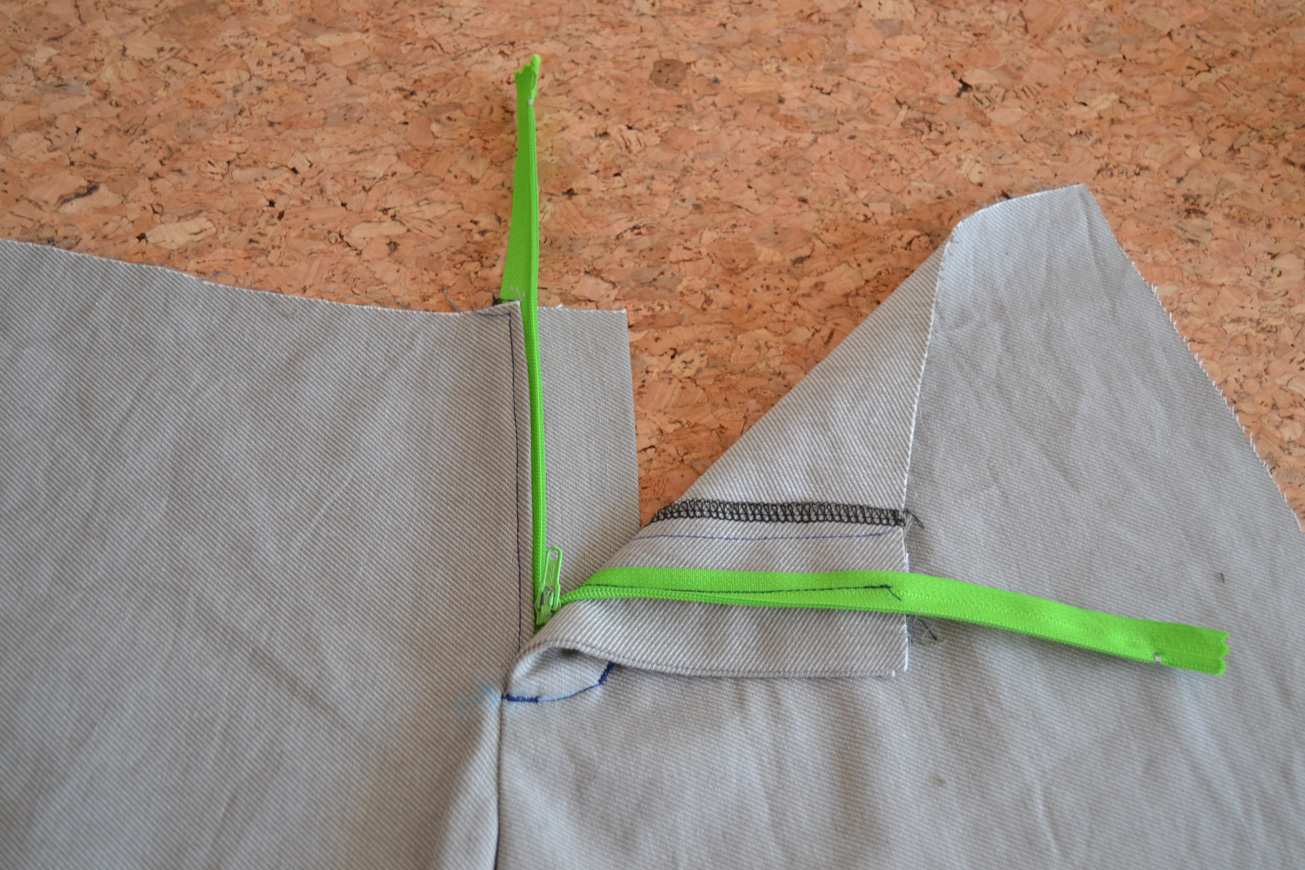
 14. Press the right side front piece (when you wear the trousers) 0,5 cm (1/4″) toward the inside.
15. Baste or pin the zipper to the folded edge.
16. Baste or pin the fly shield to the zipper.
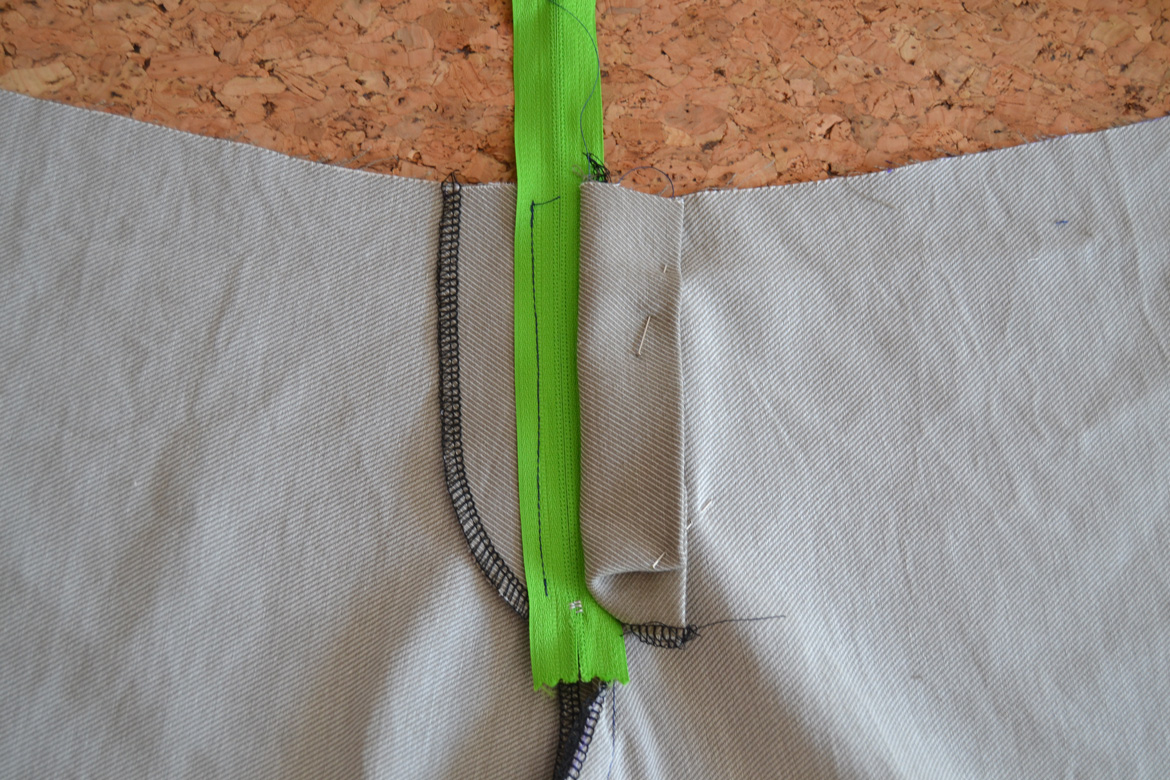
17. Stitch very close to the folded edge throught all layers (front, zipper and fly shield) from the top edge to the dot mark.
 18. Pin the fly shield out of the way so that it won’t get caught when we sew the fly topstitch.
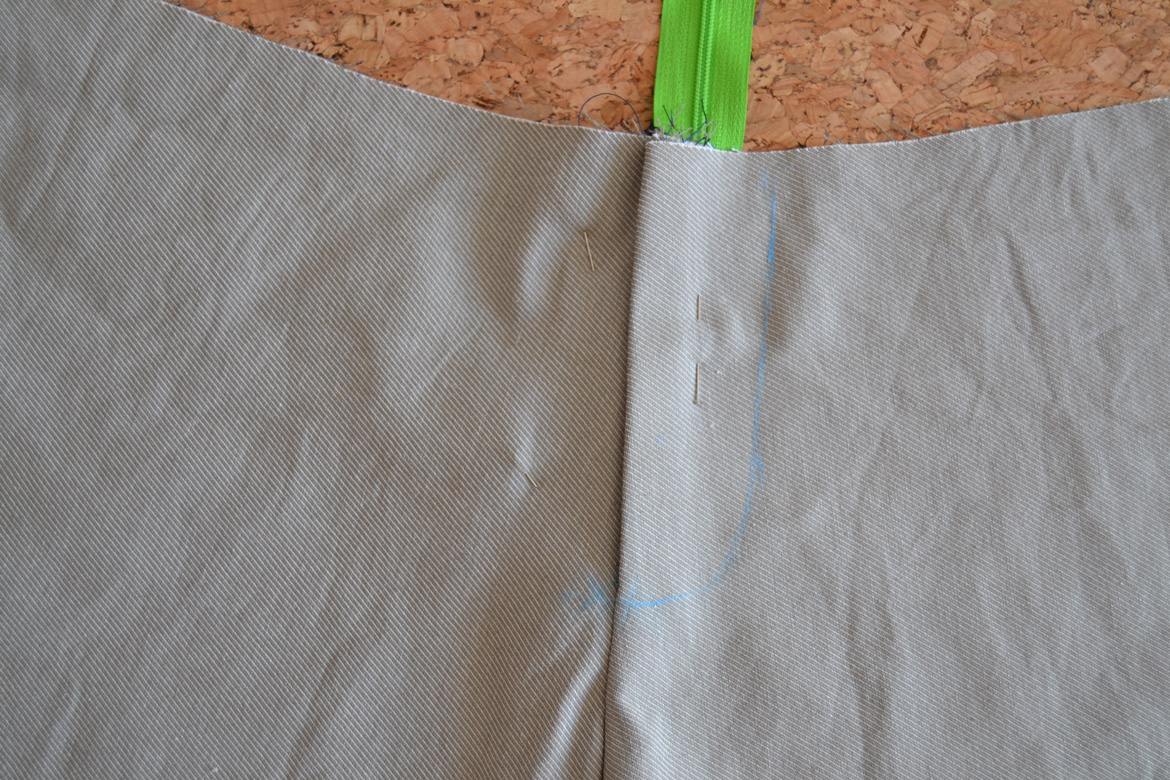
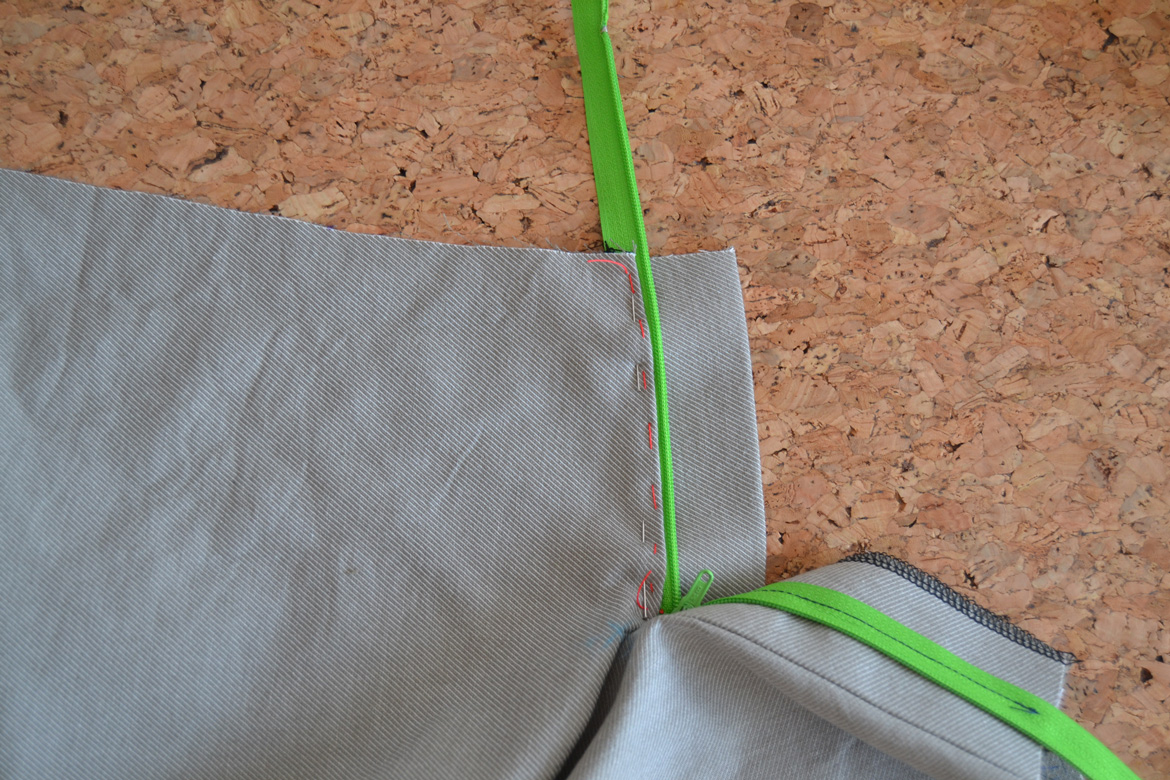
 19. Close the zipper (but don’t cut it yet). Place the trousers front correctly and draw the topstitching line (you can use the front pattern piece or the fly facing as guide).
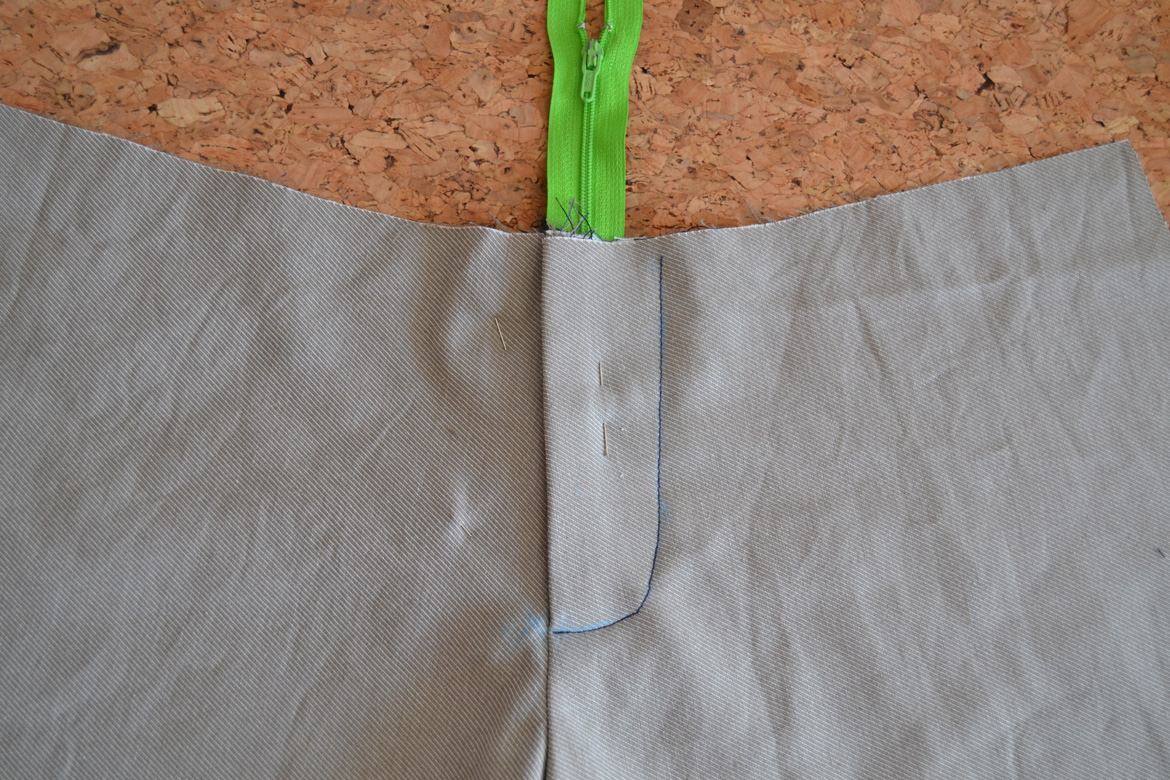
20. Stitch the fly topstitching throught both layers (front and fly facing).
 21. Unpin the fly shield and place it over the zipper. Pin in place again.
22. Make bar tacks to reinforce the fly: one at the bottom of the topstitching line and one at the curve. This time make sure you stitch through the fly shield as well.
 23. There you go, an easy way to insert a fly front zipper!
Tip: wait until you attach the waistband to cut the zipper!