
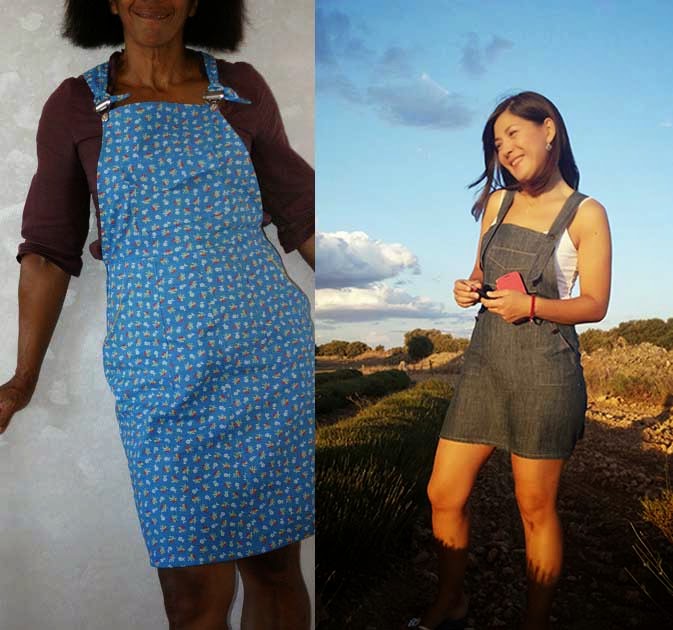
Turia dungarees have been popping up lately and I thought I would show you some of them. So here is the first batch of Turia:
You remember Adeline’s and Sonia’s pinafore versions? Check how to make this cute variation here.
 Annie Coton
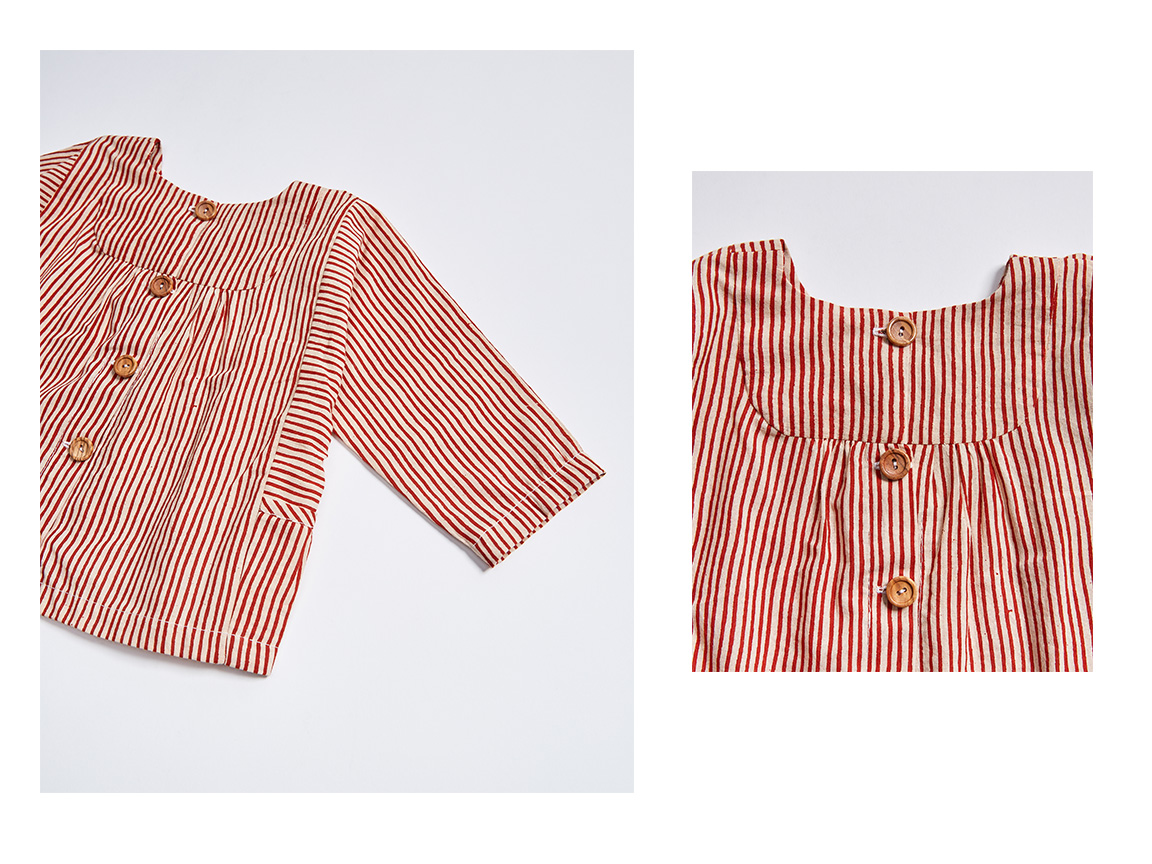
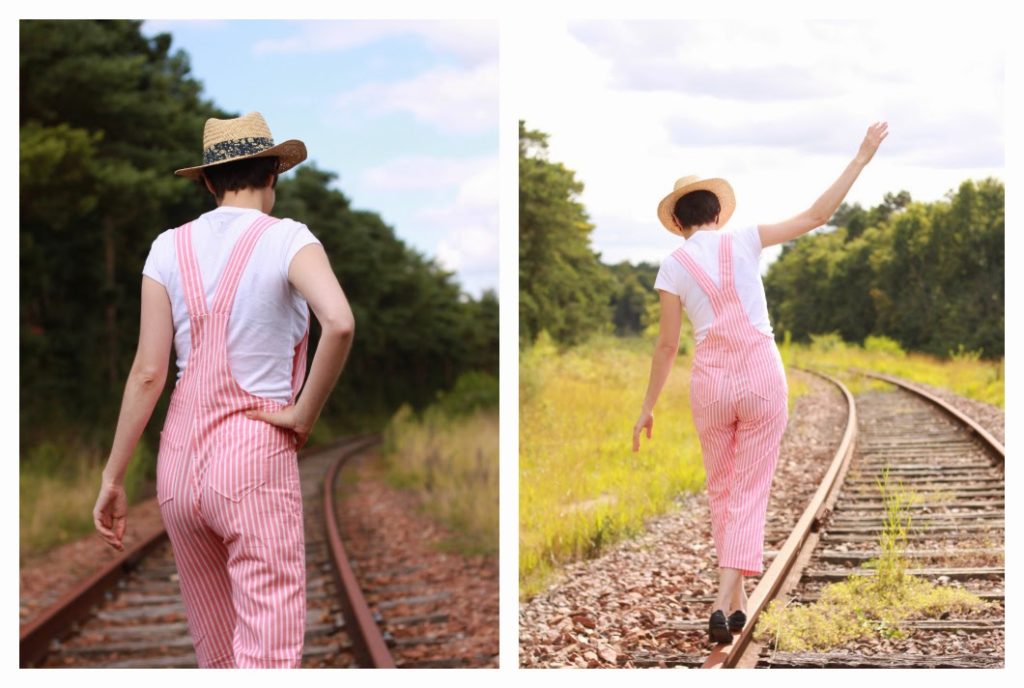 was again a tester and her version (and amazing pictures!) is making me want to reach for candy coloured stripes fabric!
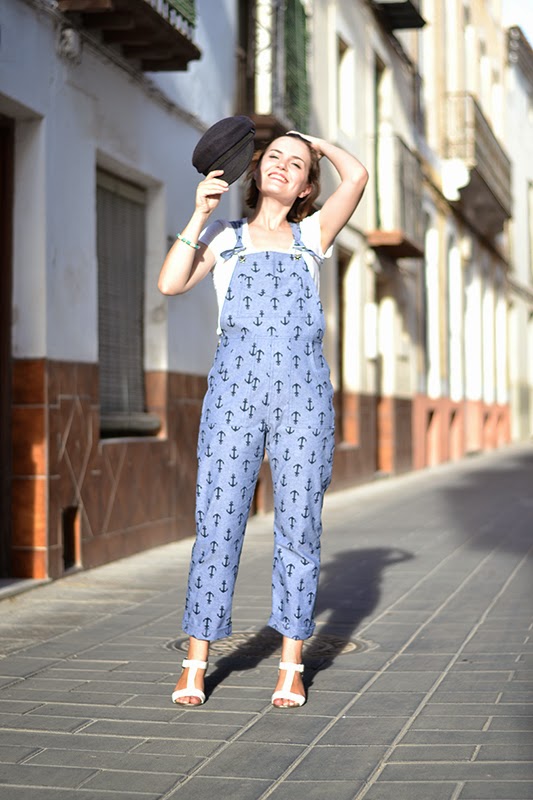
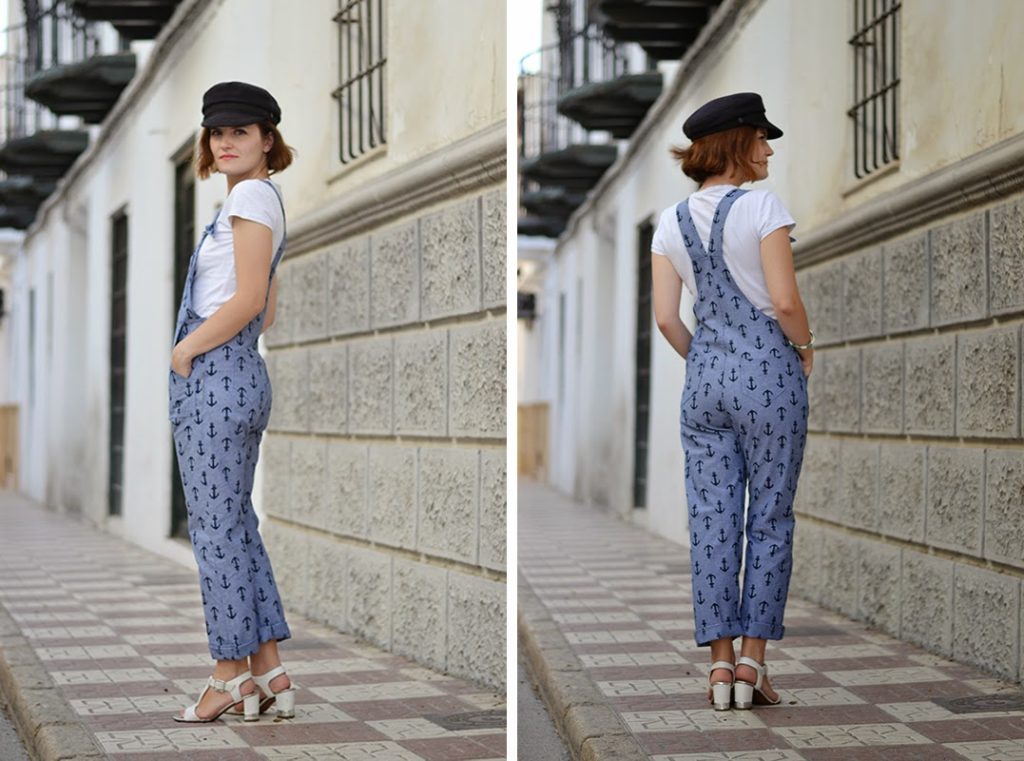
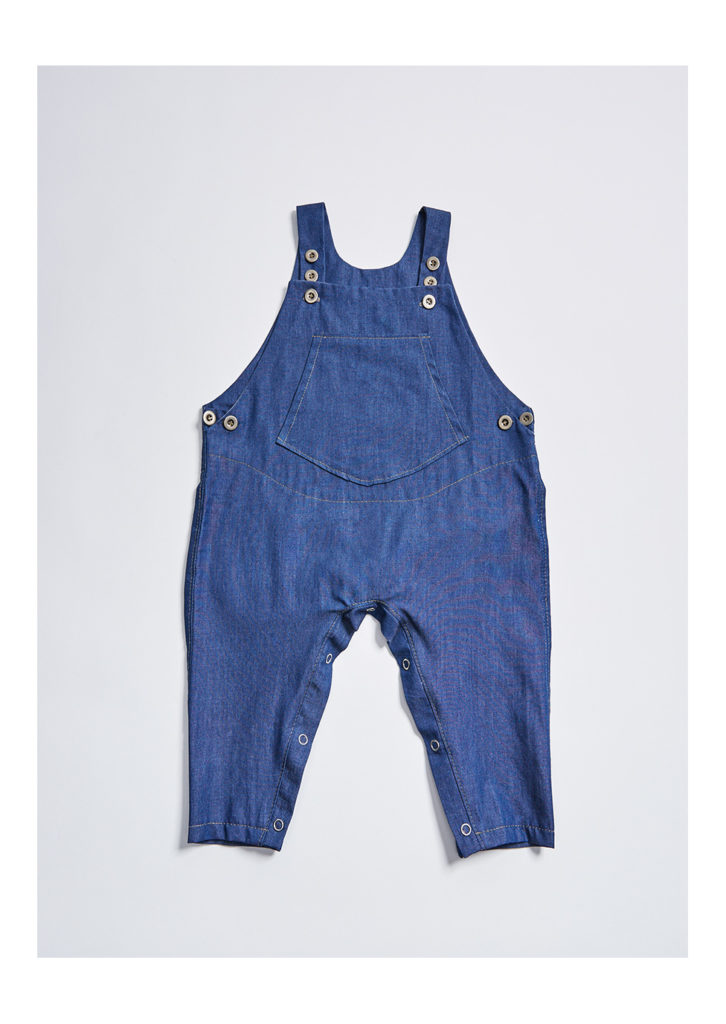
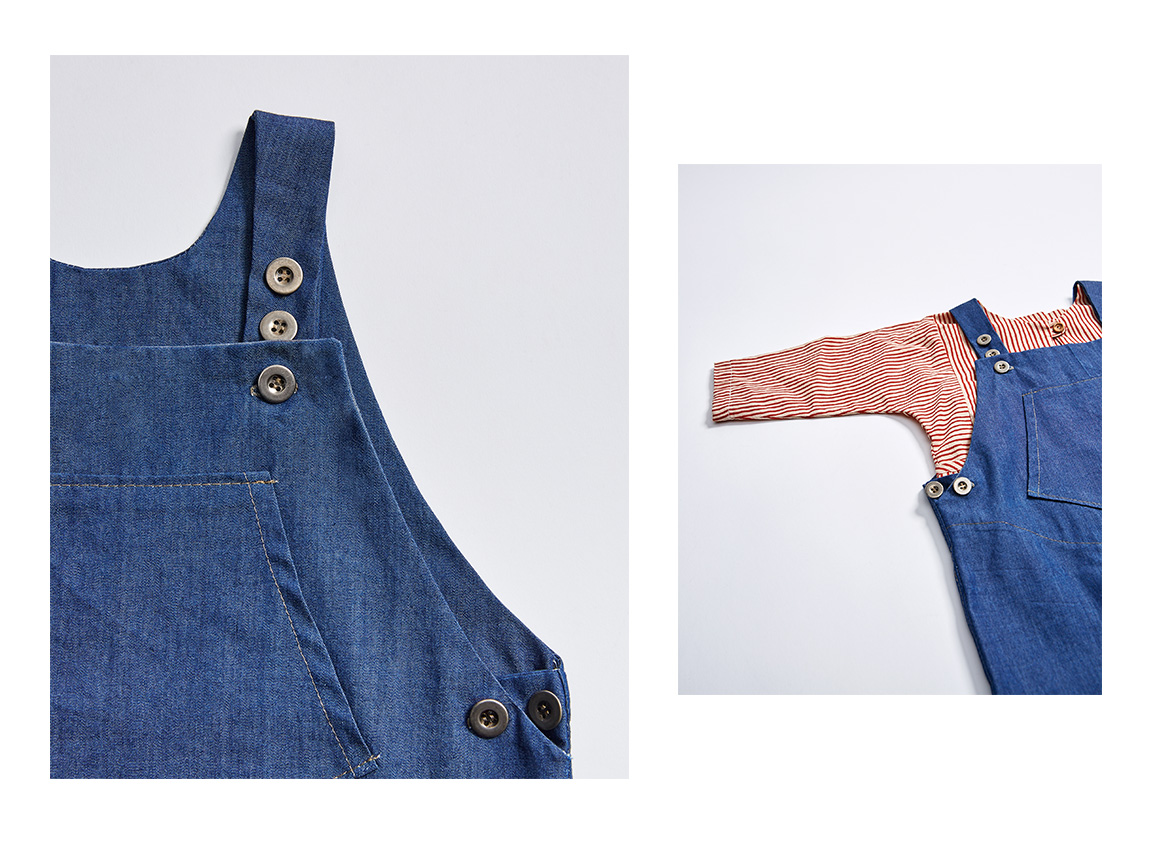
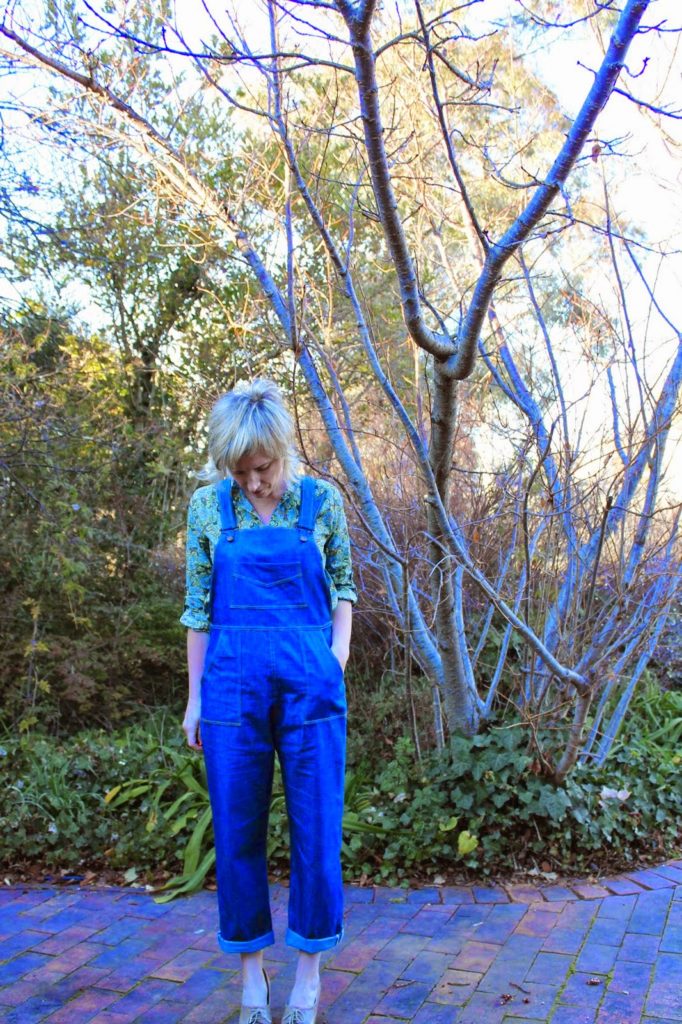 In classic denim, these will go with all the beautiful handmade tops of Kirsty! Thanks Kirsty for being such a great tester!
 Oh my! This has to be one the cutest and funniest picture ever! Mirza made her Pink Turia for a the big garage sale of Lille in northern France as part of a group costume. How cute!
 Karen of Did you make that made a great fall version in corduroy and wrote an amazing tutorial on how to attach the buttons: check it ou on her blog!
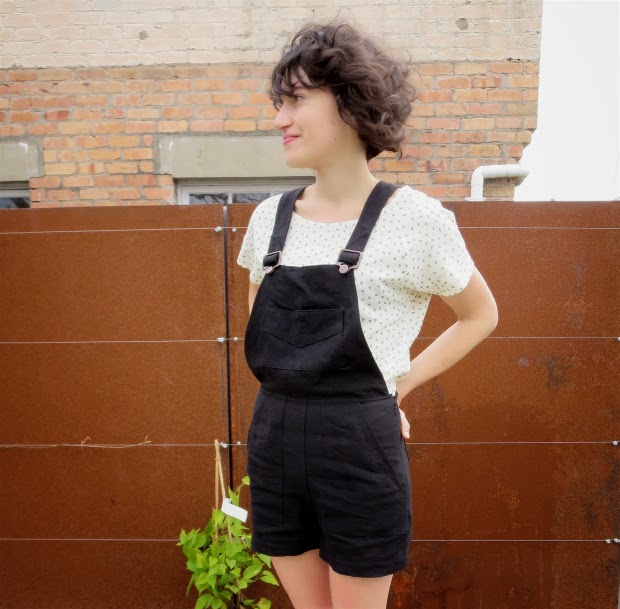 And a pretty black linen version for Annabella, whcih will transition nicely into summer (yes, she’s from New-Zealand!).
I know more Turia are coming as I was so happy to see your progresses on Instragram so I’m really looking forward to see them. Don’t hesitate to send me pictures and links!
And a huge THANK YOU for all your nice words on the 1 year anniversary of the pattern company! I’m really hoping to celebrate a lot more with you!


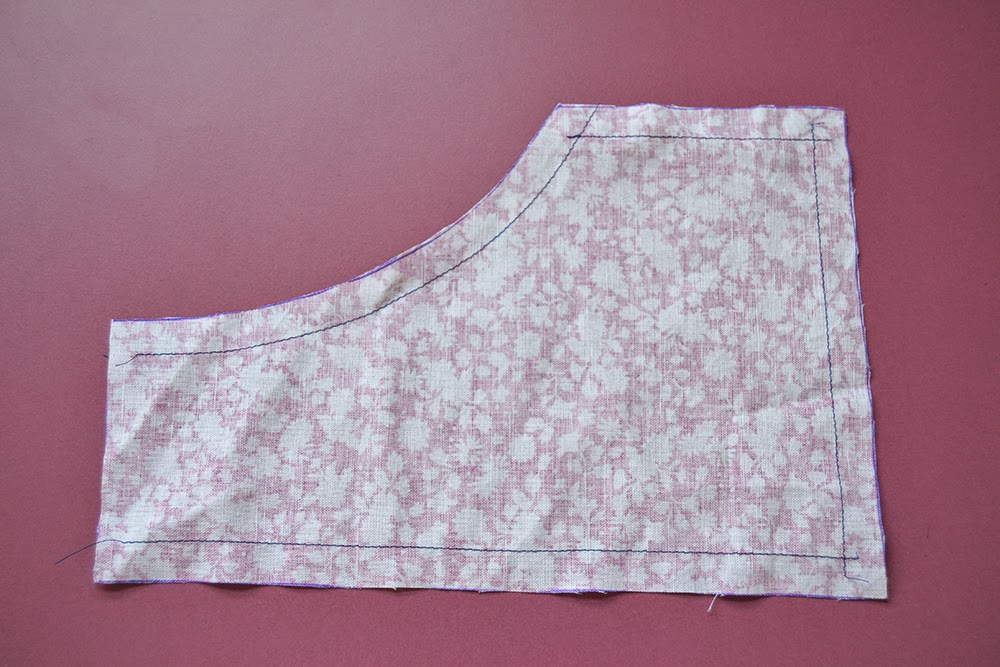 To help you fold the seam allowances in, staystitch all around the front pocket just inside the seam allowance (about 1,2 cm from the edge or 1/2″). You don’t need to staystitch the top edge of the front pocket.
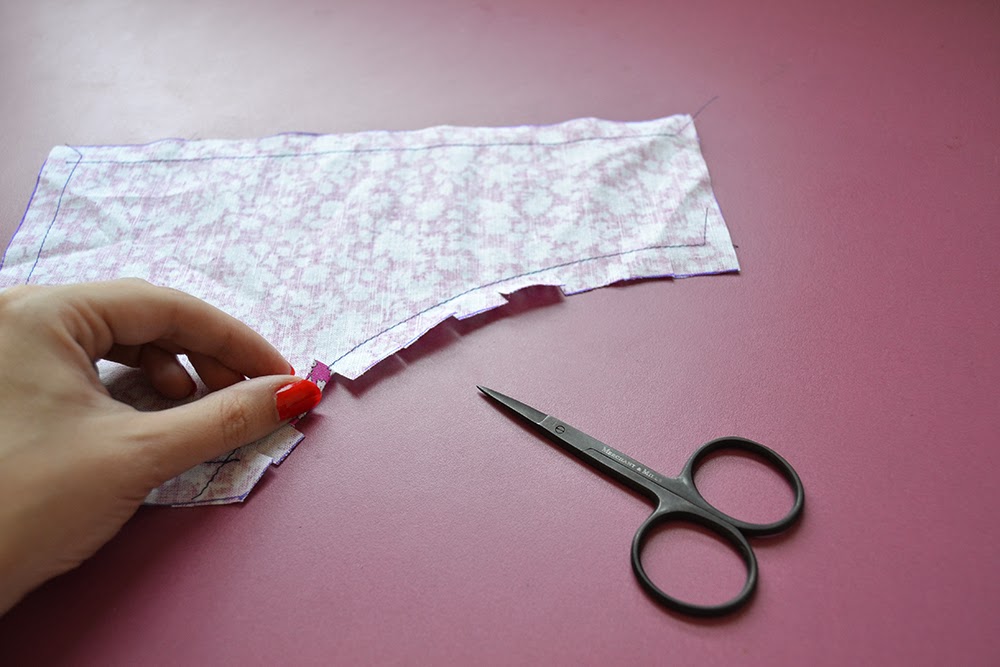 Clip the seam allowance of pocket opening: that’s the curved edge. Be careful not to cut the stitches!
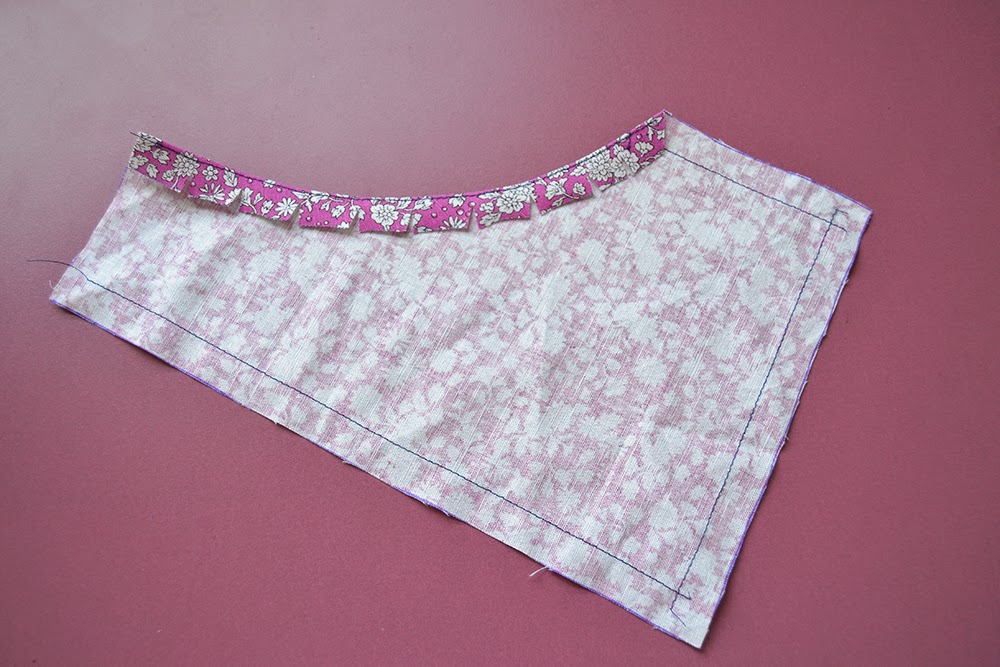 Fold the seam allowance to the inside and press.
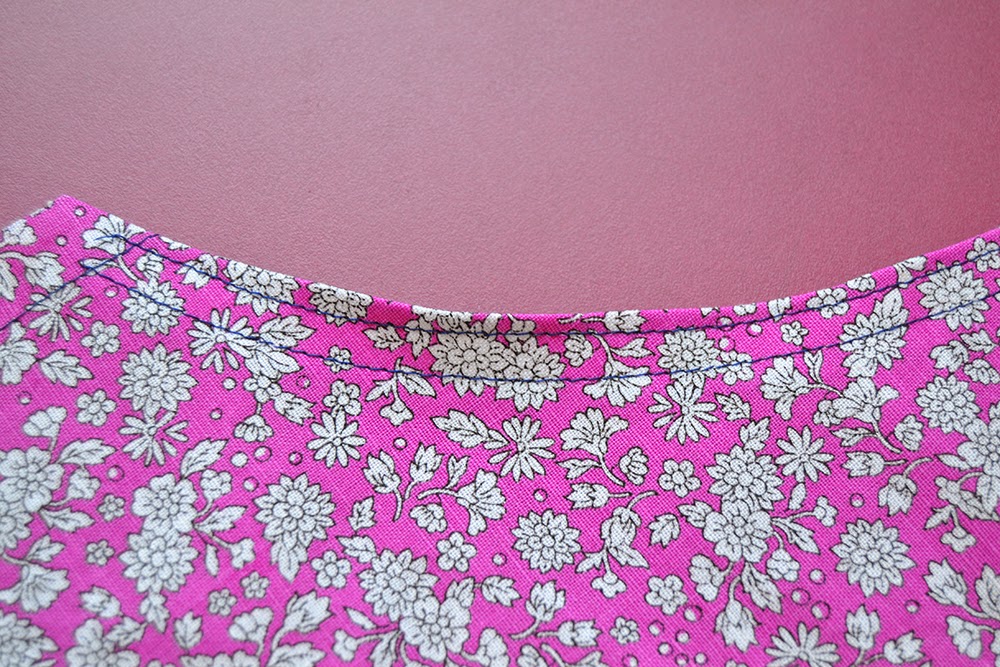 Stitch two rows of topstitching along the curved edge. Here is how I like to sew my topstitching so that the distance between the rows is always the same:
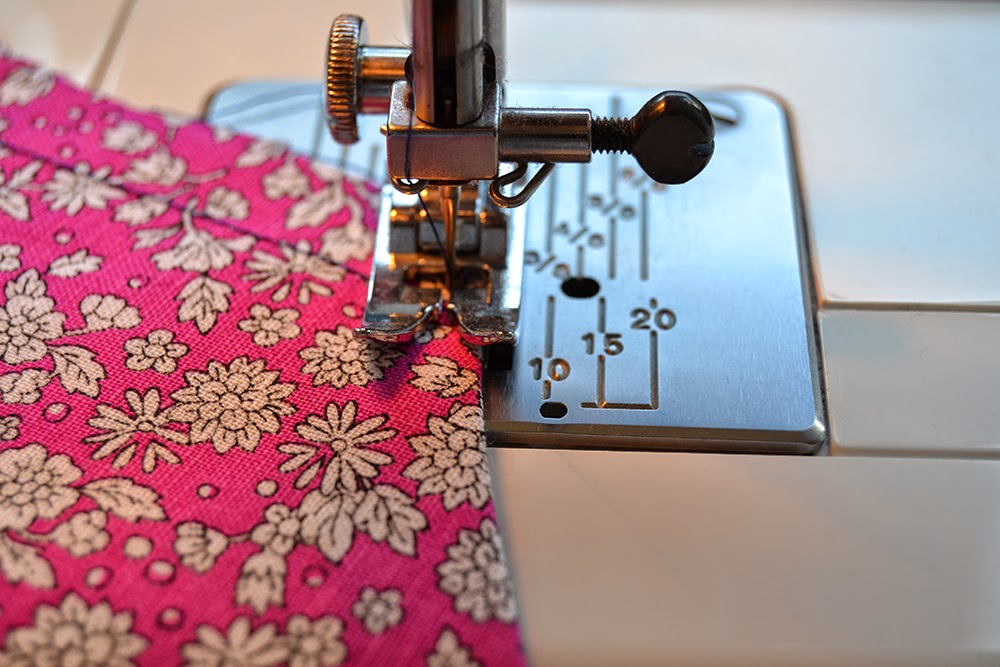
 I like to stitch the first row about 3 mm (1/8″) from the edge. Then I like to place the edge of the needle plate against the first stitching line and follow it (that’s roughly 8 mm or 5/16″).
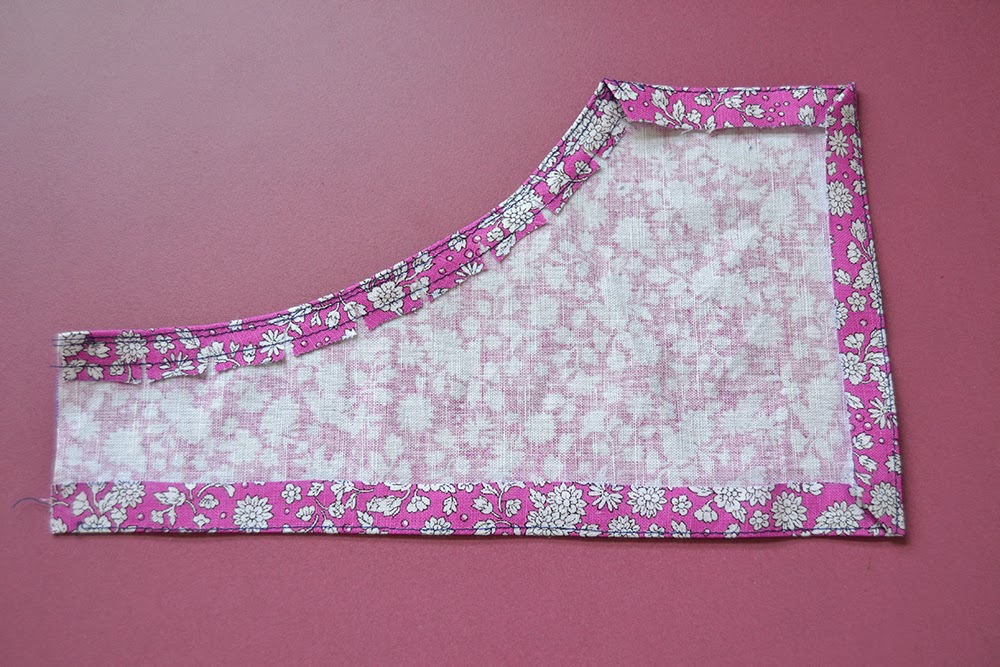 Fold the sides and bottom seam allowances along the staystitch. Make sure the staystitching line is on the inside of the seam allowances.
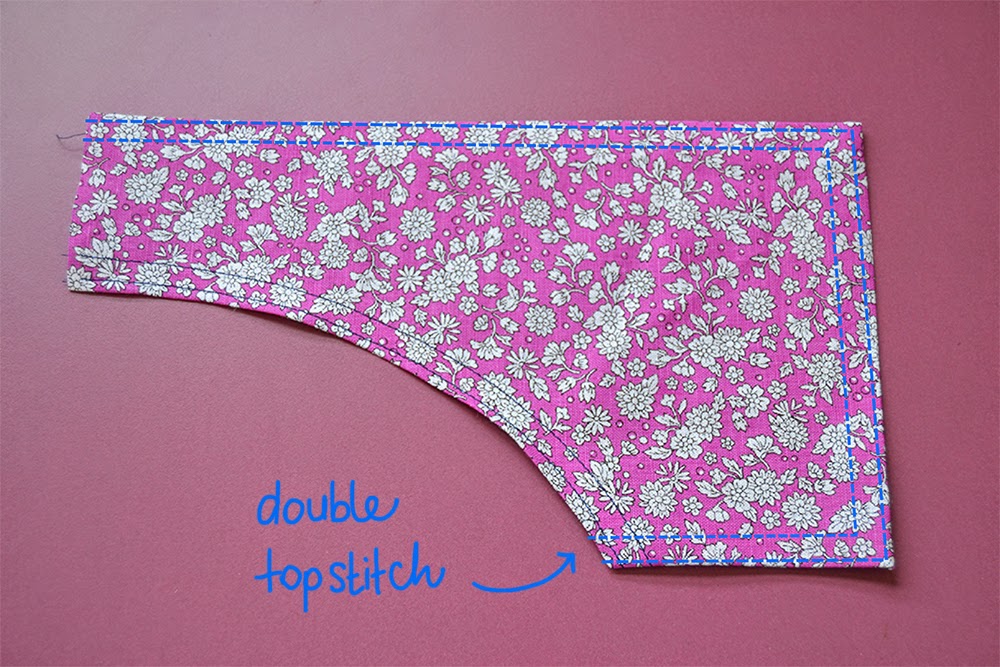 Place the pocket on the dungarees front piece, matching the marks and pin it in place. The top edges of the pocket and the front piece should match. Then stitch two rows of topstitching along the sides and bottom, leaving the curved and top edges open.
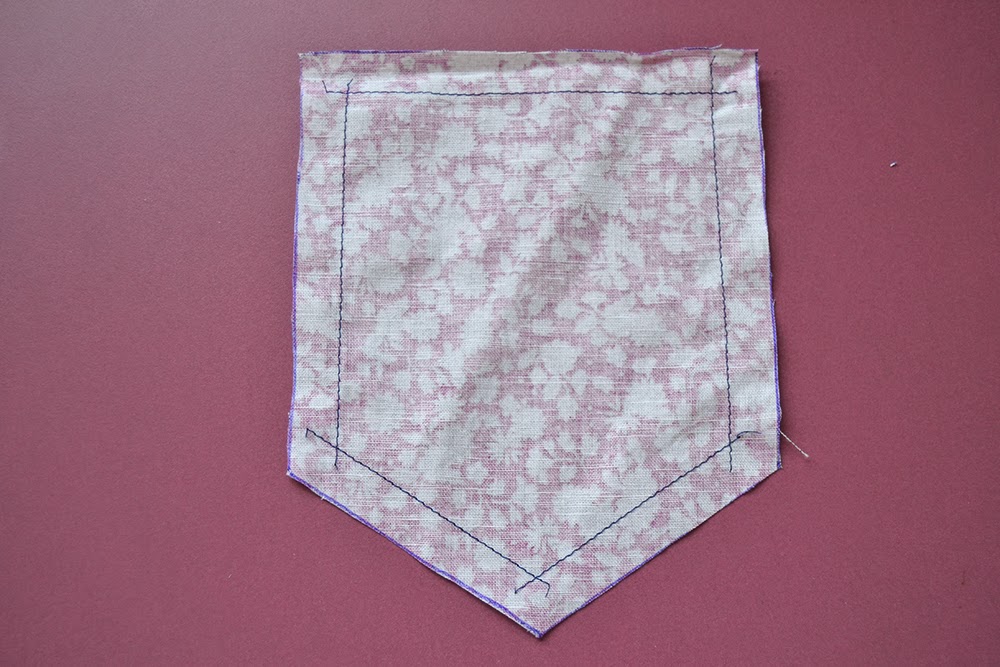 Staystitch all around the front pocket just inside the seam allowance (about 1,2 cm from the edge or 1/2″).
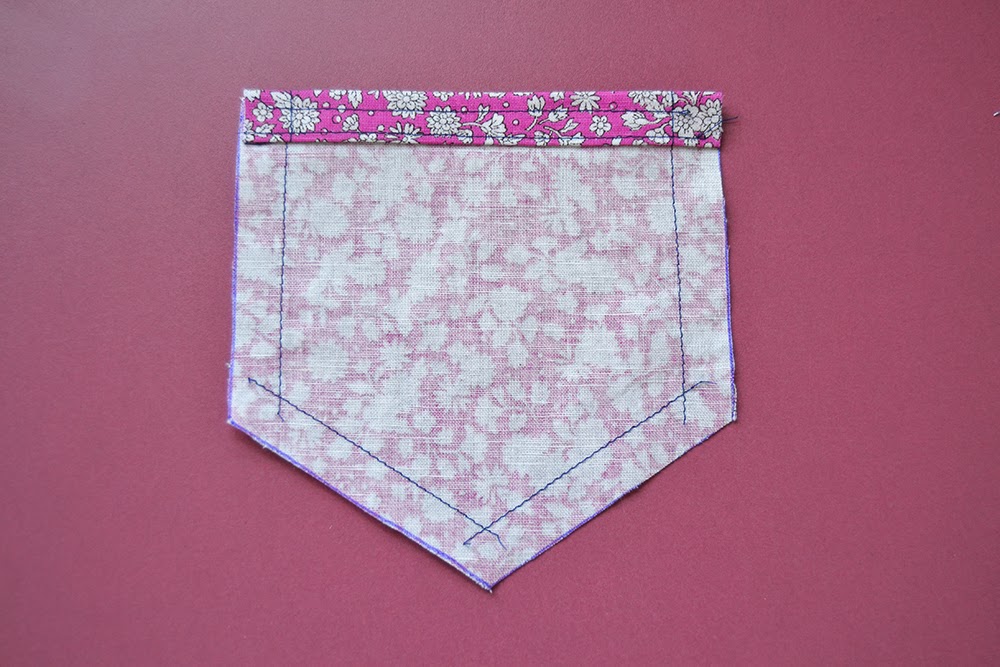
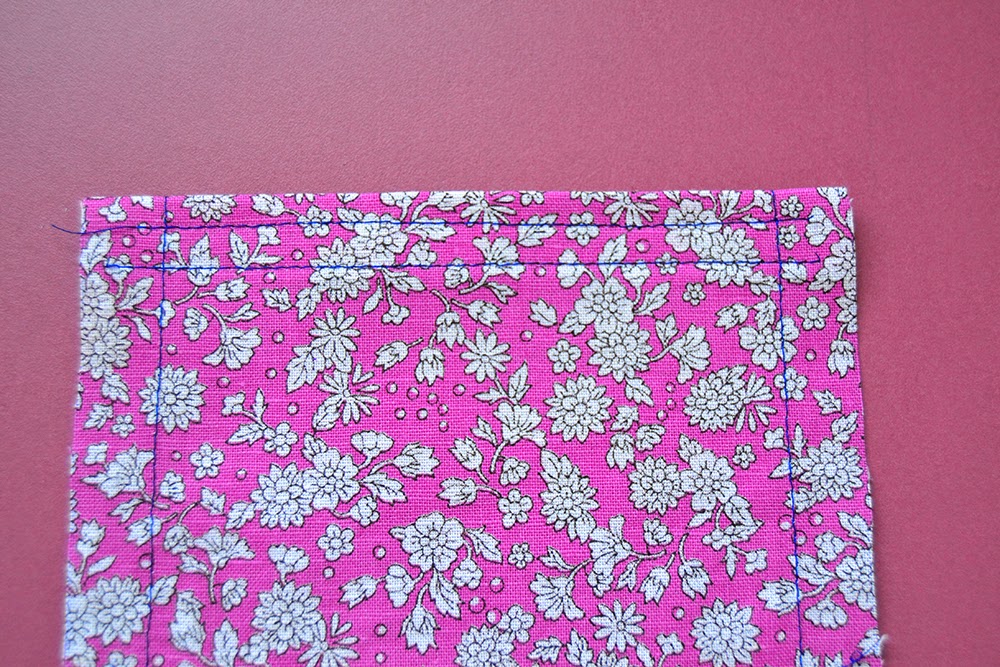 Turn the top edge along the staystitch, press. Fold again and stitch two rows of topstitching.
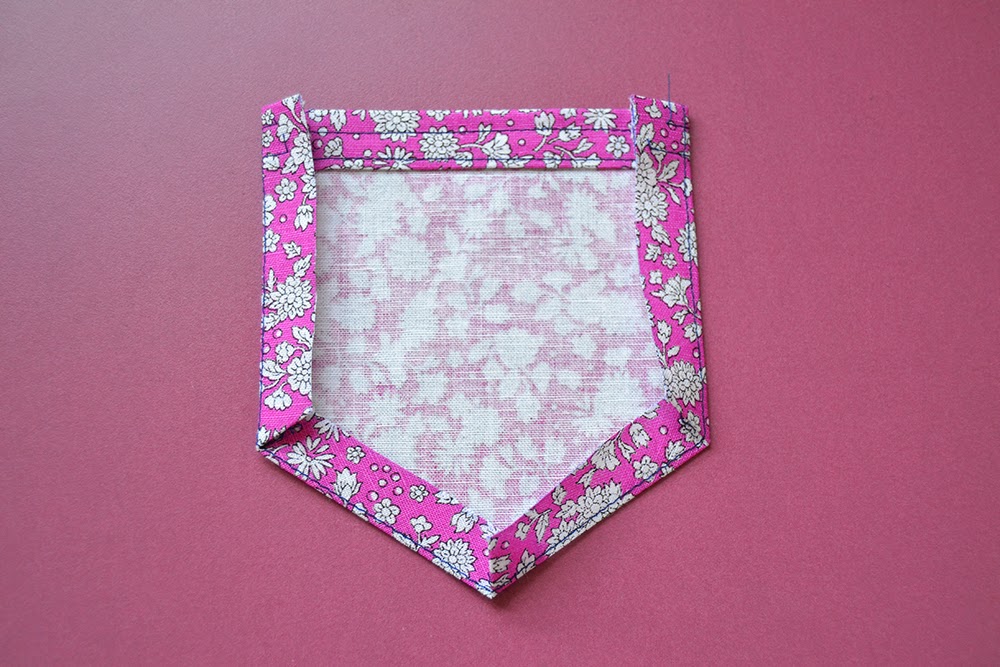 Fold the sides and bottom seam allowances along the staystitch. Make sure the staystitching line is on the inside of the seam allowances. Press.
 Dungarees (or overalls as you wish!) for a grownup? Really? Well YES of course!


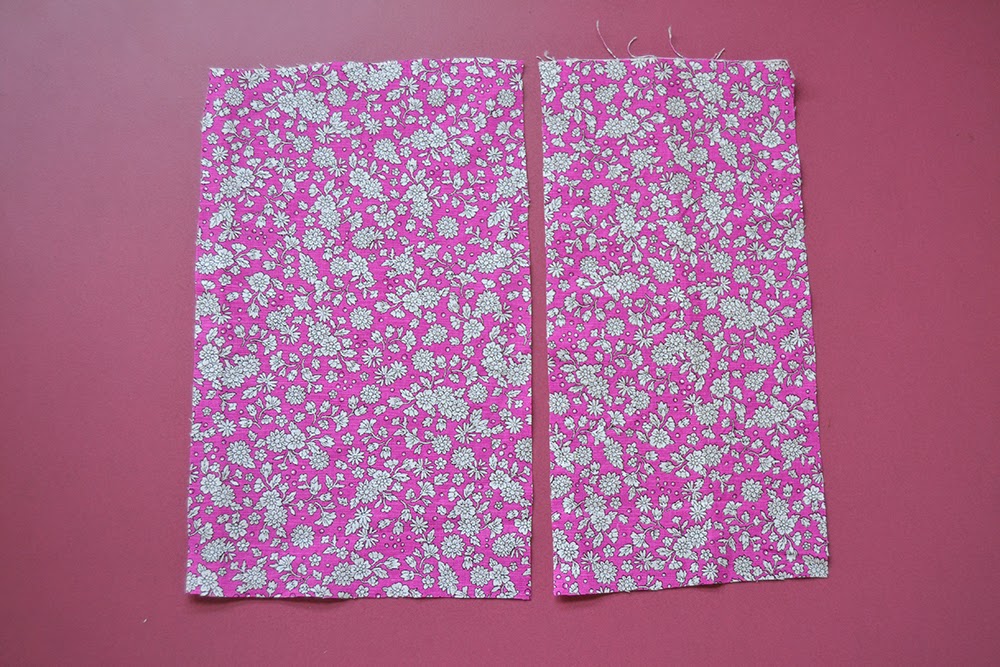
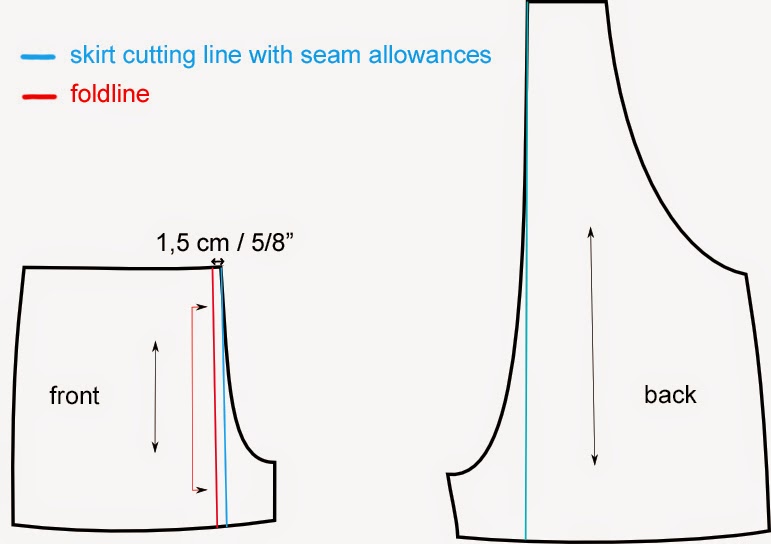
 Place your pieces WRONG SIDES together (yes, yes, wrong sides, I know it’s weird!). Pin and stitch together (note: 1,5 cm or 5/8″ seam allowances included in the pattern).
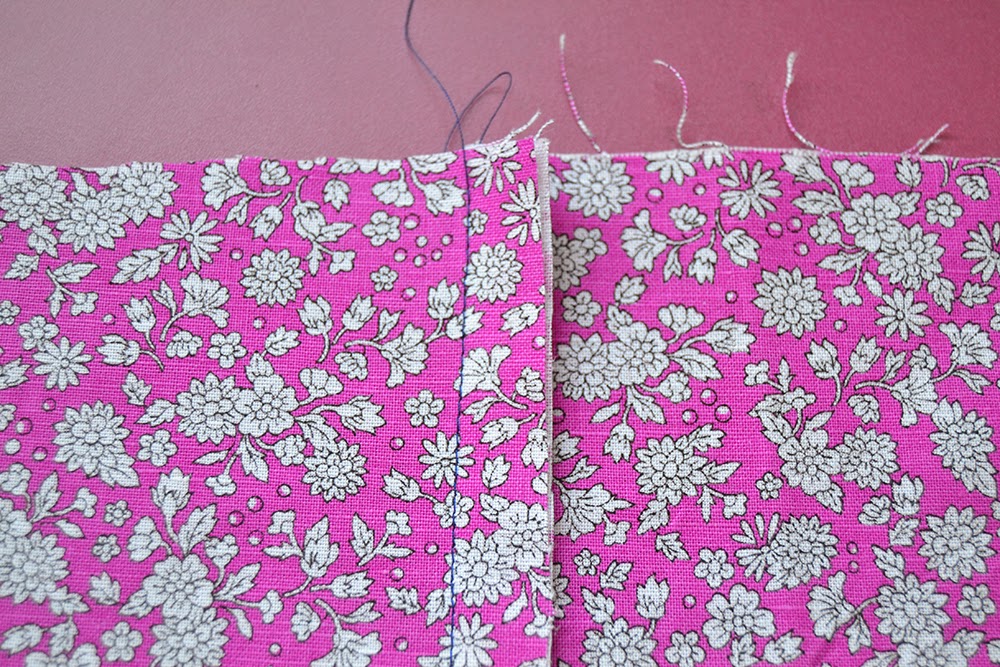 Press the seam allowances to one side.
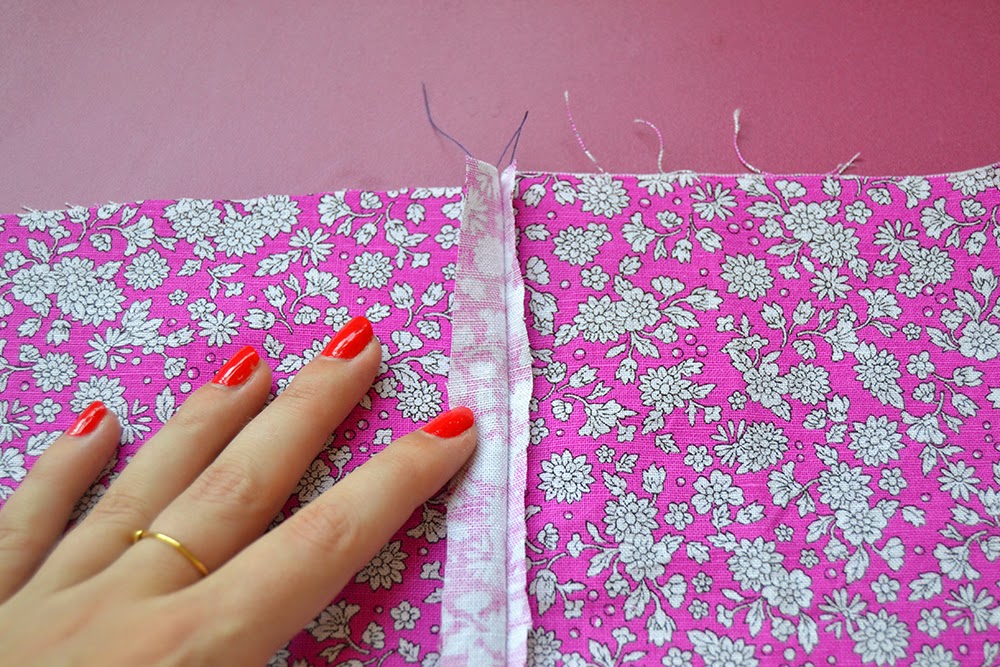 Trim the bottom seam allowance to a minimum (about 0.5 cm or 3/16″).
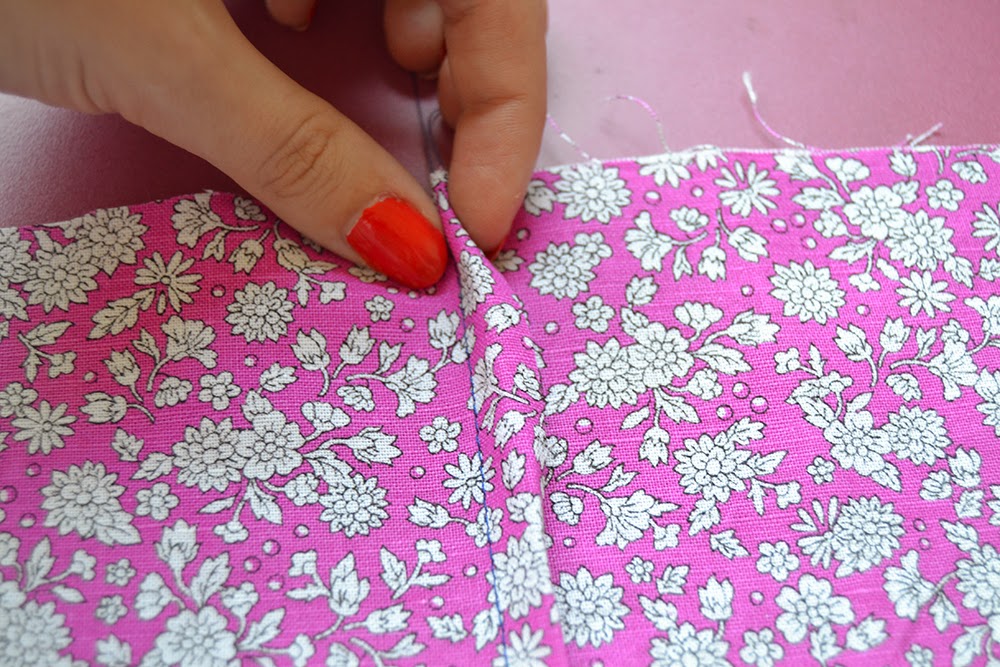
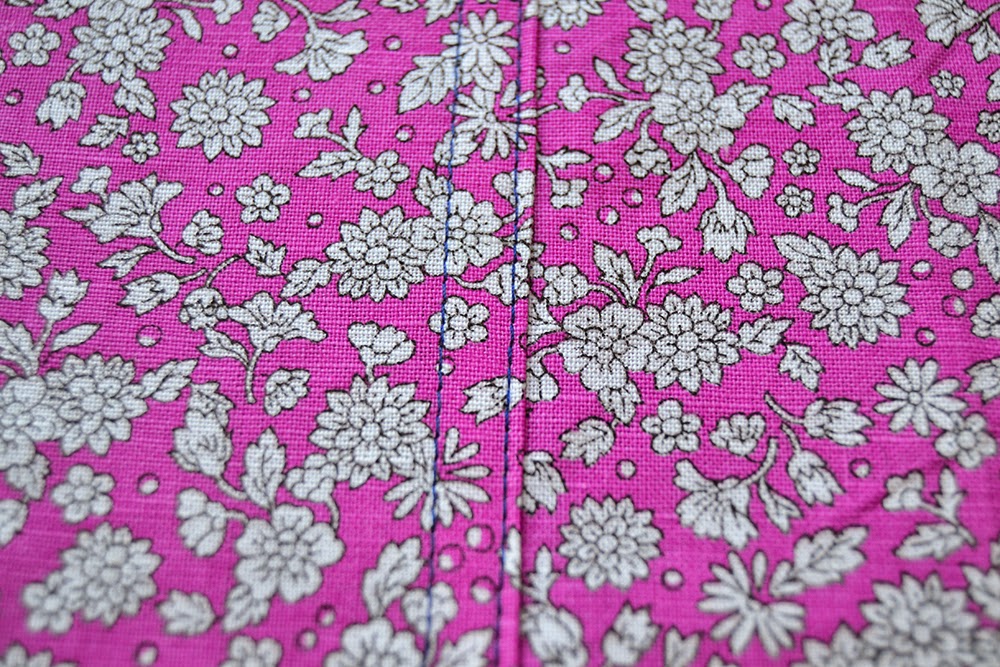
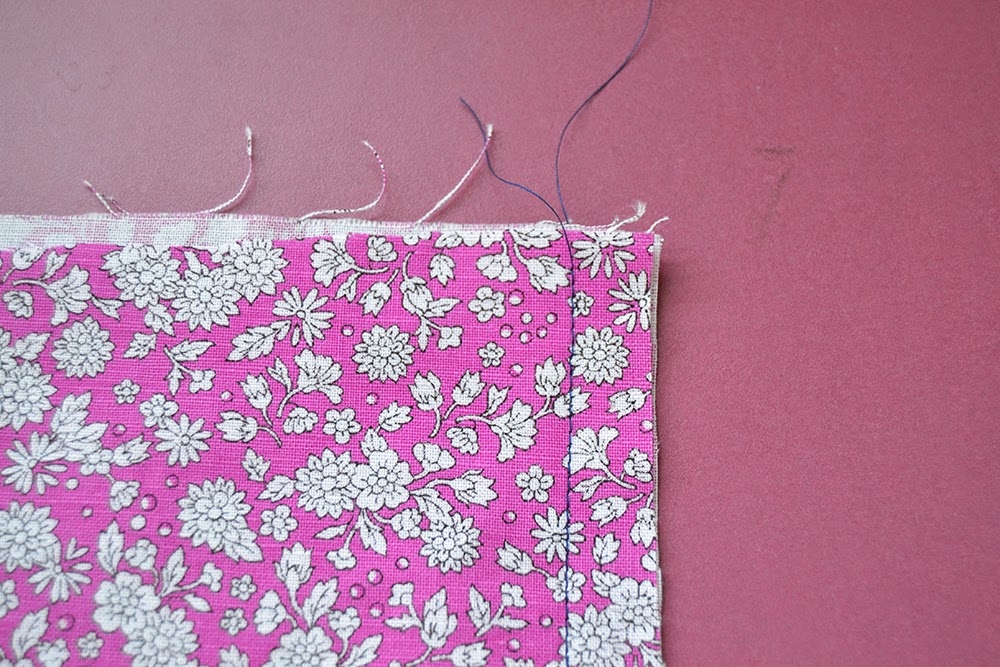
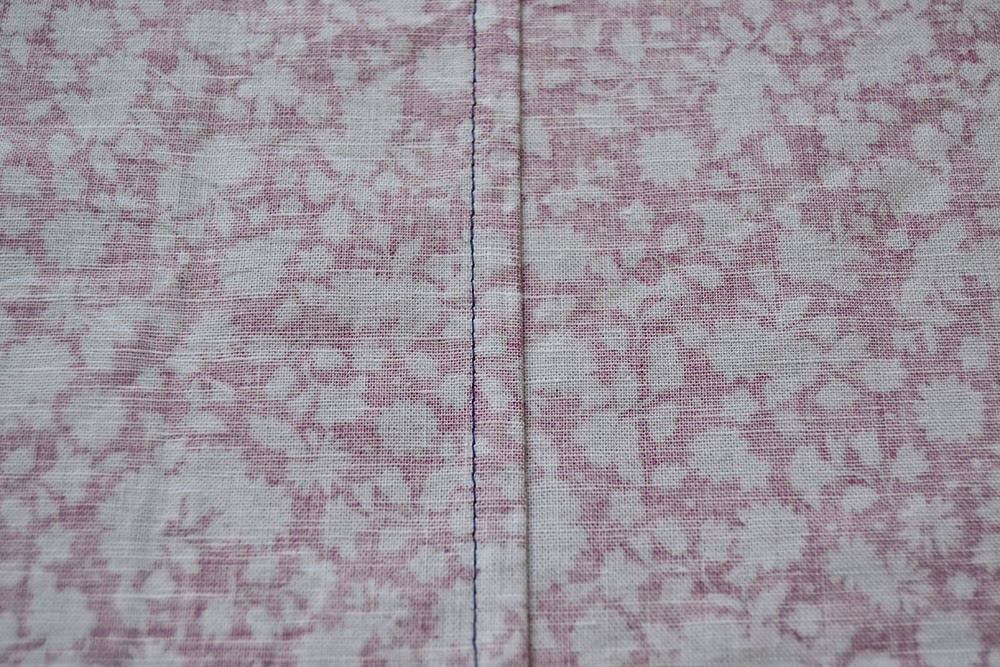 Stitch very close to the folded edge. Try to keep your stitches parallel to the first stitching line.