I wish you all a Merry Christmas and a Happy New Year!
2015 has been such a great year for me on a personal and a professional plan, most of it thanks to you. I’m so grateful and I wish you the very best for the new year to come.
2015 has been such a great year for me on a personal and a professional plan, most of it thanks to you. I’m so grateful and I wish you the very best for the new year to come.
As a thank you gift, I’ve been working on a special pattern for you all. Now it’s time to releave and release it, in time for the Holidays!
 |
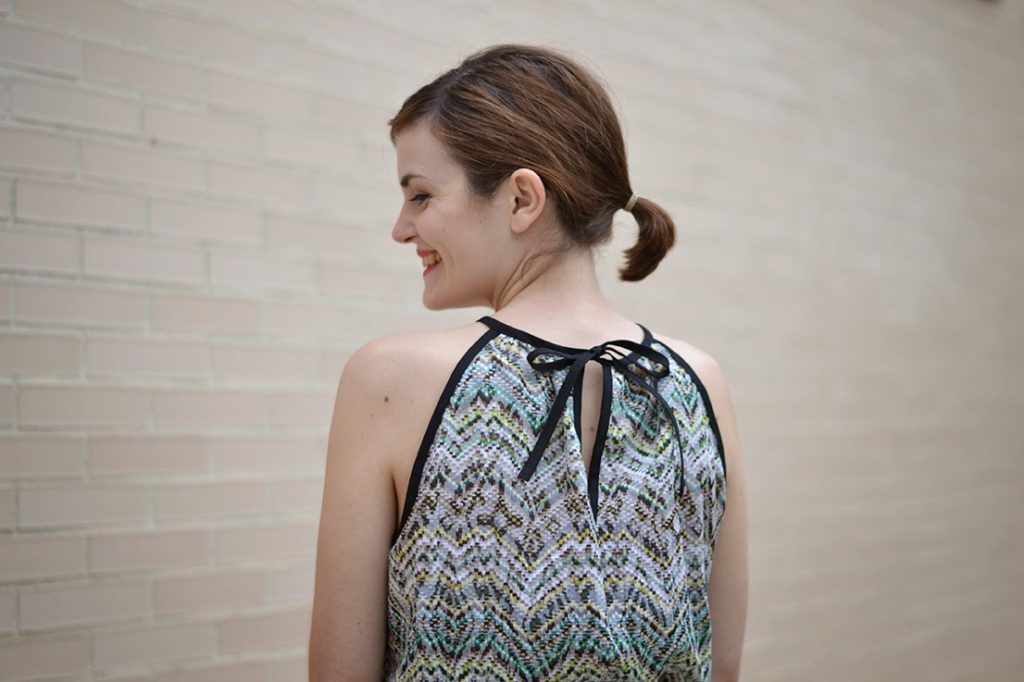
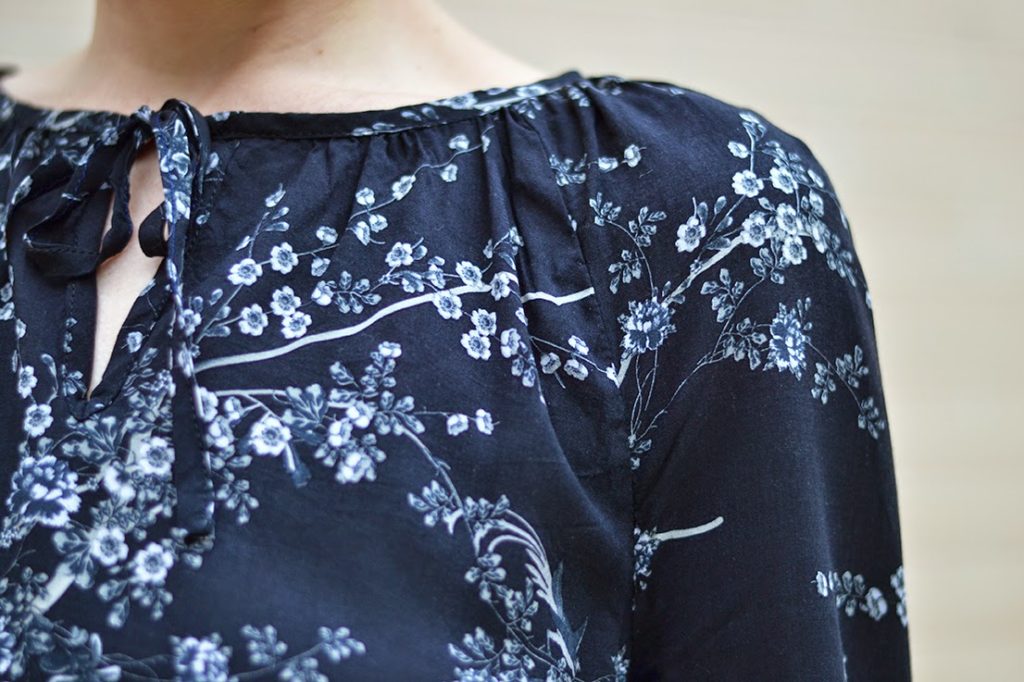
| silk Bailén top: fabric from Julián López |
 |
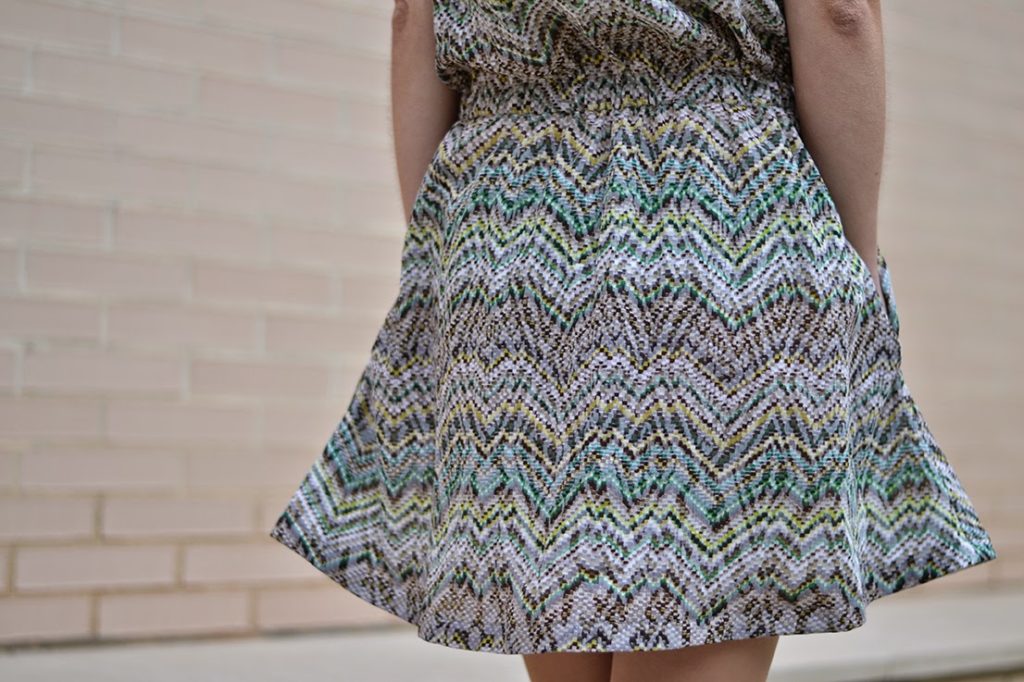
| cotton Bailén dress: fabric from Les trouvailles d’Amandine |
Available as a free download, the Bailén Top & Dress pattern is easy to make and wear. The pattern is cut on the bias to give a great fit without addind any type of closure: the front darts and bias cut allow the fabric to follow the curves of the body without restriction. There are two lengths included so you can either make a top or a short dress.
You’ll learn how to sew french seams, a baby hem and to use bias binding to finish the neckline and make straps.
Depending on the fabric you choose, the Bailén pattern can be worn in multiple ways: think of a silk camisole or slip, a rayon summer dress, a cotton voile nightdress…
You’ll learn how to sew french seams, a baby hem and to use bias binding to finish the neckline and make straps.
Depending on the fabric you choose, the Bailén pattern can be worn in multiple ways: think of a silk camisole or slip, a rayon summer dress, a cotton voile nightdress…

Find the Bailén pattern on the shop and sign in to download it.
I hope you’ll like it!
I hope you’ll like it!

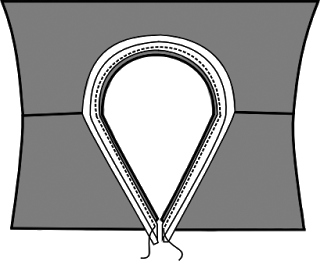 Here is the illustration for this step in the instructions booklet. The instructions tell you to “finish the neckline with bias binding: with right sides together, pin the bias binding to the neckline matching the edges. Stitch on the first fold line. Fold the bias binding to the inside twice and edgestitch.”In pictures, this would look like that:
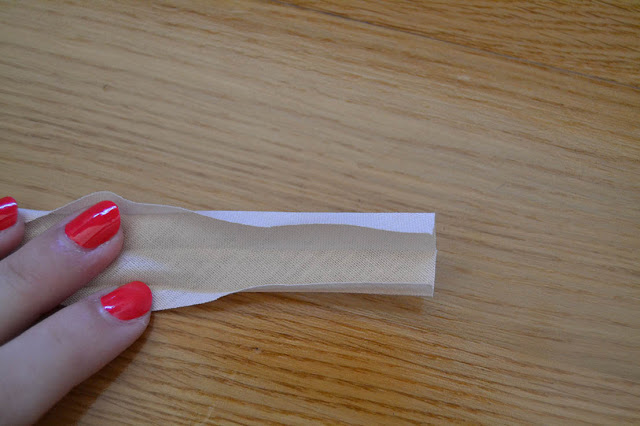 Here is your bias binding: double fold and a pretty normal width, here approx. 2,5 cm (1″) when completely open.
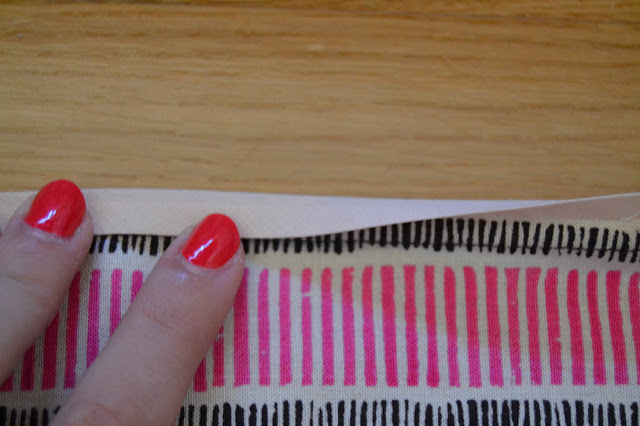
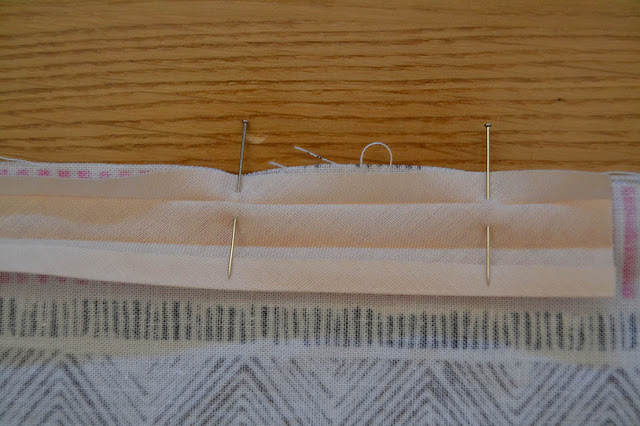 First, pin the bias binding on the neckline, with right sides together (oups, my fabric is upside down, make sure yours is with right sides together!). The bias binding raw edge should match the fabric raw edge.
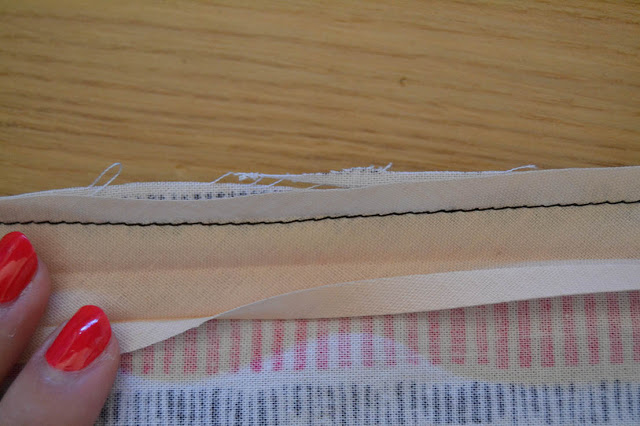 Then stitch inside the first fold line crease. This should be between 0,3 and 0,5 cm (1/8″ and 3/16″) from the edge.
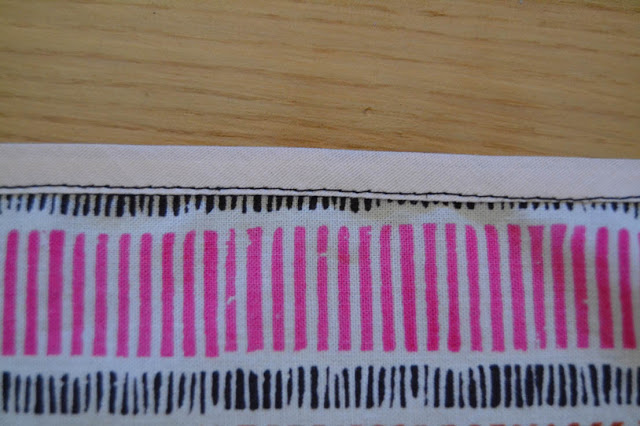
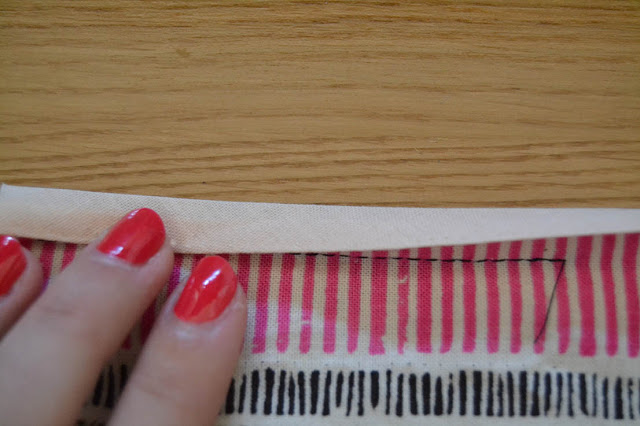
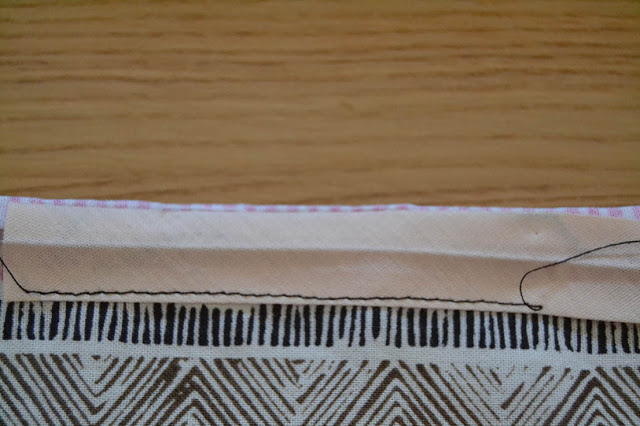
 Fold the bias over the seam allowances along the center fold and then fold it again to the inside. Press. Edgestitch.
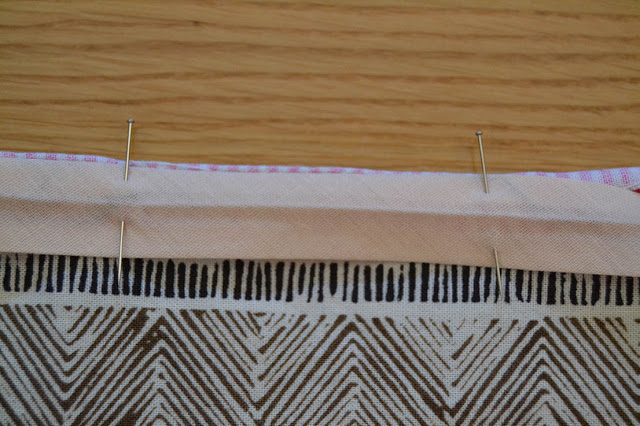
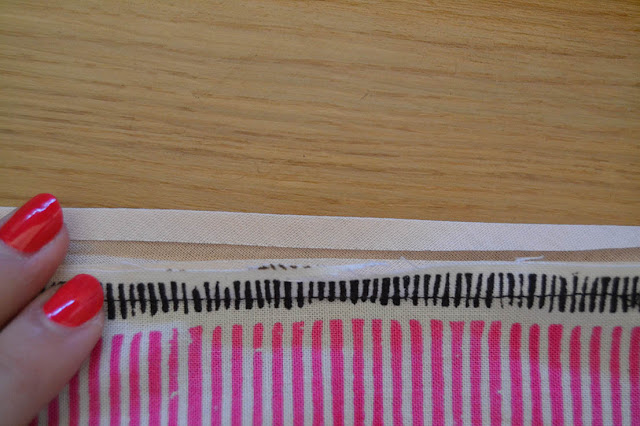
 You can also fold the bias binding only once to the inside. This will give you more structure to the hem, but I would recommend this only for the sleeve and dress hem, not the neckline.
 Pin the bias binding to the neckline, matching the raw edges. I like to pin it to the wrong side but this is a personal preference, you can also pin it right sides together. Stitch inside the first fold line crease. Fold the bias binding over the seam allowances to cover them and edgestitch (make sure your binding covers the first line of stitching you did). This would look nice with a constrating color binding.Please let me know if you have any questions.

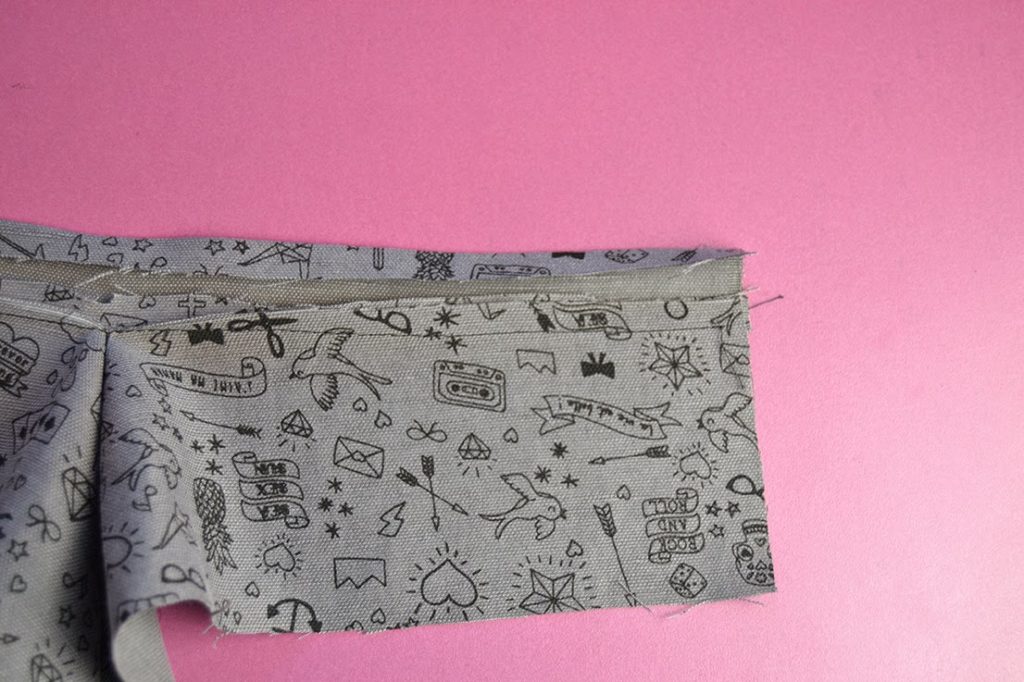
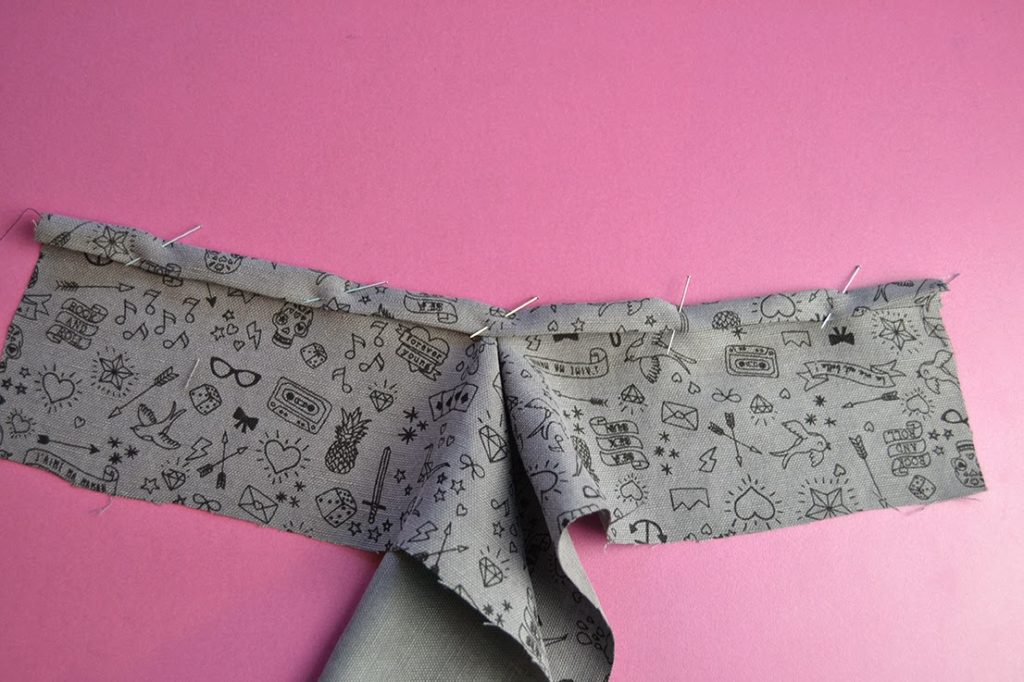
 Here’s how to sew an easy vent with binding!
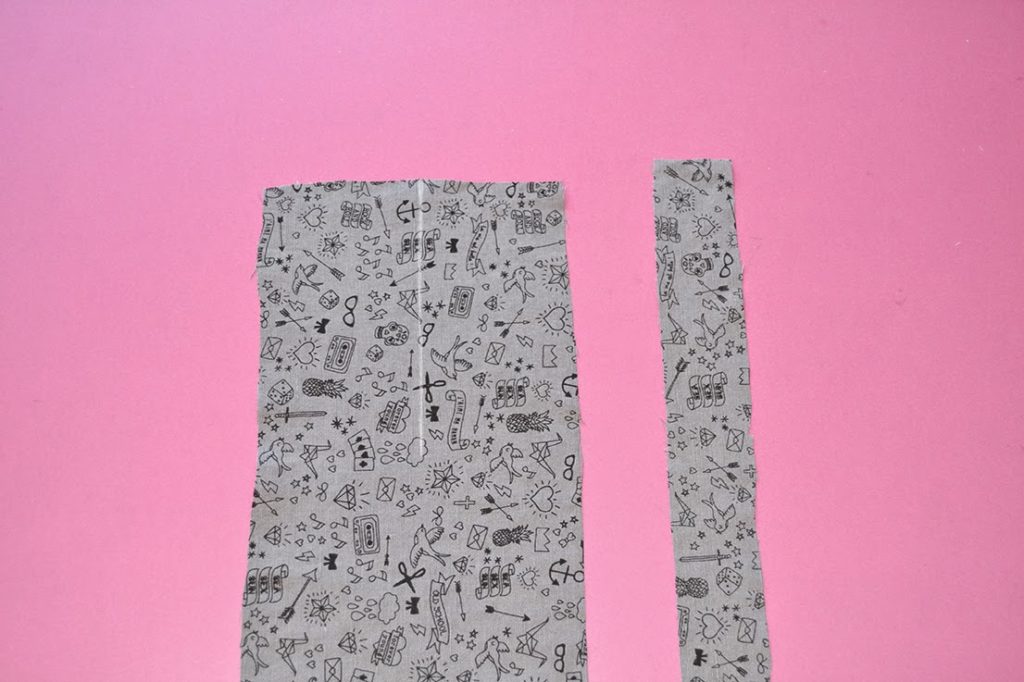 You’ll need your fabric piece (sleeve or bodice) and a strip of fabric cut on grain twice as long as your opening and about 1″ large (you can also use bias binding, just know that it may not sit as flat as on grain fabric).
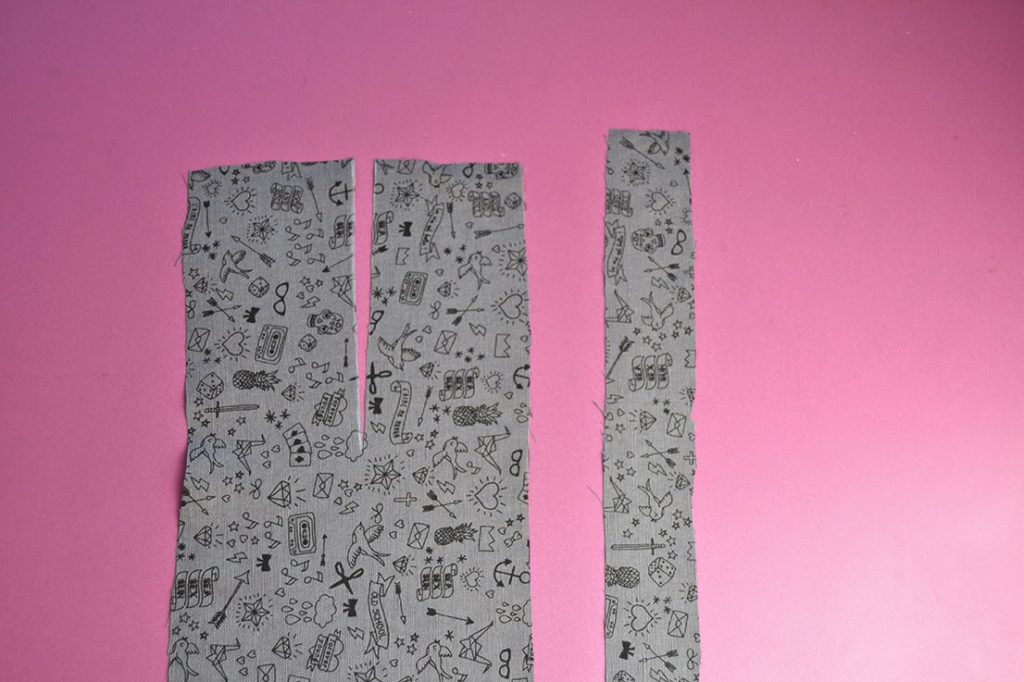 Step 2:
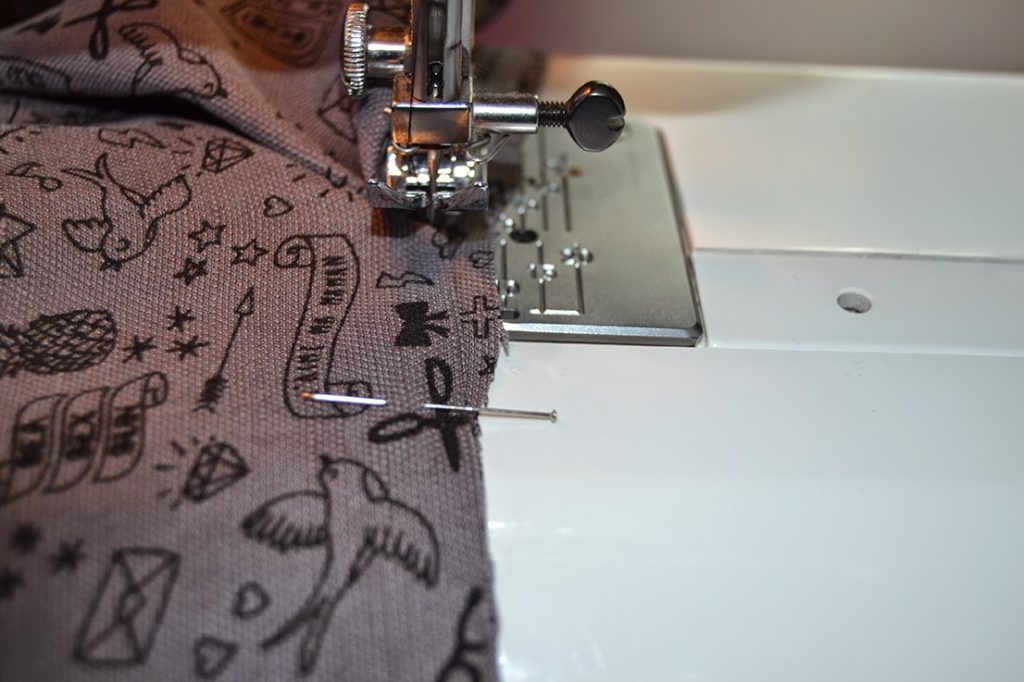
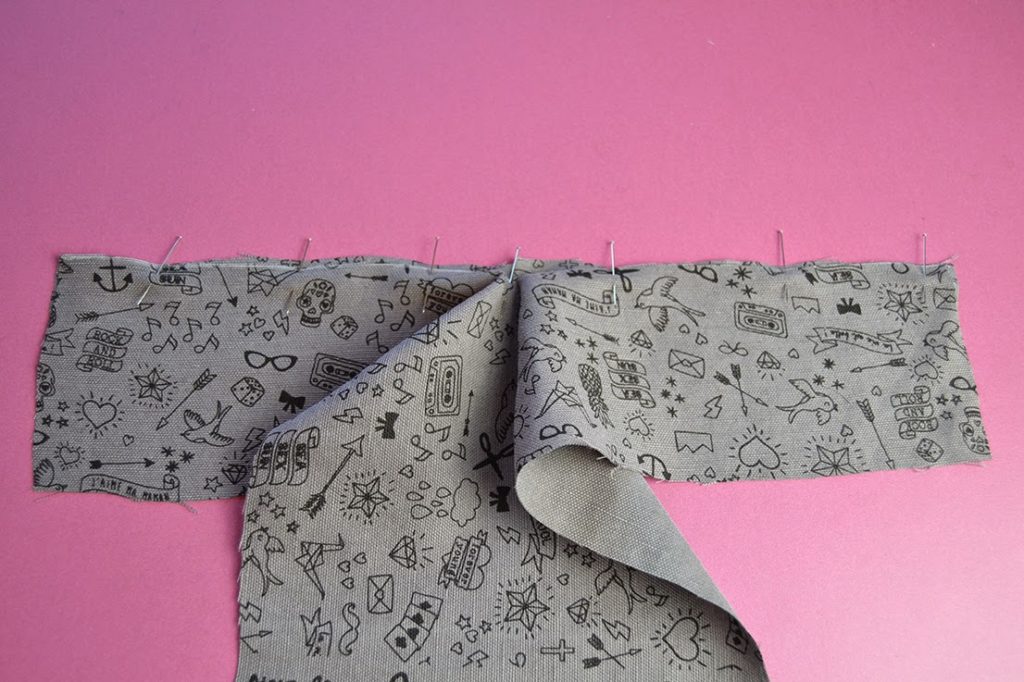
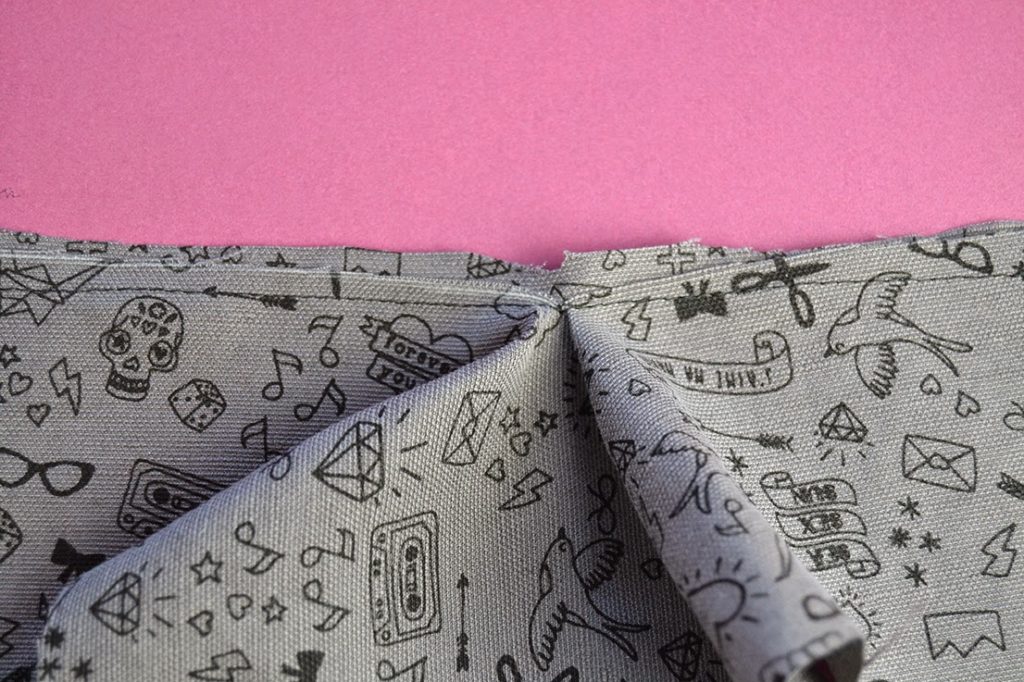
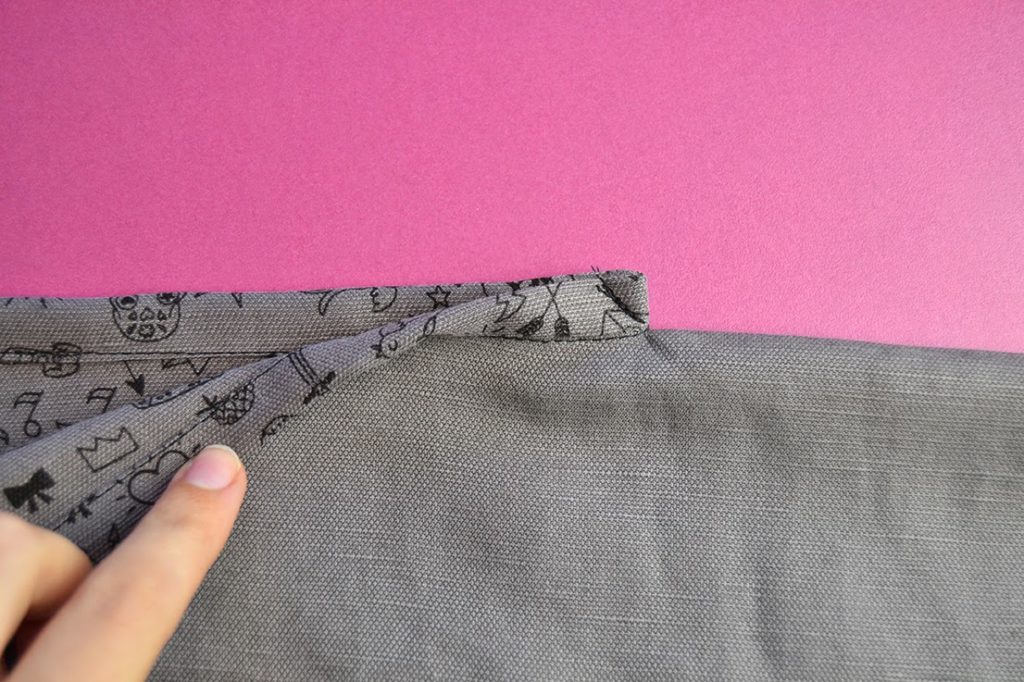
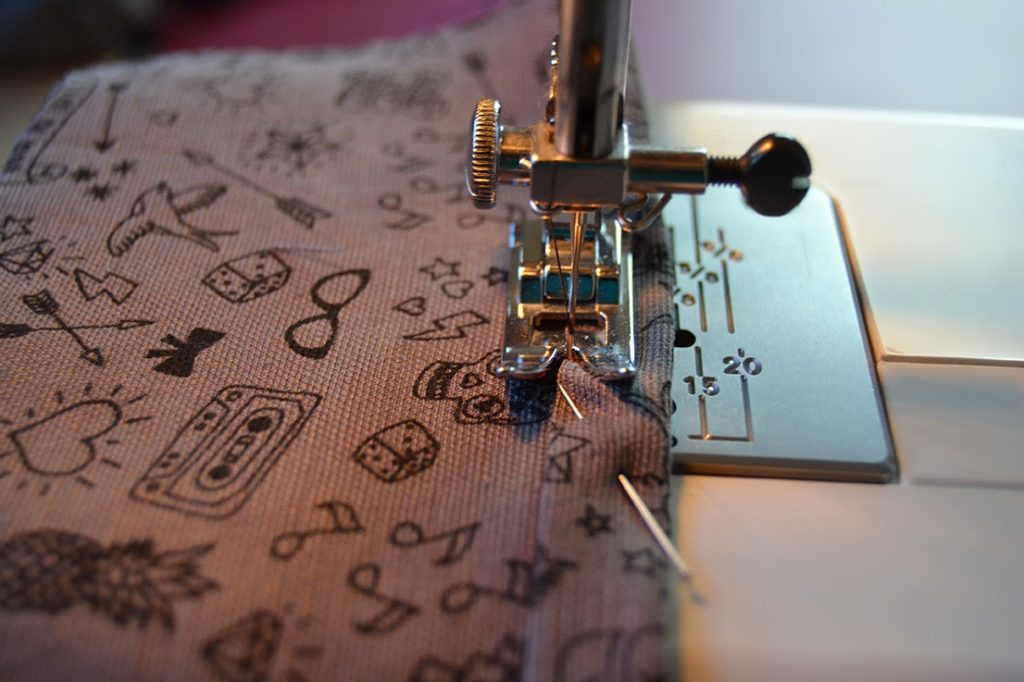 Here is how it looks from the right side:
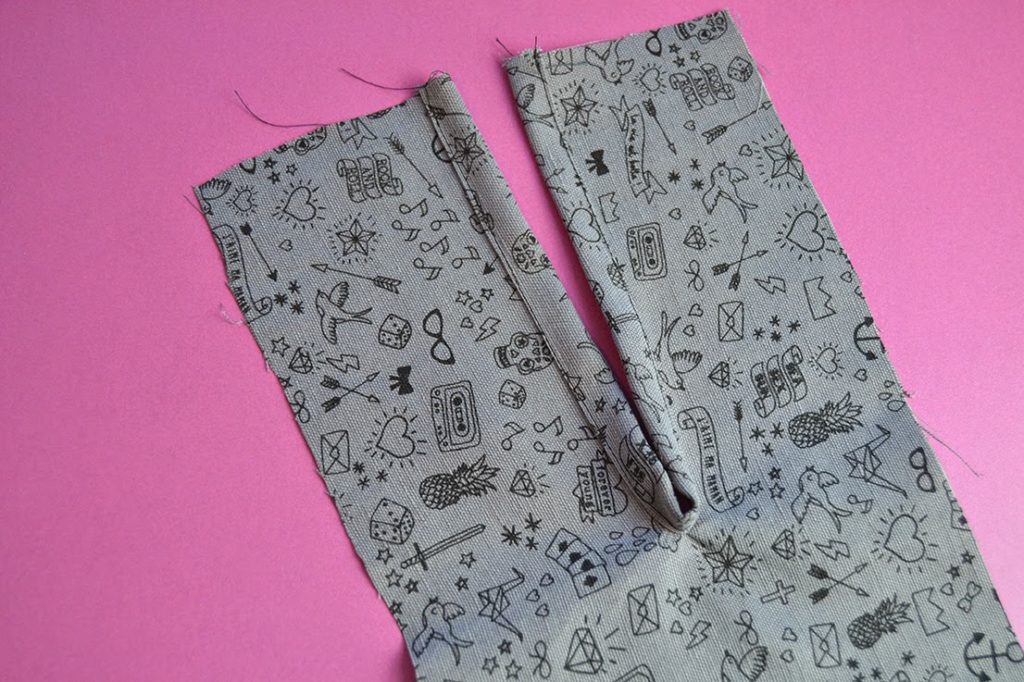 Step 6:
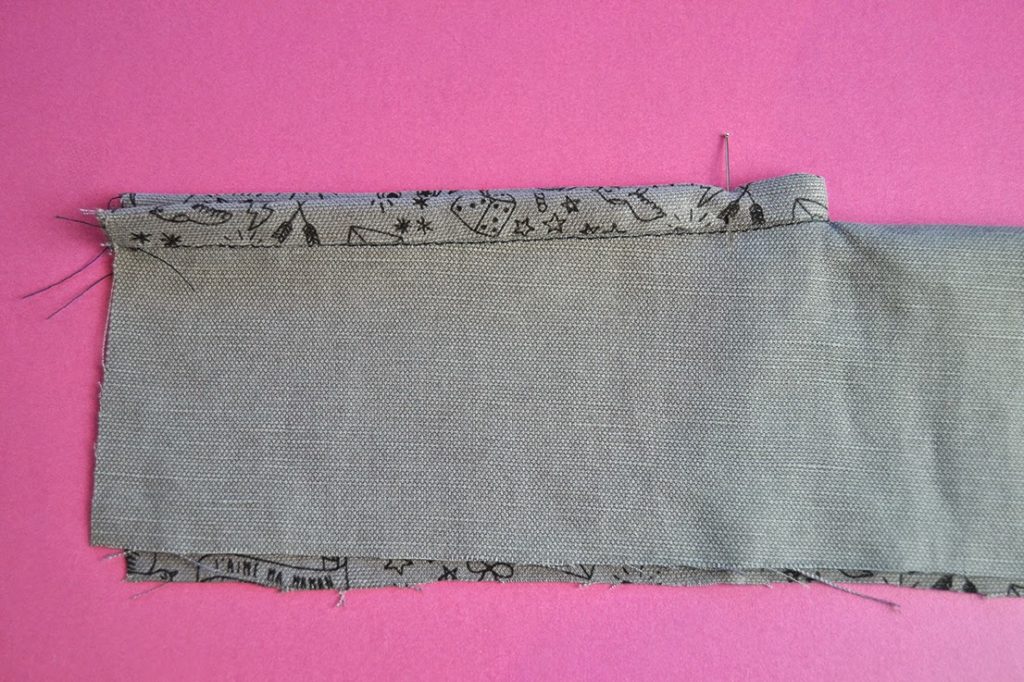
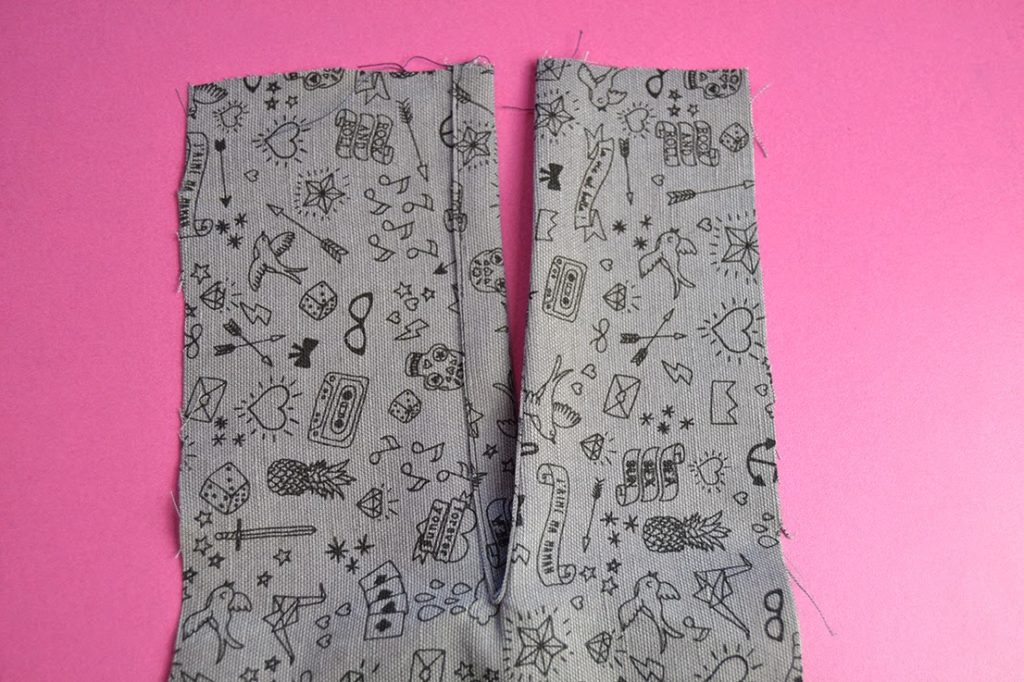 There you go! Now you can add cuffs or hem your sleeves for the Carme and stitch the bias binding neckline on the Eliana.


 I’ve been making samples with elastic waistband and I loved it so much I knew I needed to design a pattern with that detail. On the


 I hope you like the