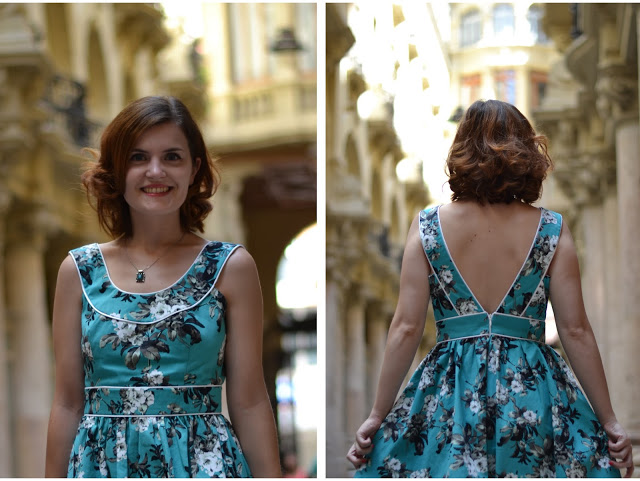
Have you found your fabric for the Camí Sew-Along?
Well, you still have this week end to go shopping as today you are supposed to be making your muslin and we’ll see how to make the basic adjustments before cutting the “real” fabric.
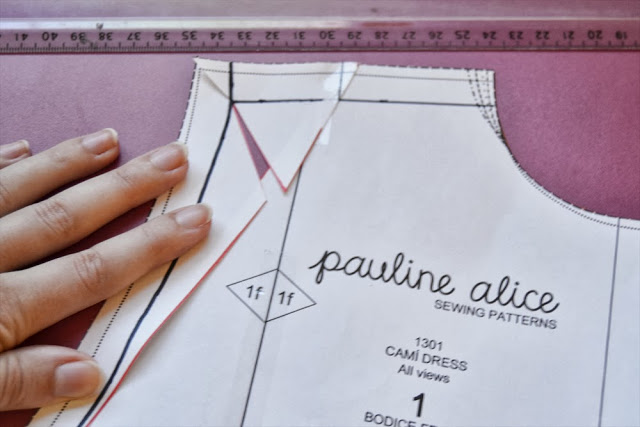
You might be tempted to jump ahead and start directly with your final dress but it’s highly recommended to make a muslin. The bodice with one sleeve is enough to see if the fit is correct, no need for the skirt or the collar. And then you can decide if you need any of the following adjustments.
LENGTHEN/SHORTEN LINE
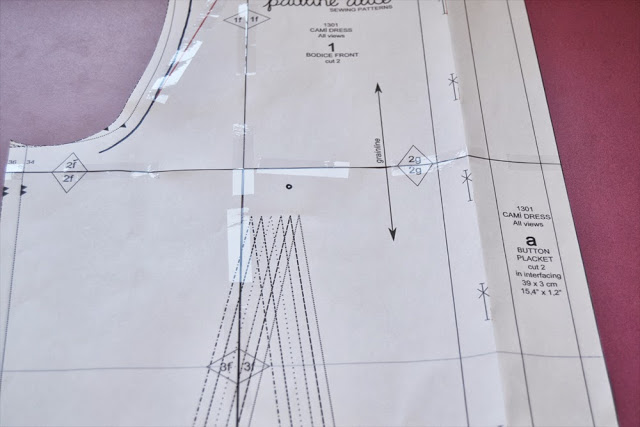
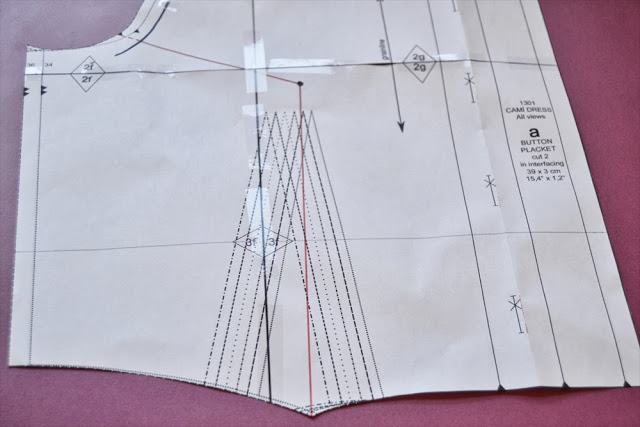
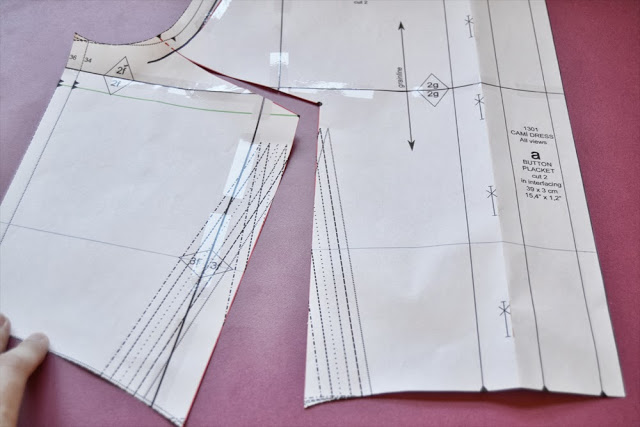
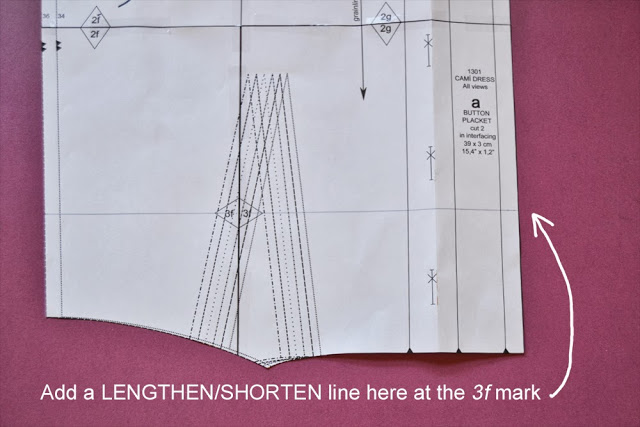 1.If the waist line of the muslin doesn’t hit at your natural waist, you might want to lengthen or shorten the bodice. First, you’ll need to add a lengthen/shorten line. It’s not on the pattern but it can be added at the 3f mark.
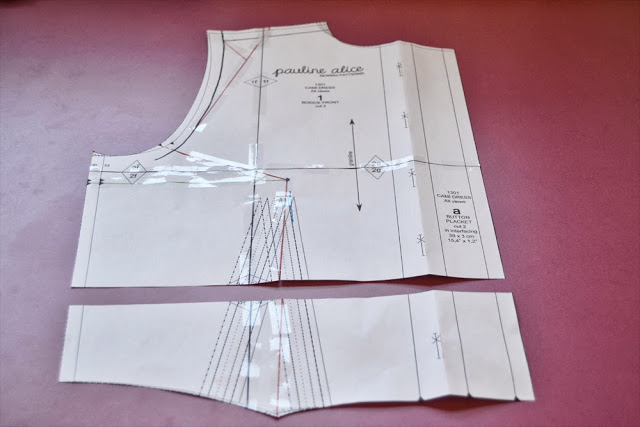 2.To lengthen the bodice, add the length you need and paste your pattern over a piece of paper, keeping the lines parallels.
 3.To shorten the bodice, bring the pieces over each other and paste.
4.Remember to report the change you made to the front bodice to the back pattern pice as well. The last button mark is going to move as well: move it up or down respecting the space between each button mark.
SHOULDER ADJUSTMENTS
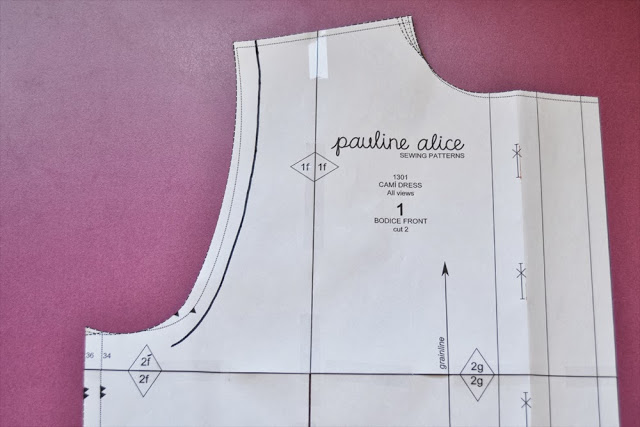 1.Draw the seam allowance line around the armhole (1,5 cm or 5/8″).
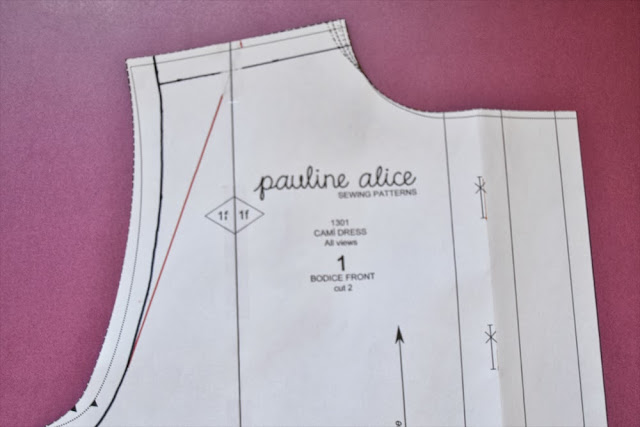 2.Draw the other seam allowance line at the shoulder (black). Join the shoulder center to the armhole line: red line.
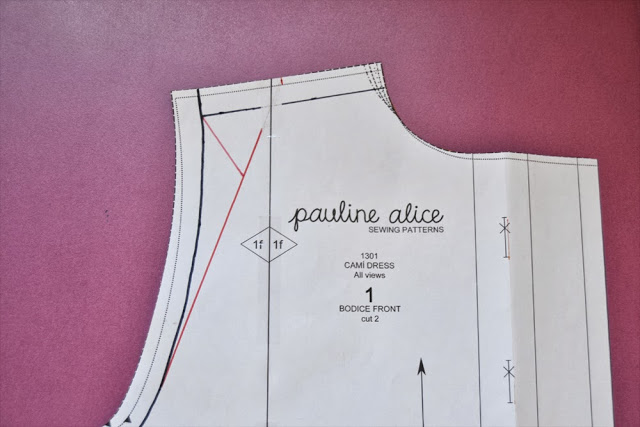 3.Draw a line from the shoulder angle to the red line.
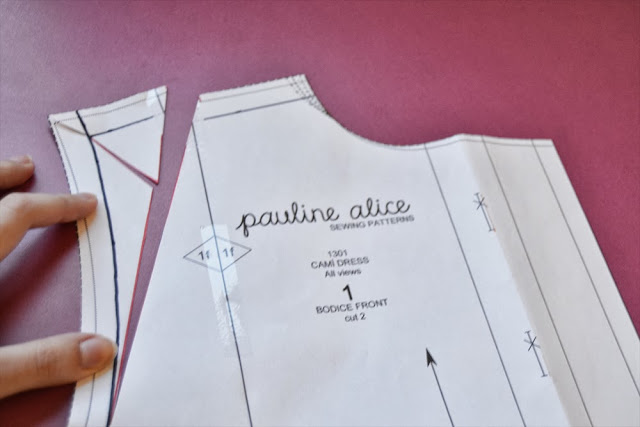 4.Cut the red lines making sure not to cut the black line. You now have a pivot point.
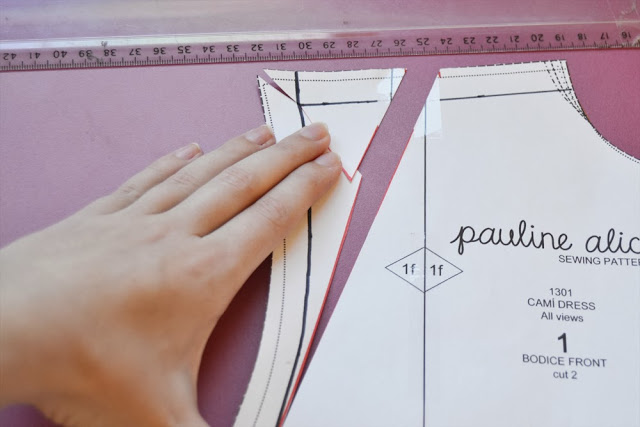
 5.To widen the shoulder, add the desired ease and paste over a piece of paper. To narrow the shoulder, bring the pattern pieces over and paste. Report changes on the back pattern piece.
FULL / SMALL BUST ADJUSTMENT
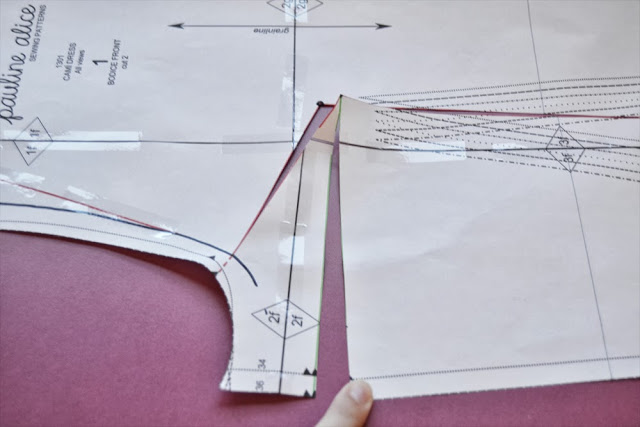
 1.Draw the bust apex about 2 cm (0,8″) above the dart point.
 2.Draw 2 lines (in red) from the bust apex: one going to the middle of the dart legs and the other one going to the armhole (I joined mine to the triangle mark).
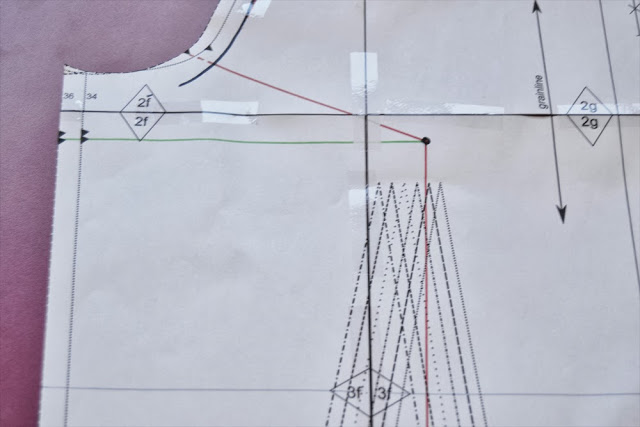 3.Draw a line (in green) parallel to the lengthen/shorten line if you have made it (if not, parallel to the 2f cutting line).
 4.Cut the red line up to the black armhole line.
 5.Cut the green line leaving it attached by 1 cm (3/8″) approx.
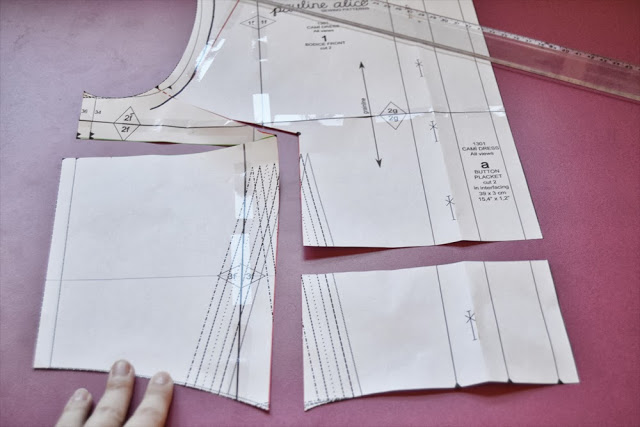
 6.Cut along the lengthen/shorten line to the red line. To make a Full Bust Adjustment, add the desired ease and match the pattern pieces. Paste them on paper and redraw the lines.
To make a Small Bust Adjusment, remove the needed ease, paste together and redraw the lines.
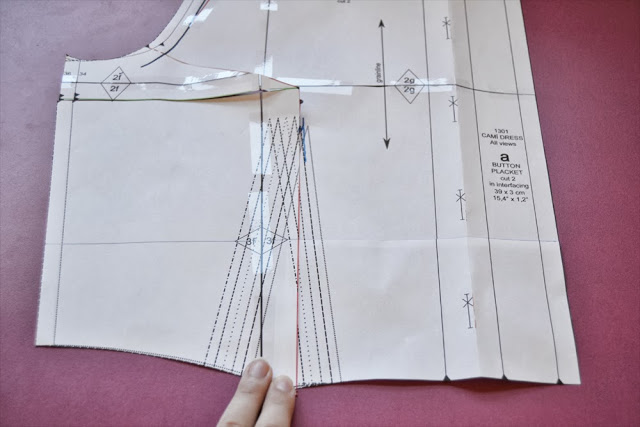
Remember to apply the changes to the back pattern piece and move the last button mark.