
Today we’ll see how to adjust sleeve width.
I received some emails recently about how to increase the width of the Xerea dress sleeves and I thought it would be nice to prepare a tutorial. This is something you can apply to every “one piece” sleeves.
I received some emails recently about how to increase the width of the Xerea dress sleeves and I thought it would be nice to prepare a tutorial. This is something you can apply to every “one piece” sleeves.
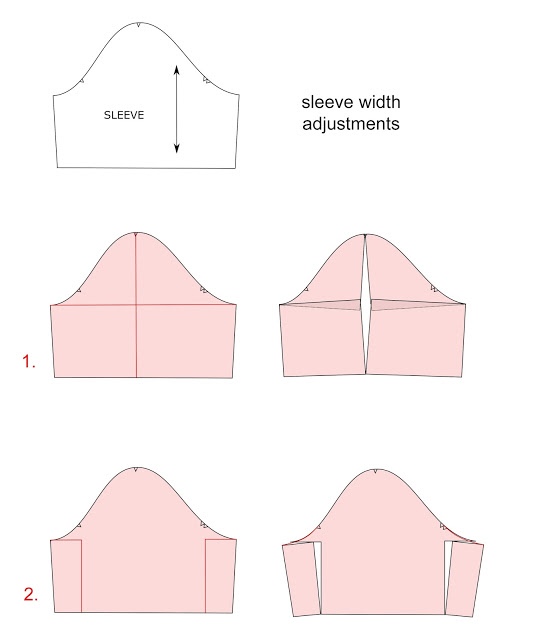 Method 1.
Trace two perpendicular lines accross the sleeve: one from armhole bas to armhole base and the other from the sleeve cap to the hem (in red here).
Cut along these lines and spread the sides apart, making sure the bases are still touching at the extremities. Add the cm you need in the center and tape together your new sleeve piece. The good thing about this method is that the sleeve armhole is not modified.Method 2.
On one side of the sleeve, trace a line perpendicular to the grainline starting from the armhole base and about 4-5 cm long (about 2″). From this point, draw a perpendicular line to the hem. Repeat on the other side.
Cut along the lines you just traced and slash the piece away from the sleeve the extra cm you need. Tape together and redraw the sleeve curve if needed. With this method, you’ll add width to the sleeve as well as to the sleeve armhole. You’ll need to ease the sleeve more.I hope that was helpful. Let me know if you have any questions.
PS: by the way, the sleeve width on the larger sizes of the Xerea dress has been increased for the PDF pattern.


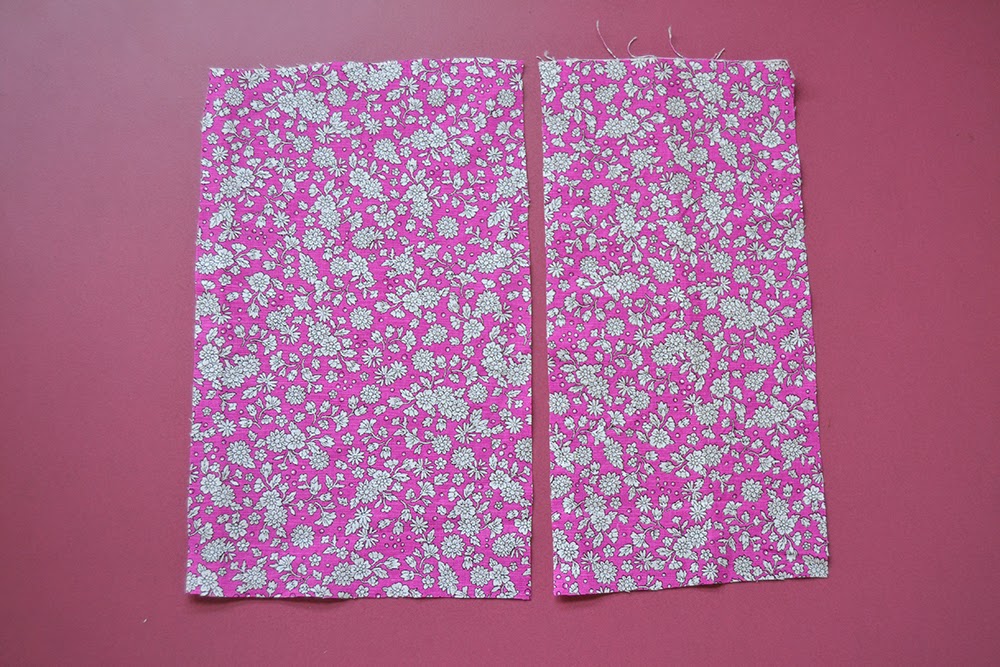
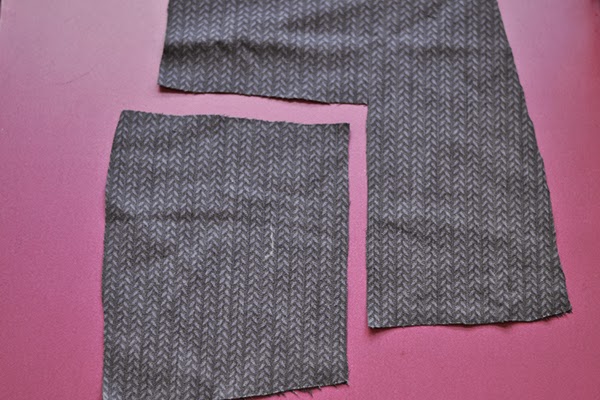 1. Here are your 2 pieces of fabric, right sides facing up. Seam allowances will depend of your pattern (usually 5/8″).
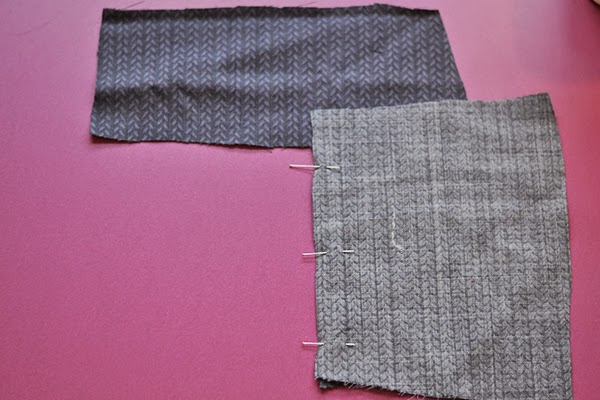 2. Pin the side together. As you can see, the top edges don’t meet: You should have about twice the seam allowance length
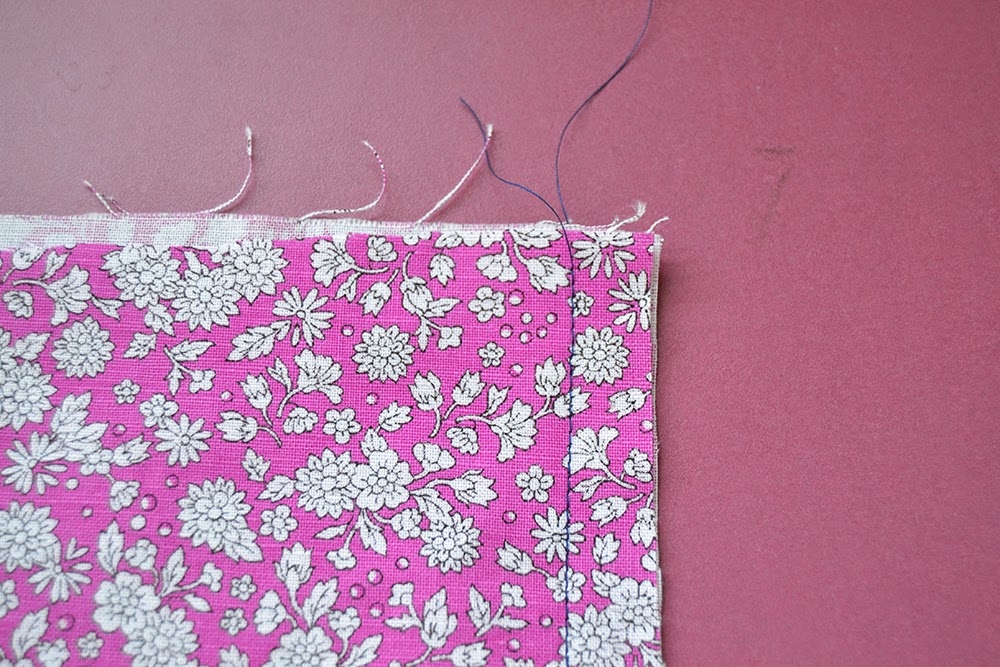
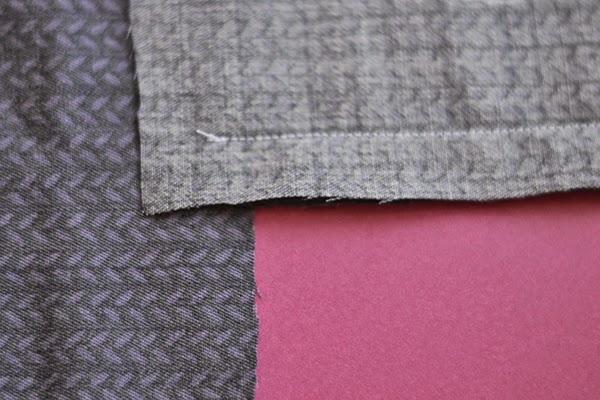 3. Stitch until the apex point (where the seam allowances meet) using short stitches.
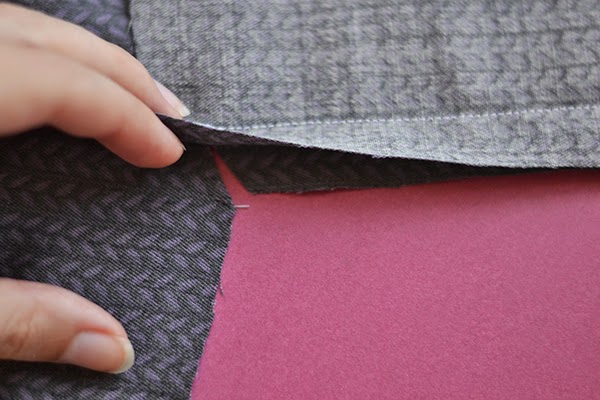 4. Carefully, clip the seam allowance up to the stitching line, (snip into just the bottom layer, the one with the angle in).
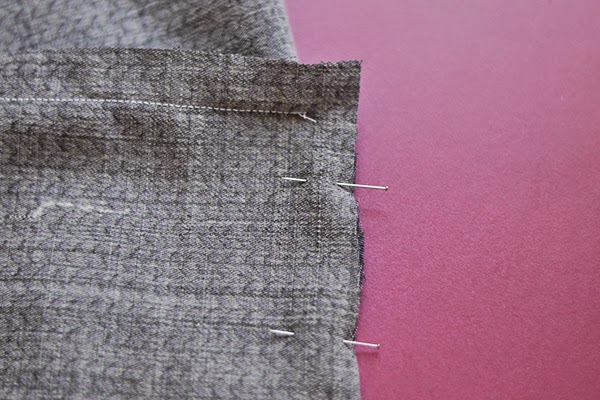
 5. Pin the other sides together. You can see how it looks from both sides. Pivot the angle at the apex point so the edges meet and pin.
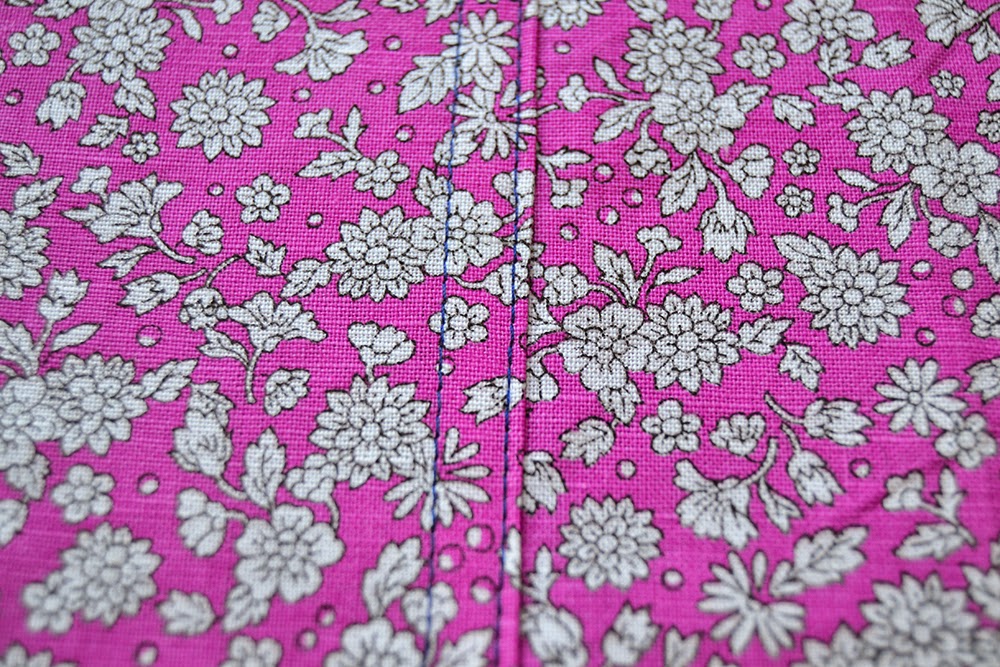
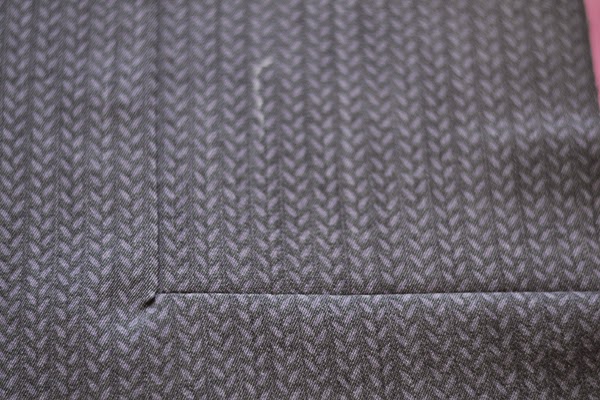 6. Press the seams to the outside. Here is the right side: if you see a little plucker like here, you can clip carefully a little bit closer to the stitches from the wrong side.
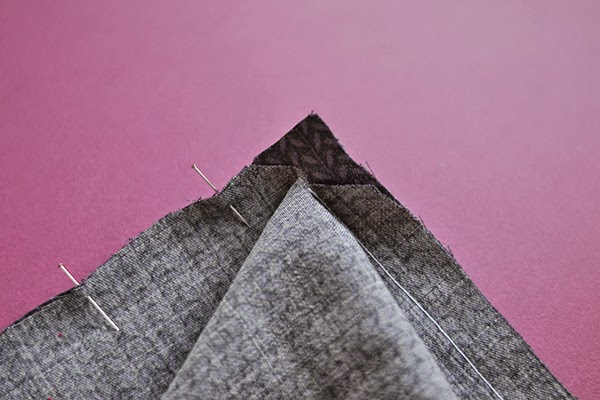
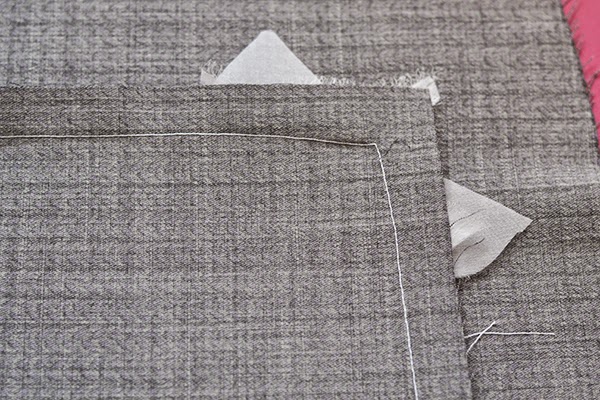
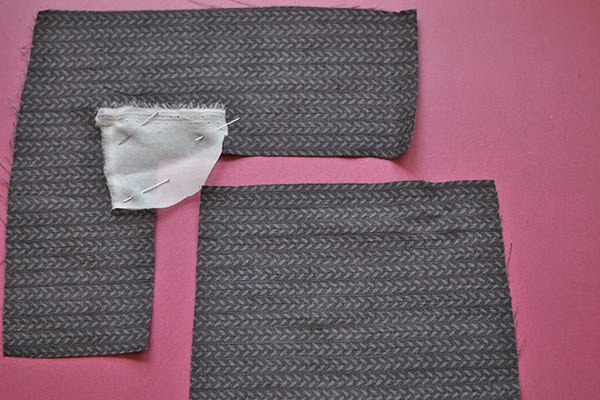 1. Pin a piece of organza over the inside angle, on the right side of the fabric. Make sure the apex point is covered (this is
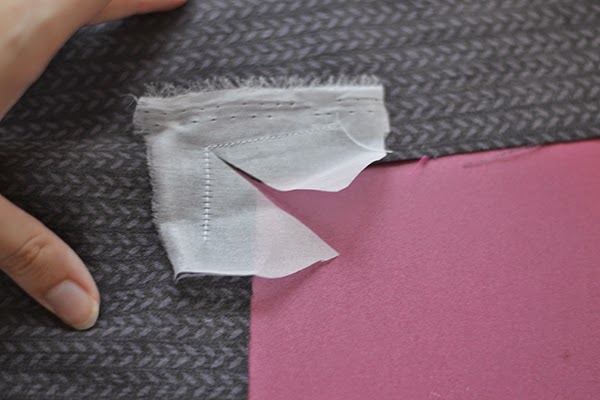 2. Stitch the organza around the angle, pivoting at the apex. Clip both layers diagonally into the corner, as close as possible
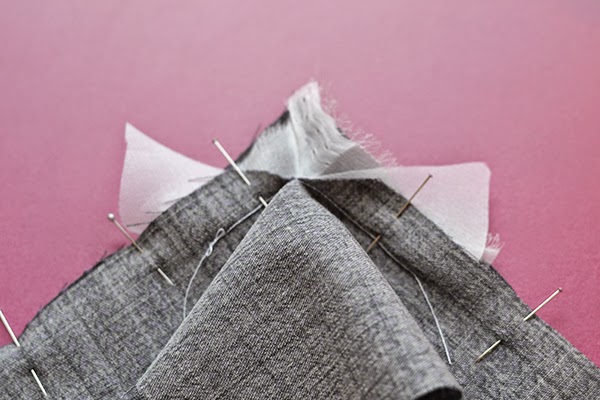 4. Pin the outer angle to the inner angle, using the piece of organza to lay both layers flat against each other. As you can
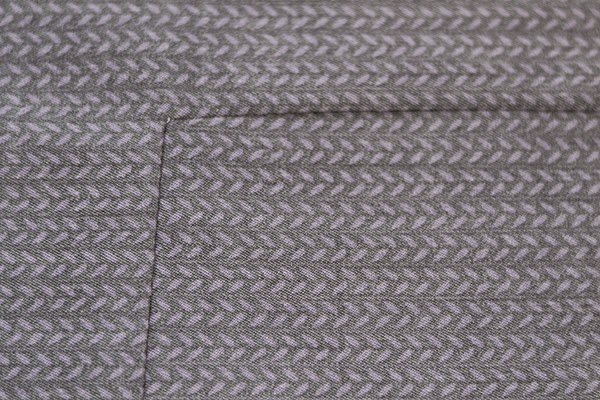
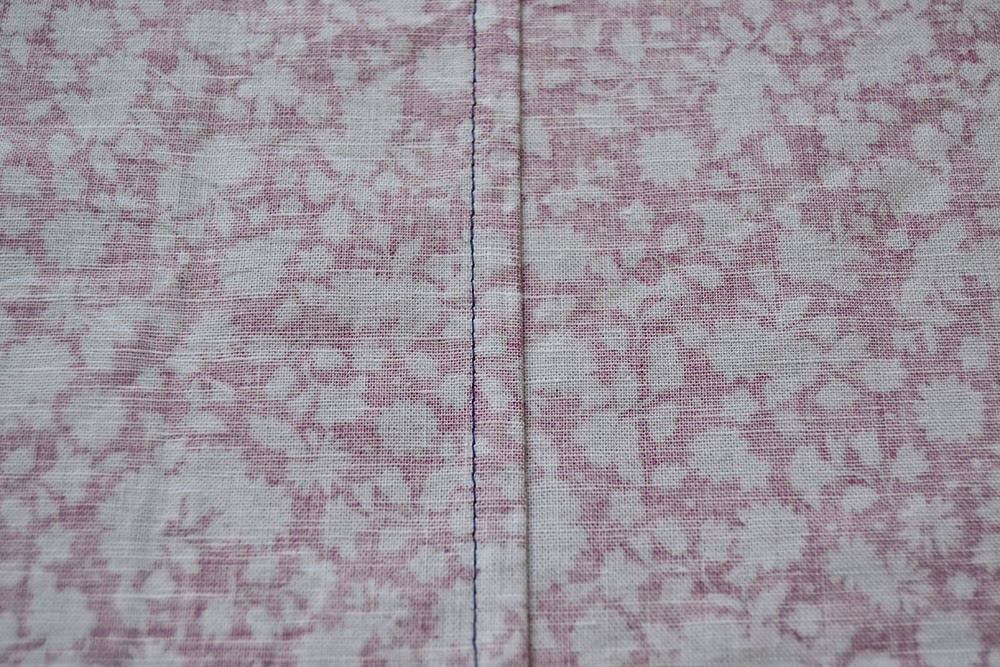
 5. Press the seam allowances to the outside. From the right side and from the wrong side of the fabric.
 Place your pieces WRONG SIDES together (yes, yes, wrong sides, I know it’s weird!). Pin and stitch together (note: 1,5 cm or 5/8″ seam allowances included in the pattern).
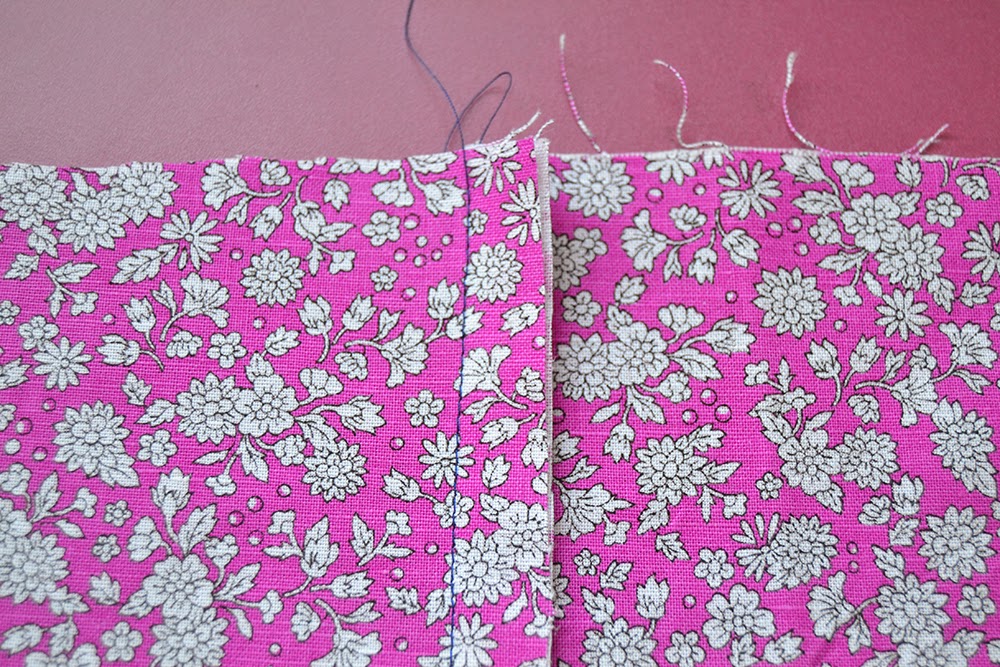 Press the seam allowances to one side.
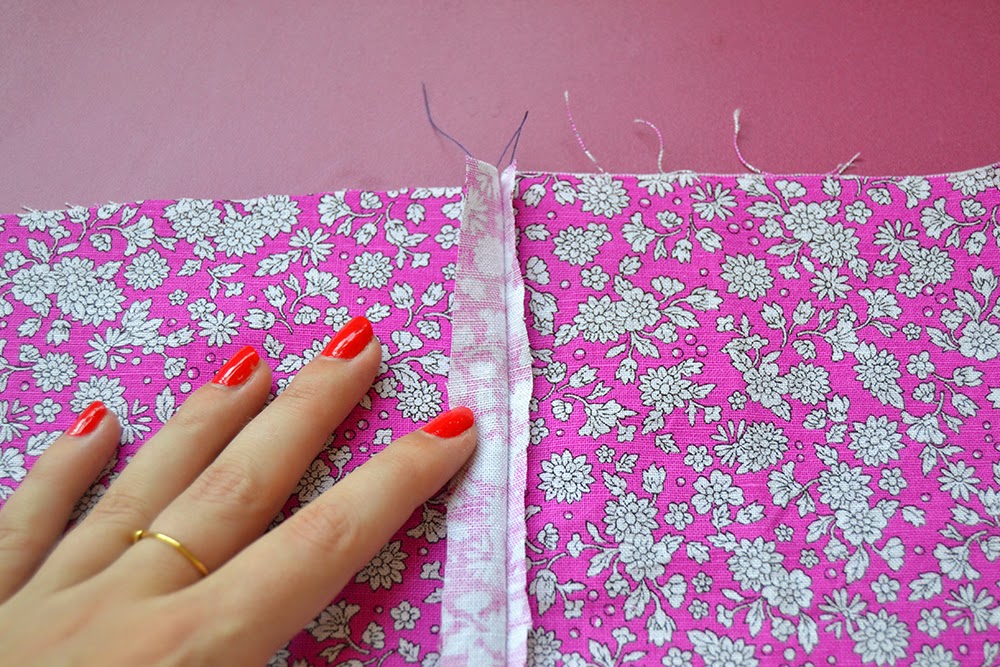 Trim the bottom seam allowance to a minimum (about 0.5 cm or 3/16″).
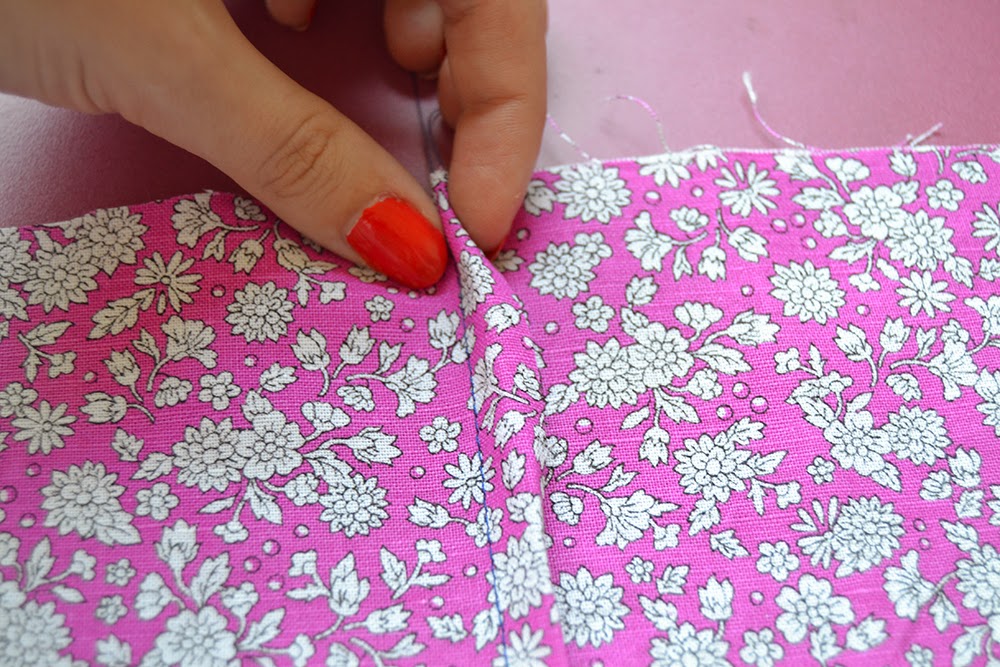
 Stitch very close to the folded edge. Try to keep your stitches parallel to the first stitching line.