Here’s a tutorial on how to print our PDF patterns!
When you buy a Pauline Alice PDF pattern, it will be sent to you through email as a .zip file you’ll need to download and decompress*. It will also be available from your personal account on the shop, under “my downloads”.
*Decompress a .zip file
In the Windows browser, open the ZIP compressed file by double-clicking on it. In the window that opens, you’ll find the list of files included in the archive. Right-click the folder and choose “Extract all the files » in the new location.
The PDF pattern folder will contain 3 files/folders :
- The A4 format PDF pattern to be printed at home with a printing plan included (only for the new patterns).
- The A0 format PDF pattern to be printed at a copyshop.
- The pattern instructions in French, English and Spanish.
PRINTING AT THE COPYSHOP
Printing your pattern at the copyshop is a fast and easy way to avoid having to cut and tape all the pages together.
Your A0 format pattern is made for a plotter printer. Remember to tell the copyshop to print the file with the real scale.
The file can be opened with the following programs : Adobe Acrobat or Reader for Windows and Preview for Mac.
PRINTING AT HOME
For those who prefer to do it at home, here is a step-by-step to know how to print ans assemble the PDF pattern (old and new versions) :
Once your pattern is downloaded and saved on your computer, open the file with Adobe PDF Reader in Windows or Preview in Mac.
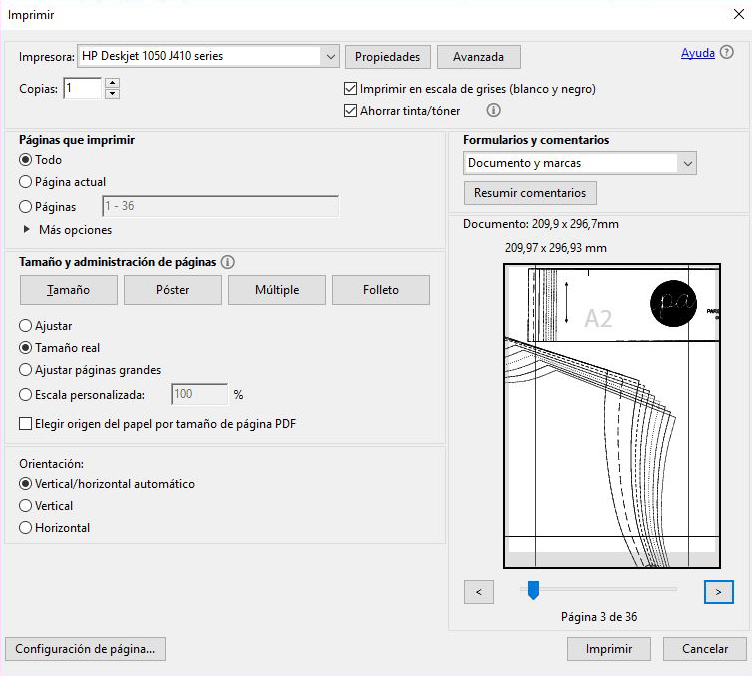
In the menu settings, choose the file and click on Print. In the printer dialog, select ACTUAL SIZE or NO SCALING before printing. Print the first page of the PDF, where you’ll find the test square, and make sure it measures 5 x 5 cm (2” x 2”) for the new patterns (or 10 x 10 cm (3 15/16” x 3 15/16”) for the older patterns).
ASSEMBLE
To assemble your pattern, you’ll need some scissors or a cutter, a ruler and some tape or glue. Here’s a video tutorial to show you how to assemble your PDF pattern !
Old patterns
-
- The pages of the patterns have a black rectangle and some small triangles with numbers and letters that you’ll have to match.
- Cut around the whole rectangle or the top and side (left or right, as you want) edge only.
- Place the pages next to one another (or overlap them if you cut only one side), matching the letters and numbers in the triangles.
- Tape or glue the pages together.
New patterns
Watch the video (cutting option)!
Watch the video (overlaping option)!
-
- The PDF files include some numbers in grey and lines around the page. The pattern lines will overlap.
- Cut the bottom edge and one side. Overlap the pages matching the lines and tape.
- You can also overlap the pages without cutting, you’ll just need to trace the missing lines.
- Remember that you’ll find an assembly plan on the first page of the PDF file.
We hope this post will be helpful. If you have any question, feel free to send us an email to info@paulinealicepatterns. Happy sewing !
7 comments
I found this new pattern and would like to make it ….it looks great
Hi My partner has just printed the pdf pattern for the Turia dungarees but each pattern piece has 2 lines around the edge with a 1mm gap in between. Do I cut inside these 2 lines or do I cut to the outer of the 2 lines?
Thanks
Sue
Hi Sue, I guess there’s been a problem while printing the pattern as there’s only one line around the edge. Is the test square ok?
Hello Pauline, Are your patterns printable in US letter size? Thanks!
Hello Pauline, are your patterns for A4 only or US letter as well? Thanks!
Hi, you can print both on A4 and US Letter format.
Bonjour,
je viens de passer commande et je n’ai reçu que les versions A4 et pas les instructions du modèle en français, anglais et espagnol… puis-je avoir la marche à suivre ?