Home Tags Posts tagged with "button placket"
Tag:

button placket

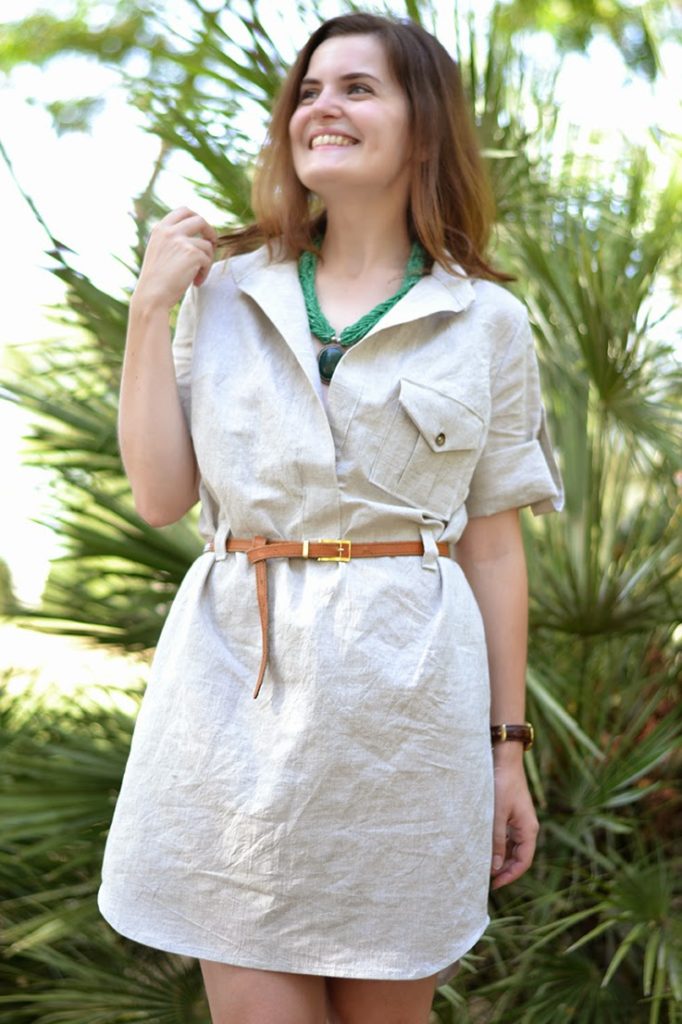
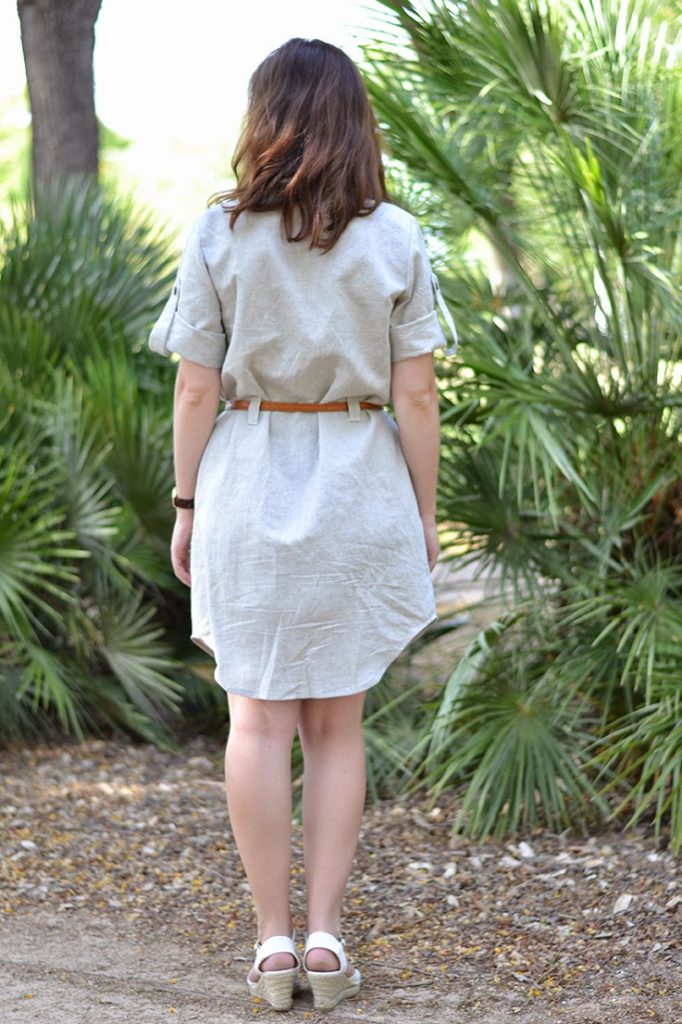
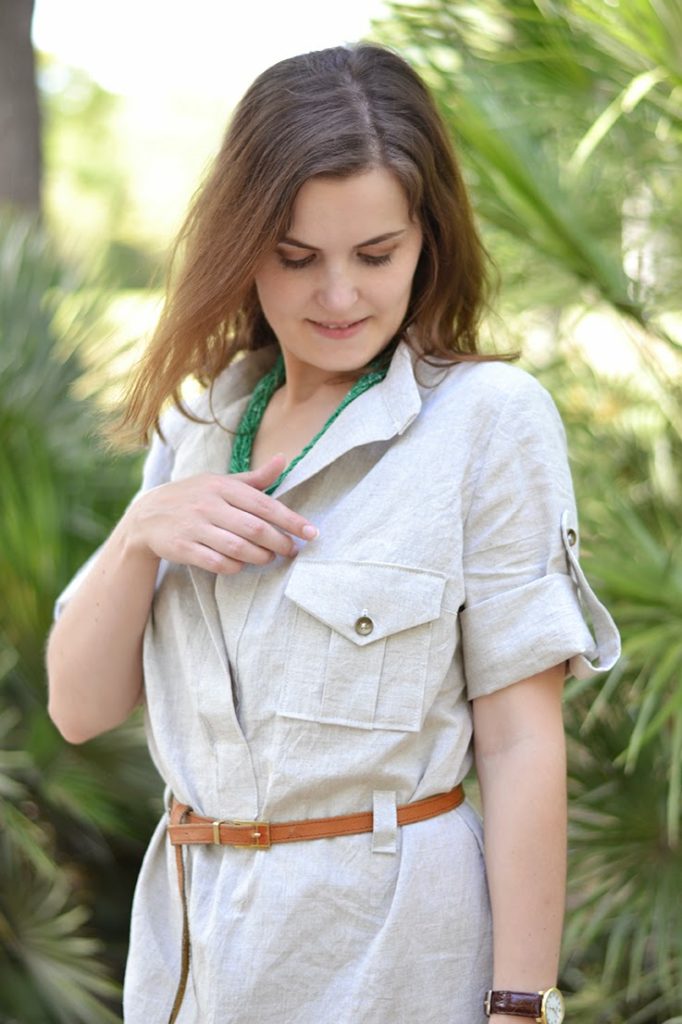
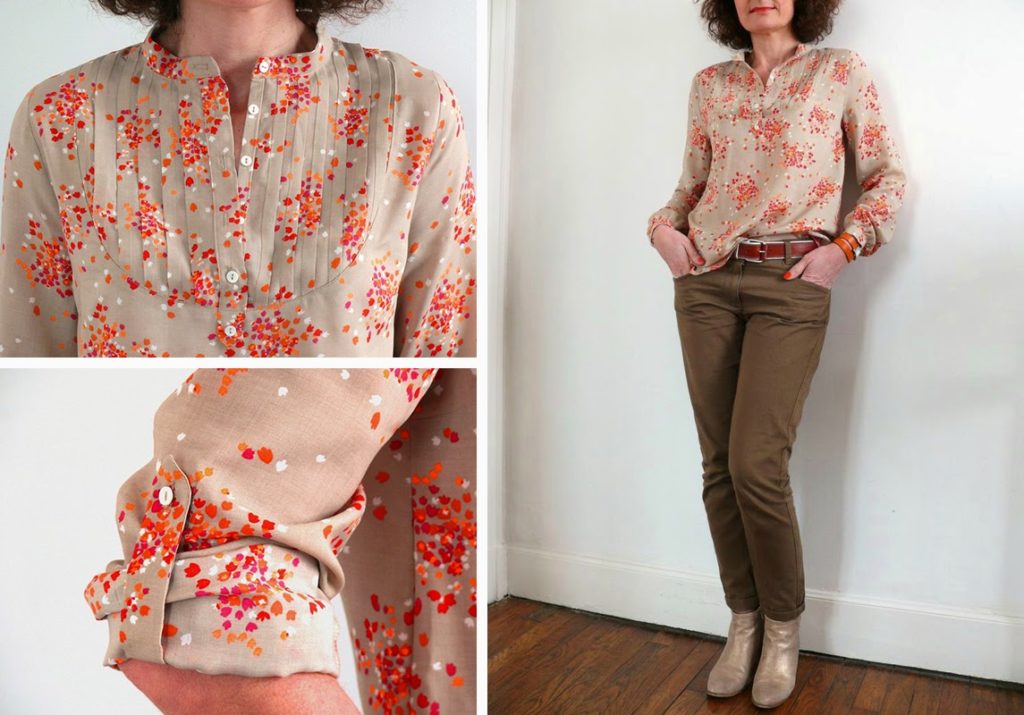
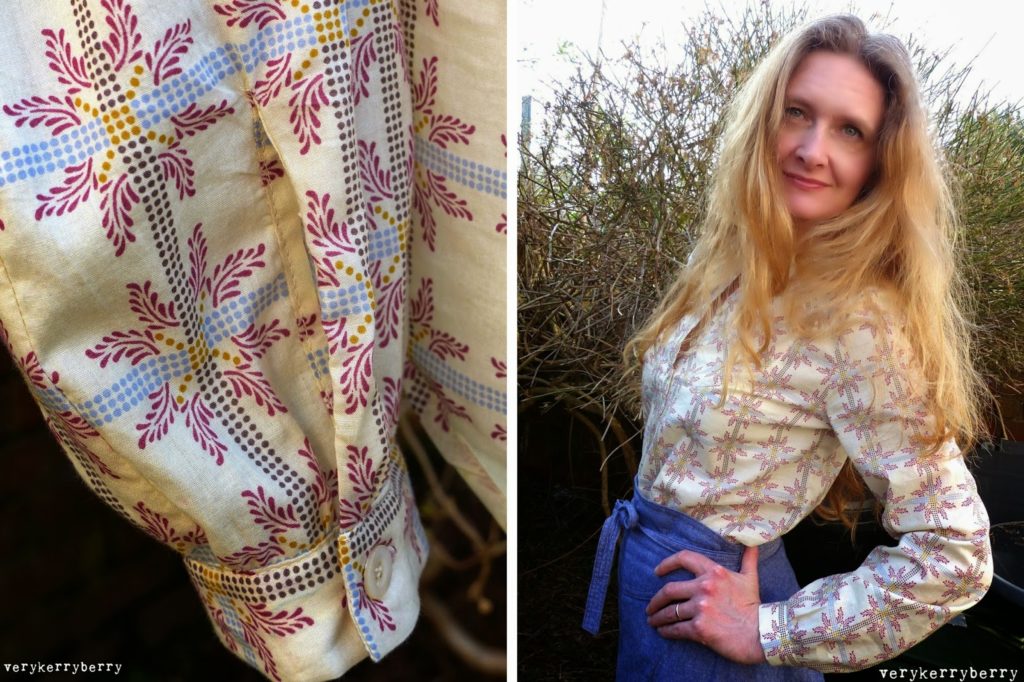
The Carme blouse pattern 2.0 is here! As it’s one of my first pattern, the sizing was not up to date, but I’m happy to tell you that you can now sew this blouse from size 34 to 52.
The pattern includes a print-at-home file as well as copyshop version. Get your copy here: Carme blouse pattern.

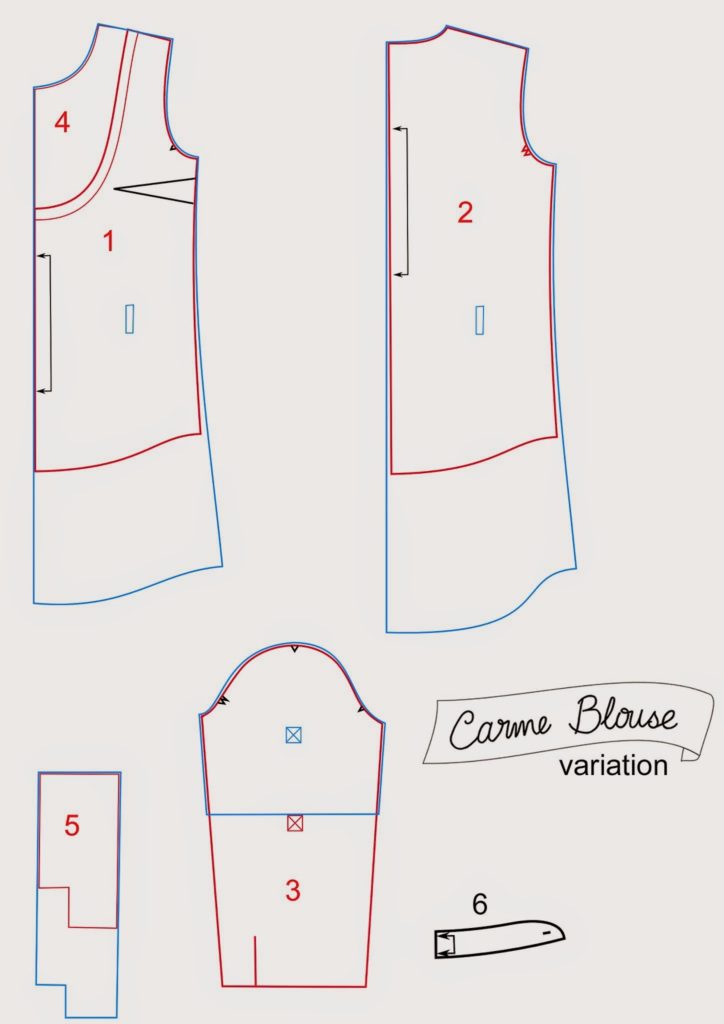
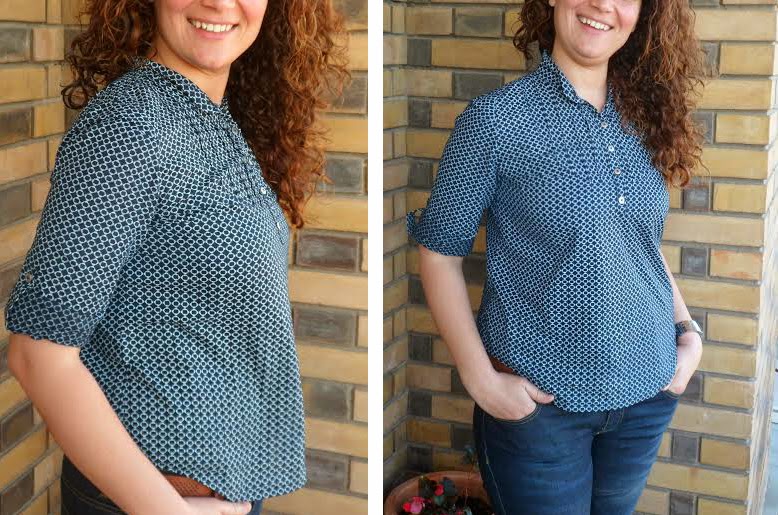
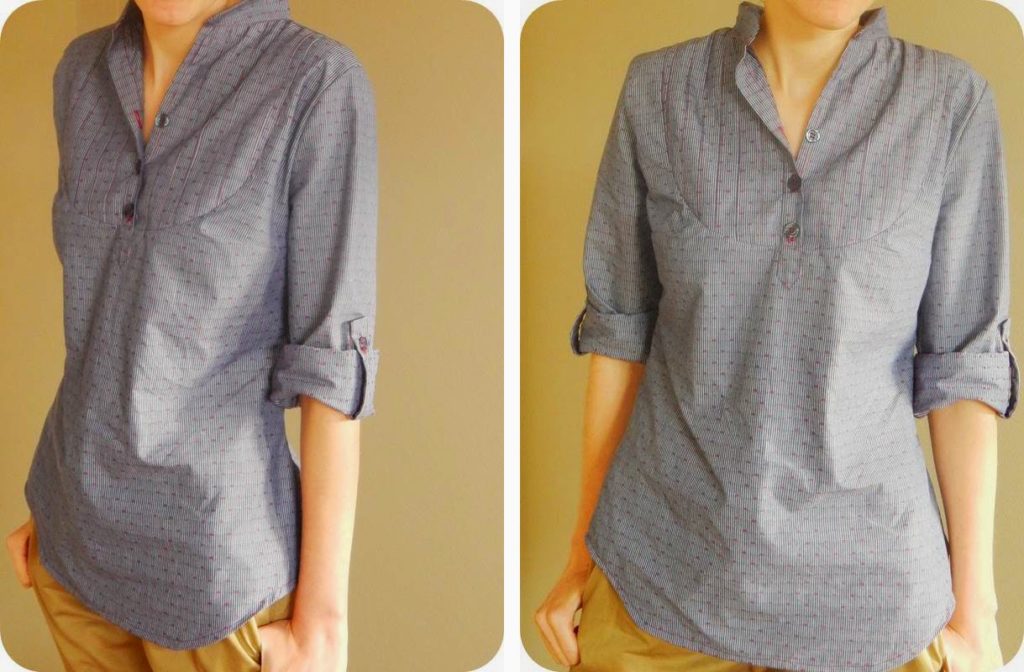
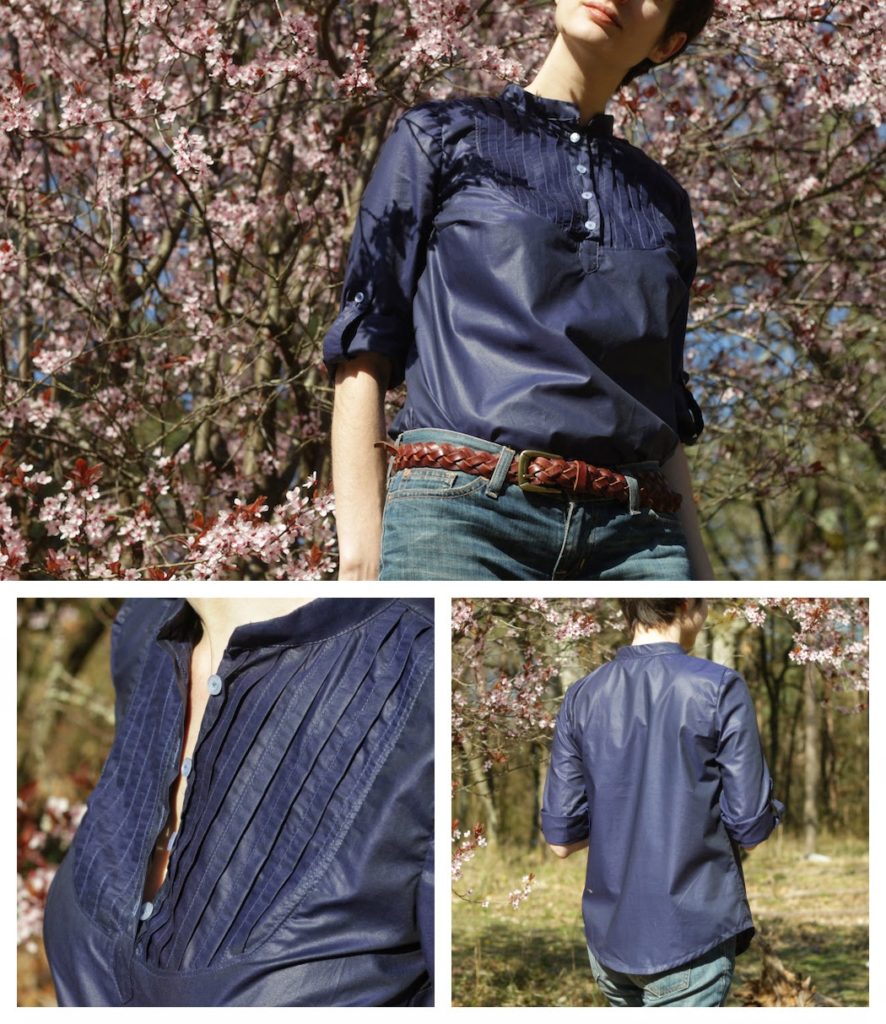
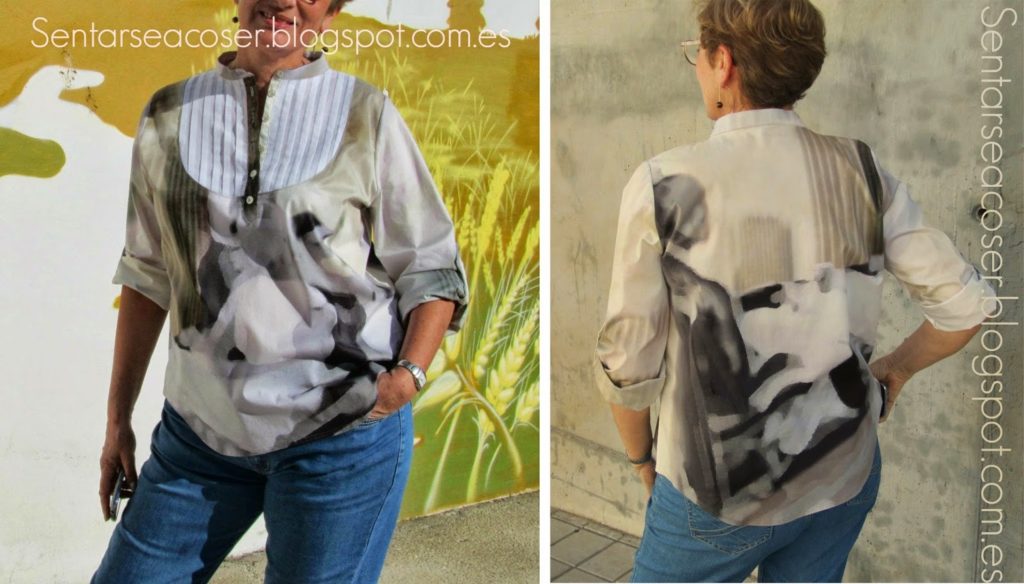
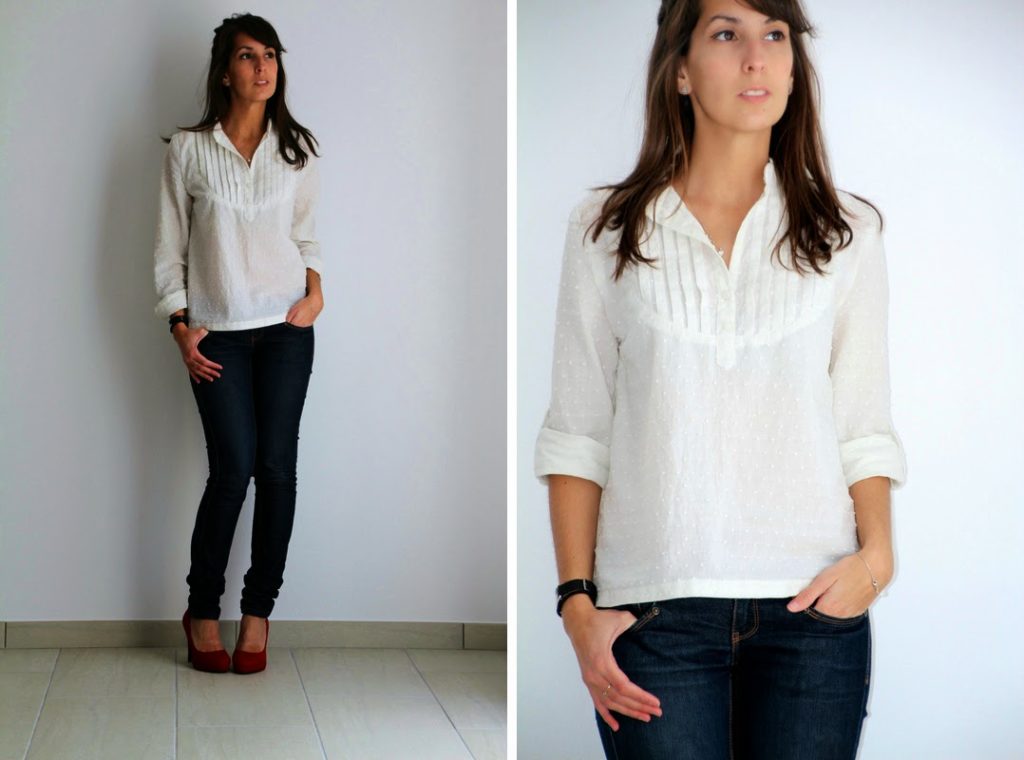
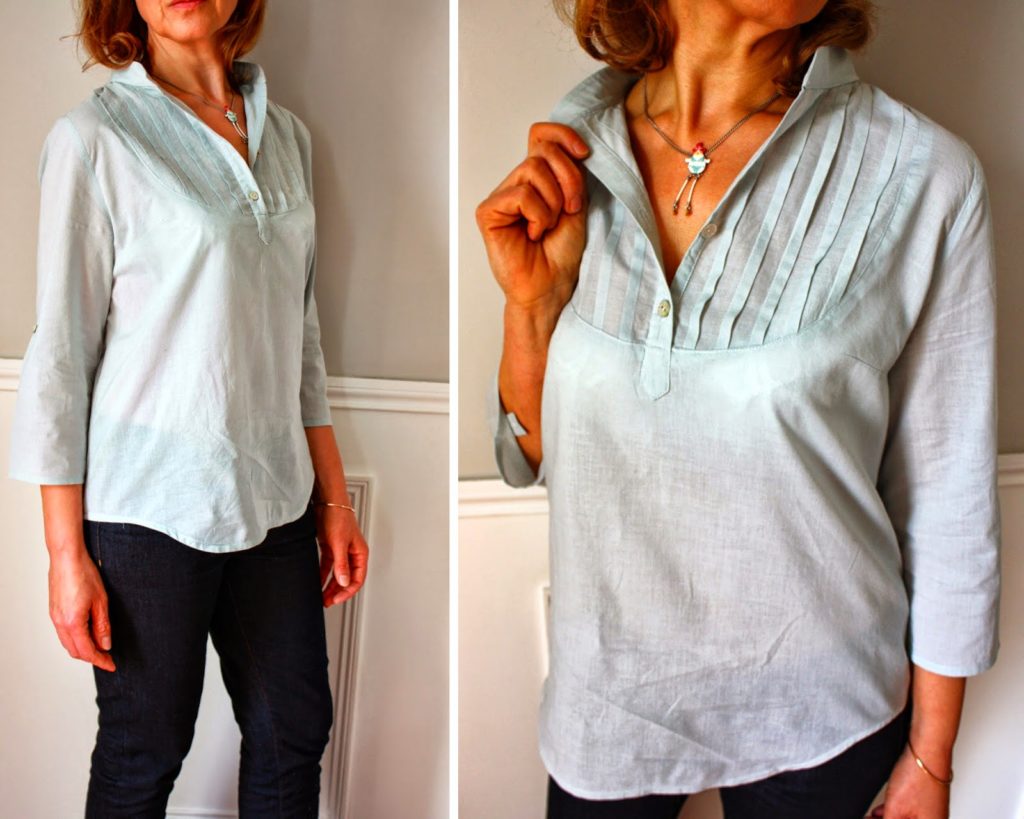
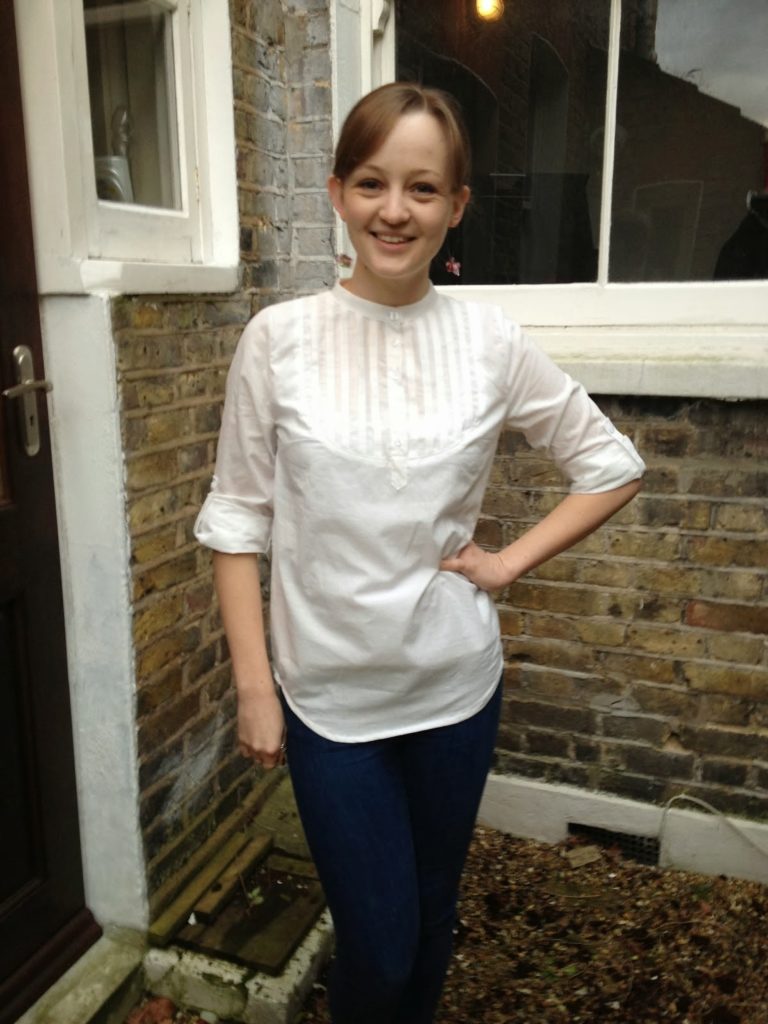
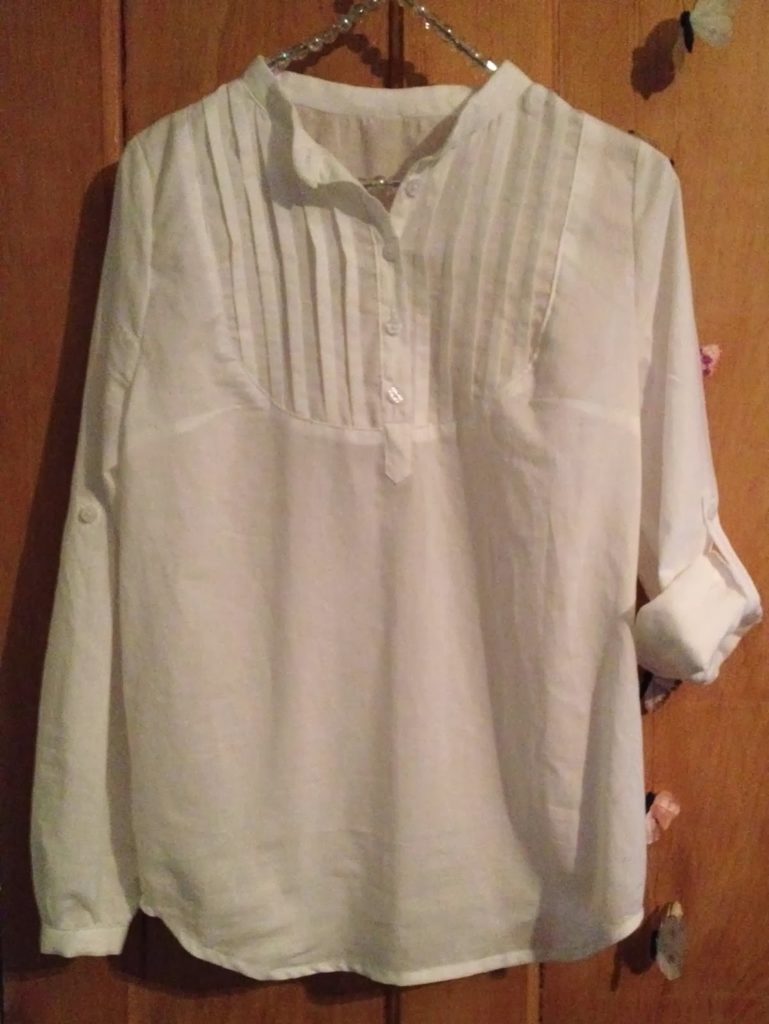
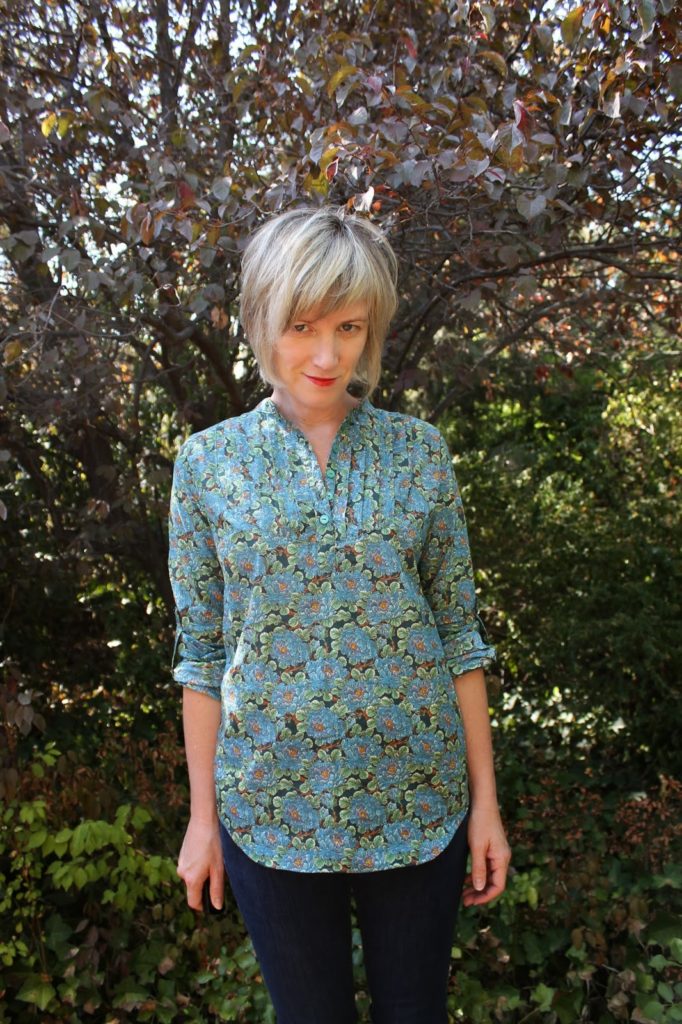
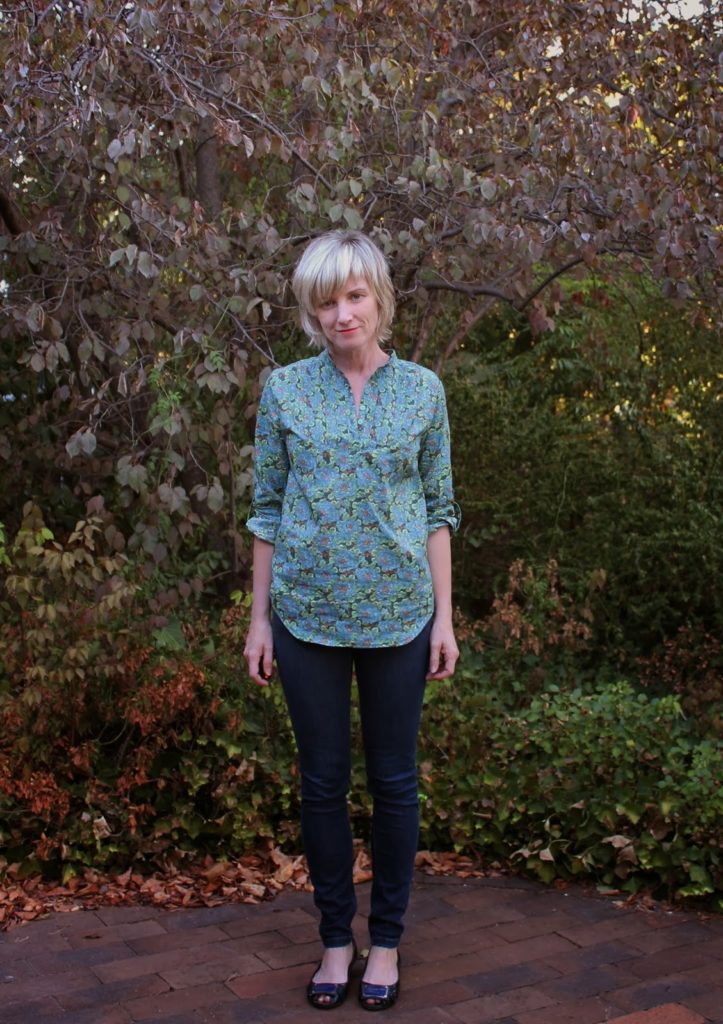
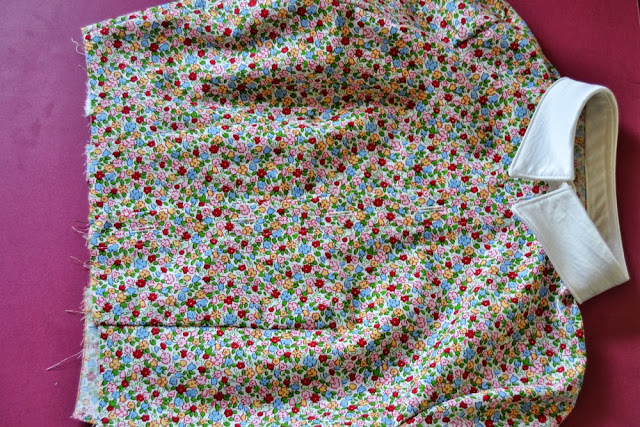
Have you tried your Carme blouse yet? There are just a few steps to finish now and you’ll be ready to wear your lovely creation out on the street…

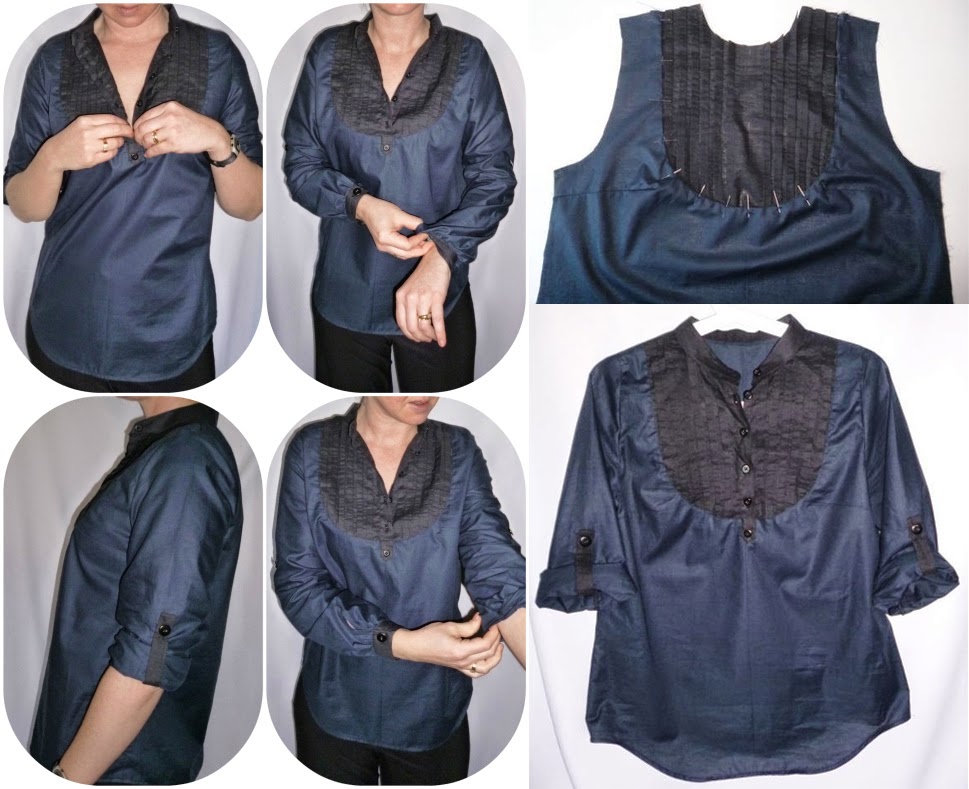
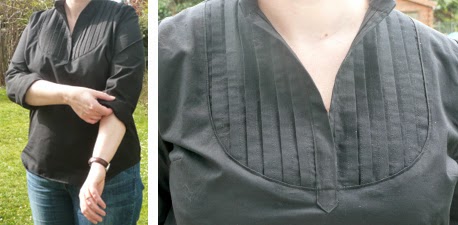
I don’t know about you, but sewing the collar has always been kind of stressful for me. What if it doesn’t fit into the neckline? And if the fabric doesn’t lay flat?
With this method of attaching the collar (thanks so much to Anna from the blog Paunnet for suggesting it while she was testing the pattern!), collars are going to be so easy now…

Have a great weekend and see you on Monday!


8 comments
1 FacebookTwitterPinterestEmail
I hope sewing the pin tucks was not too difficult. Remember that you can check the previous Sew-Along videos here.
Today, we’re going to see 2 tutorials:  first we’ll stitch the darts on the front bodice and join it to the yoke and then we’ll make the button placket. A little bit more work as the week-end is here!
FRONT BODICE

BUTTON PLACKET


I wish a very nice week-end! I’m going to enjoy the visit of my parents from France for the traditional festivities of Valencia, the Fallas.
8 comments
0 FacebookTwitterPinterestEmail

2

I’ve always wanted to make a saharienne inspired dress out of the Carme blouse pattern and I woke on Saturday morning with an urge to sew it Now! So I drank my morning tea and headed to the sewing room and I got out for lunch with this Safari Carme Dress.

5

As you can see, it’s still missing some closure on the front placket, I’m planning to make some kind of lace-up closure with eyelets like the Yves Saint Laurent original saharienne. But I was missing a hammer so I’ll finish it later…I used a natural linen, it’s so comfortable for the summer… I think it would also look great in light cotton or chambray. The fabric is from the Fabrics-store, they have an amazing linen selection (they sent me this fabric to make a tutorial of the Carme blouse and I had just enough left for the dress).

34

Here you can see the loose shape gathered at the waist by the belt and the other details I changed on the original Carme blouse pattern: I shortened the sleeves, added a breast pocket, lengthened the placket, added belt loops and lengthened the length of the pattern. These are very easy changes. Let’s see them on a diagram in case you want to make a Carme dress:

tutorial1

In red are the original pattern pieces and in blue the new ones, in black the pieces and marks that you don’t need to change:
  •  You can keep the pleated yoke if you wish but I wanted a simpler look so I joined the yoke (4) and the front (1) together and drew the new bodice front. I lengthen it by about 30 cm on the side (careful, the hem is curved).
  • I lengthened the back bodice by 30 cm as well (this measurement will depend on your height of course, I’m small so I don’t need to add a lot but you might want to add more or less length) and I made a more pronounced and longer curve at the back (I think the back is about 8 cm longer than the front).
  • I lengthened the front placket (5), it’s about 40 cm now.
  • You can use the same collar pieces (6).
  • I shortened the sleeves (3) right on the “shorten or lengthen here” mark and raised the new square mark about 12 cm under the top of the sleeve head. I used the same sleeve tab pieces (7).
  • I added 4 belt loops at waist level (2 on the front and 2 on the back) to wear a belt and give some shape to the dress. They are made of self fabric bias strips. These could also be place at hips level for a different look.
  • I added a breast pocket with flap. I made a box pleat pocket for an utilitarian look.
  • The only thing you would have to be careful about is the hip measurements: be sure to add enough room for your hips as the original pattern hits just above them. With following the lines and opening them just a little bit, my dress is very confortable and loose, but if you are pear shaped, that’s something I’d keep in mind when drawing the new pattern lines.
That’s it! Quite easy, no? I hope some of you will be tempted by this Safari Carme variation and if you have any question, feel free to contact me.


37 comments
0 FacebookTwitterPinterestEmail
CARME PARTY!!!
Thank you for sending me links to your blogs or photos of your beautiful Carme blouses! This is amazing to see the different versions you’ve made: we’ve got some prints, some plain fabrics, some contrasting yokes, with or without buttons, different sleeve lengths….
It sure gave me a lot of ideas for my next version ;)And now ladies, it’s your turn to show your gorgeous creations:

Bee Made‘s amazing print fabric is perfect for Spring, don’t you think? What an elegant blouse!

I love Gwendolyn‘s contrasting yoke and her beautiful Nani Iro fabric.

I love Marta‘s pretty blue Carme. The discreet print is lovely and make for a casual yet put together look.

Can you believe this is a muslin? I wouldn’t mind having muslin as pretty as Callimetrie‘s casual Carme 😉

Black and blue look great together, like on SB Creations version.

This fabric looks amazingly comfortable. And the red stitching to pick up the dots on the fabric is genious. Congrats l’Irbis!

Annie Coton‘s version is so pretty. The oiled fabric is a very original touch and the cherry blossoms make the perfect background.

Mary Carmen chose to make a contrasting yoke as well. Her fabric looks great and easy to dree up or down.

Dotted swiss: I dream about Sandra’s version. And as she pointed out, perfect for every situation: from the beach to the office.

Ocni‘s version in black cotton is going to get a lot of wear. So versatile it goes with everything…

What can I say about Blousette coquette‘s Carme? I absolutely love the colour! It’s like the twin sister of my last version, hehe.

Kerry‘s printed voile is so beautiful!  And those details are perfect. I love how she cut the yoke without pleats and on the cross-grain.

I’m overwhelmed to see the amazing reception you reserved to the Carme blouse pattern. THANK YOU so much!!!
If your photo is missing, send me an email and I’ll add it.
And remember that you can get the Carme pattern here: Carme blouse pattern.

I’ll let you know more about the next pattern very soon as it’s being tested right now and about the great news: my patterns will be available on print! You will be able to choose between the PDF downloadable pattern and the printed pattern to be send at your home. More coming soon…

Have a great week!

24 comments
0 FacebookTwitterPinterestEmail

Sorry for the silence, I’m working hard on the next pattern and times flies when you are glued to a computer screen all day long…

As a welcome interruption from all those pixels, I thought I would show you the Carme blouse I made during the Sew-Along. If you have seen the videos, you’ve seen my fabric. It’s an aqua green cotton, very fresh and spring-like, and so easy to work with.

I chose mother-of-pearl buttons with some gold for a delicate look.

As for the pattern and construction, I’m not going to say anything special as you can see every details on video tutorials 😉Carme blouse pattern, pauline alice patterns, in aqua green cotton and mother-of-pearl and golden buttons.2copiaCarme blouse pattern, pauline alice patterns, in aqua green cotton and mother-of-pearl and golden buttons.

Carme blouse pattern, pauline alice patterns, in aqua green cotton and mother-of-pearl and golden buttons.

I’ve already received some pictures of your beautiful Carme blouses, I can’t wait to show them all!

27 comments
0 FacebookTwitterPinterestEmail

I’m very happy to make a Sew-Along for the Carme blouse, and with videos! How great is that? I think it’s going to be really cool and easy for you to follow (and you won’t have to read a 10 km long post everyday other day, hehe). The other good thing is that all the videos will be available indefinitely, so even if you can’t join right now, you’ll be able to access them here on the blog or through Youtube.Let’s talk about the schedule. As you might want to buy fabric (and maybe make a muslin), I’ll give you more than a full week to gather the tools and material for the Carme blouse. Here is the schedule:

Monday, March 3rd: inspiration and variation
Monday, March 10th: Cut the fabric
Wednesday, March 12th: Pin tucks
Friday, March 14th: Yoke and placket
Monday, March 17th: French seams
Wednesday, March 19th: Sleeves
Friday, March 21st: Collar
Monday, March 24th: Hem
Wendesday, March 26th: Buttonholes
Monday, April 7th: Your Carme Party!!!

You can start collecting your material right now, here’s what you’ll need:

  • Lightweight woven fabric such as cotton voile, lawn, batiste,dotted swiss, chiffon, linen, chambray…
  • Fabric (150 cm wide): 1,7 m  (60″ wide: 1,9 yard)
  • Fabric (115 cm wide): 2 m   (45″ wide: 2 1/4 yards)
  • 10 small buttons
  • matching thread
  • optional: fusible interfacing for the collar if your fabric is too light on its own (20 x 50 cm or 19,7″ x 7,9″)

And here is the Sew-Along button (Click right on the image to save it):

So let me know if you’re going to join and don’t hesitate to ask me anything in the comment section so that everybody can share. I also created a flickr group so you can post pictures of your Carme blouse.
I’m really looking forward to start sewing with you!
Have a wonderful weekend!


25 comments
0 FacebookTwitterPinterestEmail
Here is round 2 of the testers versions of the Carme blouse pattern!
Read about the first part here.
Fiona from Diary of a Chain Stitcher chose a white cotton lawn, breezy and with a nice drape, to make her Carme. That will be such a great blouse to wear in spring and summer. It also shows beautifully the pin tucks details.
Like the busy seamstress she is, Sonia from La Pequeña Aprendiz found the time to make 2 Carme: one blouse and one dress variation. This is so lovely! And see how she incorporated the piping around the yoke: genious idea!
I hope these lovely ladies have inspired you!
On Friday, we’ll discuss the Sew-Along schedule.
9 comments
1 FacebookTwitterPinterestEmail
Thank you all for the amazing reception to the Carme blouse over the first weekend! Your comments (and your orders of course!) were so nice, I’m really touched!
So for those who have ordered the pattern or need some inspiration to get it, let’s see the beautiful versions of the pattern testers (second part is coming on wednesday).
Go read all the details about their Carme blouse on their blogs:

Carme Shirt 071PicMonkey Collage

Merche from Aventuras de costuras, made this beautiful cashmere print blouse with a white contrasting yoke. I don’t know about you but I want to make one lie that as soon as possible.

IMG_5698IMG_5727

The master of Liberty fabric, Kirsty from Top Notch, used this beautiful blue and green Liberty. It feels really romantic and easy going.

Carme-Blouse-Tucked-in-1-568x1024Sleeve-tabs

What a delicate and feminine fabric! Andrea from Stitch Parade chose this pretty cotton voile to sew her Carme blouse. A detail I love: the buttons and topstitching in red!
See you Wednesday for part 2…


13 comments
0 FacebookTwitterPinterestEmail
carme blouse pattern, blouse pattern, pauline alice, pin tuck, yoke, button placket, sleeve tab
I’m really happy to present the brand new pattern: the Carme blouse!
This is a casual, and yet feminine, blouse with a button placket, a pin-tucked yoke, a small mao collar and long gathered sleeves that can be rolled up with the sleeve tab.
carme blouse pattern, blouse pattern, pauline alice, pin tuck, yoke, button placket, sleeve tab
I wanted to design a blouse that you could wear everyday and still look elegant. With your favourite pair of trousers or your favourite skirt, it will be perfect to wear from the morning to work until the night for a drink, or on the weekend walking in the city.
2copiacarme blouse pattern, blouse pattern, pauline alice, pin tuck, yoke, button placket, sleeve tab
I really hope you’ll love the pattern as much as I do! I’m preparing a series of video tutorials so you don’t have to feel intimidated by the yoke detail and the button placket. The pattern is for an intermediate level, but with the tutorials, an advanced beginner can easily make it.
Buy the pattern here: Carme blouse pattern.
Have a great weekend!


54 comments
0 FacebookTwitterPinterestEmail
I can now show you the Camí dress I made for the Sew-Along! I used a floral cotton fabric and a white cotton sateen for the contrasted collar and cuffs (that’s a look I saw on a Dolce & Gabanna dress and I thought I could try to make a modest replica).
Now I really looking forward to show all your pretty dresses on the 25th…
And I remind you that there will be one lucky winner of the next pattern during the giveaway!


my-camy-dress-sewing-pattern-1my-camy-dress-sewing-pattern-2my-camy-dress-sewing-pattern-3my-camy-dress-sewing-pattern-4

pauline-sewing-pattern

32 comments
0 FacebookTwitterPinterestEmail
When I went sewing machine shopping, I knew that one of the main feature I wanted was automatic buttonholes. I love that feature!
So let’s make the buttonholes and sew the buttons on our dress today!
The buttonholes/buttons on the pictures are inversed: buttonholes should be on the right side and buttons on the left. I had to make the change because of the way the collar way standing. Please follow the instructions and sorry for the confusion.
BUTTONHOLES
cami-sew-along-buttonholes-pattern-1
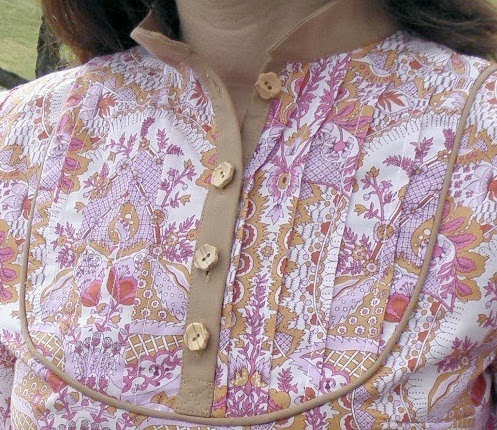
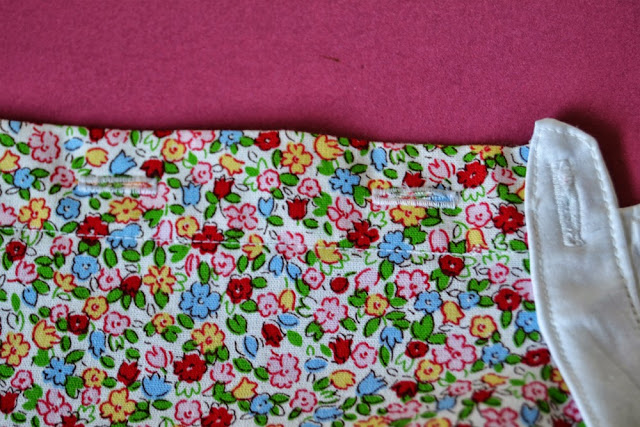
1.Mark the buttonholes on the right side and the buttons on the left side. Mark the buttonhole and button on the under collar as well.

cami-sew-along-buttonholes-pattern-2
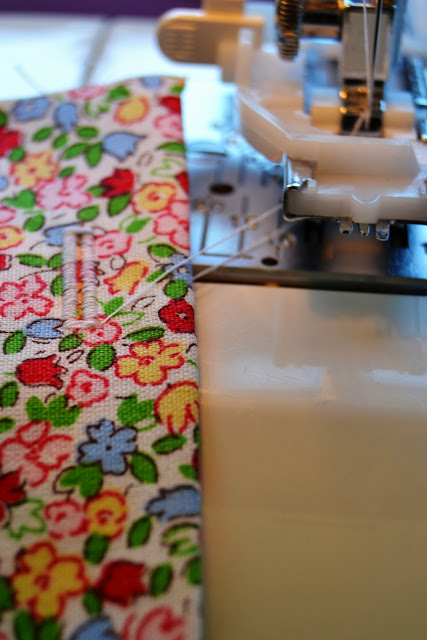
2.Stitch the buttonholes on the right side. Sew the buttons on the left side.
cami-sew-along-buttonholes-pattern-3cami-sew-along-buttonholes-pattern-4

3.Open the buttonholes with your seam ripper. Be careful not the cut the threads!

cami-sew-along-buttonholes-pattern-5cami-sew-along-buttonholes-pattern-6

4.Overlap the buttonhole placket over the button placket and baste the edge. The bodice is now opened only on the left side (where we are going to insert the zipper).
Have a great week end (I’ll be having a great one at a wedding!) and see you on Monday for sewing the skirt up and attaching it to the bodice!
pauline-sewing-pattern
6 comments
0 FacebookTwitterPinterestEmail

Today we’ll do some actual sewing, so grab your bodice pattern pieces and your fabric!

BODICE FRONT DARTS

comi-sew-along-sewing-bodice-pattern-1
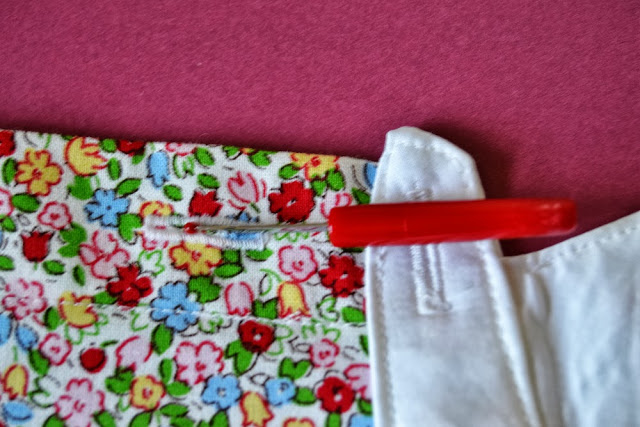
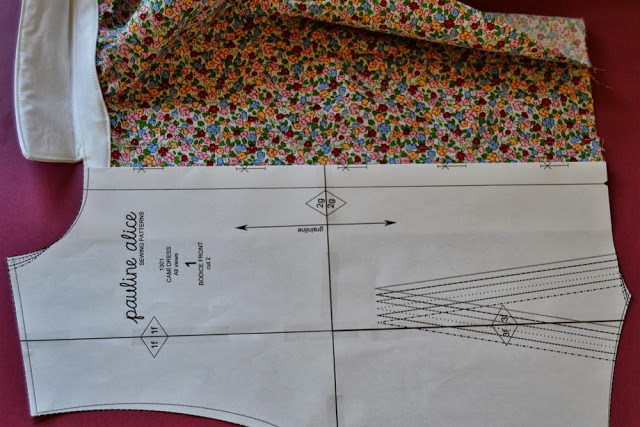
1.Take your bodice front piece and make sure you have transfered all the markings (dart, sleeve marking, zipper marking).

comi-sew-along-sewing-bodice-pattern-2
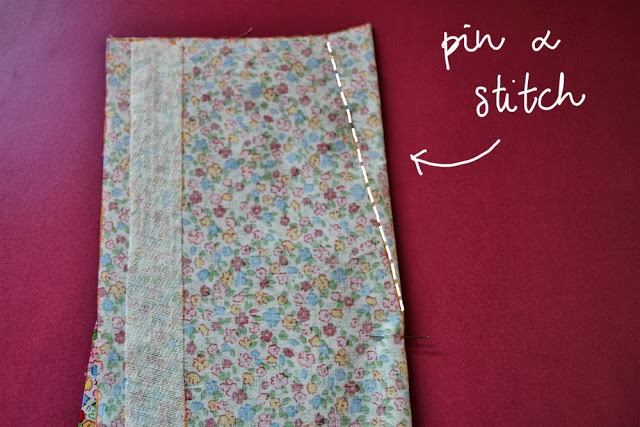
2.Fold the dart in the center with right sides together, matching up the dart legs. Pin into place.

comi-sew-along-sewing-bodice-pattern-3
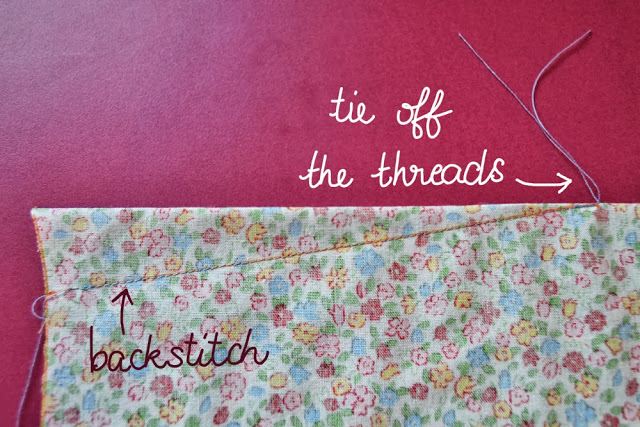
3.Stitch the dart: backstitch at the beginning but not at the end. When you arrive at the dart tip, tie off the threads.

comi-sew-along-sewing-bodice-pattern-4
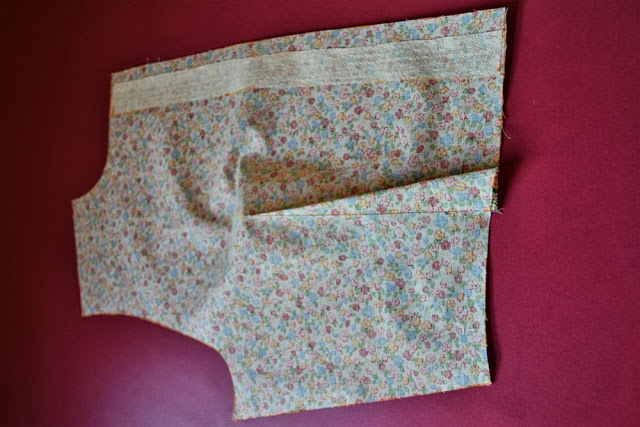
4.Press the dart toward the center.

5.Repeat steps 1 to 4 for the other bodice front piece.

BODICE BACK DARTS

comi-sew-along-sewing-bodice-pattern-5
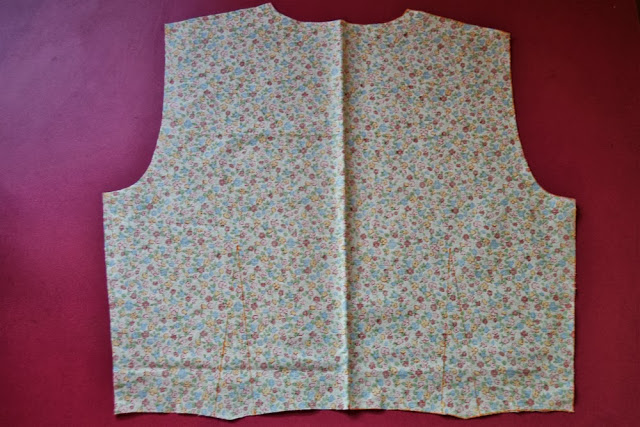
1.Take your bodice back piece and report all markings (darts, waist and collar center, sleeve and zipper markings).
comi-sew-along-sewing-bodice-pattern-6
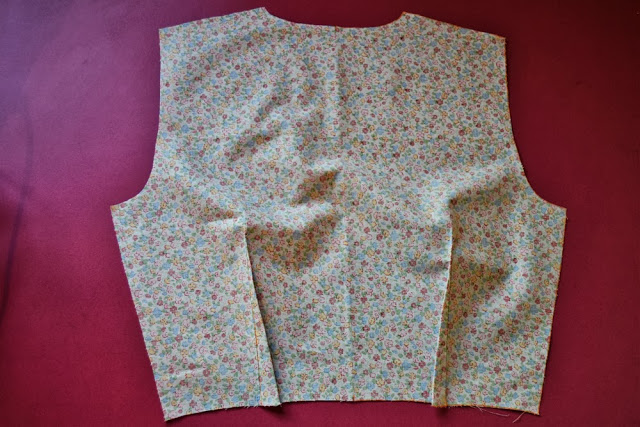
2.Stitch the darts like for the bodice front and press them toward center.

SIDE SEAMS

comi-sew-along-sewing-bodice-pattern-71.With right sides together, pin the bodice front’s right side to the bodice back. Stitch, press the seam open and finish seam allowances as you prefer (serger, zig-zag, binding, french seams).

comi-sew-along-sewing-bodice-pattern-8
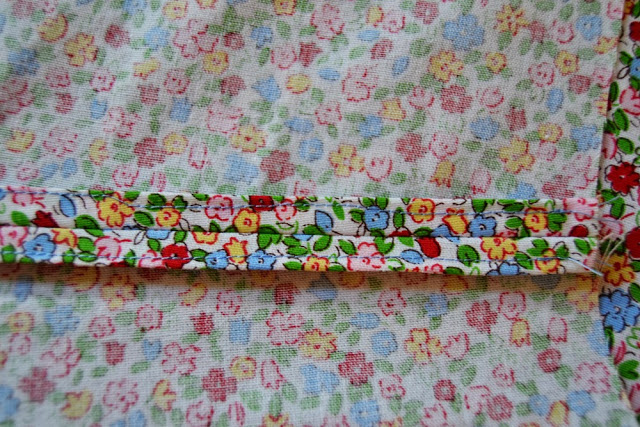
2.I decided to make a turned-and-stitched finish.

comi-sew-along-sewing-bodice-pattern-9
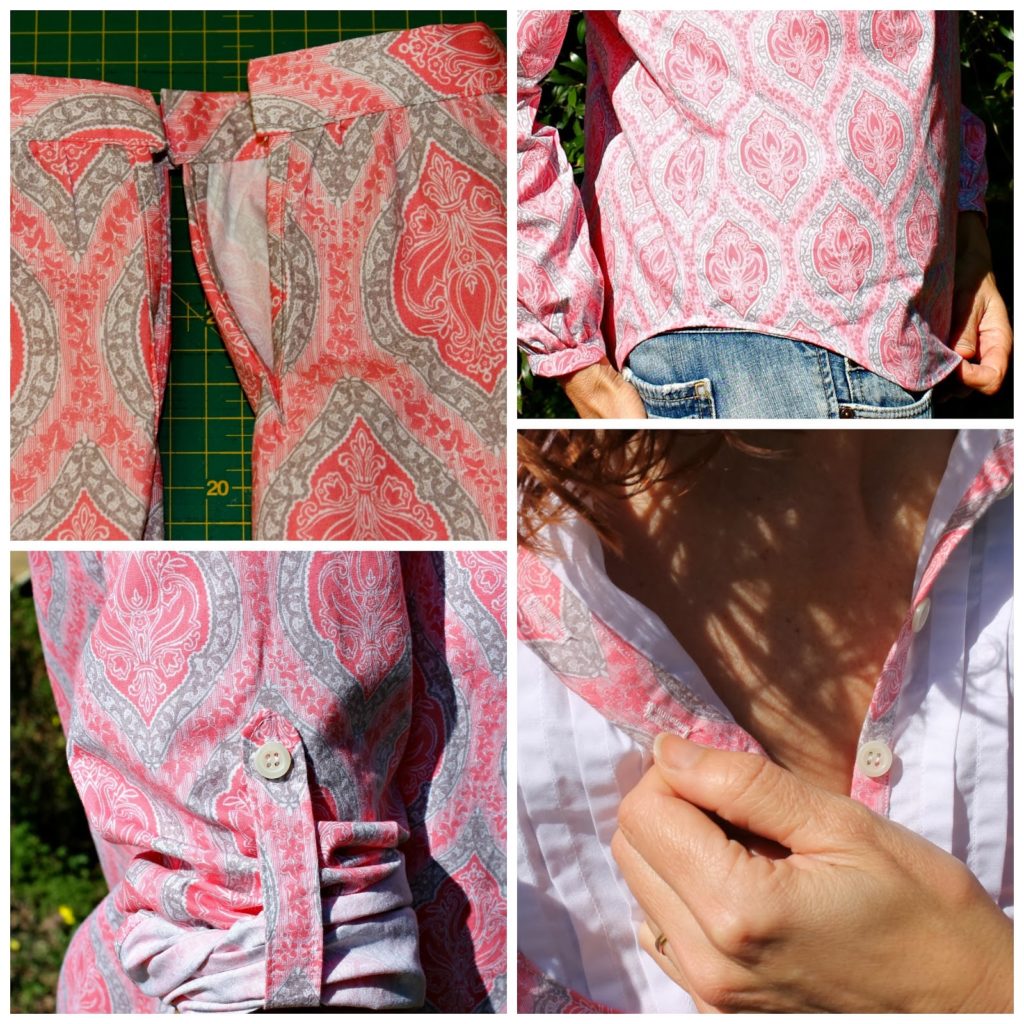
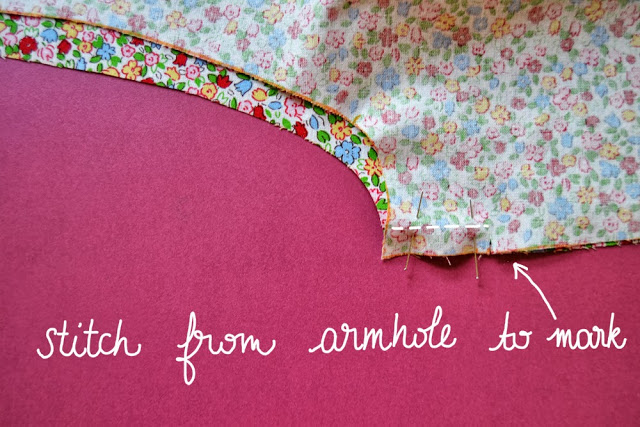
3.On the left side, stitch from the armhole to the zipper marking. Depending on how you finish you seam allowances, you might want to finish them before stitching the side seam (serger, zig-zag).

SHOULDER SEAMS

comi-sew-along-sewing-bodice-pattern-10
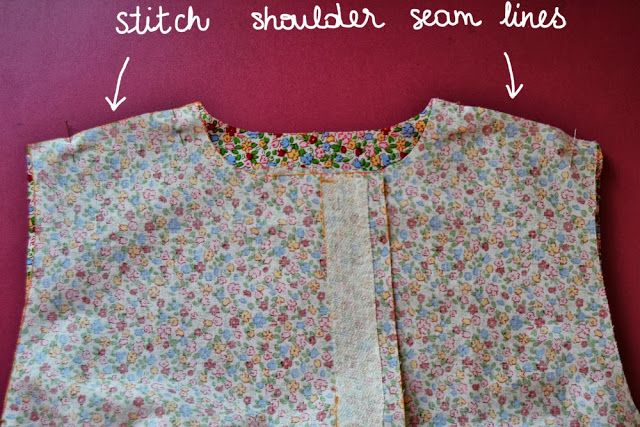
1.Pin the shoulder seams together with right sides together and stitch. Press the seams allowances open and finish them.

BUTTON PLACKET

comi-sew-along-sewing-bodice-pattern-11
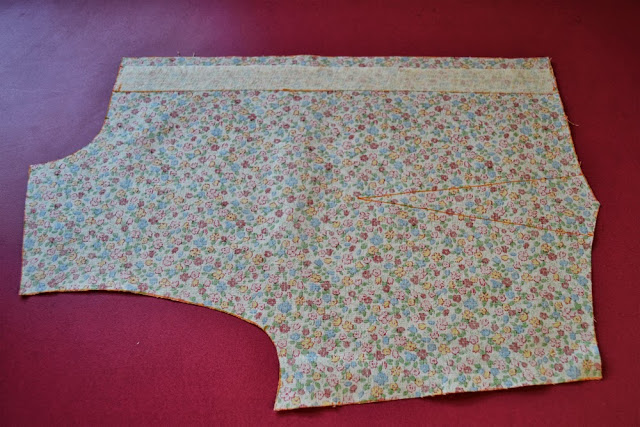
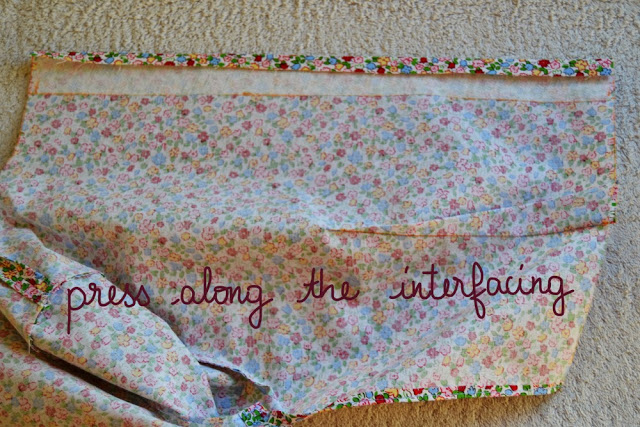
1.Take the bodice front. Fold and press the fabric margin (1 cm, 3/8″) along the interfacing, following the markings, like on the picture.

comi-sew-along-sewing-bodice-pattern-12
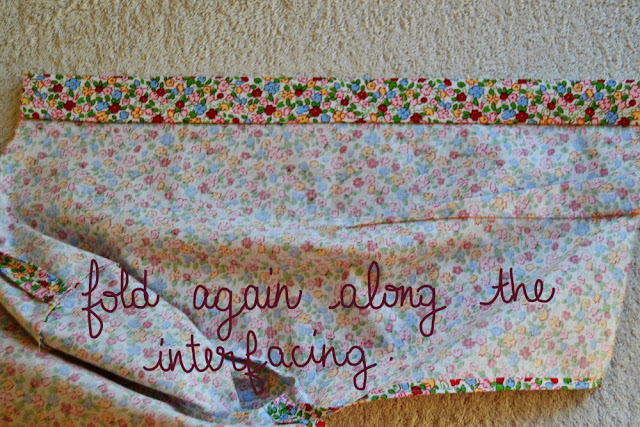
2.Fold again follwing the markings (3 cm, 1,2″) and press.

comi-sew-along-sewing-bodice-pattern-13
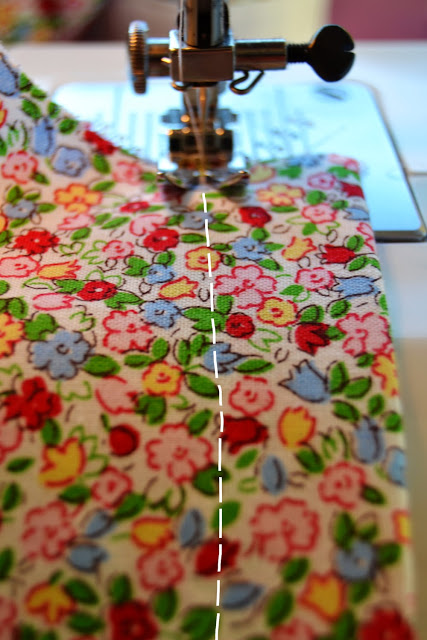
3.On the right side, stitch very close the fold. Repeat on the other bodice side.

That’s all for today! You can now try your bodice, it’s open on the front and at the bottom of the left side. Tomorrow we’ll see how to add a little breast pocket. So cute and practical!


pauline-sewing-pattern


12 comments
0 FacebookTwitterPinterestEmail
  • 1
  • 2