Today we’ll see how to make simple changes to the Alameda pattern: how to lengthen or shorten the bodice and how to connect two sizes together on the skirt part.
Note: If you have made a Full Bust Adjustment according to the previous tutorial, you have noticed that the front bodice is slightly longer than before. If you want to lengthen/shorten it as well, do it after the FBA so that you modify all the bodice pieces the same way.
First, let’s lengthen the bodice:
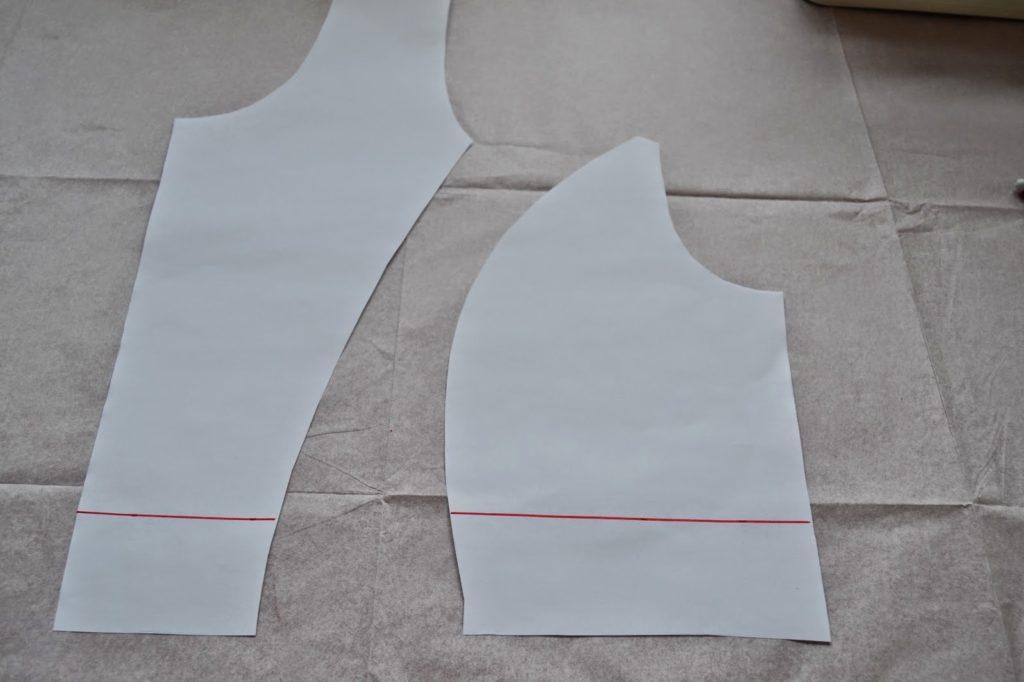
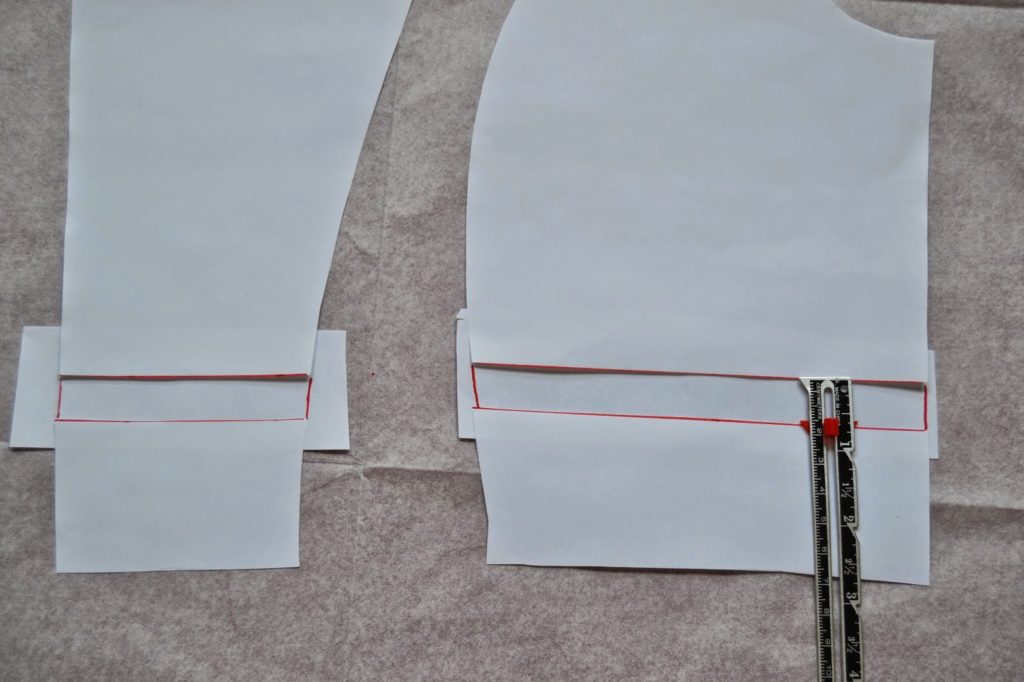
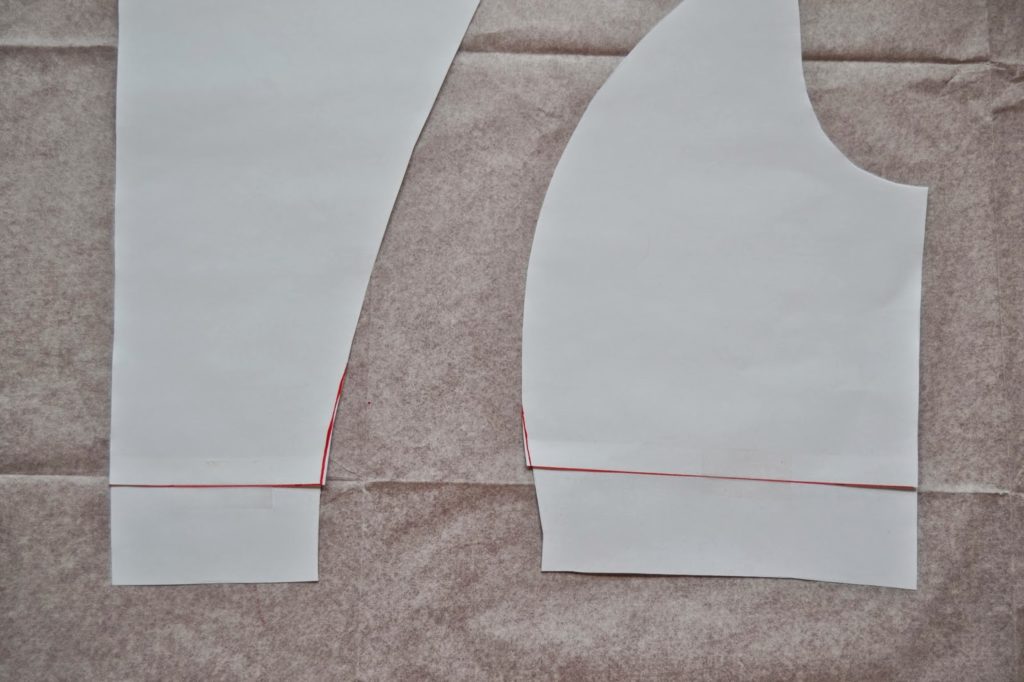
1. Overlap the pieces by the length you need to remove. Make sure you remove the same length on all the bodice pieces. Tape together.
If you need to connect 2 different sizes on the skirt pieces, here’s how to do it:

1. With a ruler, connect two lines together (in red 40-42 and in blue 42-46 for exemple, but not more than an 2 size difference) by drawing a new line from the top to the bottom. Repeat this step on all the skirt pieces and don’t forget to change the marks placement.
There you go! These changes were quite easy and will help you get the best possible fit for your Alameda dress.
Ask any questions you have in the comments section…