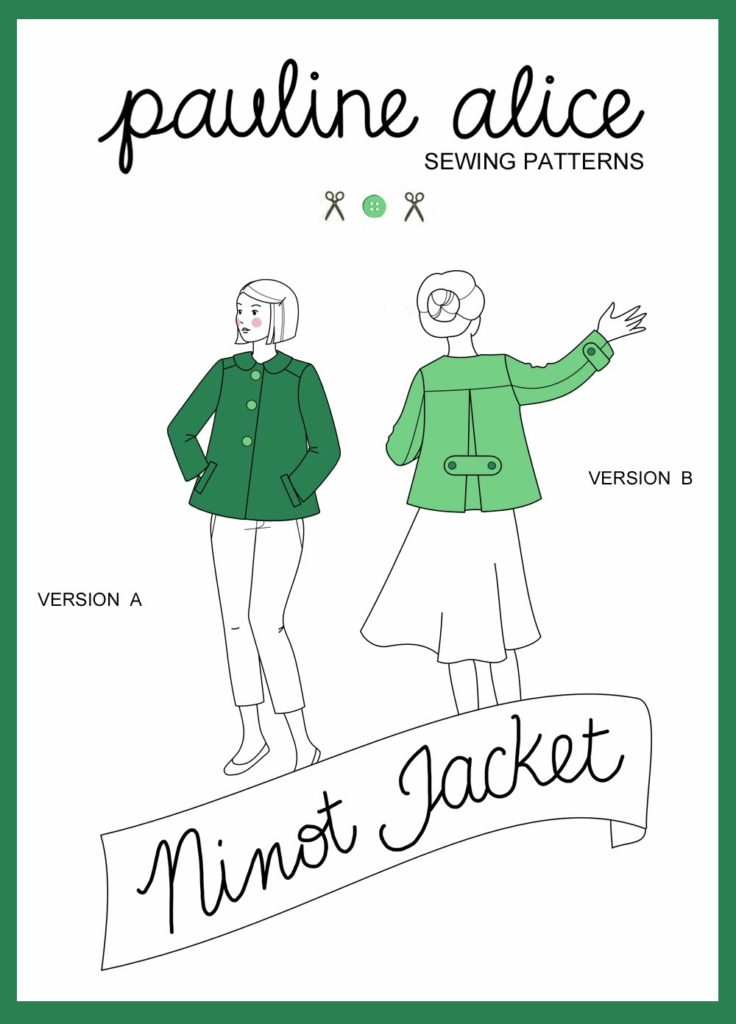
After a post last week, here I am again, back from my hibernation with 2 new patterns: The Xerea Dress and the Sorell Trousers.Let’s talk about the latter today:

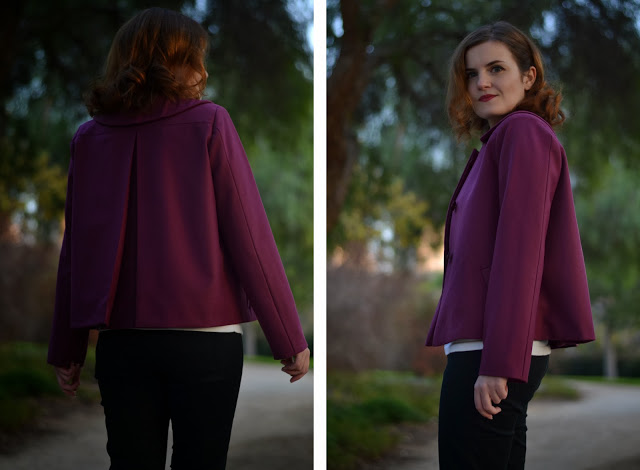
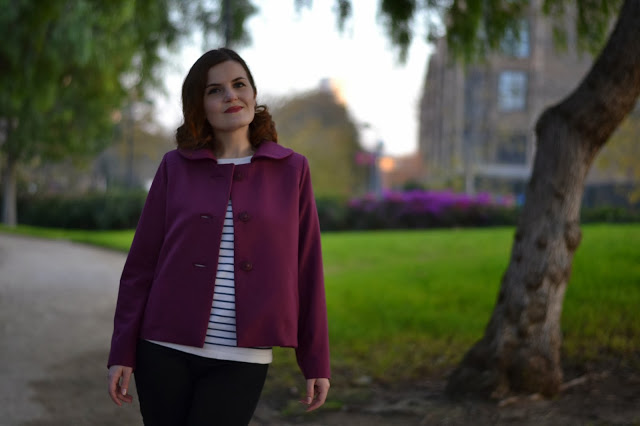
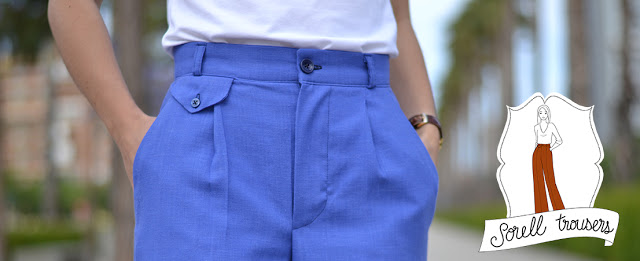
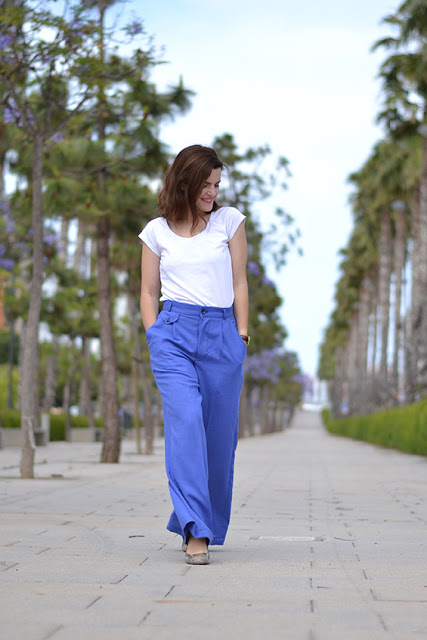
The Sorell trousers are high waist pants with a lot of details inspired by men’s trousers (even the zipper side!). And you’ll recognize the style of the Hollywood actresses I admire: Katherine Hepburn’s casual confidence, Marlene Dietrich’s androgyny, Vivien Leigh’s modernity…
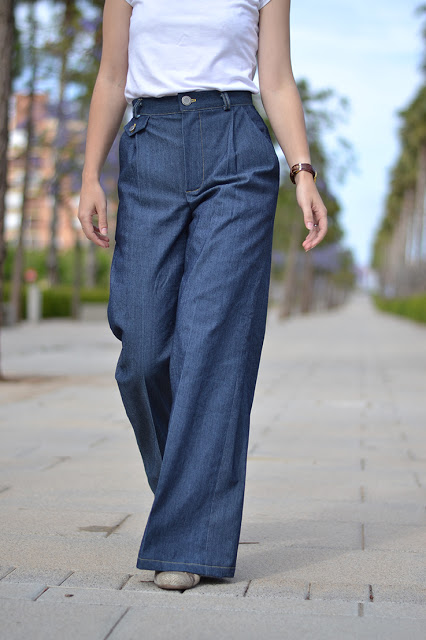
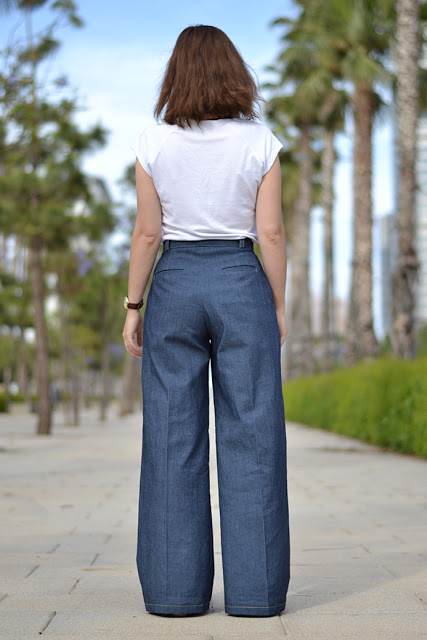
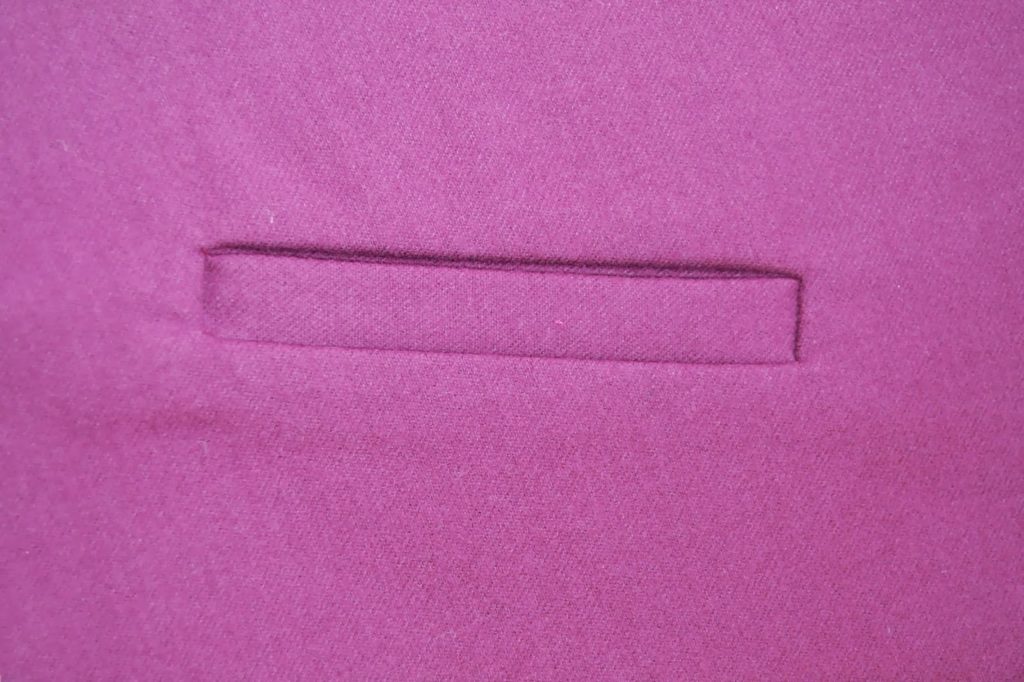
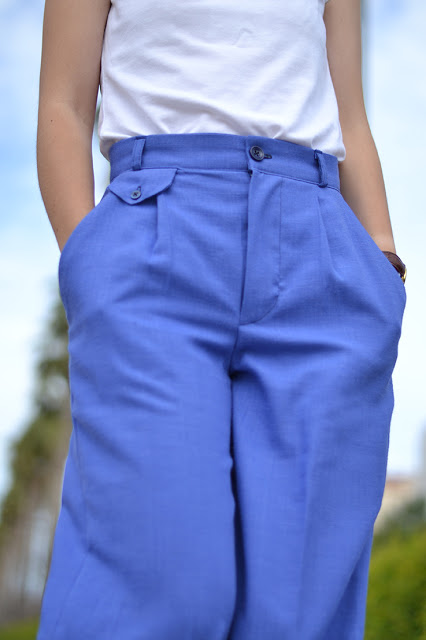
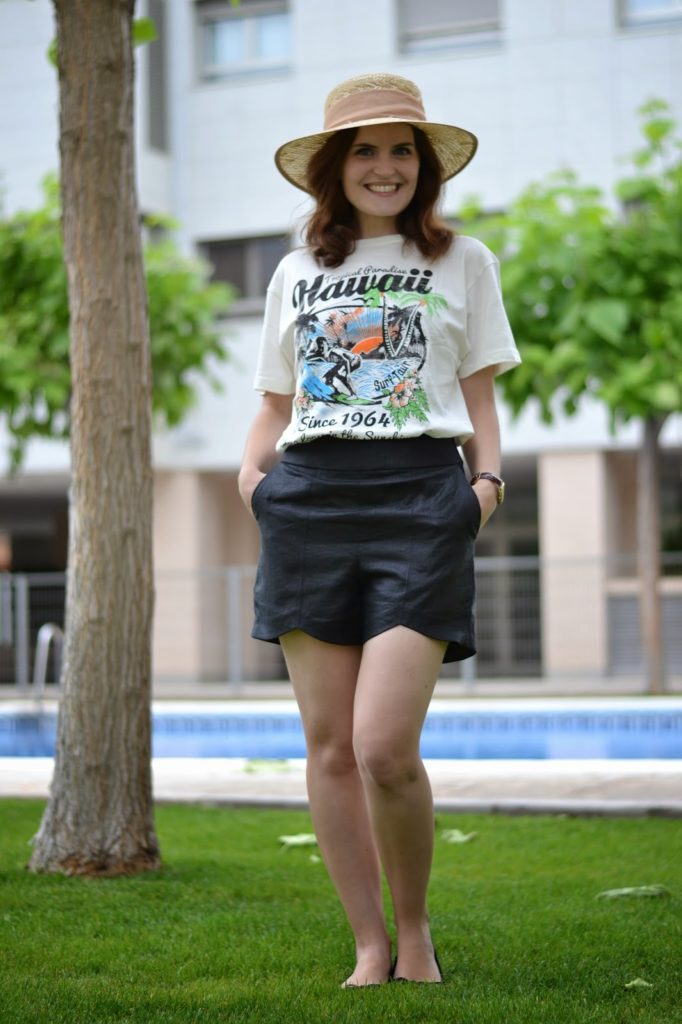
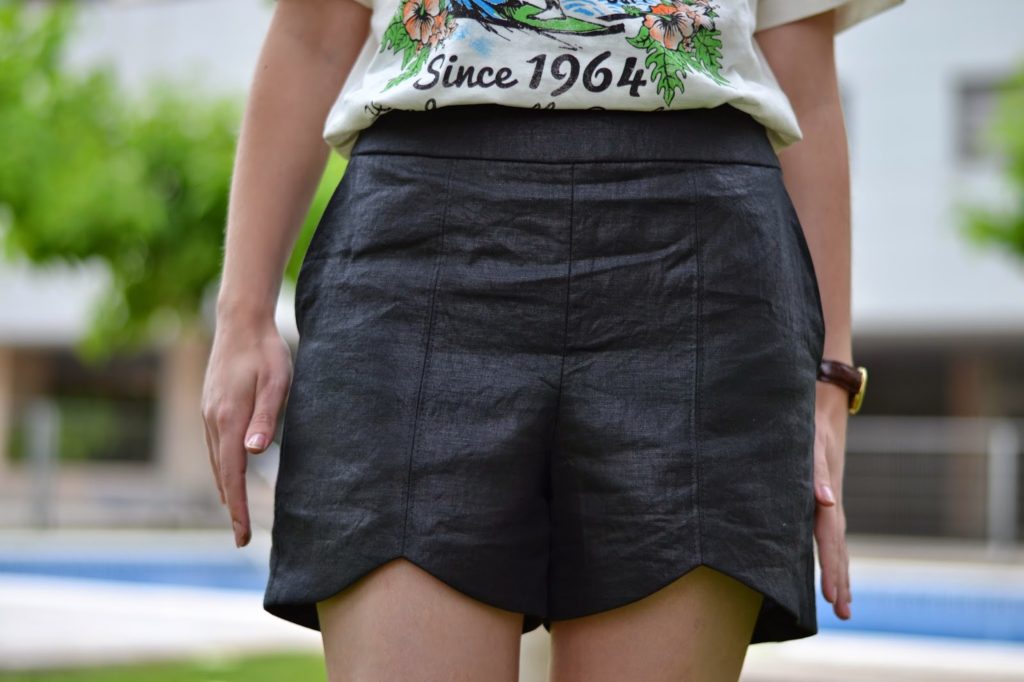
If you’re a fan of pockets, you’ll be more than happy with its 4 kinds of pockets: slash pockets, watch pockets and then View A has back welt pocket whereas View B has patch pockets. Of course you can choose to make only the front slash pockets to make it easier or if you plan to use a printed fabric.
Talking about fabrics: Sorell is perfect with a woolen fabric for winter, linen for summer or denim for a retro look. And if your fabric has a little bit of stretch, no problem (but I wouldn’t recommend anything with more than 3 %).
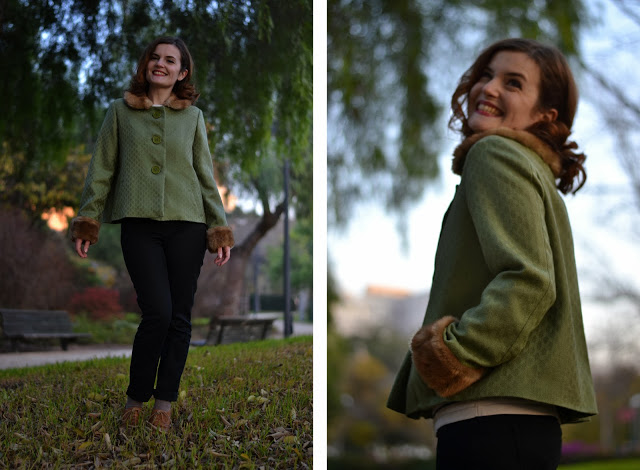
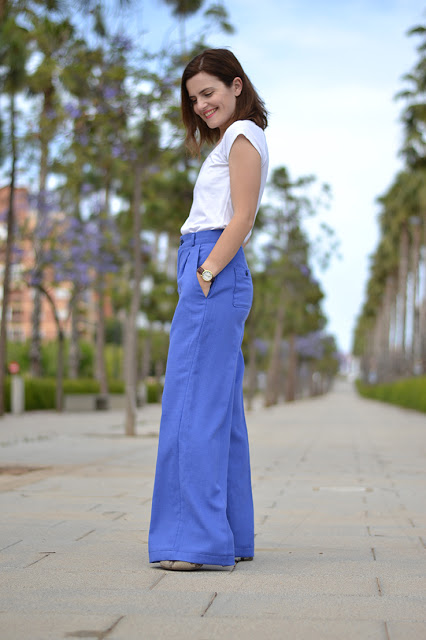
 For a vintage look, the trousers legs are wide but the waist and hips are fitted so if you are between 2 sizes or you’re afraid to be unable to sit after lunch, choose the bigger. Anyway, the best solution it still to make a muslin (even a simplified one with the main pieces).
I’ll be coming back with a step-by-step photo tutorial very soon, so even if it’s your first pair of trousers, don’t be afraid to try it!
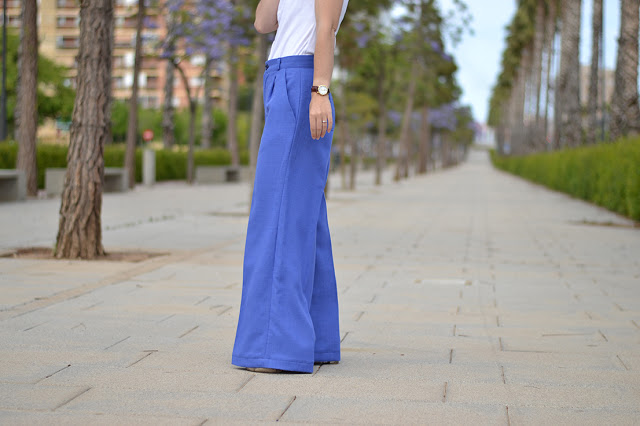 Just a word on the fabrics i used: View A is made in denim from The Sweet Mercerie and View B in a linen/silk mix from Julián López.


 The sizing of the pattern is good but I found it a little big. According to the measurements, I cut a size XS (and didn’t make a muslin, silly me) but when I tried it on, it was large both at the hips and at the waist (it’s supposed to sit at the natural waist). I remember reading reviews saying the same. I stitched 1,5 cm seam allowances all over instead of the 1 cm included in the pattern. But I think I’ll just cut the XXS size next time as it’s still a little big (it’s the first time I’ve entered into such a small size haha). I would also make them a little bit shorter, but that’s a personal preference. But these are such easy changes that I can only say the best about this pattern (and it’s really my fault as I could have avoided that by making a muslin).
 The instructions are clear (the welt pocket lining could be easier, if you have never made one, take your time and check their online

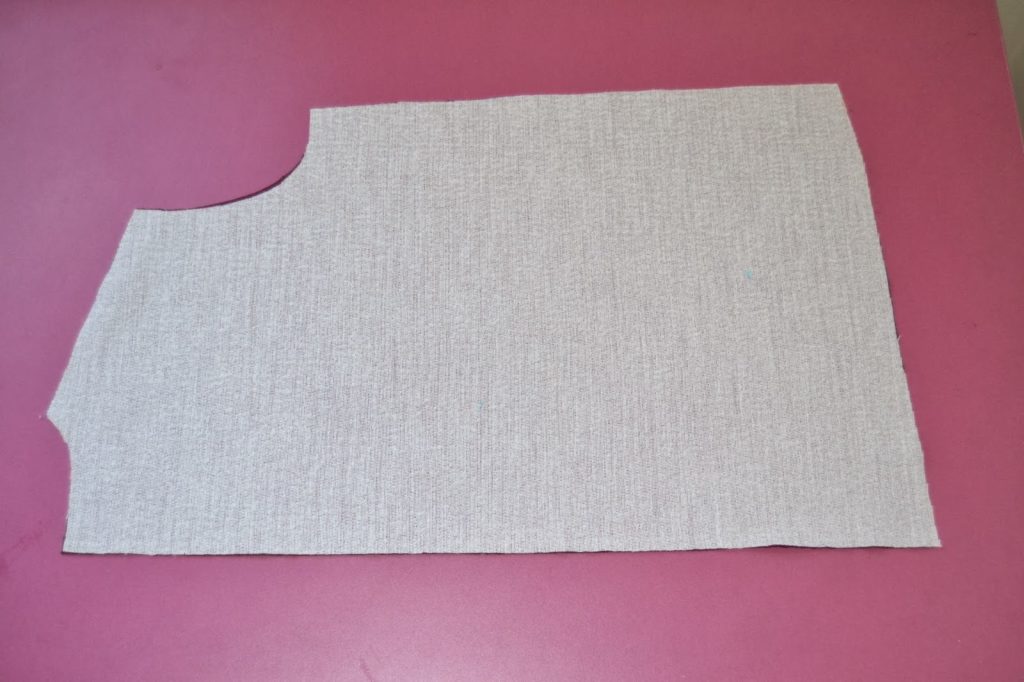
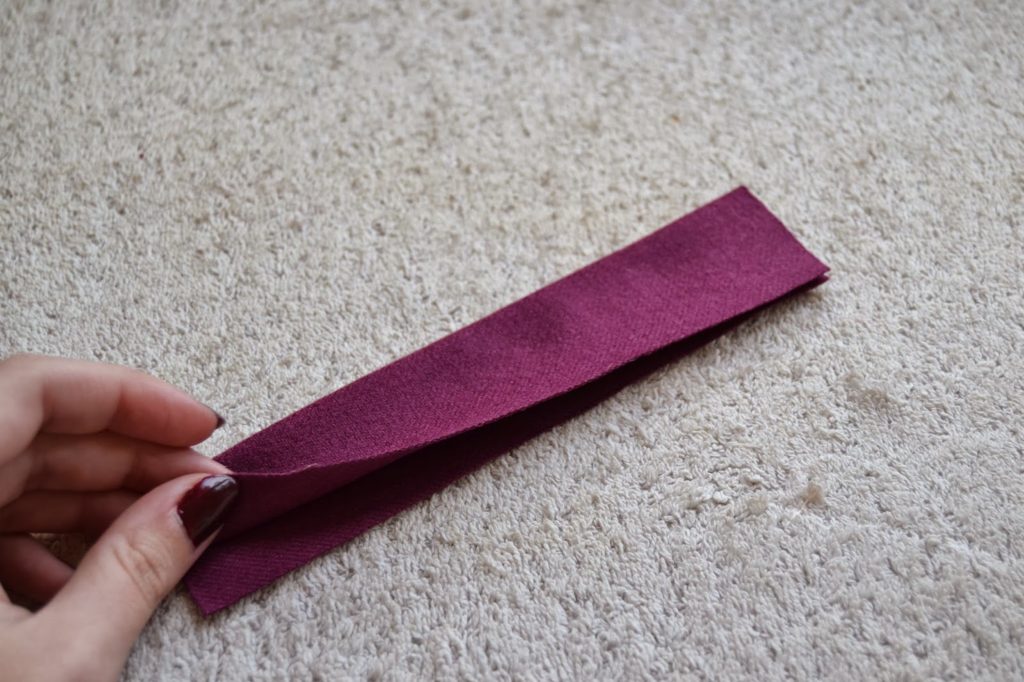
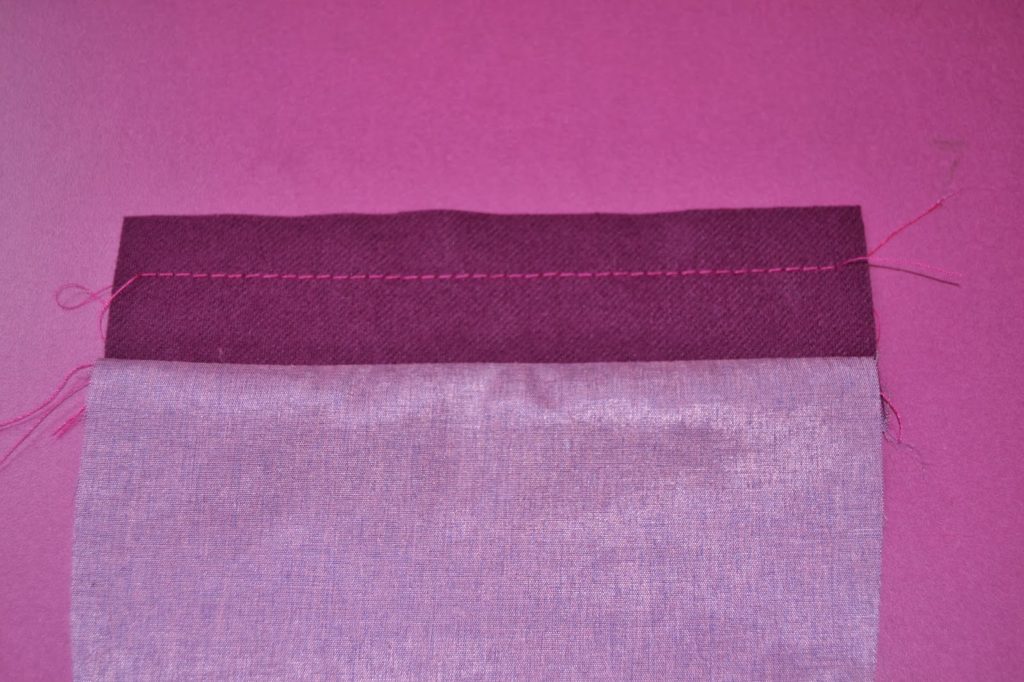
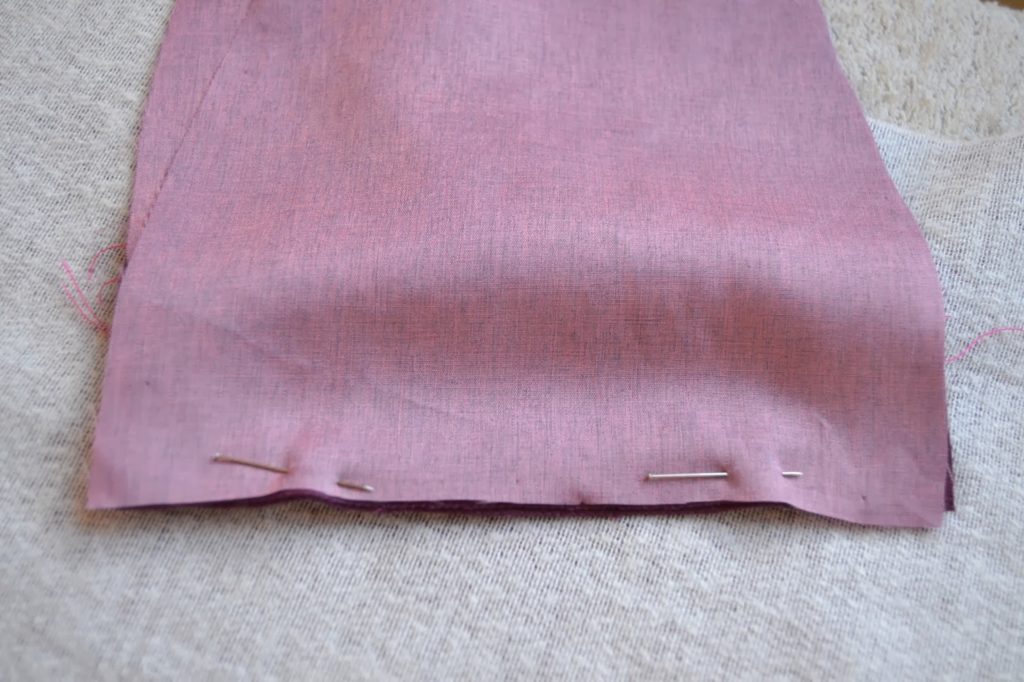
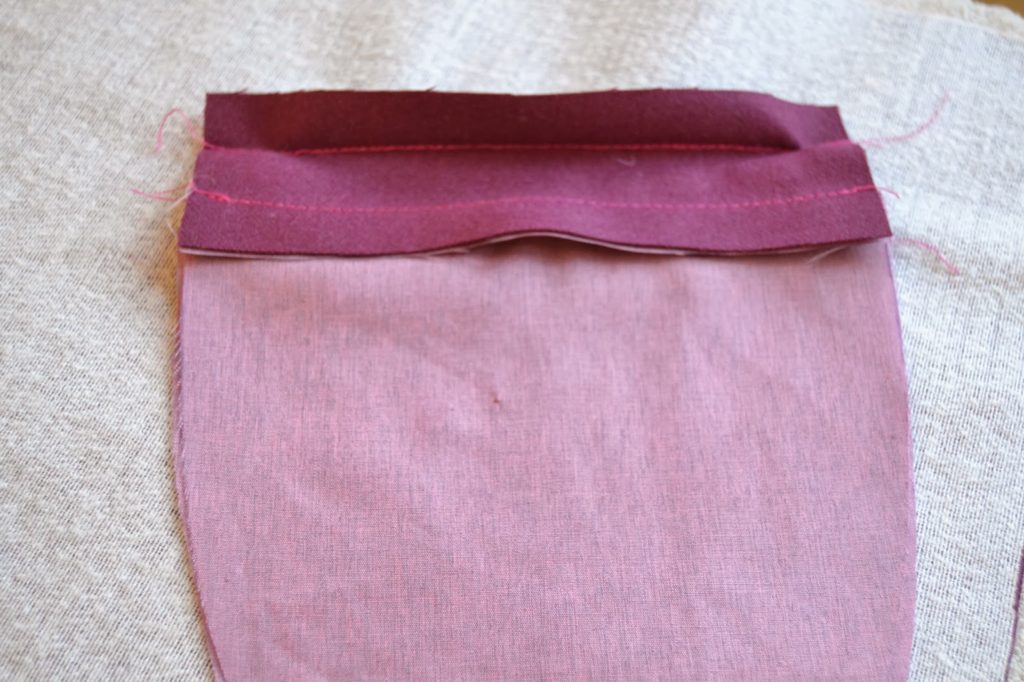
 3.Fold the welt piece in two with wrong sides together. Baste it at 1,5 cm (5/8″) from the outer edge.
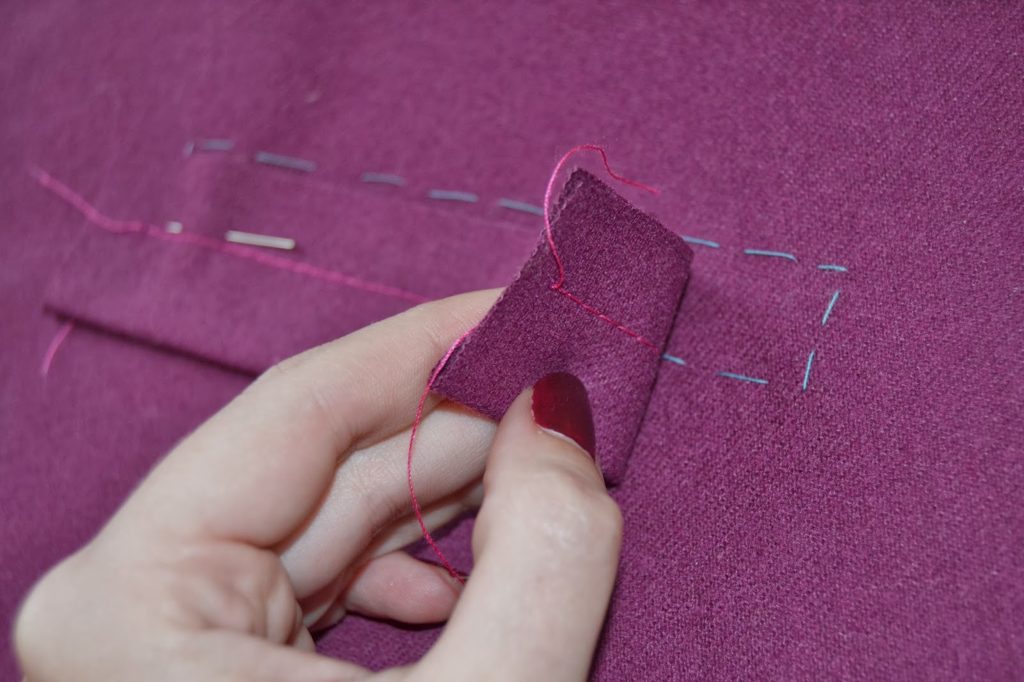
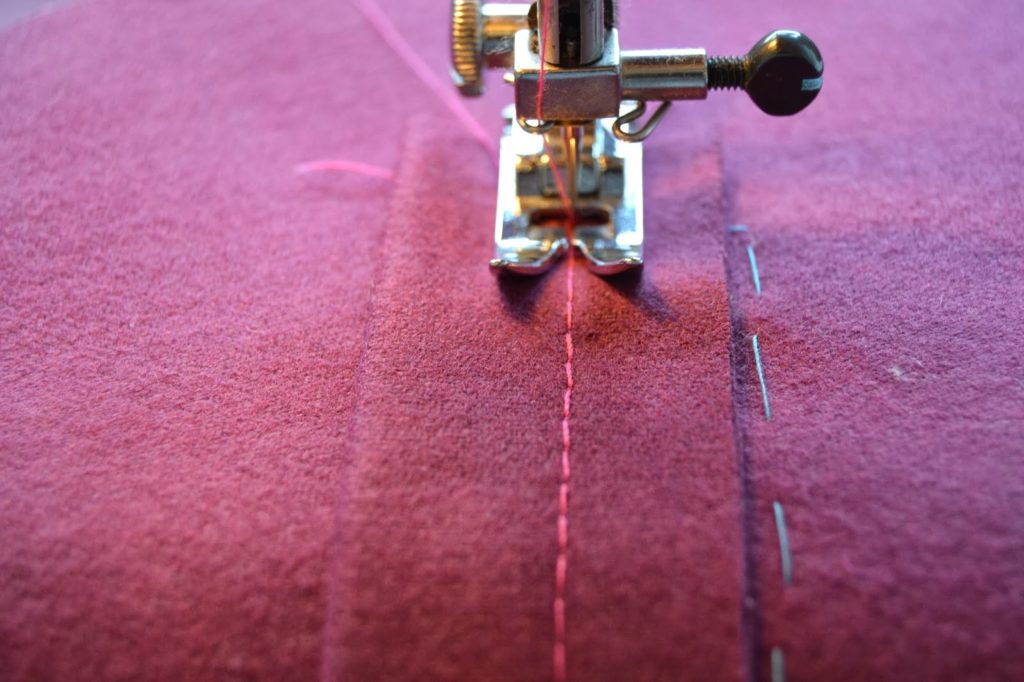
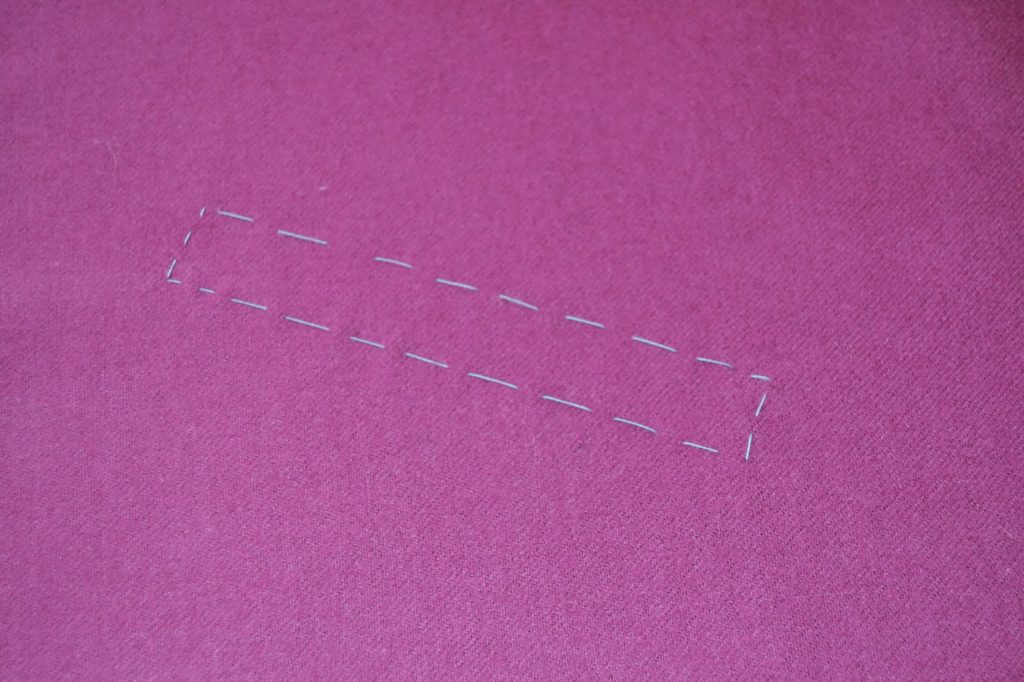
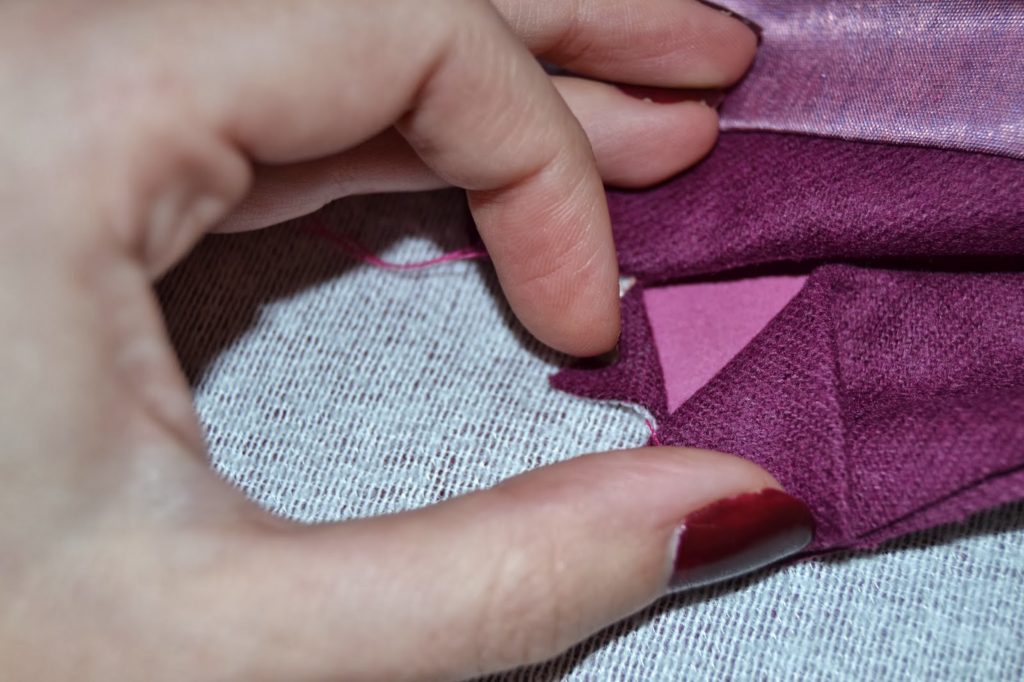
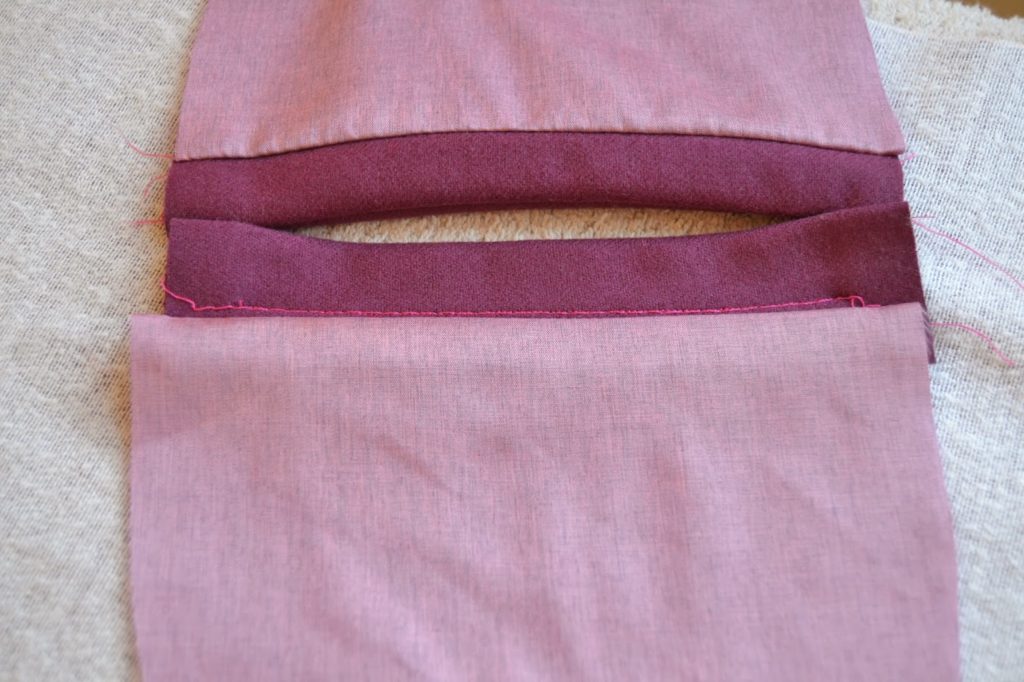
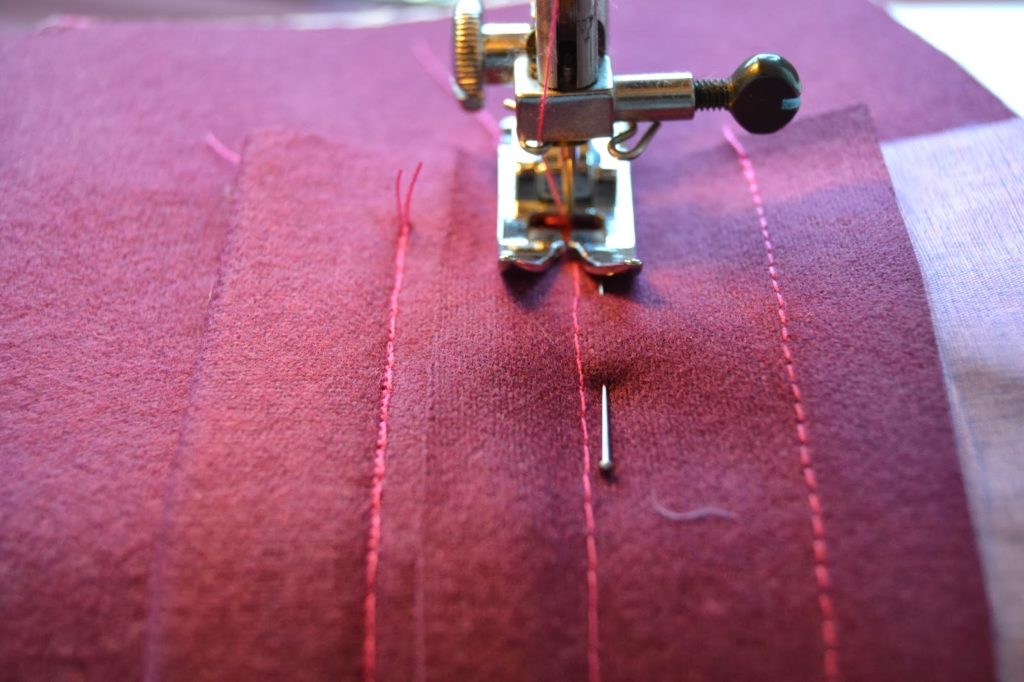 6.With right side facing down (and the pocket upside down), pin the pocket facing to the pocket opening matching the basted lines. Stitch over the basted line, starting and ending 1,5 cm (5/8″) from the edges.
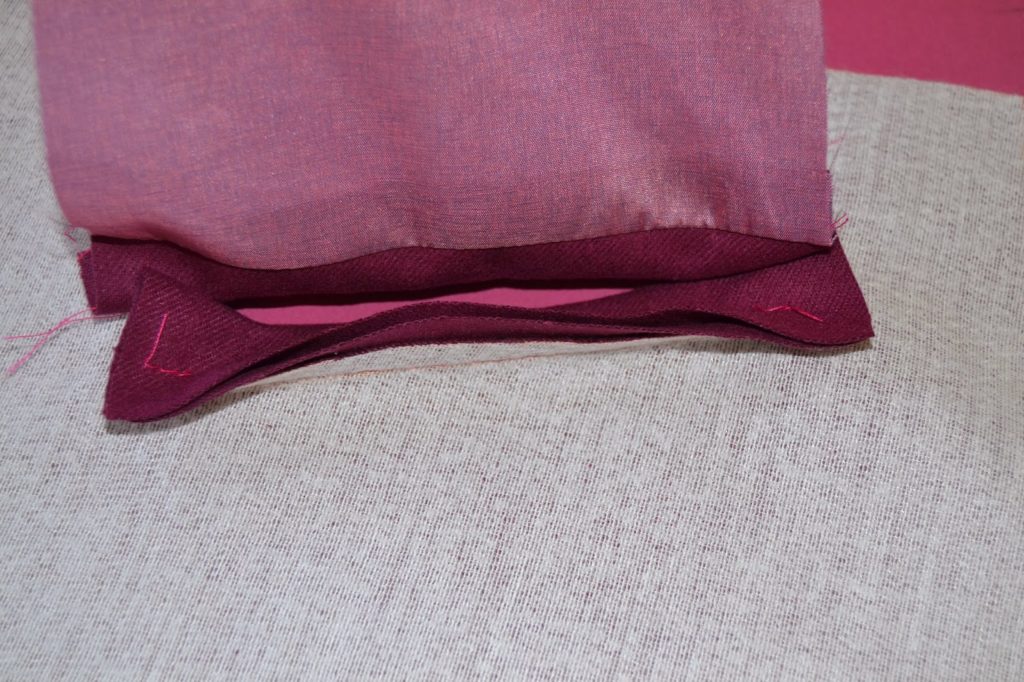
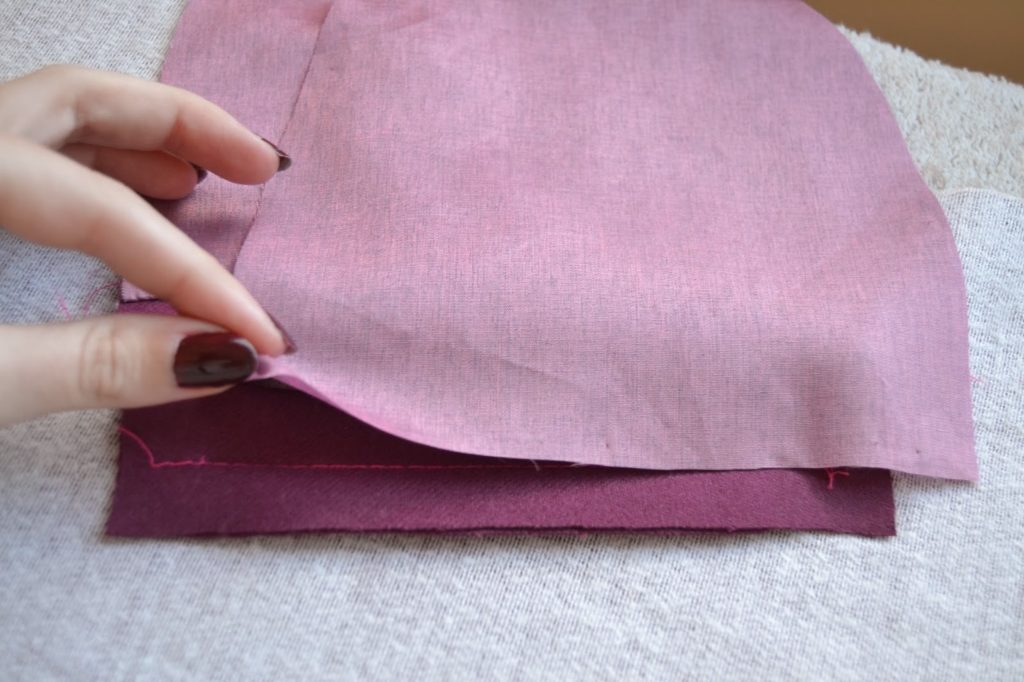
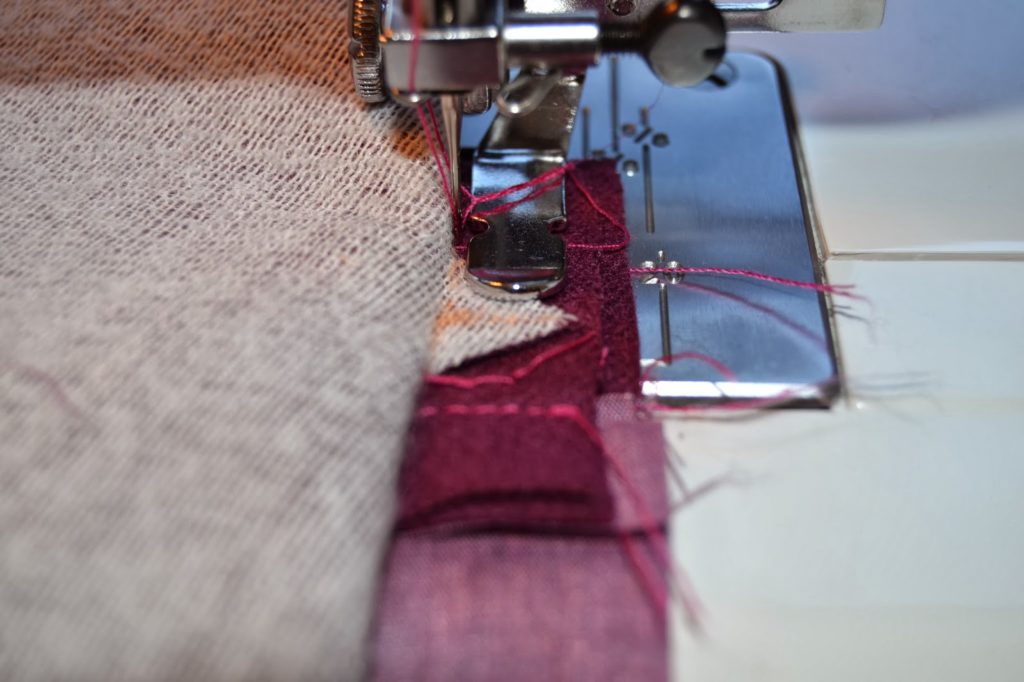
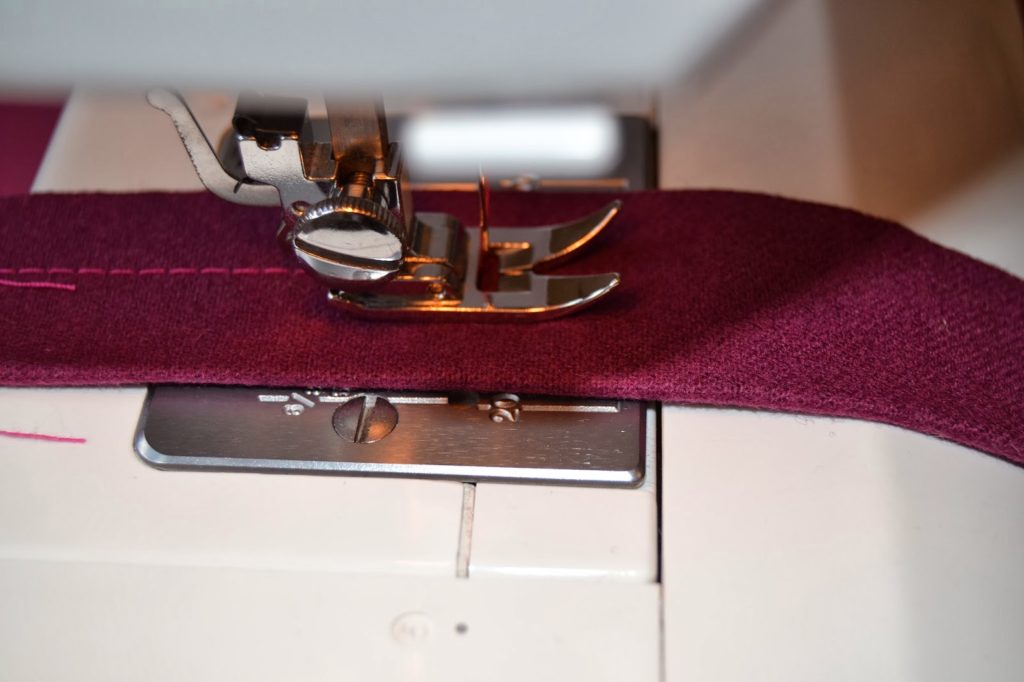
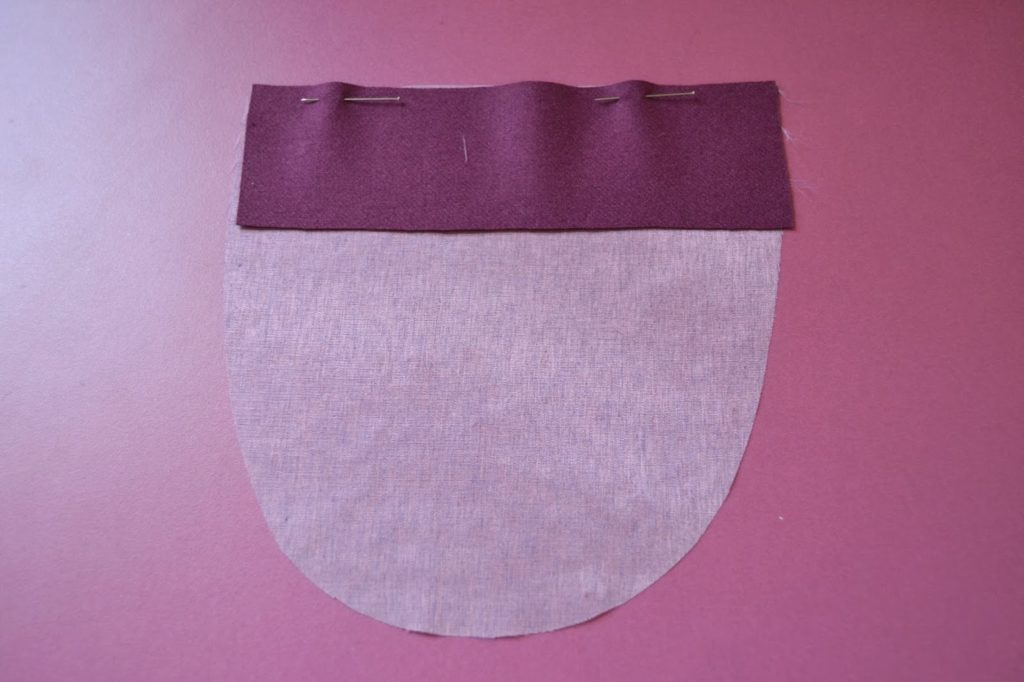
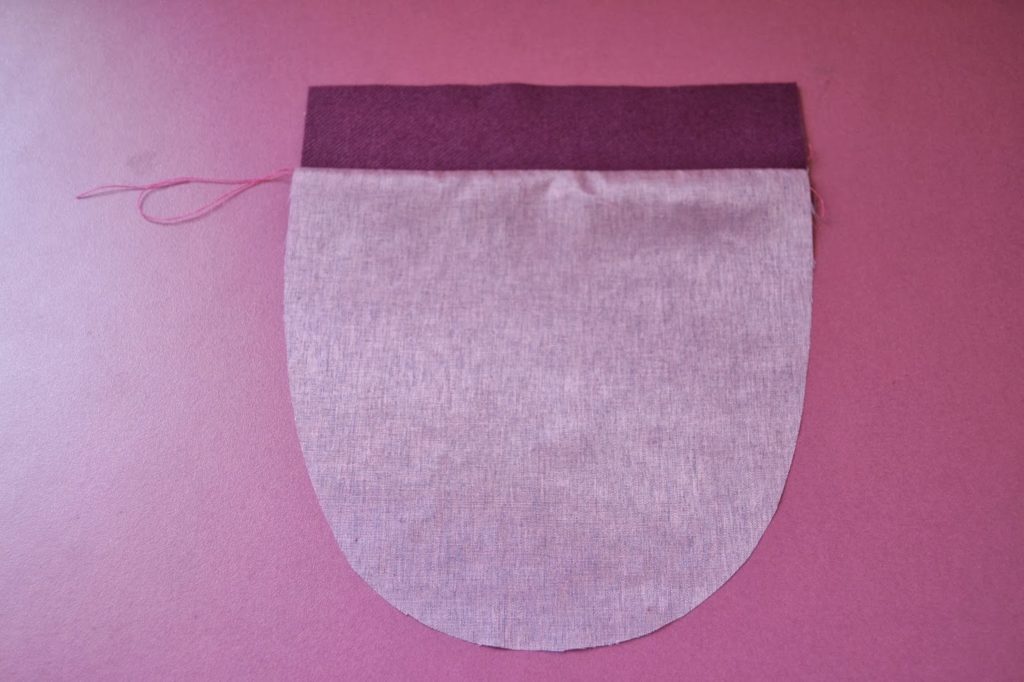
 12.Now stitch the pocket edges together. If you are making version B, finish the edge with bias binding.