
The Serra jacket pattern was released last February. It’s a unisex and casual jacket with raglan sleeves, fully lined. The pattern includes 3 different versions: a parka with lots of pockets, a short athletic style jacket and a trench coat, all of them with hoods.
For the presentation pictures of View C, the trench coat, I wanted to use some checked or tartan fabric. I found the right one at The Sweet Mercerie and started to get overwhelmed by the matching it would require. But in the end, it wasn’t too bad!
I’ll show you how I did it. The most important steps are the preparation ones. Hopefully this will help you if you’re planning sewing a tartan Serra (or any jacket) for fall.
—
PATTERN PIECES THAT NEED TO MATCH
—
![]()
HOOD
- Back hood (11)
- Side hood (10)
- Front hood facing (14)
- Back hood facing (15)
FRONT
- Front (1)
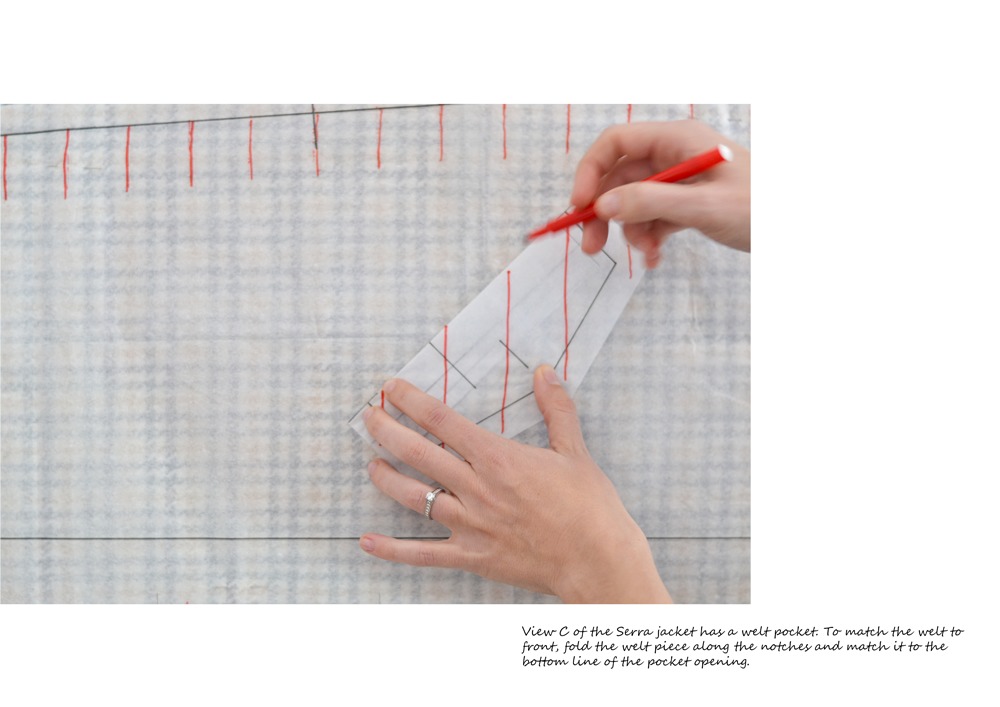
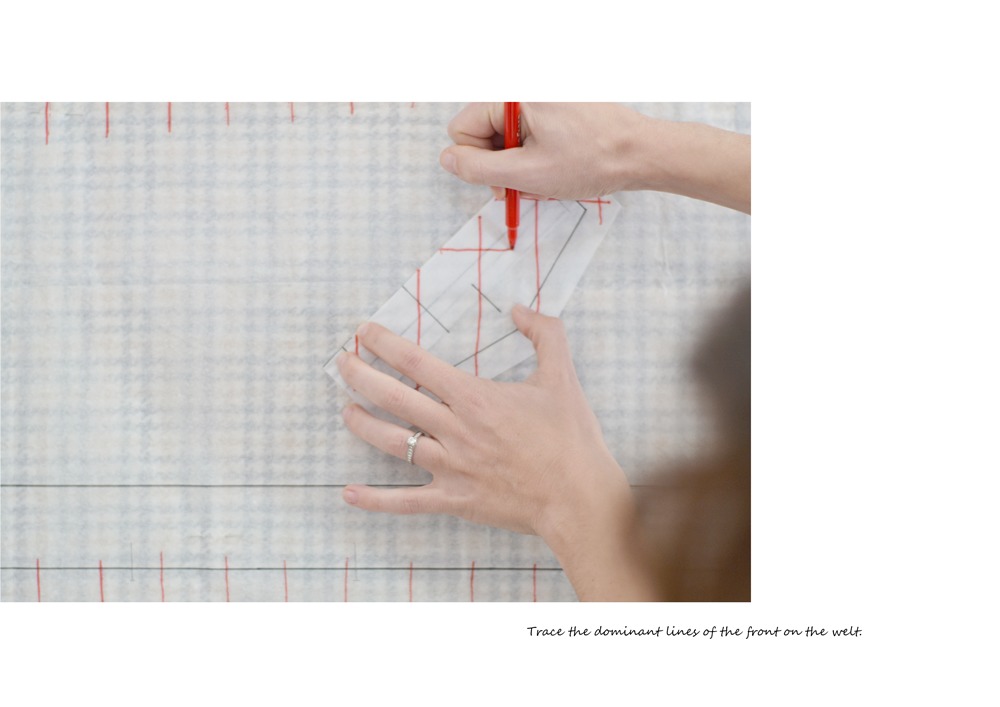
- Welt (36)
- Welt facing (37)
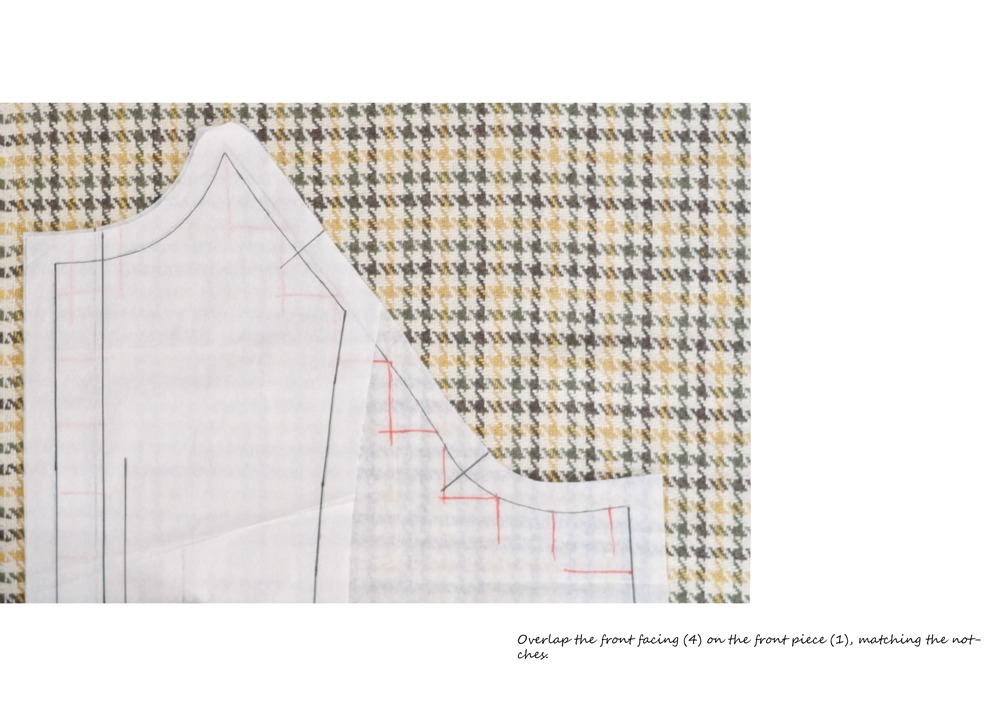
- Front facing (4)
- Interior welt (39)
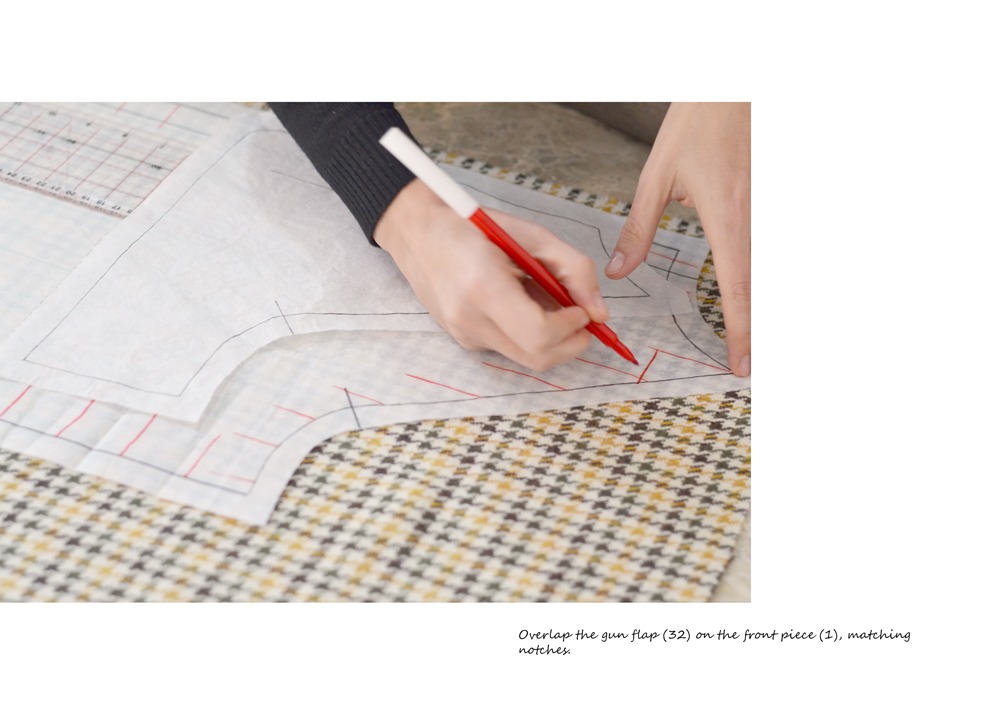
- Gun flap (32)
BACK AND COLLAR
- Back (2)
- Storm shield (18)
- Collar stand (35)
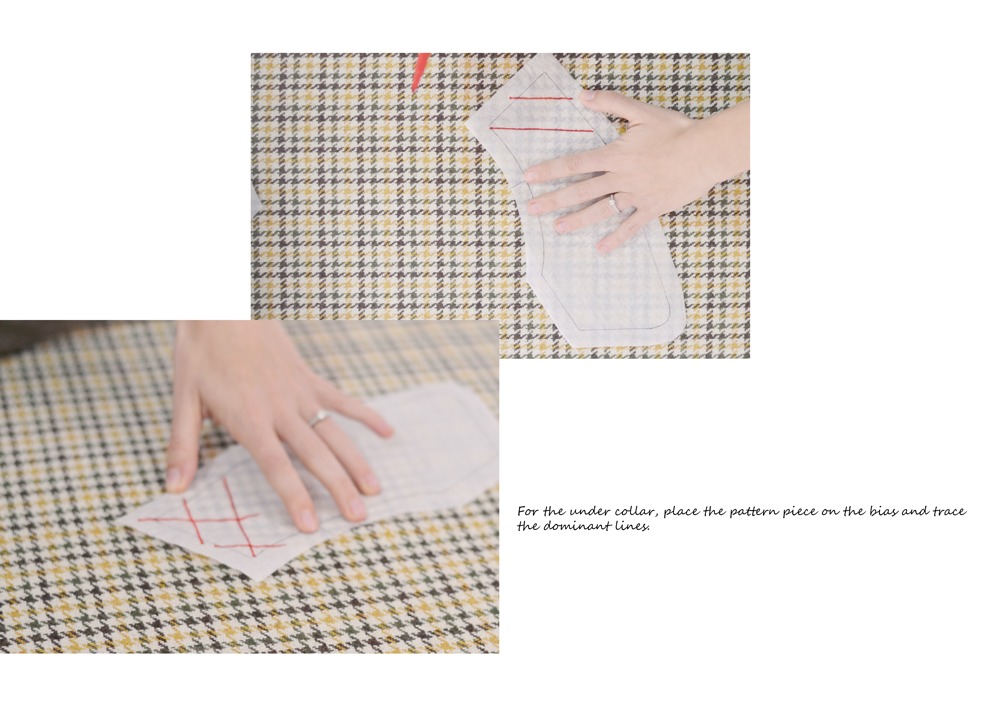
- Under collar (34)
- Collar (33)
SLEEVE
- Sleeve (3)
—
TRACE THE PATTERN PIECES
—
To trace the pattern, you’ll need :
- Pattern paper (or any transparent paper)
- A ruler
- A pencil, a thin black marker
- An eraser
- tape
Trace on pattern paper the pieces noted above, adding the following details:
- Seam allowances (1,5 cm or 5/8”)
- Center of the pieces that need to be doubled
- Grainline
- Notches and marking
You’ll need to double the pattern pieces that are placed on the fold of the fabric. It’s easier to match the pattern if you cut your pieces flat (on the fold, the fabric might move more easily).
—
TRACE THE PATTERN PIECES ON THE FABRIC
—
For that step, you’ll need :
- Your fabric
- Traced pattern pieces
- A ruler
- Some colour marker
Before tracing the pattern on fabric, you’ll need to determine the dominant line of your fabric. This is the line that shows the more when you look at your fabric from far away. It miht be obvious but sometimes, you’ll need to choose one and stick with it. For example, my fabric has a beige background and some brown, green and yellow checks. For me, the dominant line was the yellow one.
Now let’s start the funny part…
If you have a huge table, use it. If not, the floor will be perfect. Spread the fabric on a large surface, as one open layer.
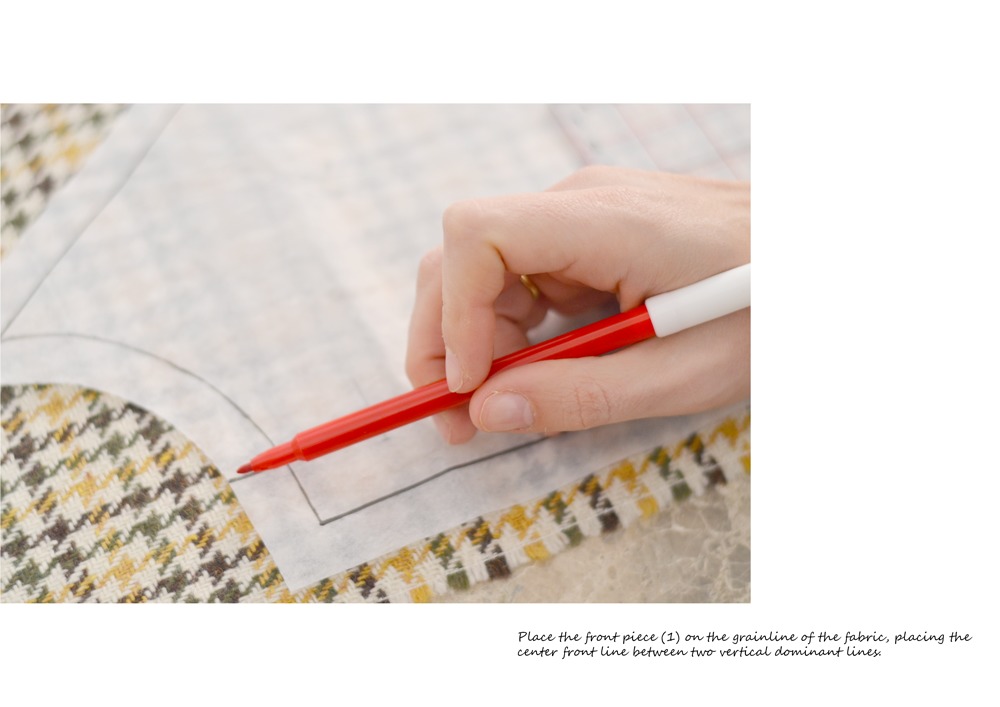
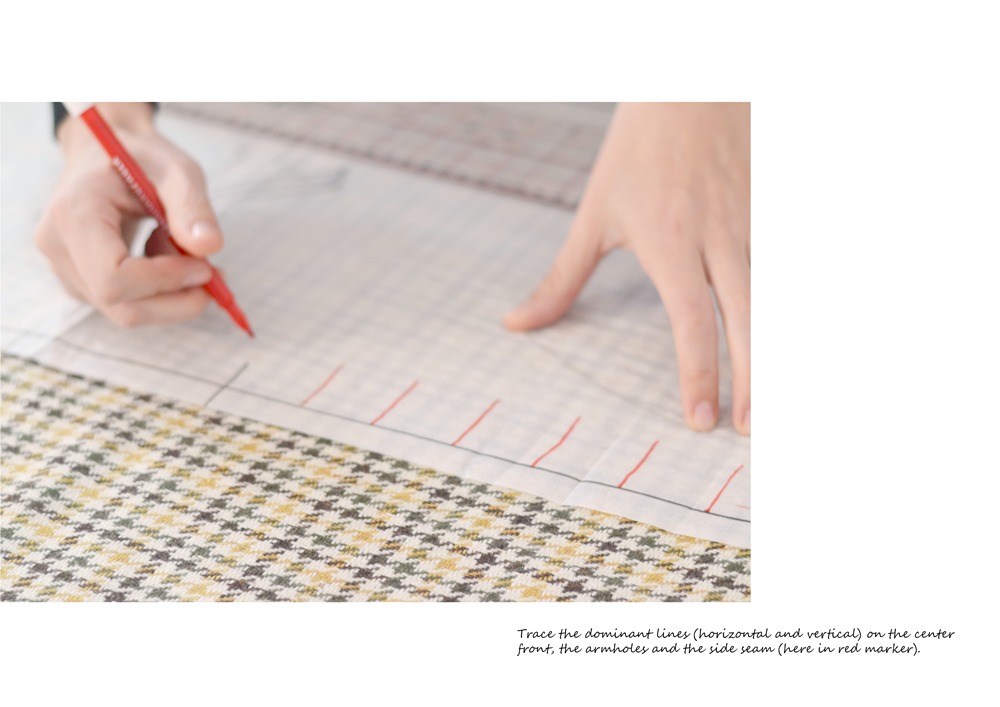
FRONT
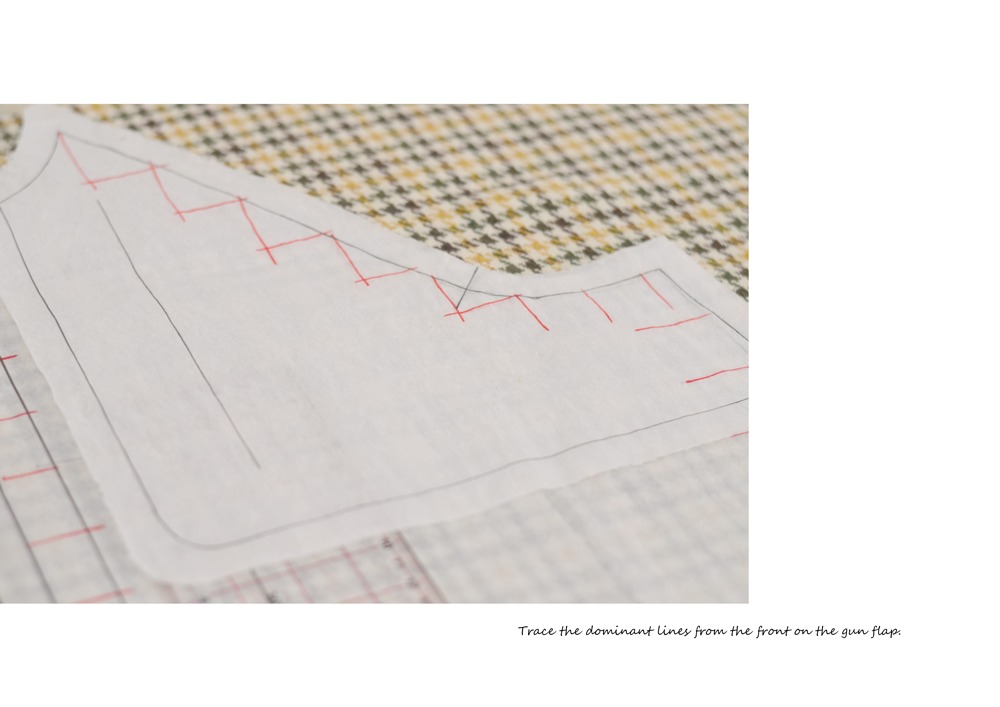
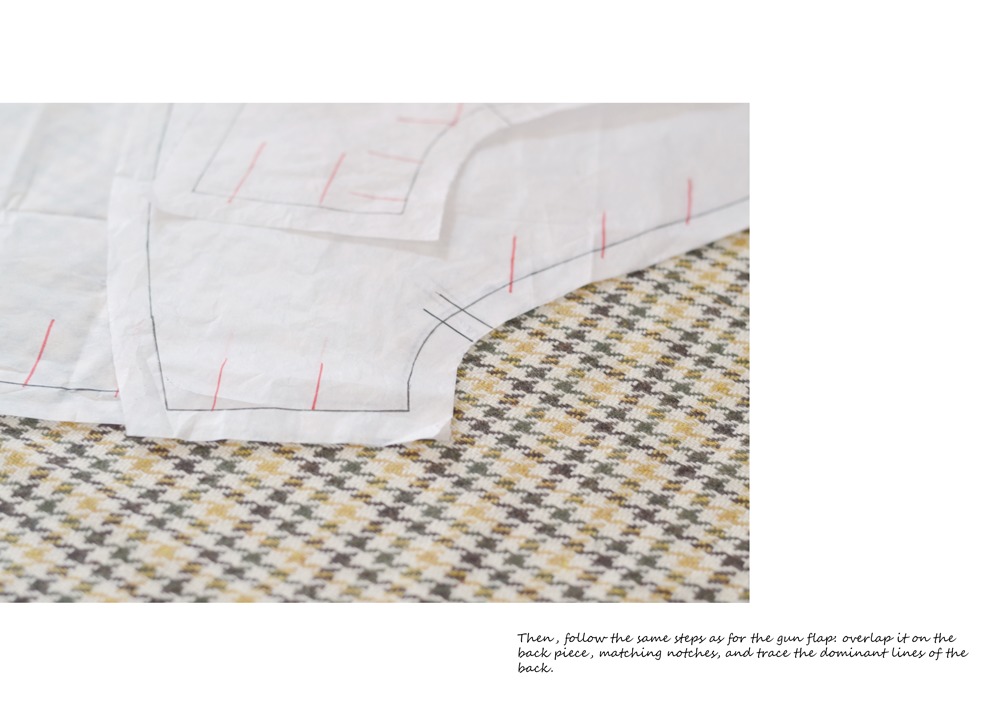
GUN FLAP
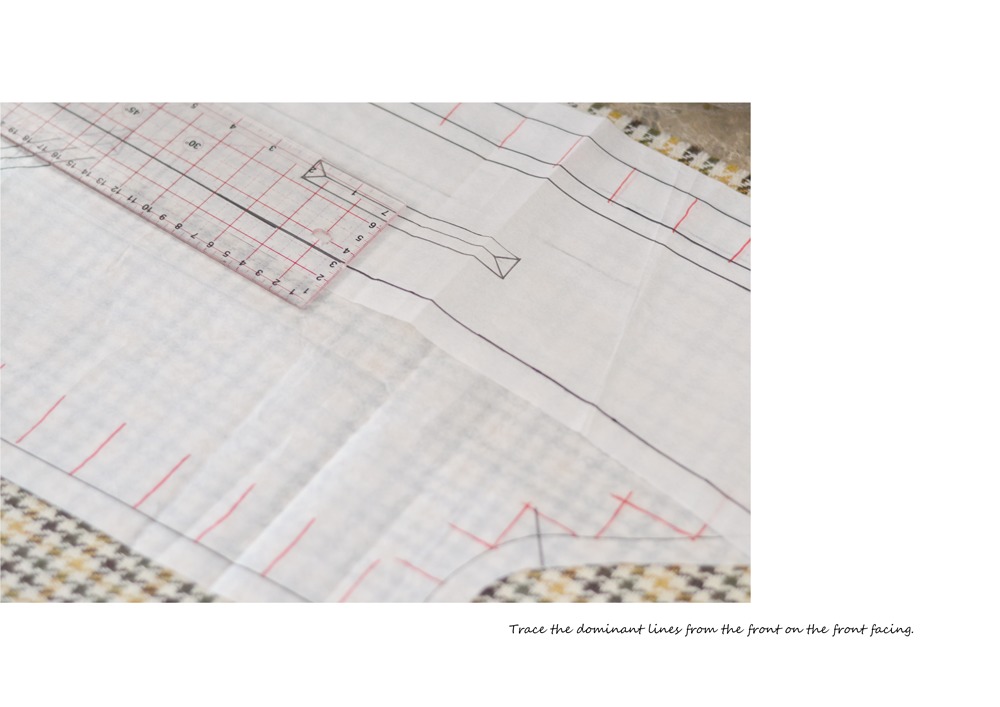
FRONT FACING
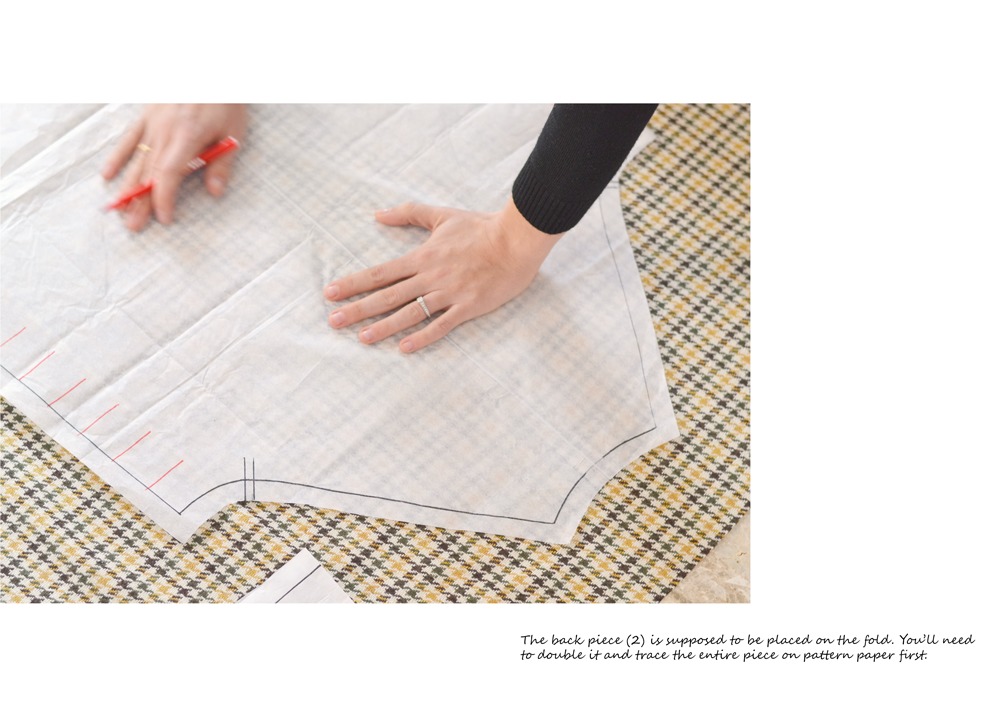
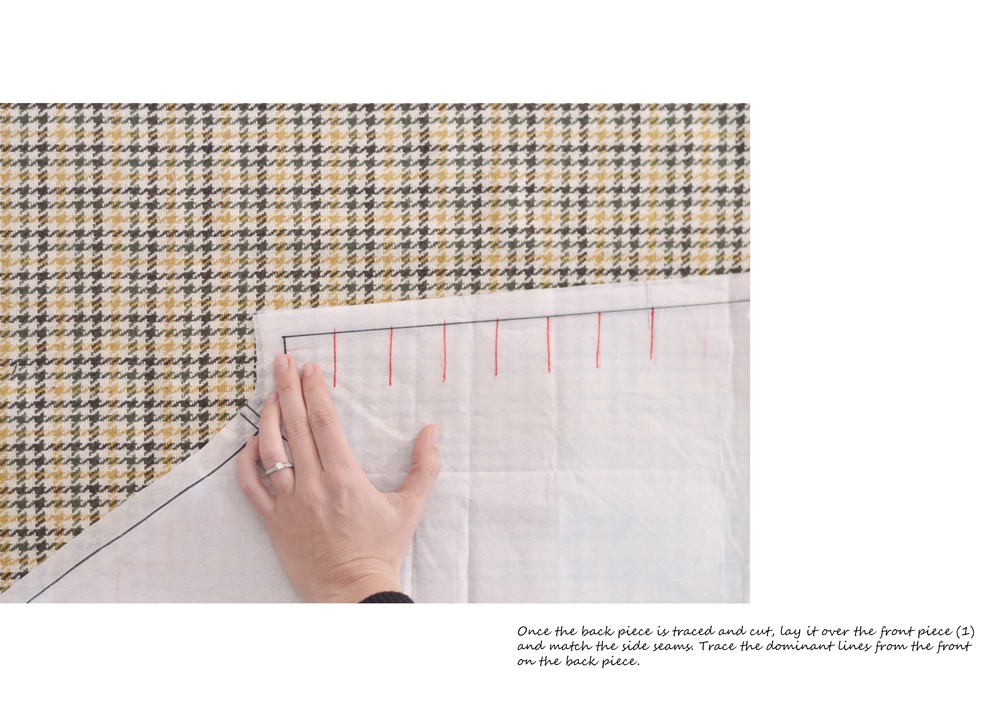
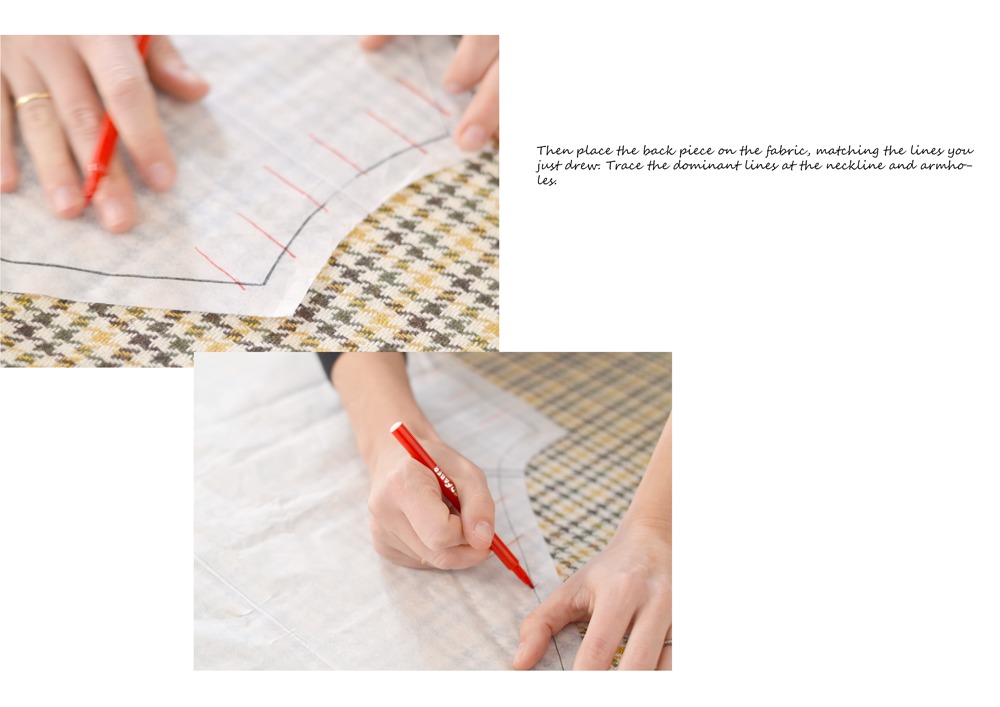
BACK
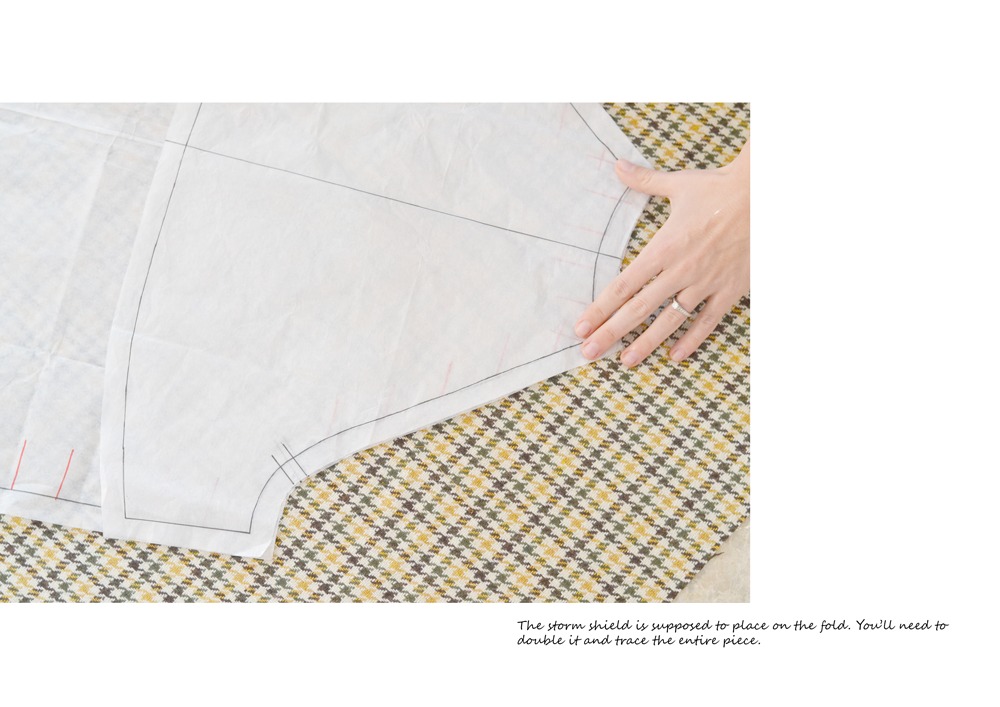
STORM SHIELD
The storm shield is supposed to place on the fold. You’ll need to double it and trace the entire piece.
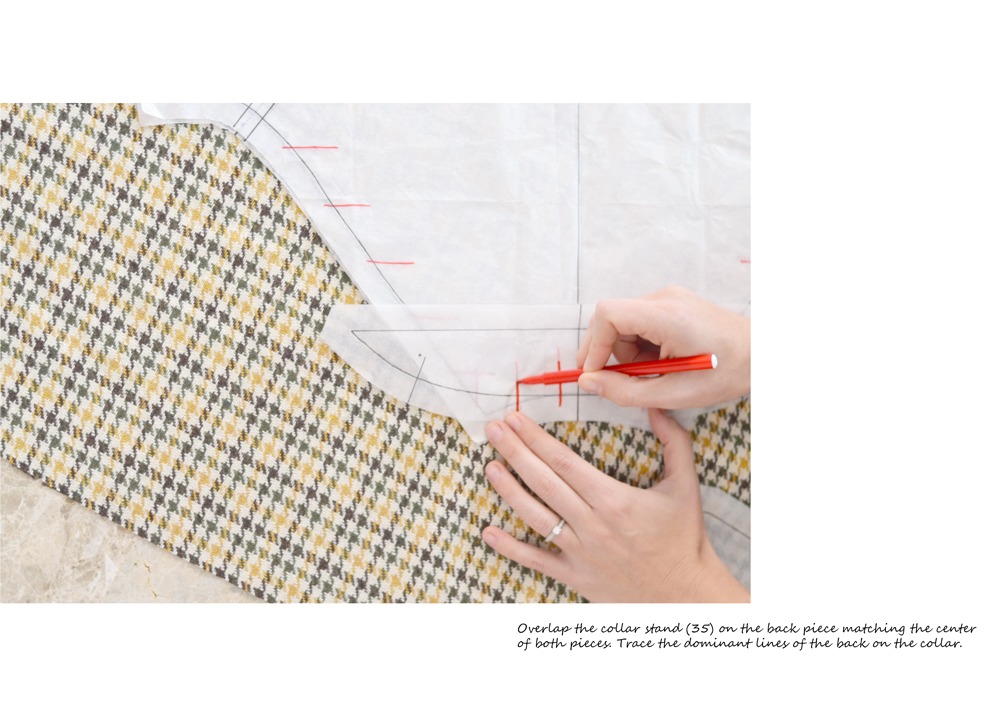
COLLAR STAND
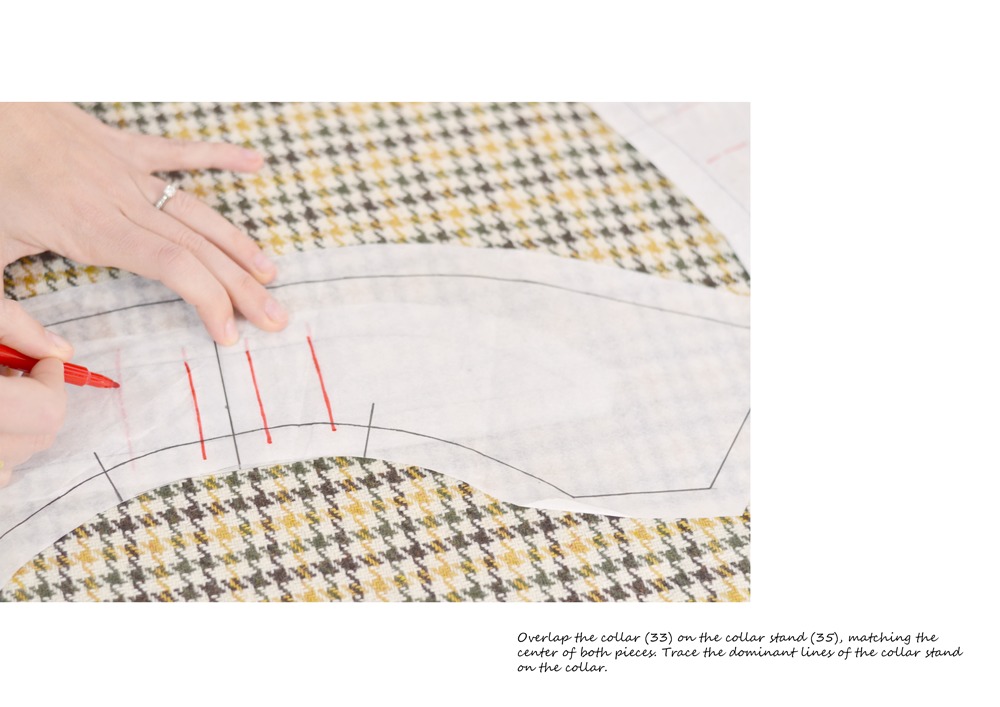
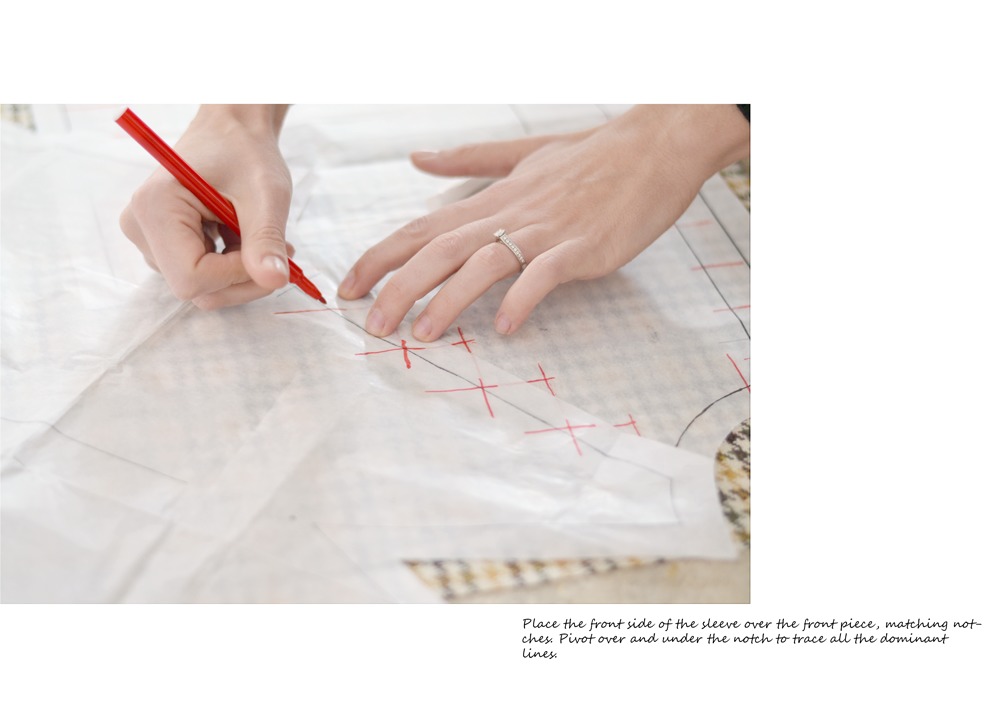
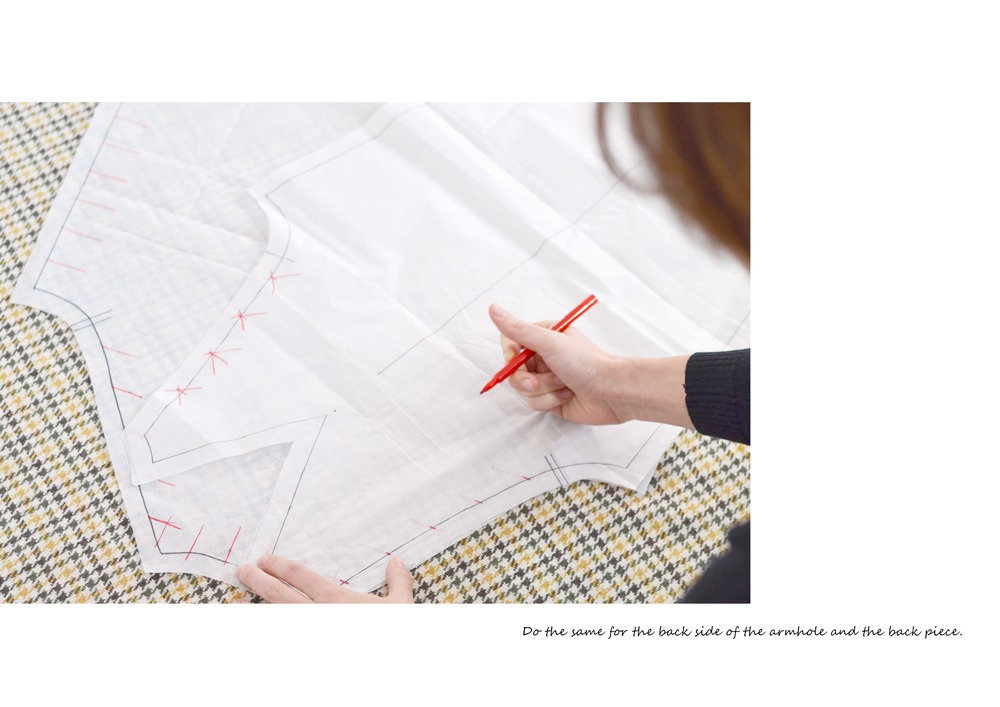
SLEEVE
Raglan sleeves are not easy to match. You’ll need to determine where you want the lines to match and where it’s ok if it doesn’t. For me, the most important place is the front, from shoulder to above the chest.
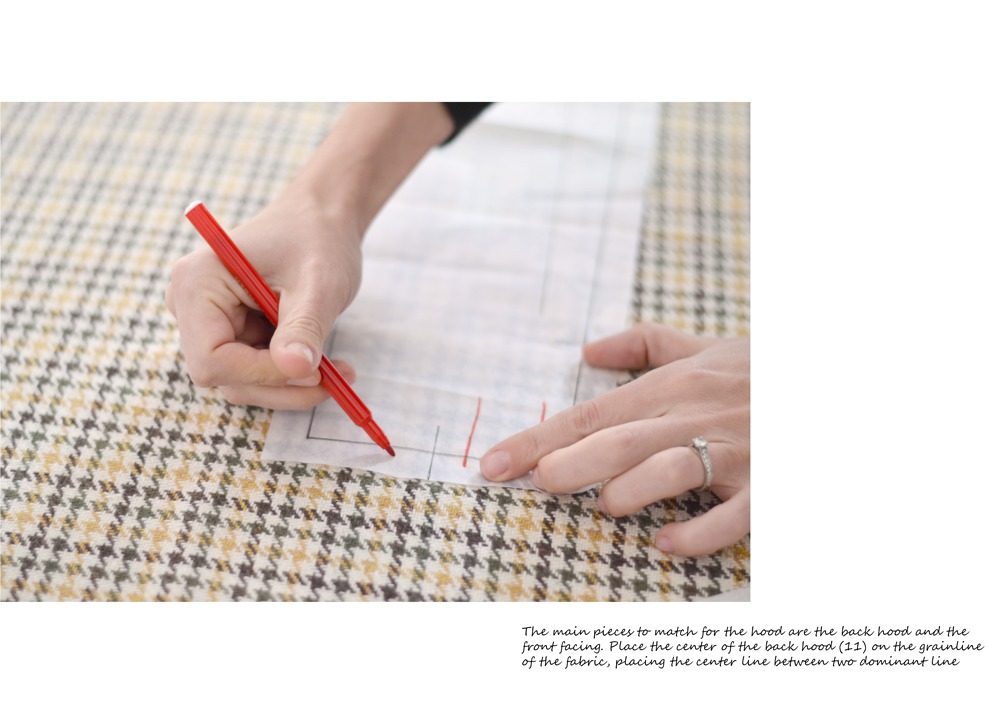
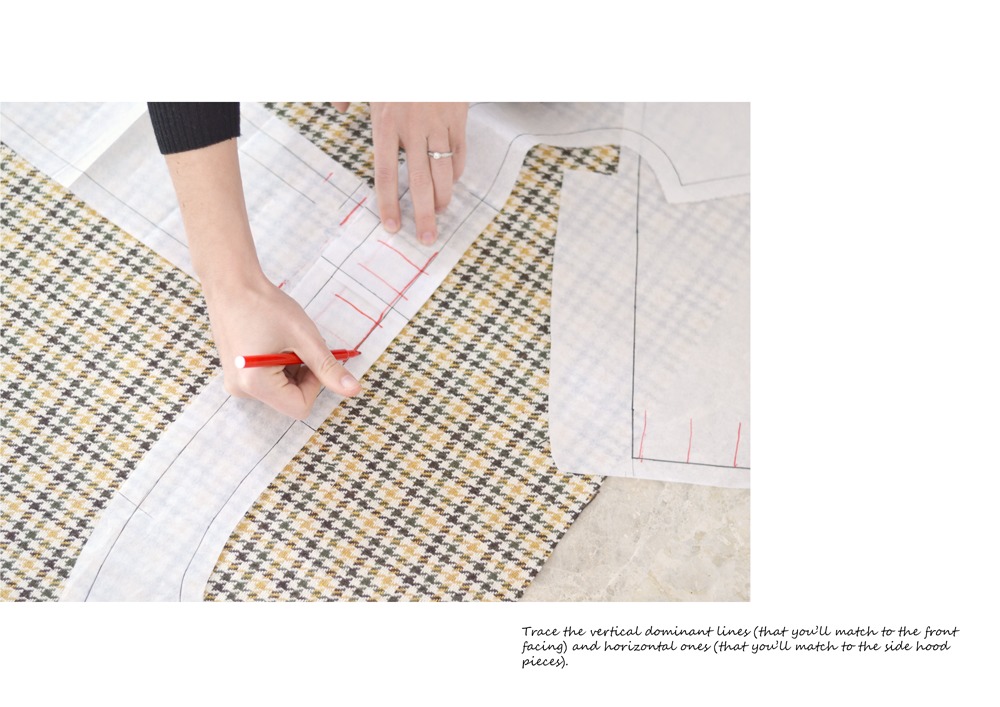
HOOD
The main pieces to match for the hood are the back hood and the front facing. Place the center of the back hood (11) on the grainline of the fabric, placing the center line between two dominant lines.
—
Once these pieces have been traced and prepped with the dominant lines marked, you just need to place them on the fabric. Sometimes, you won’t be able to make all the lines match, make sure the most visible areas are matching, that’s the most important. For example, I want the front of the sleeve to match the front piece, even if the back will not match entirely (and the under sleeve will not match either but that’s ok as it’s not going to show).
If you want more help, you can watch Marie-Gabrielle’s lesson on pattern matching at Artesane (sorry, only in french – but for a similar class in English, you can try Bluprint’s Perfect pattern matching).
1 comment
Hello, I’m new to this site. I’m excited to see more upcoming patterns! 🙂