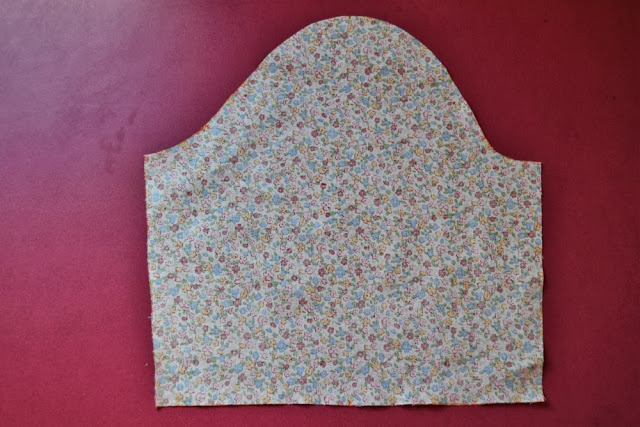
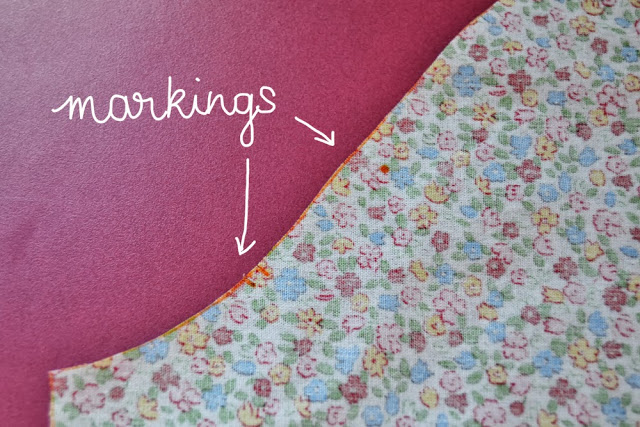
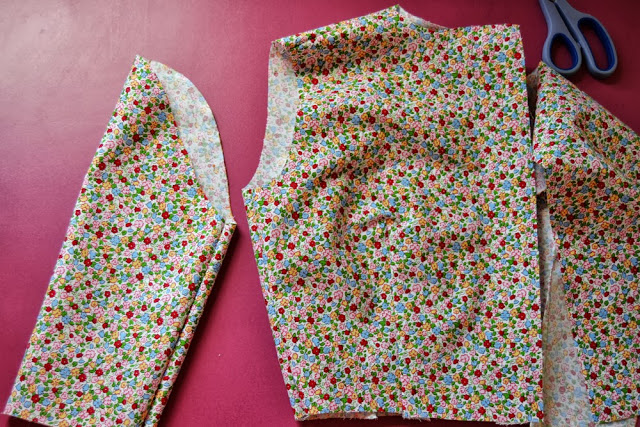
 1.The first step is to make sure you have marked your fabric correctly. Take your sleeve piece and check that you have marked: the dots for easing, the top center, the two marks indicating the back and the one mark indicating the front. Those are important in order not to set the wrong sleeve in the wrong armhole!
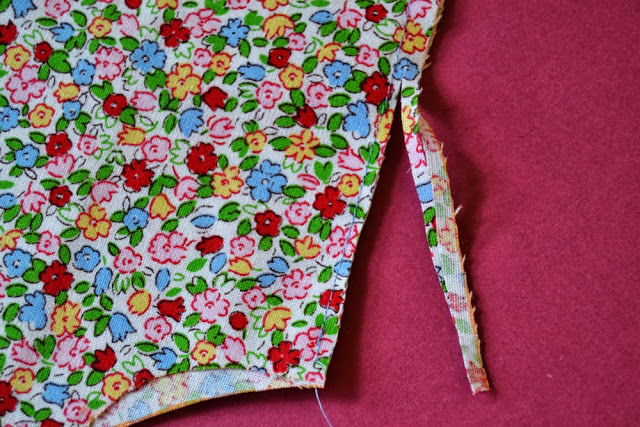
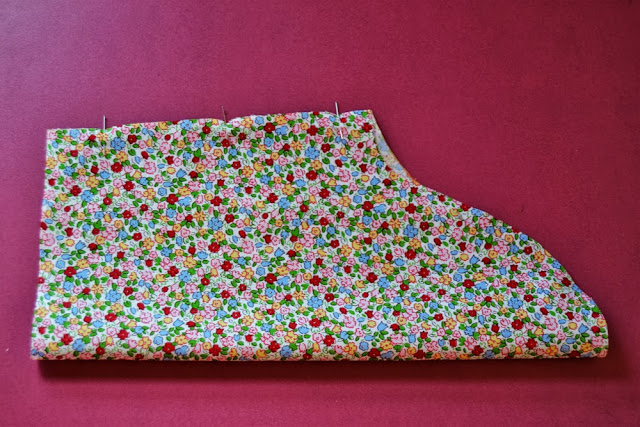 1.With WRONG sides together, pin the sleeve sides.
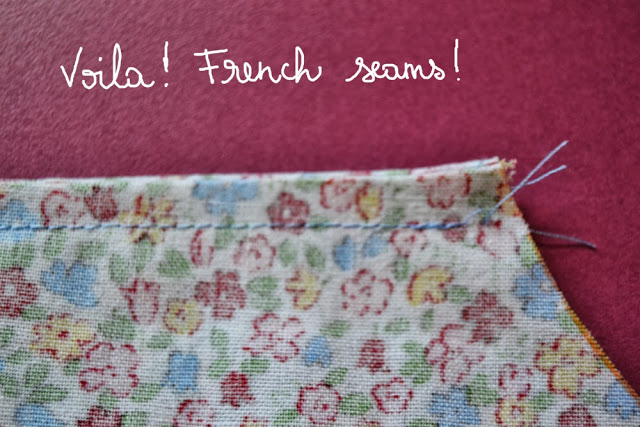
 4.Turn over, with wrong sides out and press the seam flat.
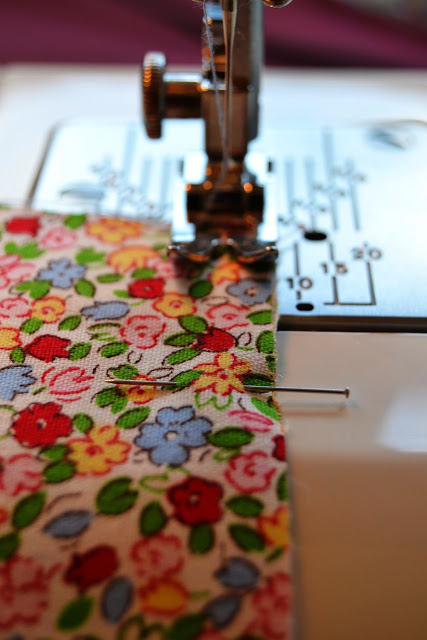
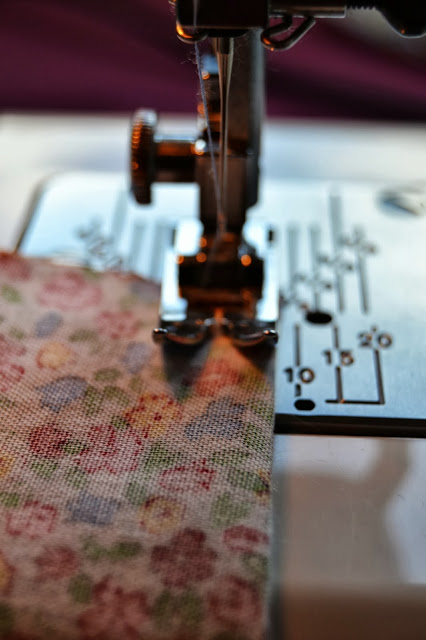 5.Stitch the side seam again at 0,6 cm (1/4″) or the presser foot width. You will be enclosing the seam allowances, creating a clean finition. Press the seam to one side.
 SET THE SLEEVE IN
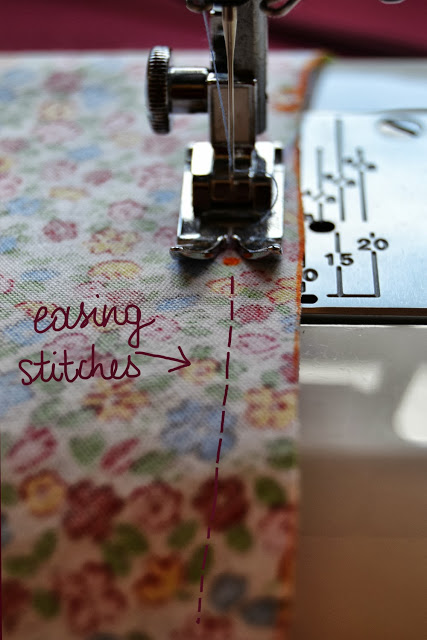 1.With a long basting stitch, ease the sleeve head from one dot to the other.
 2.Match the markings (center, front and back) from the sleeve to the bodice.
 3.When they match, pin and ease the fabric excess of the sleeve head with the basting bobin thread, making sure there is no pleats. When it fits perfectly, pin everything (don’t be afraid to over-pin!).
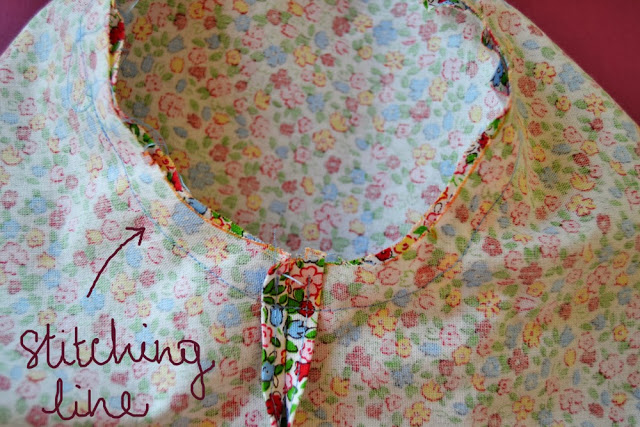
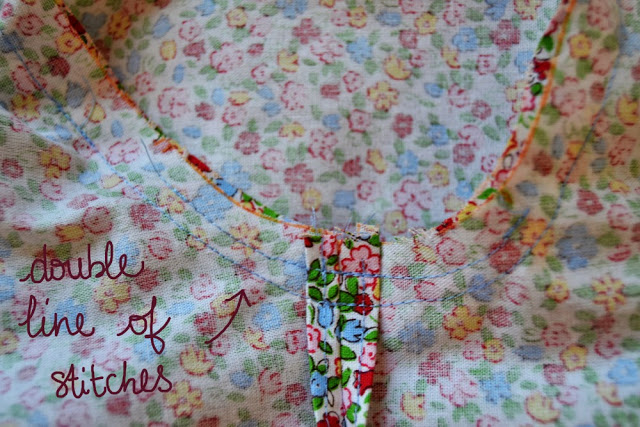 4.Stitch around the armhole. Make sure there are no pleats at the sleeve head.
4 comments
Qué bonitos post, son mini lecciones de costura. Tan bien explicadito, y con unas fotos tan estupendas, todo queda muy claro. Bien¡¡.
Gracias, me alegro que todo queda claro!
I've learnt something new and very useful – the second row of stitching on the sleeve to strengthen the seam, I haven't heard about it up till now. Thank you! *^o^*
Thanks, I remember reading about that second row of stitches on a book and as the armhole is a stressed area, I find it useful. I'm glad this is helpful!
Comments are closed.