Home Tags Posts tagged with "onil blouse"
Tag:

onil blouse

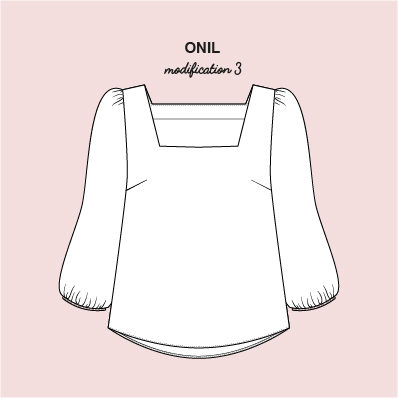
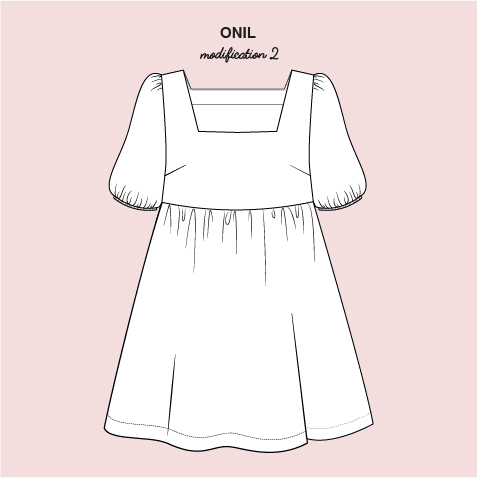
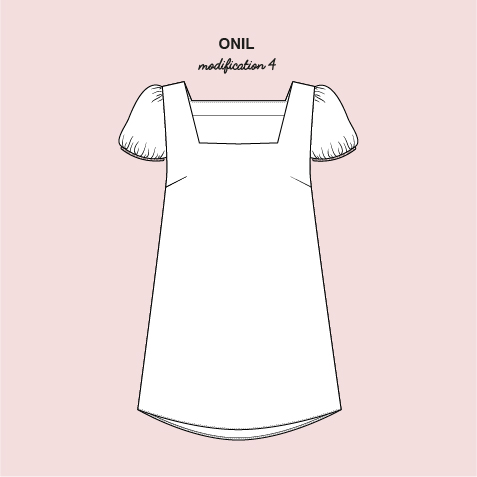
Another easy way to change your Onil blouse is to shorten the sleeves and lengthen the blouse to make it a cute A-line dress.

Note: if you are going to made some modifications to your pattern, it’s easier to do without seam allowances. The A4 and A0 pattern files have a specific “cutting line” layer for each size, with no seam allowances. Then add your 1,5 cm or 5/8″ seam allowances to the finished and modified pattern pieces.

ONIL HACK #3:  A-LINE DRESS

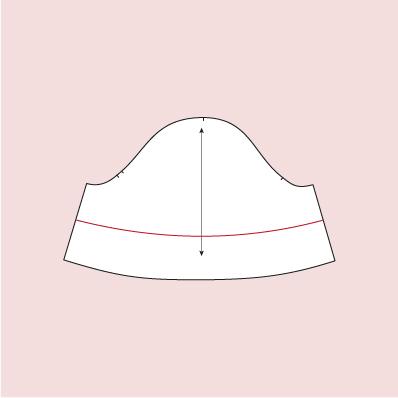
1.Draw the new hem line on the sleeve at your desired length. Make sure you follow the curve.


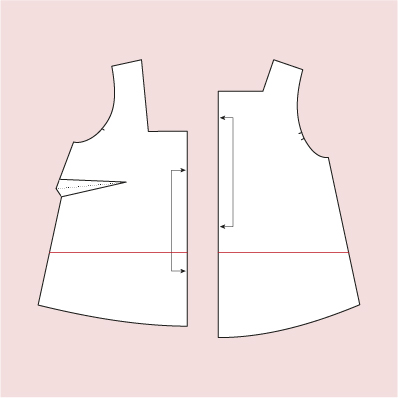
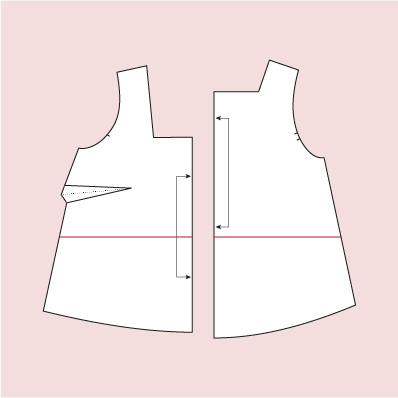
2. Cut the front and back pieces on the “shorten/lengthen here” line.


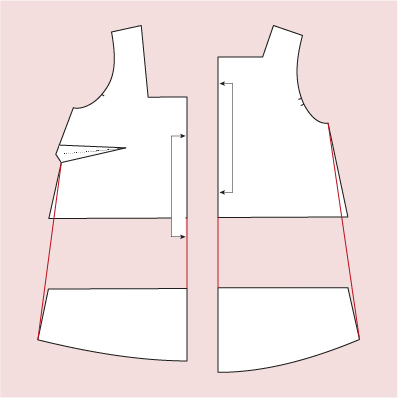
3. Separate the pieces with the same amount to the desired finished length. Join the armhole (or the bottom of the dart for the front) to the hem.

YOU DON’T HAVE THE ONIL BLOUSE PATTERN? GET IT FOR FREE HERE!
0 comment
0 FacebookTwitterPinterestEmail

Another easy way to change your Onil blouse is to lengthen the sleeves, that will make the blouse perfect for winter!

Note: if you are going to made some modifications to your pattern, it’s easier to do without seam allowances. The A4 and A0 pattern files have a specific “cutting line” layer for each size, with no seam allowances. Then add your 1,5 cm or 5/8″ seam allowances to the finished and modified pattern pieces.

ONIL HACK #3: LENGTHEN THE SLEEVES

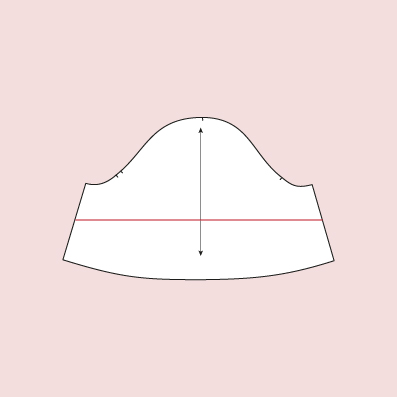
1.Draw a line perpendicular to the grainline on the sleeve piece (more or less in the middle of the side seam). Cut along the line.

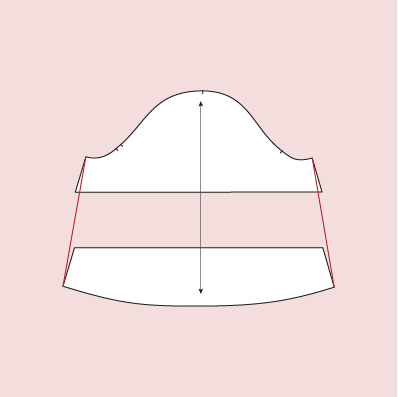
2.Add the desired amount between the two pieces (between 25 and 30 cm – 10″ and 12″ for a long sleeve to the wrist). Join the underarm and bottom edge of the sleeve. Then add the seam allowances needed.

YOU DON’T HAVE THE ONIL BLOUSE PATTERN? GET IT FOR FREE HERE!
0 comment
1 FacebookTwitterPinterestEmail

Let’s see a second way to hack the Onil blouse pattern. This is part 2 of a 4 parts modifications series.

Note: if you are going to made some modifications to your pattern, it’s easier to do without seam allowances. The A4 and A0 pattern files have a specific “cutting line” layer for each size, with no seam allowances. Then add your 1,5 cm or 5/8″ seam allowances to the finished and modified pattern pieces.

ONIL HACK #2: BABYDOLL DRESS

1.This one is pretty straight-forward: we are just going to trace a line on the front and back pieces where we want the bodice to end. Make sure the line is perpendicular to the grainline.

2. Cut 2 rectangles  twice the width of the front/back pieces and desired length. Sew the sides of the rectangles, gather the top edge and attach it to the bodice. You can play with the length to make it short or midi, or add a second tier for a full volume dress.

YOU DON’T HAVE THE ONIL BLOUSE PATTERN? GET IT FOR FREE HERE!
0 comment
2 FacebookTwitterPinterestEmail

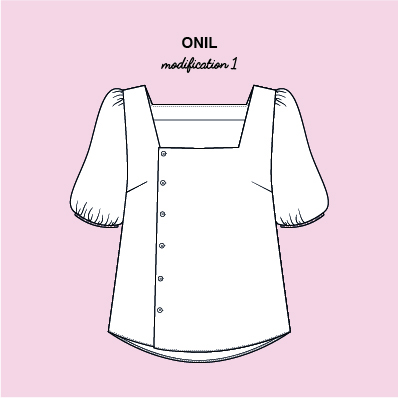
Have you already strated sewing your Onil blouse, our new free sewing pattern? If you need some ideas on how to personalize Onil, this is the first post of a 4 parts series.

Note: if you are going to made some modifications to your pattern, it’s easier to do without seam allowances. The A4 and A0 pattern files have a specific “cutting line” layer for each size, with no seam allowances. Then add your 1,5 cm or 5/8″ seam allowances to the finished and modified pattern pieces.

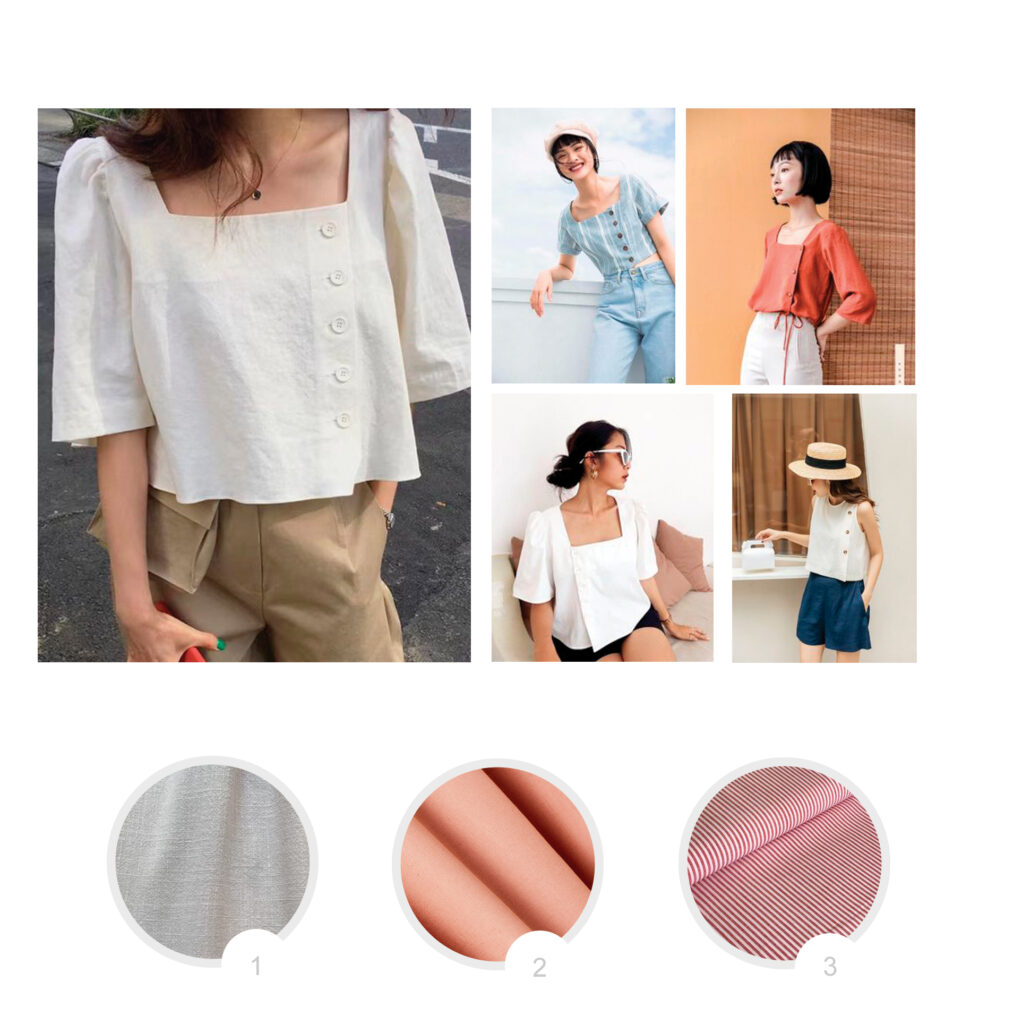
ONIL HACK #1: ADD SOME BUTTONS ON THE SIDE

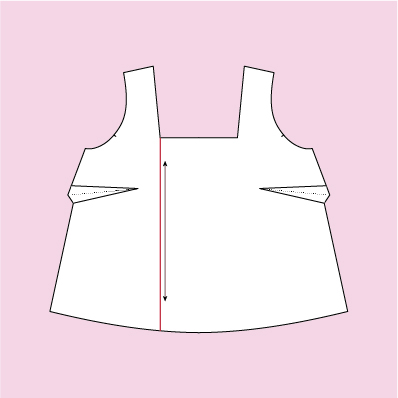
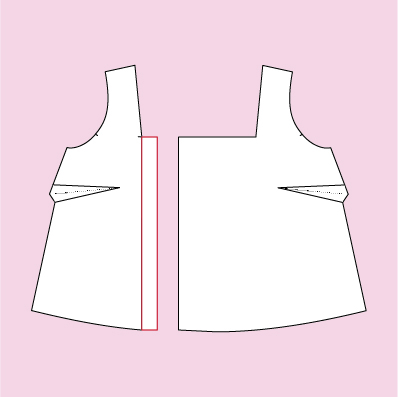
1. Draw the whole front piece (pattern is on the fold). Draw the line where you want the button closure to be (here in red) and cut the front piece along the line. You now have a left front (the smaller piece) and a right front (the bigger one).

2. Add a button placket on the left front, about 2,5 or 3 cm wide (1″ or 1 1/4″).


3. Draw the whole front facing (pattern is on the fold). Cut the front facing just as you did the front piece.
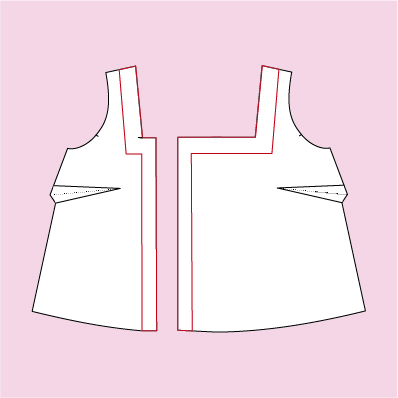
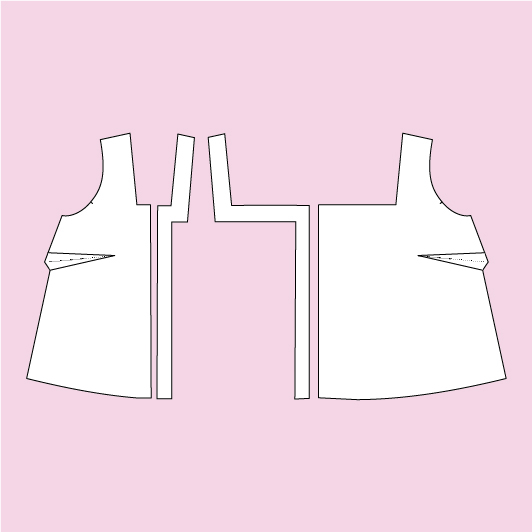
4. Place the facing pieces over the new front pieces and draw the new facings, adding a rectangle along the center line. Keep the width the same as the facing: 4 cm or 1 1/2″ without seam allowances (when you do add them, no need to add seam allowances to the outer edge, final width is 5,5 cm or 2 1/4″).

5. Here are your new pattern pieces. Remember to flip the facing pieces so they lay mirroring the front pieces on the fabric. At the end of construction, make buttonholes on the right side of your blouse and sew the buttons on the left side.

YOU DON’T HAVE THE ONIL BLOUSE PATTERN? GET IT FOR FREE HERE!
1 comment
1 FacebookTwitterPinterestEmail

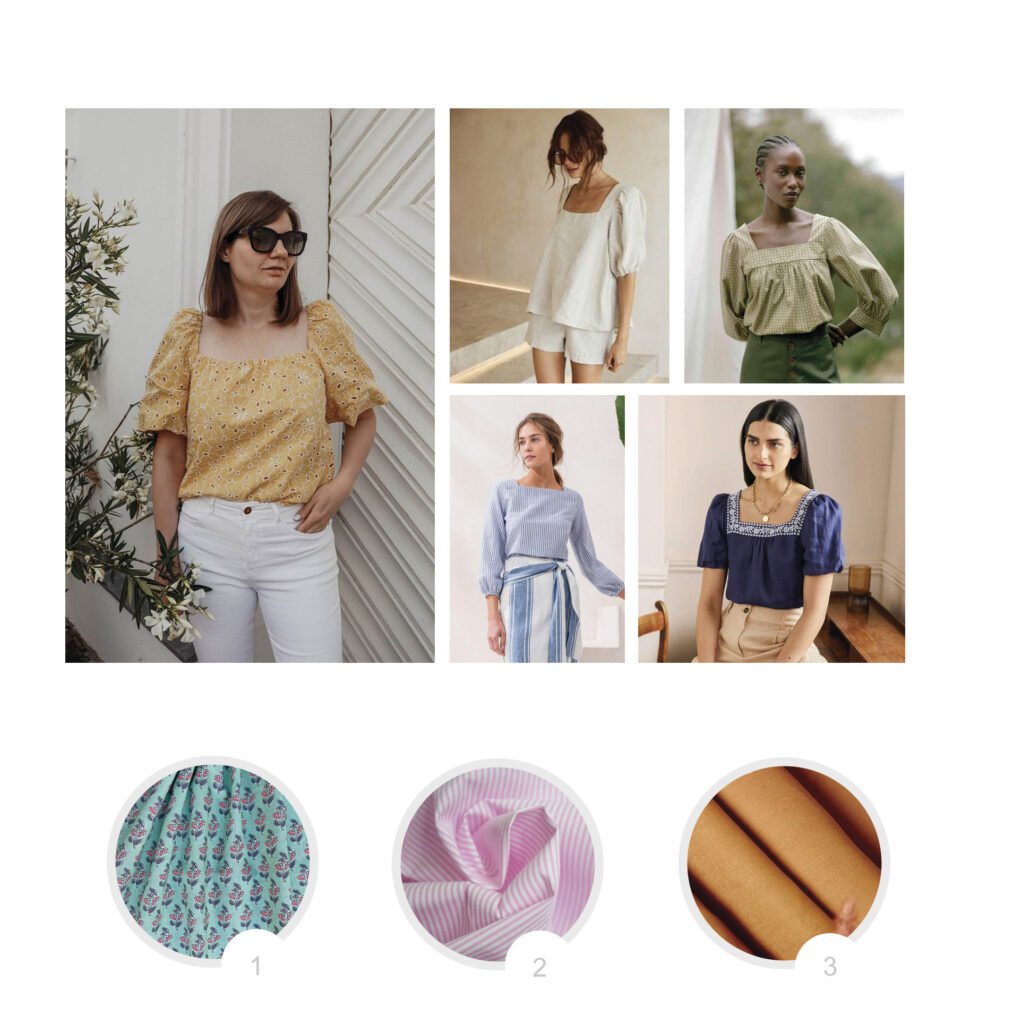
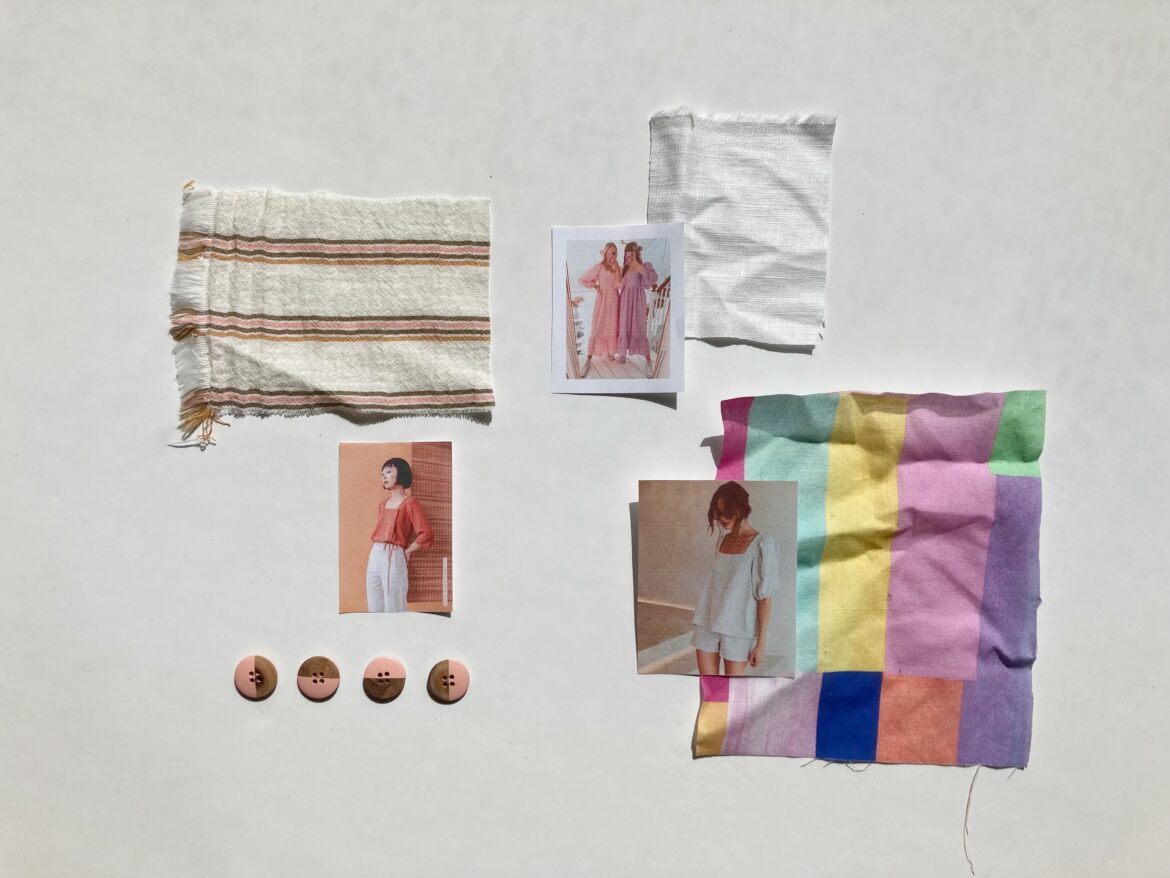
The new and free pattern, the Onil blouse, is easy to make and goes well with everything (trousers, skirt or on its own if you lengthen it). Here are some ideas to style yours and choose some fabrics:


CLASSIC BLOUSE

1/ Indian cotton – Henry Henriette

2/ Pink seersucker – Cousette

3/ Ochre linen viscose – Atelier Brunette


ADDING BUTTONS

1/ Off-white linen viscose – Henry Henriette

2/ Maple linen cotton twill – Atelier Brunette

3/ Red cotton stripes – Backstitch


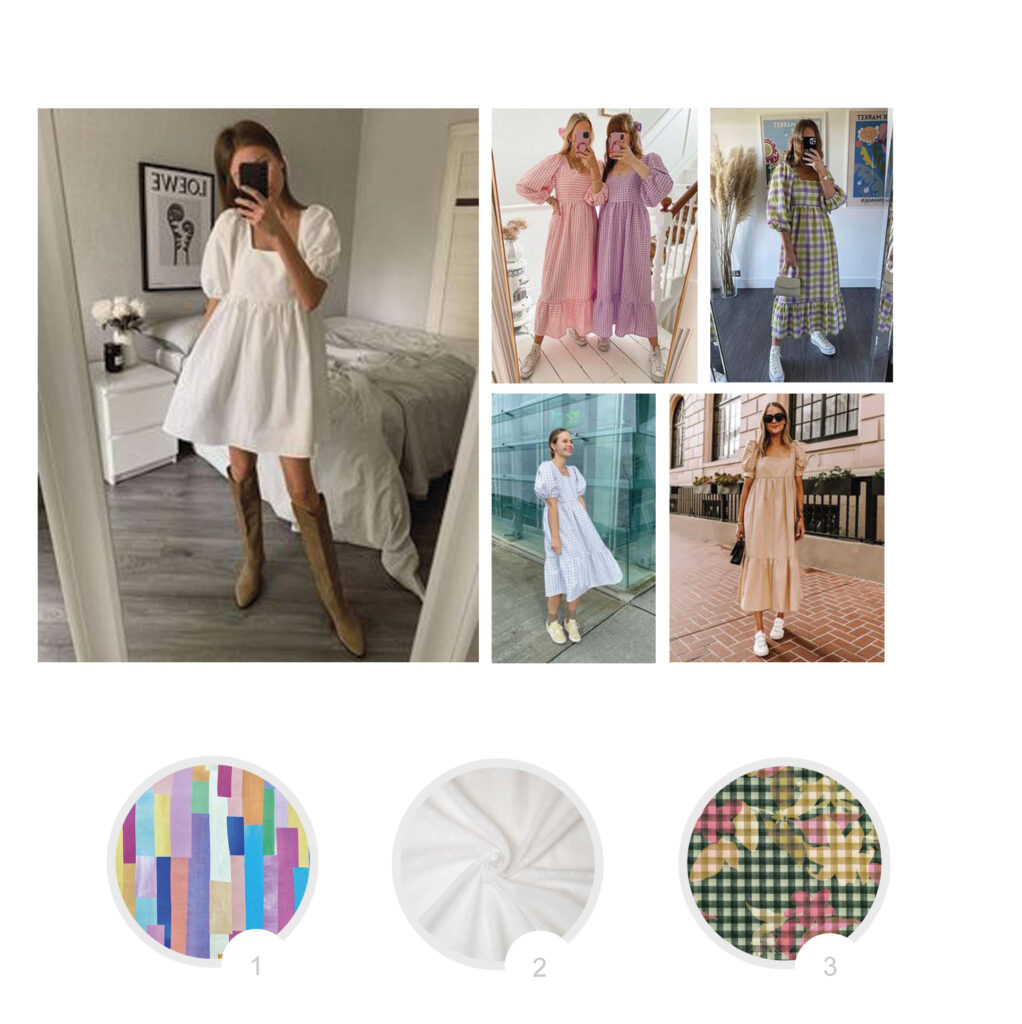
LENGTHEN AS A DRESS

1/ Paloma cotton – Henry Henriette

2/ Embroidered cotton – Tissu story

3/ Gingham viscose linen – Fabric godmother


GET YOUR ONIL PATTERN HERE FOR FREE!
0 comment
0 FacebookTwitterPinterestEmail

This September, Pauline Alice is 10 years old! I can’t believe how fast that went… So a huge THANK YOU for accompanying me and sewing my patterns during all these years!

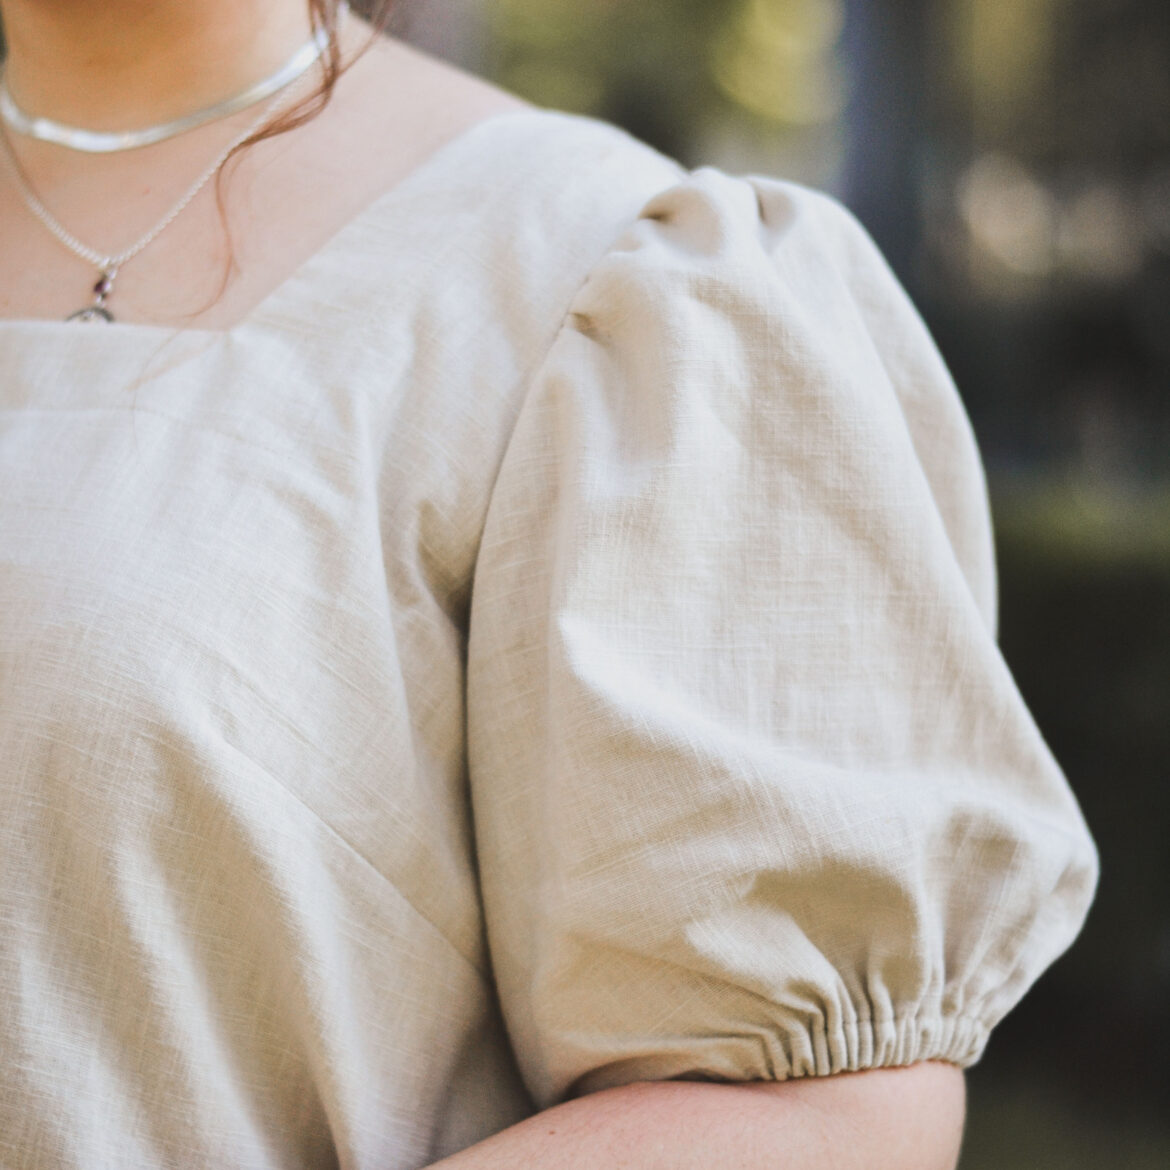
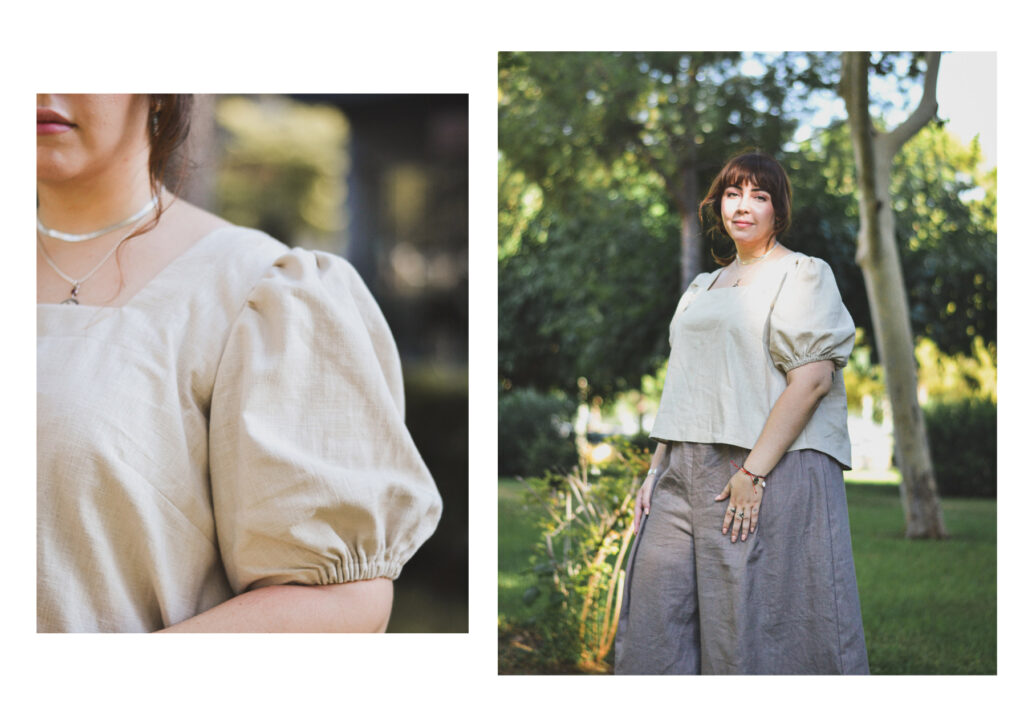
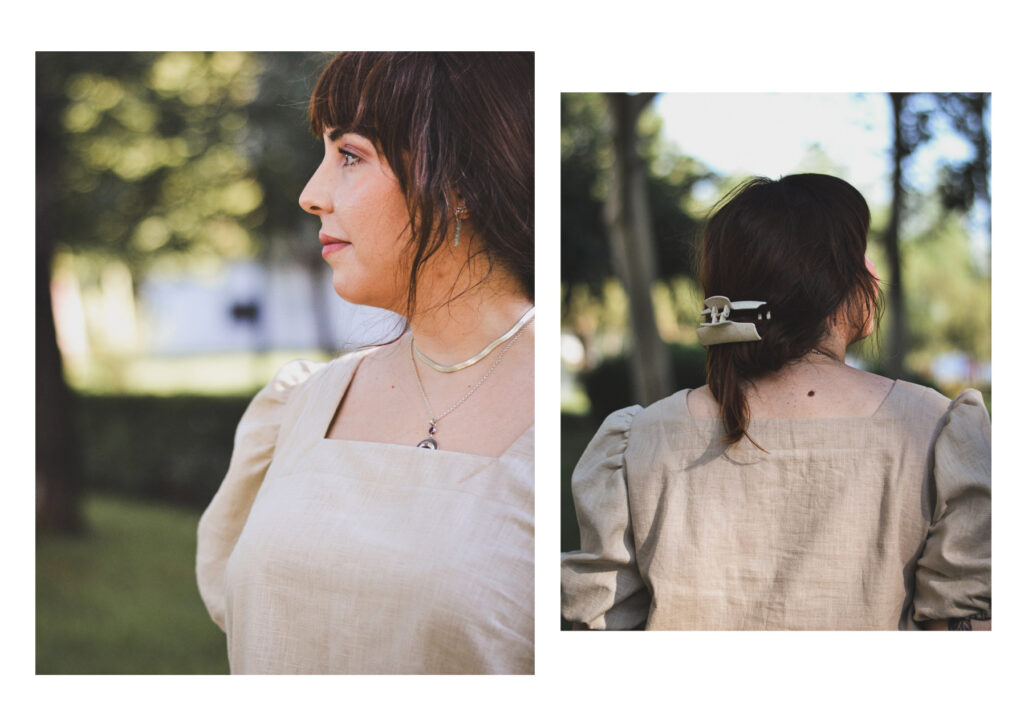
I thought I would celebrate this anniversary with you by sharing a new sewing pattern. Meet the ONIL blouse! A simple square neck blouse with gathered sleeves, and best of all: it’s FREE!

The pattern file includes the instructions (in English, French and Spanish), an A4 format to be printed at home, an A0 format for the printer and a now, a new projector file format!

I hope you’ll have fun making the Onil blouse yours. Feel free to modify the pattern, make it one, two or more times, change the length… Its simple shape is perfect for that: plain fabric, printed fabric, everything goes! I’m looking forward to see all your Onil blouses.

Get the Onil blouse pattern here: ONIL
2 comments
0 FacebookTwitterPinterestEmail