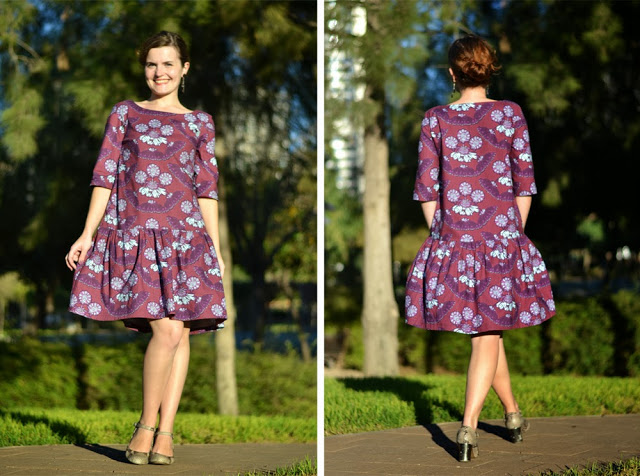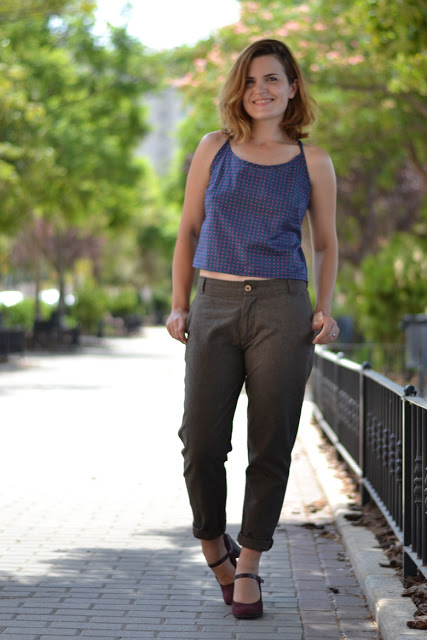
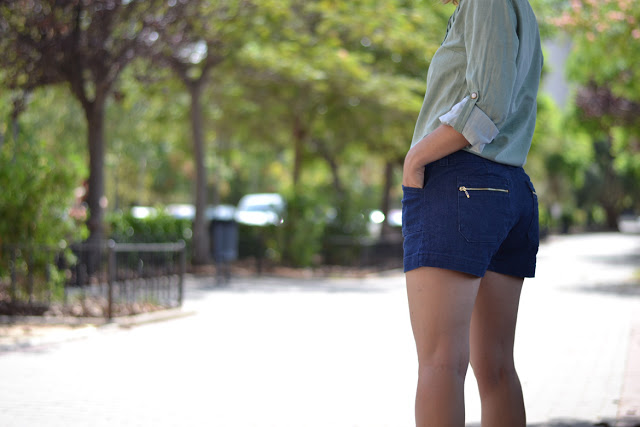
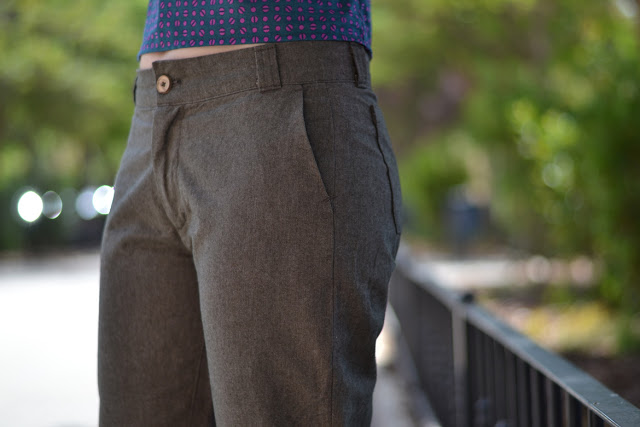
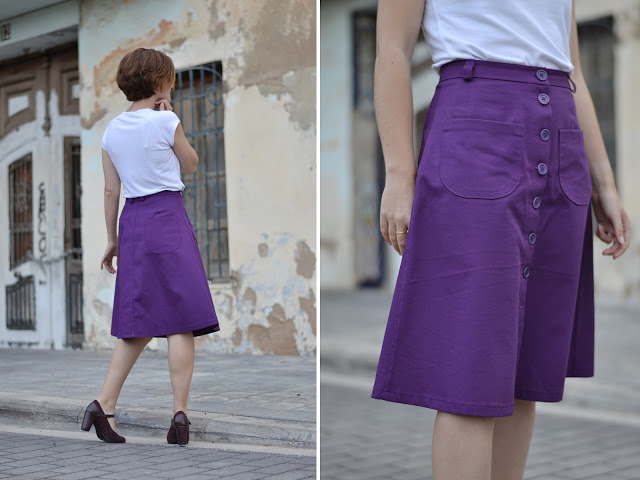
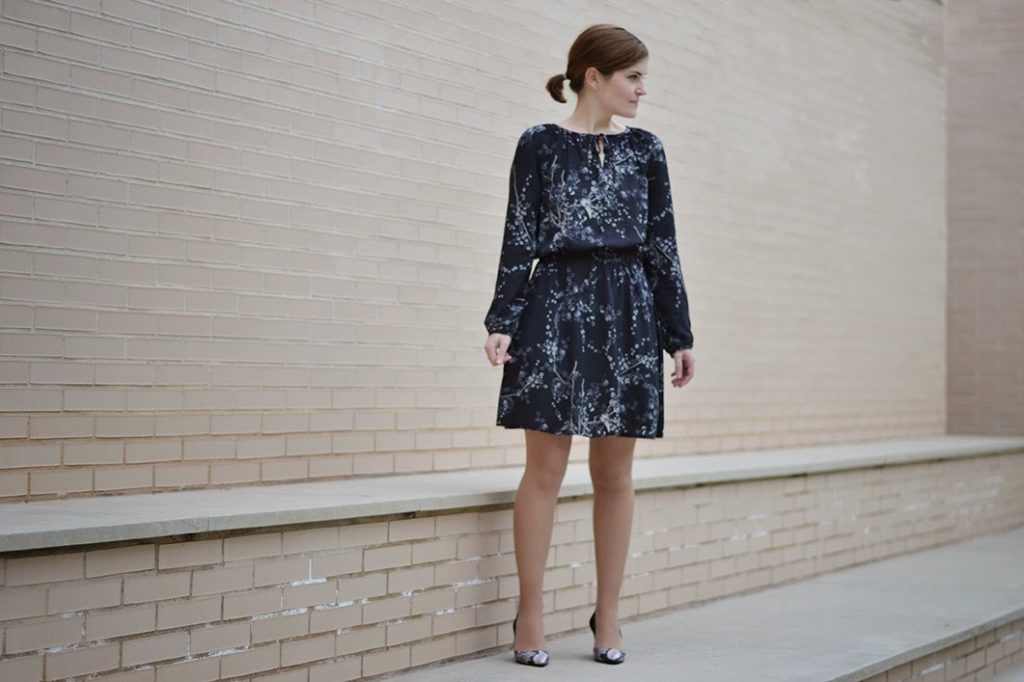
Here it is, the new pattern: the Port trousers and its short version. Its casual look will be perfect for the back at school/work season or the ones who don’t want to say good-bye to summer.
The chino cut, military inspired, makes it perfect all year-round. How about wearing view A with cuffed hems and heels for work or view B to make the most of the last summer days?
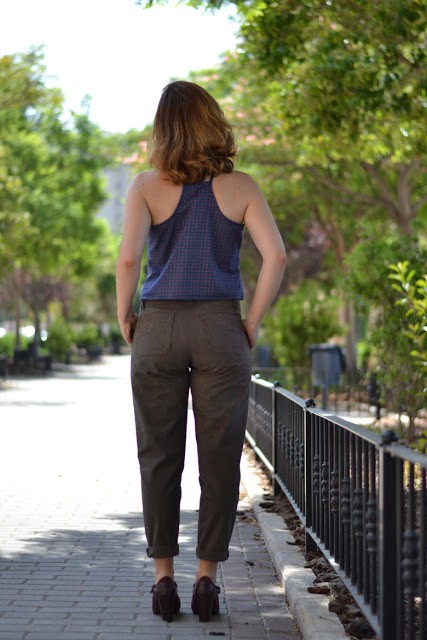


The Port trousers have a relaxed fit at the waist and hips with a slightly tapered leg and ankle length, as well as a mid-rise waistband with belt loops. There are many pockets options (you all know my love for pockets by now, no?): view A with front slant pockets and back patch pockets, view B with front patch pockets and back zipped pockets.
I recommend using medium-weight fabrics such as gabardine, twill cotton, linen, denim… or even lightweight woolen fabrics for a more dressed-up version.


The Port trousers pattern is available at the shop only as a PDF download.
I wanted to propose an easy trousers pattern, with interesting details, that could be made quite quickly (print it, stitch it on the very same day! Great as the week end is coming!). And printed pattern are coming back very soon…
I’m preparing a series of posts on trousers common adjustments, inspiration and a few tutorials in the up-coming weeks.
Fabrics:
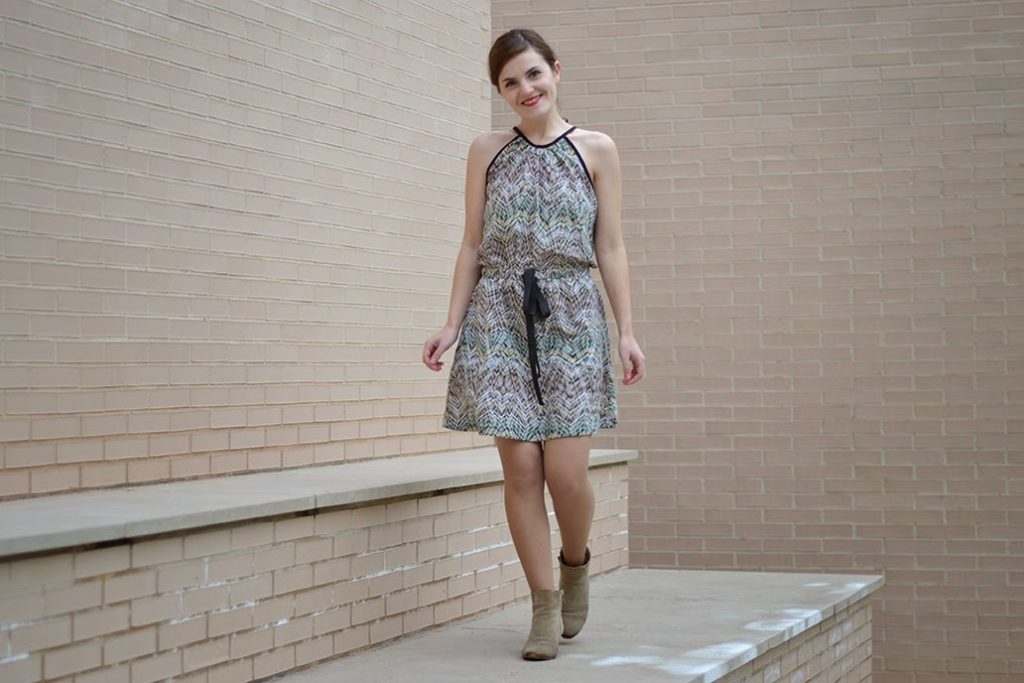
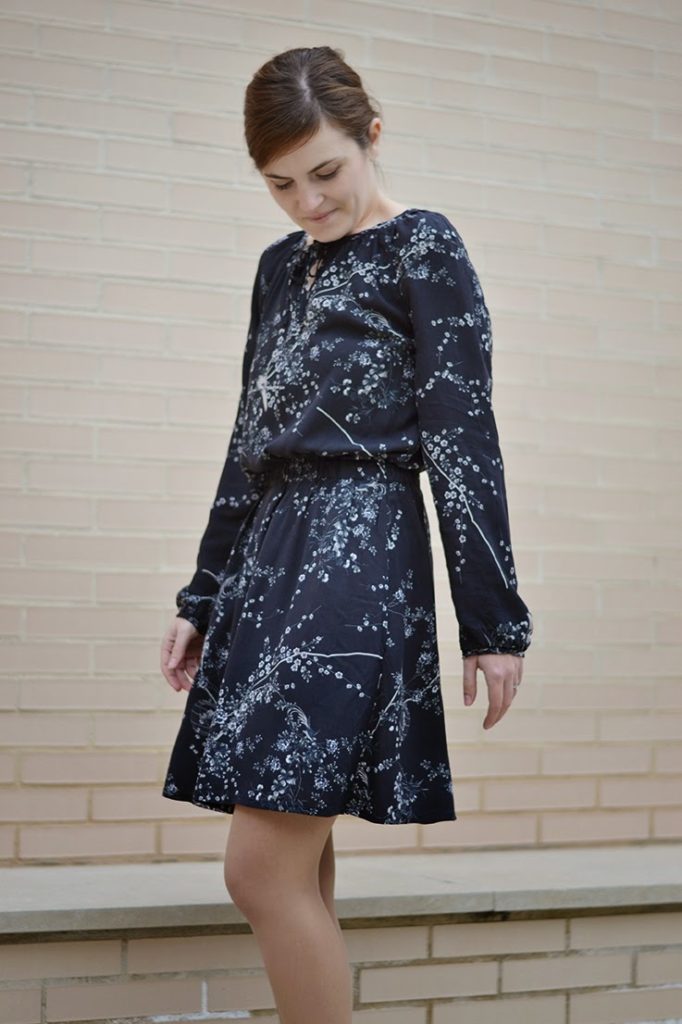
View A: gabardine from Cousette (worn with a Bailén top in rayon from Cousette)
View B: denim from Julían López (worn with a Carme blouse)
View A: gabardine from Cousette (worn with a Bailén top in rayon from Cousette)
View B: denim from Julían López (worn with a Carme blouse)
I hope you’ll like the Port trousers and that it will join your fall wardrobe!


 Inpsired by the 70’s, the


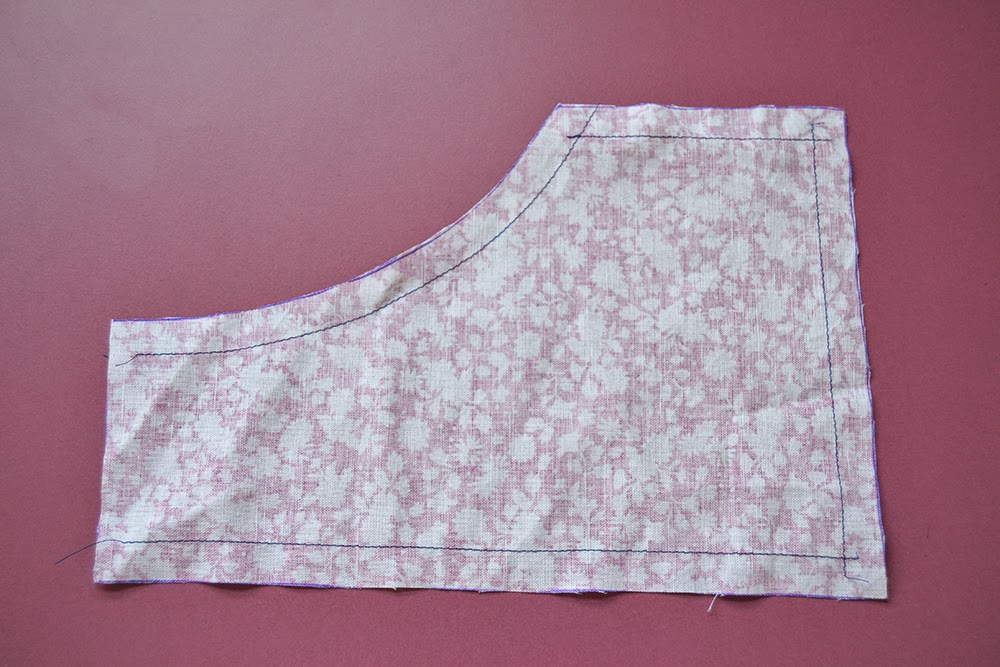
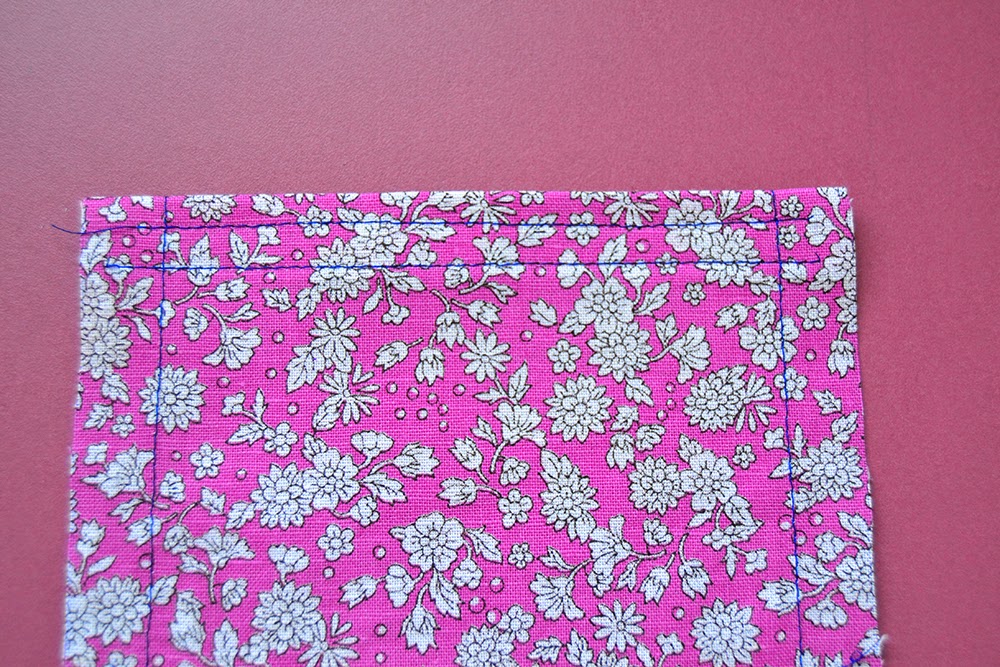
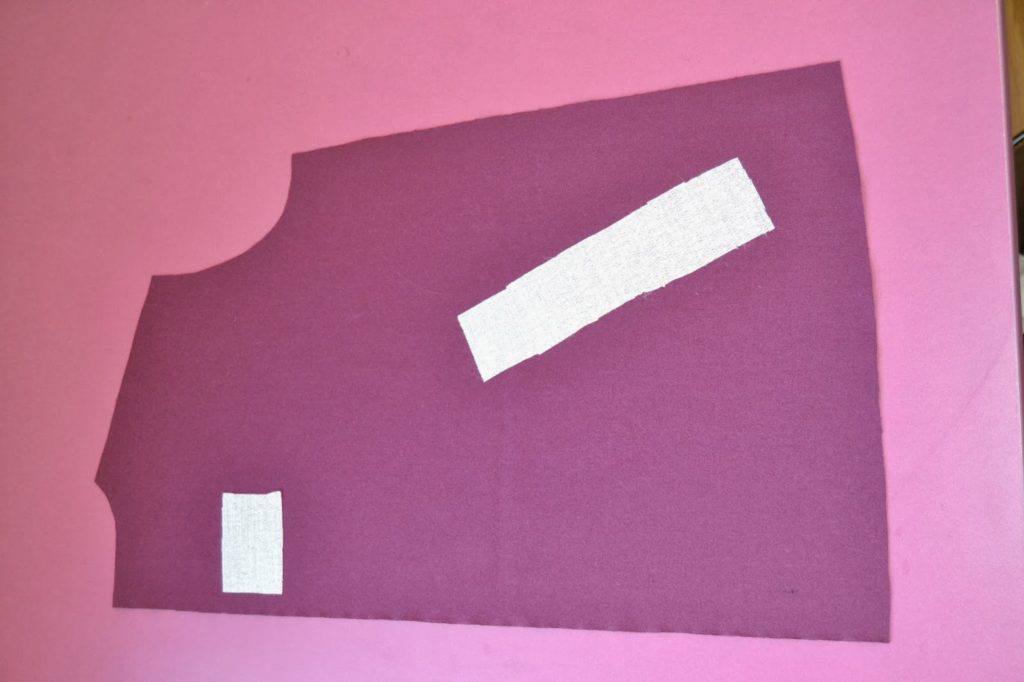
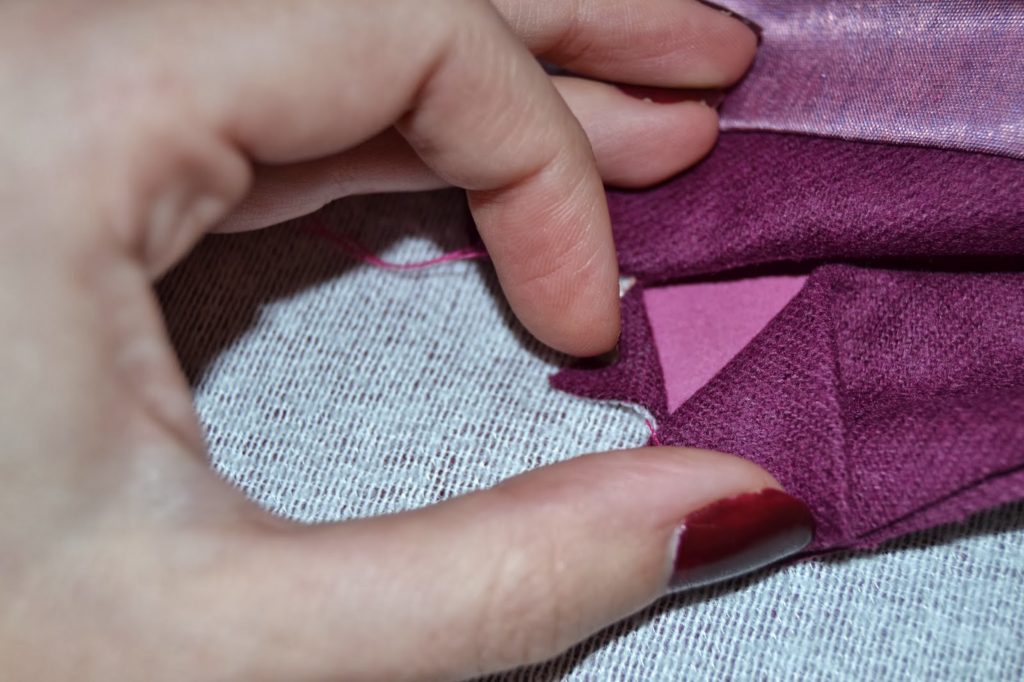
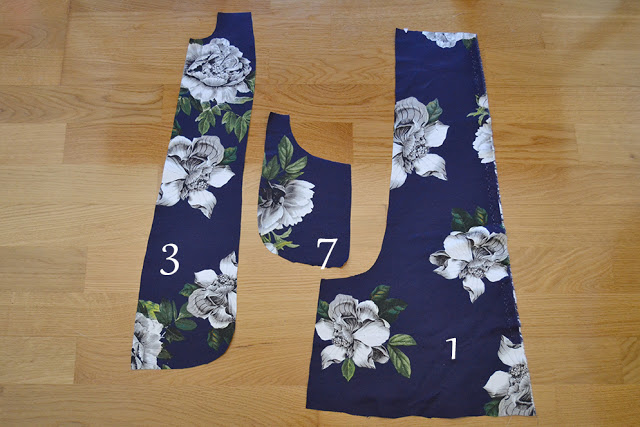 Here are the pieces involded in the pocket construction:
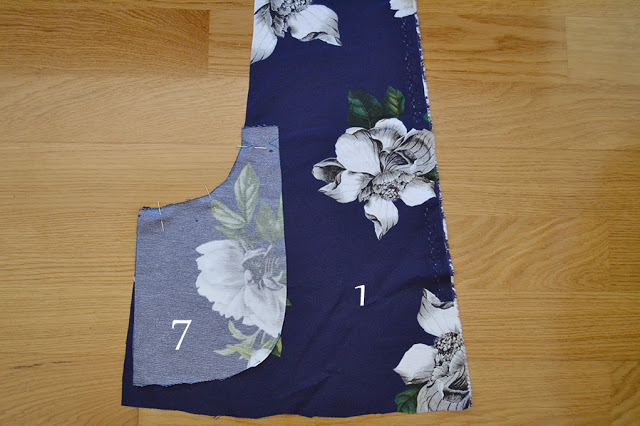 1. With right sides together, pin the pocket (7) to the front (1), matching the marks.
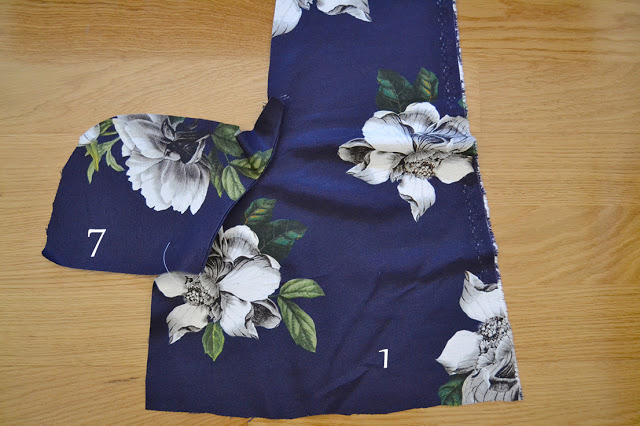 3. Press the pocket seam flat (you can understitch the seam allowance if you want). Open the pocket like on the picture.
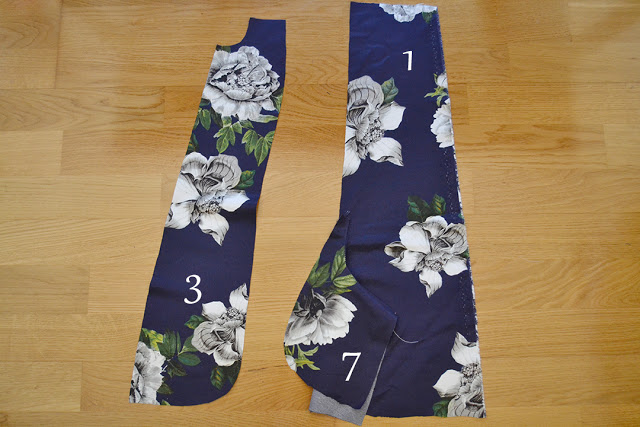
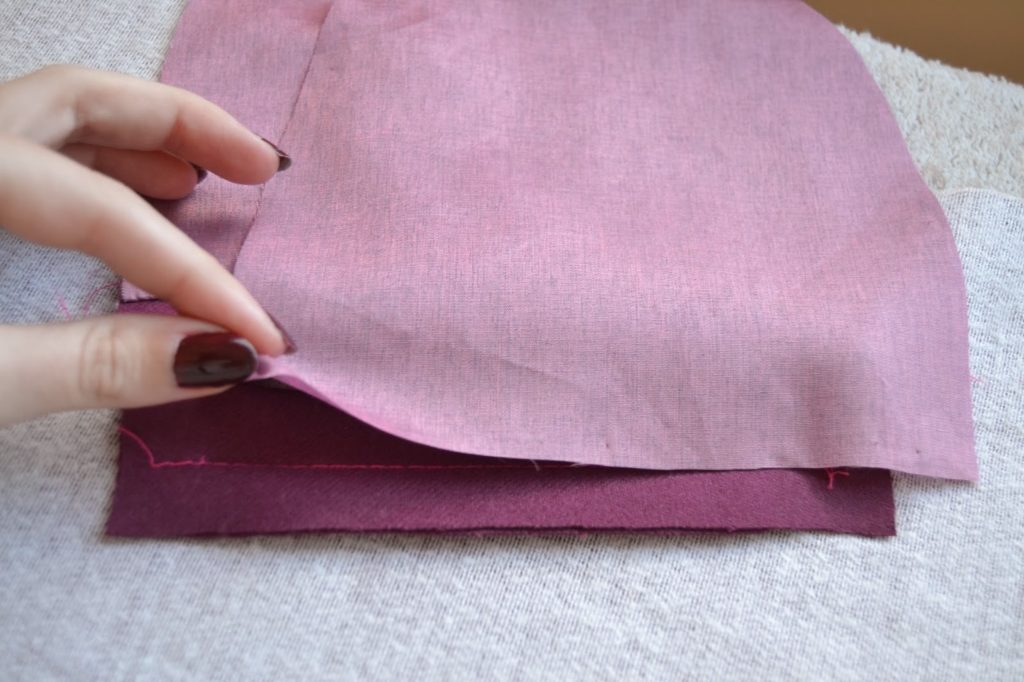
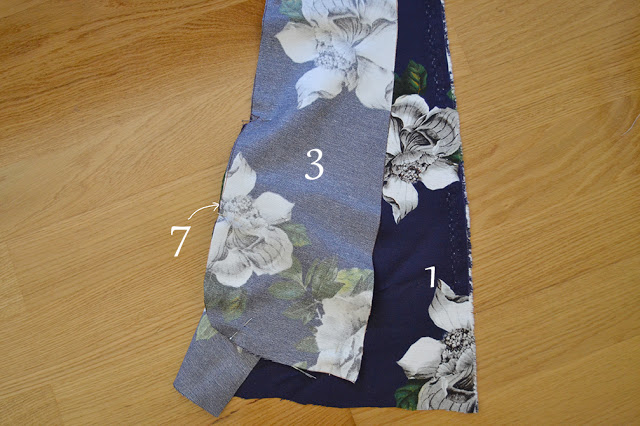 4. We are going to stitch the side front (3) to the front/pocket piece. With right sides together, pin the side front (3) to the front/pocket. Start pinning from the top, side front to front and when you reach the pocket, continue to pin to the pocket curve as if it was one unique piece, matching the marks. Stitch.
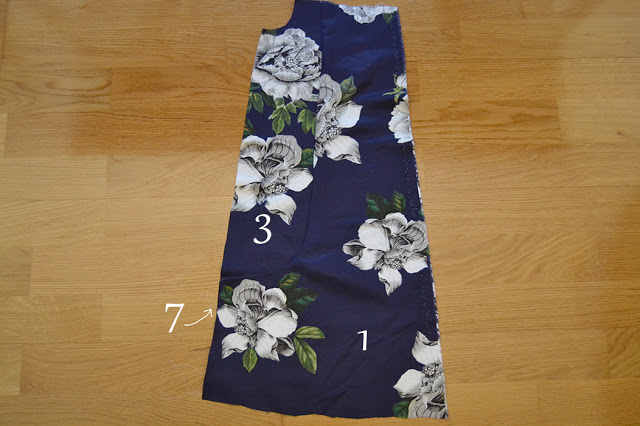
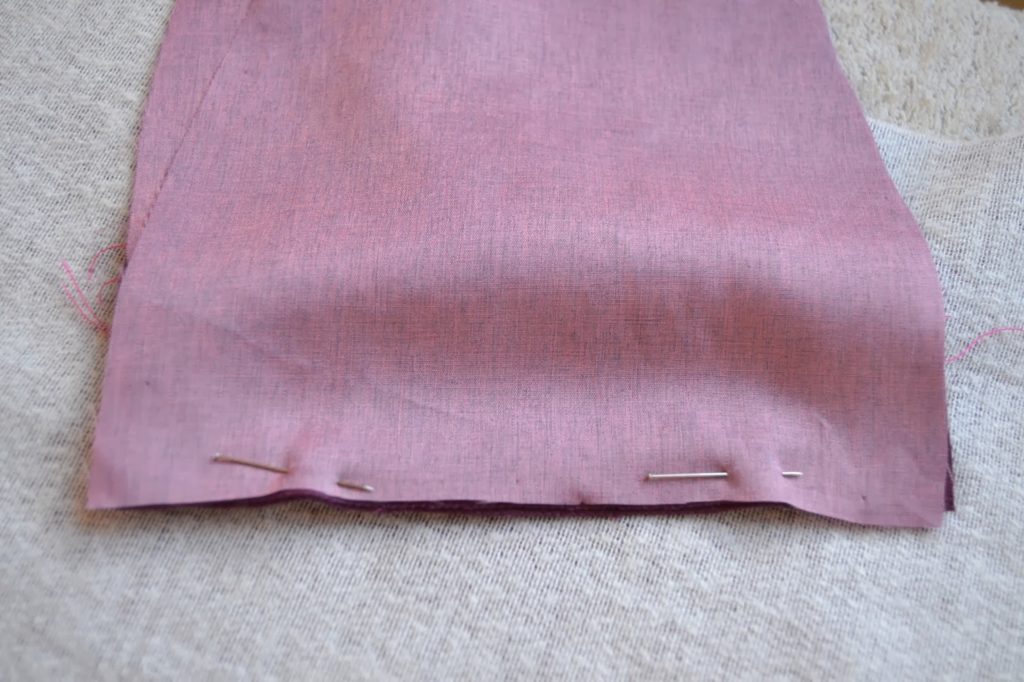
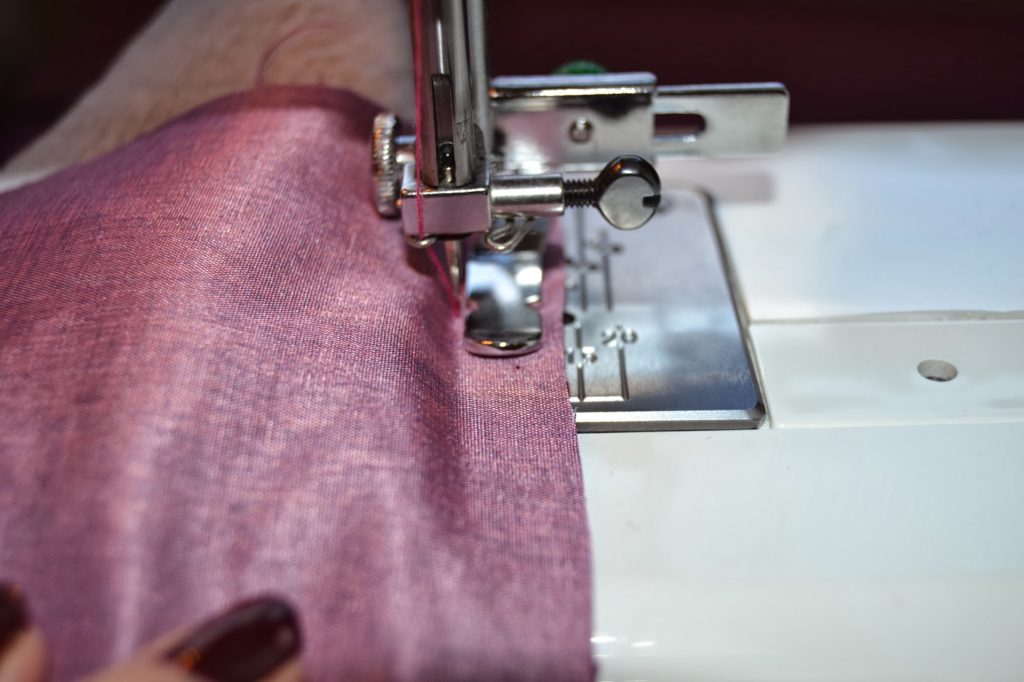
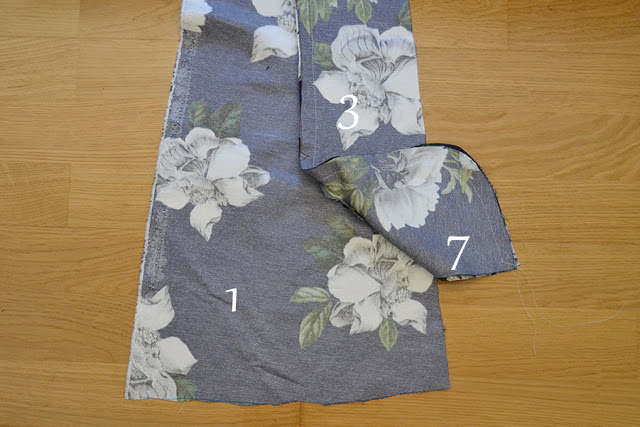 5. Place the pocket inside and press the pocket opening flat and the seam allowances toward the front. Trim and finish them.I hope this will help you. It’s a difficult step to photograph but if you make a pratice pocket before sewing your Xerea, I’m sure it will be easier to understand.
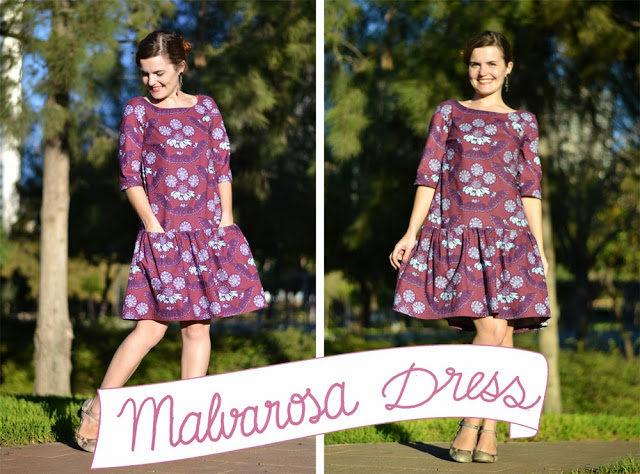
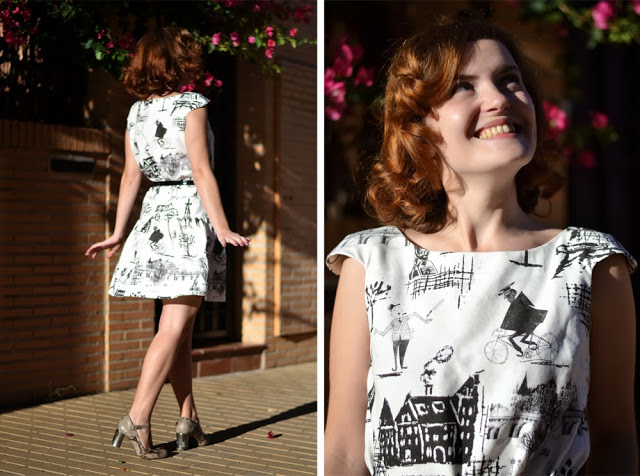
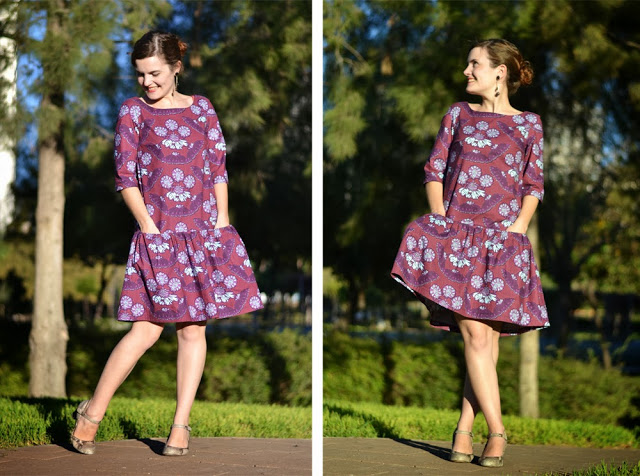
 Today let’s talk about the perfect summer dress: the
 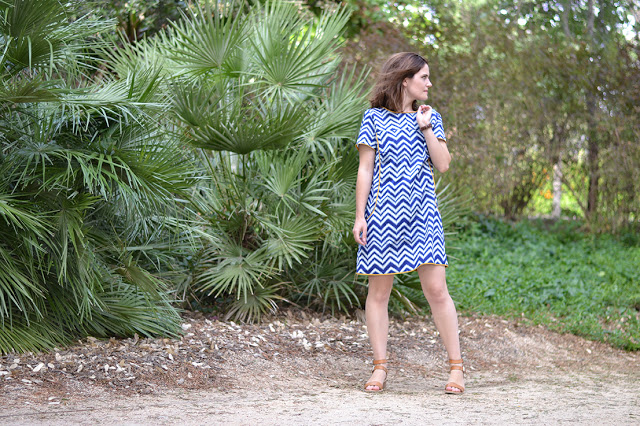 Xerea
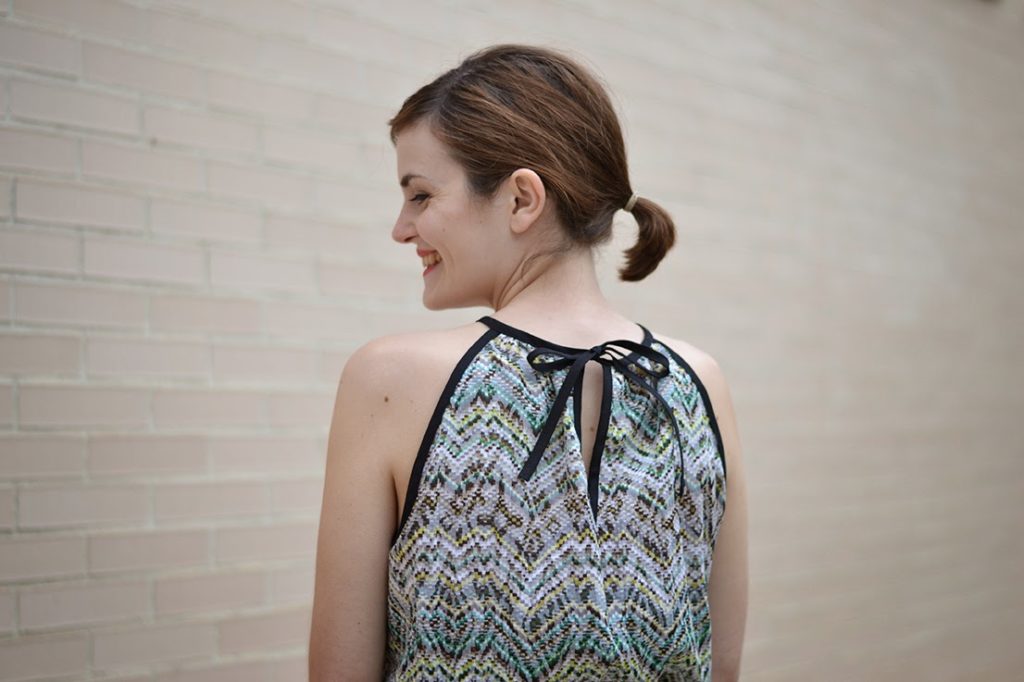
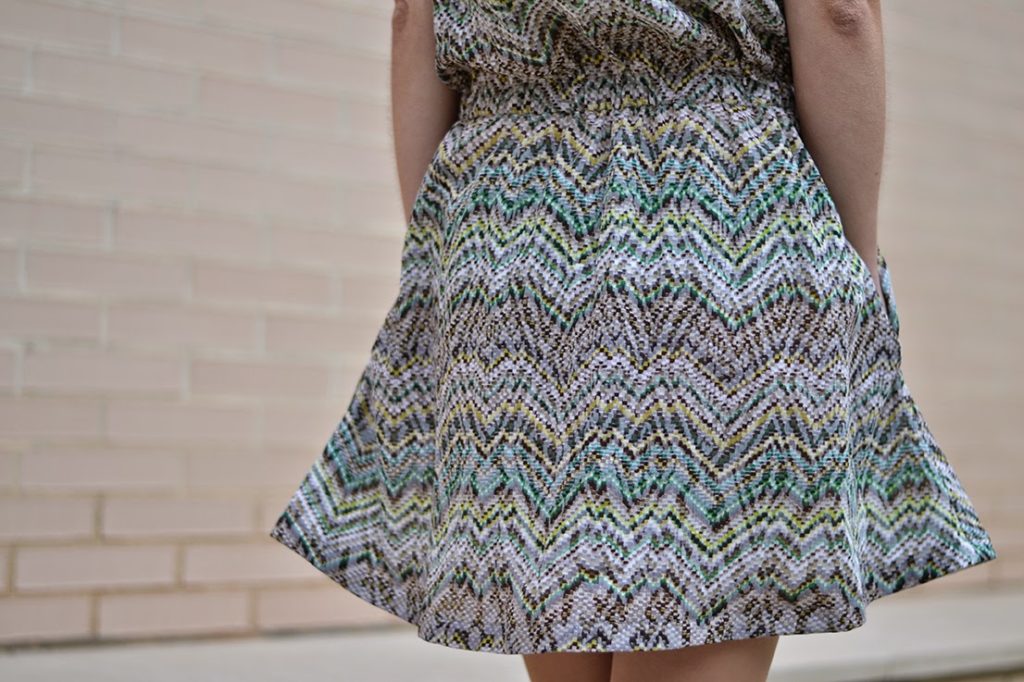
Xerea For fabrics, I would recommend fabrics with some drape, in particular if you choose the shift dress.
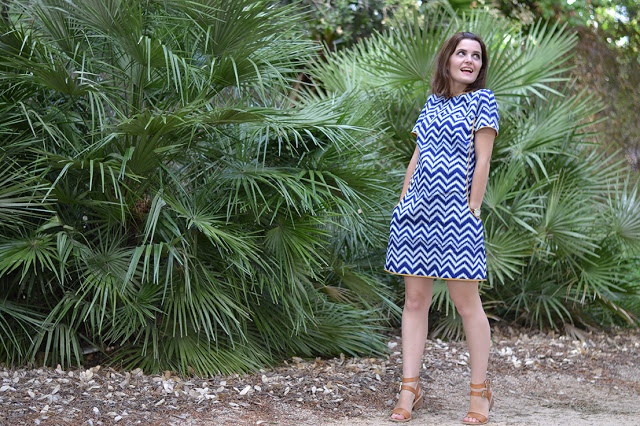
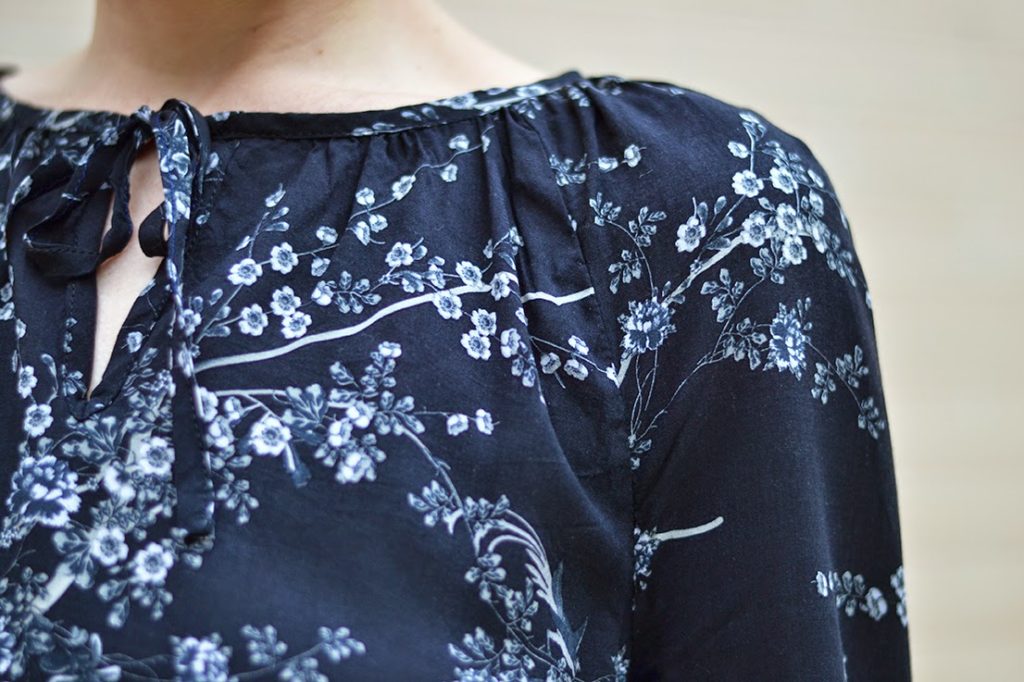
 The yoke design allow you to use contrasting fabric very easily: how about color blocking or lace accents? All the hems are finished with bias binding, make your own with matching fabric for an invisible finish or add some subtle contrast to your dress.
 I hope you’ll like the new patterns, the


 I’ve been making samples with elastic waistband and I loved it so much I knew I needed to design a pattern with that detail. On the
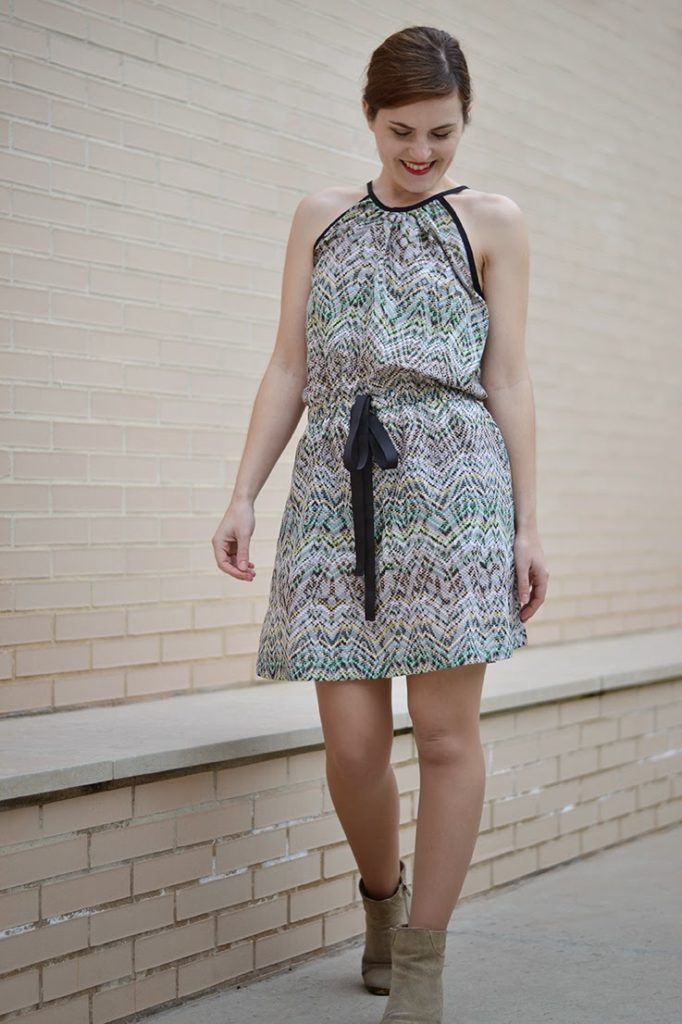

 I hope you like the
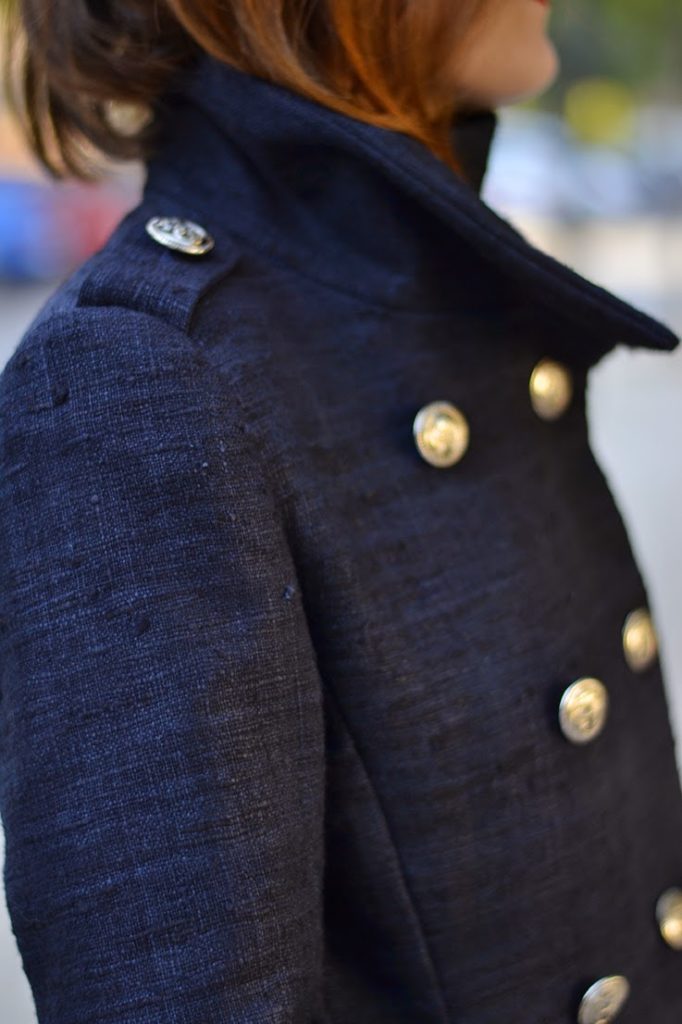
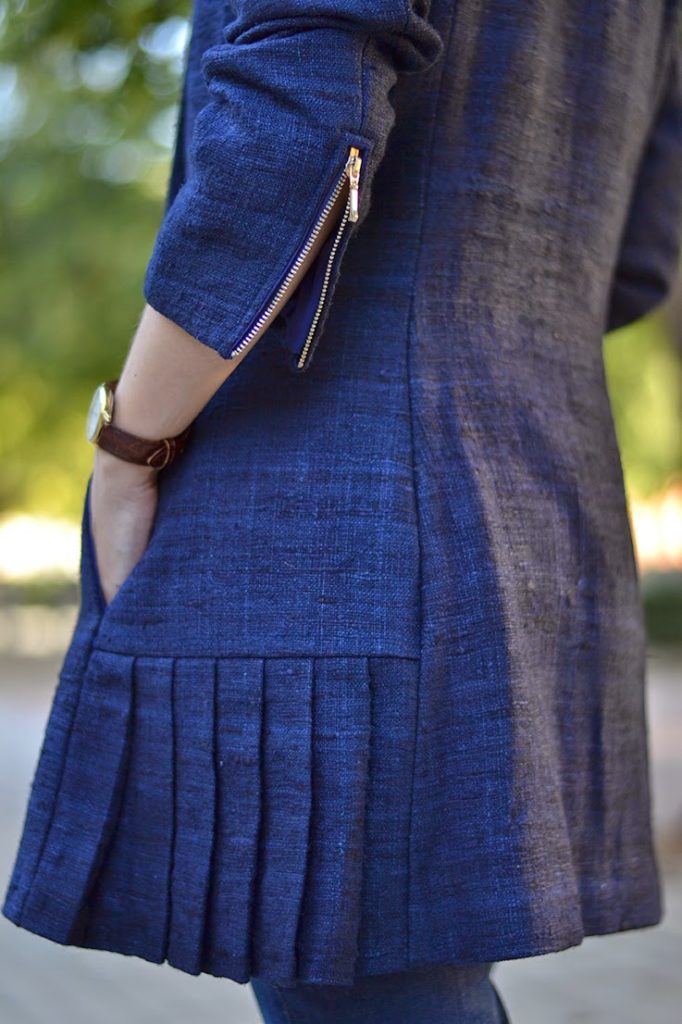
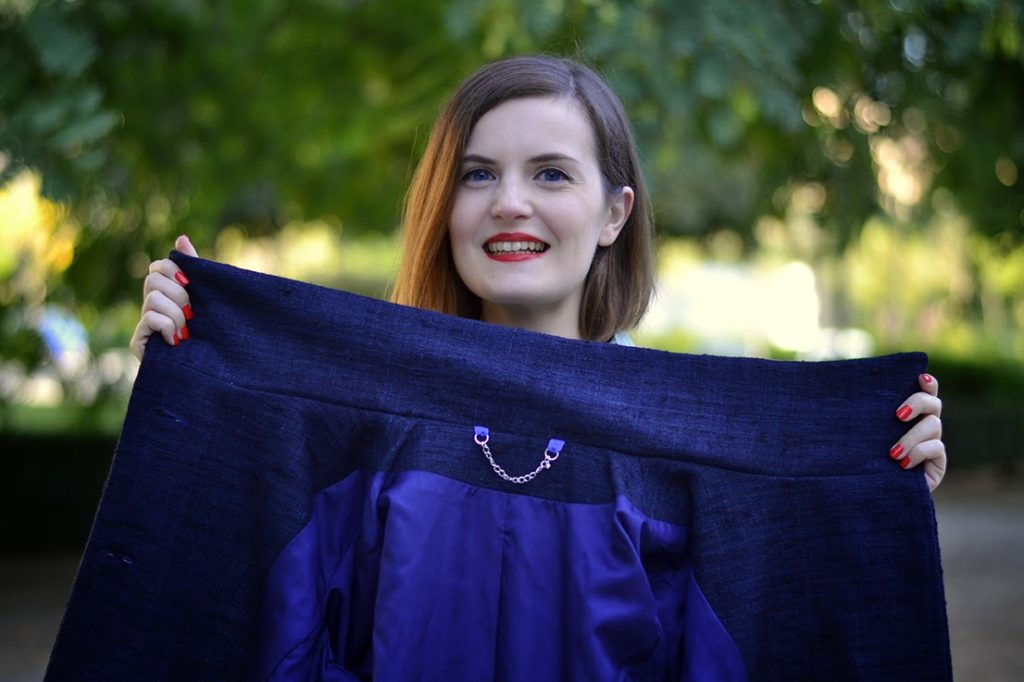
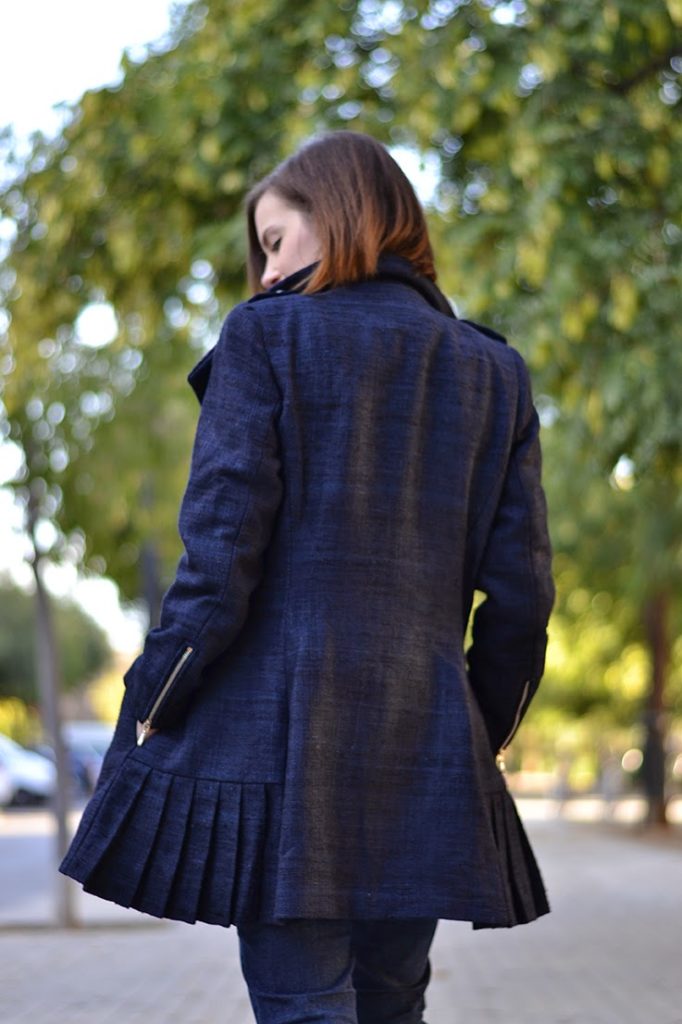 There’s nothing I like more to sew and wear than coats! And more than once I’ve cursed my sunny (and too warm) city because winter is too mild to wear heavy outerwear.
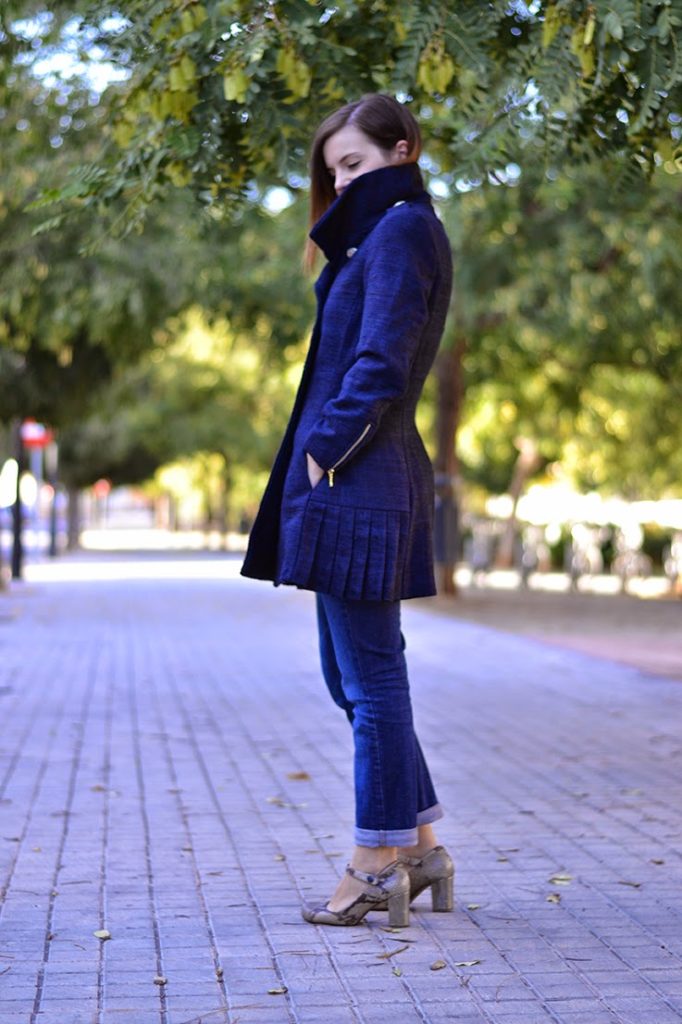 With its high collar, pockets and long zipped sleeves, the
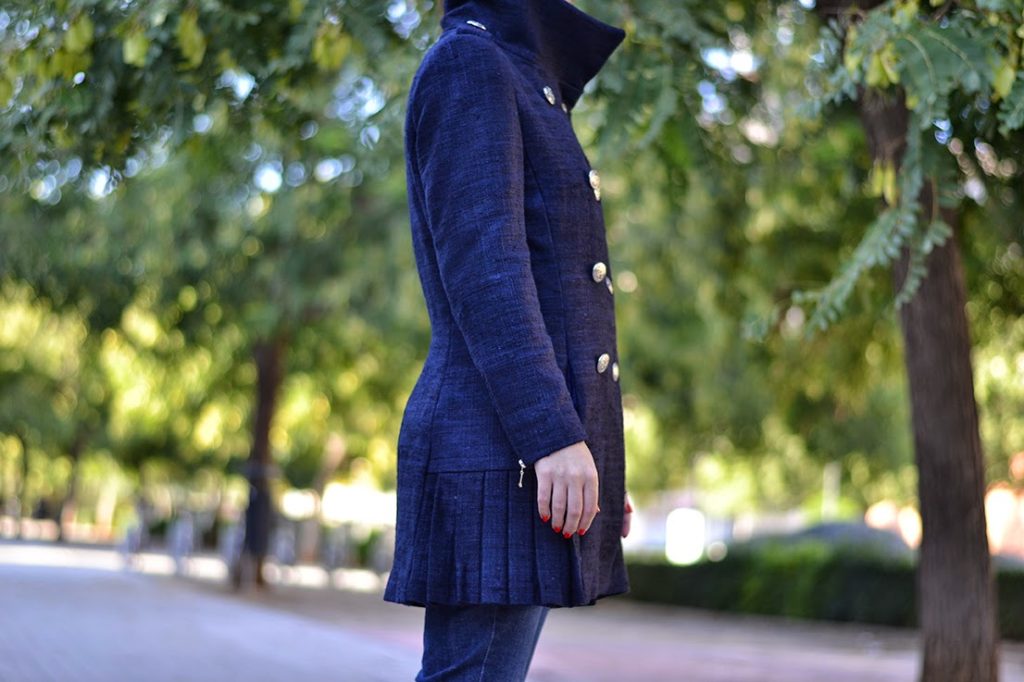
 The
The 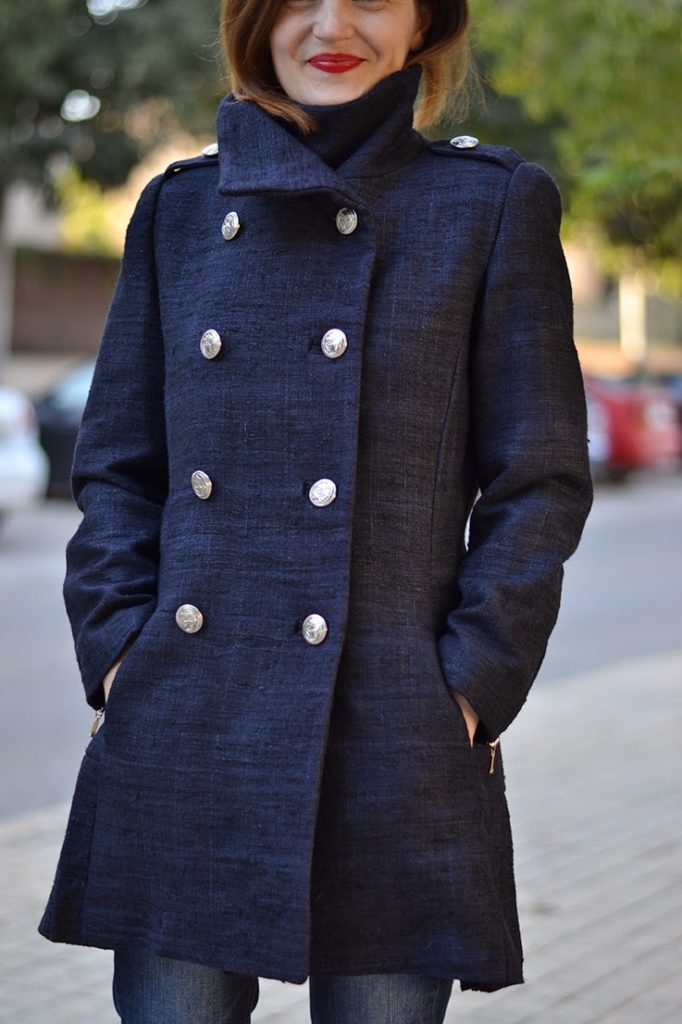
 ps: I’d like to remind you that you can take advantage of your order of the printed pattern to receive the new folders for free! If you have


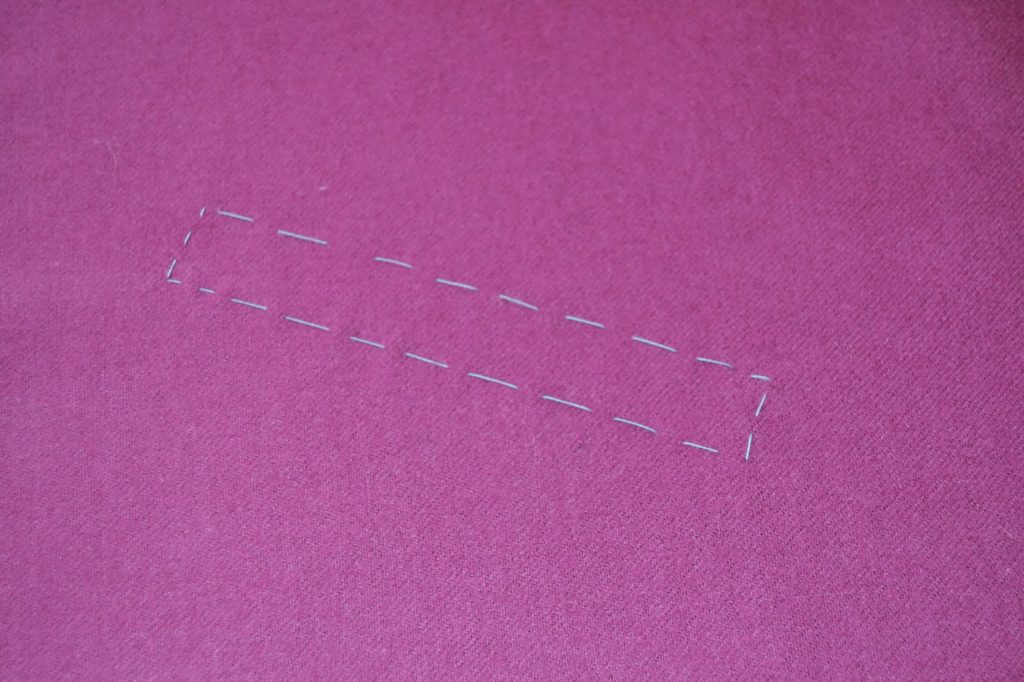
 To help you fold the seam allowances in, staystitch all around the front pocket just inside the seam allowance (about 1,2 cm from the edge or 1/2″). You don’t need to staystitch the top edge of the front pocket.
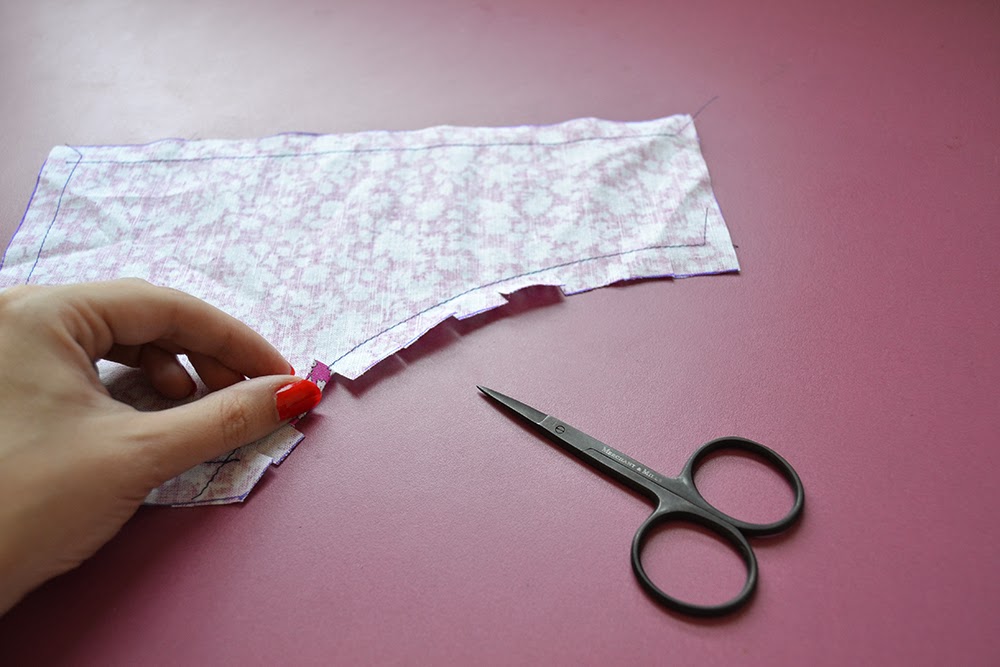 Clip the seam allowance of pocket opening: that’s the curved edge. Be careful not to cut the stitches!
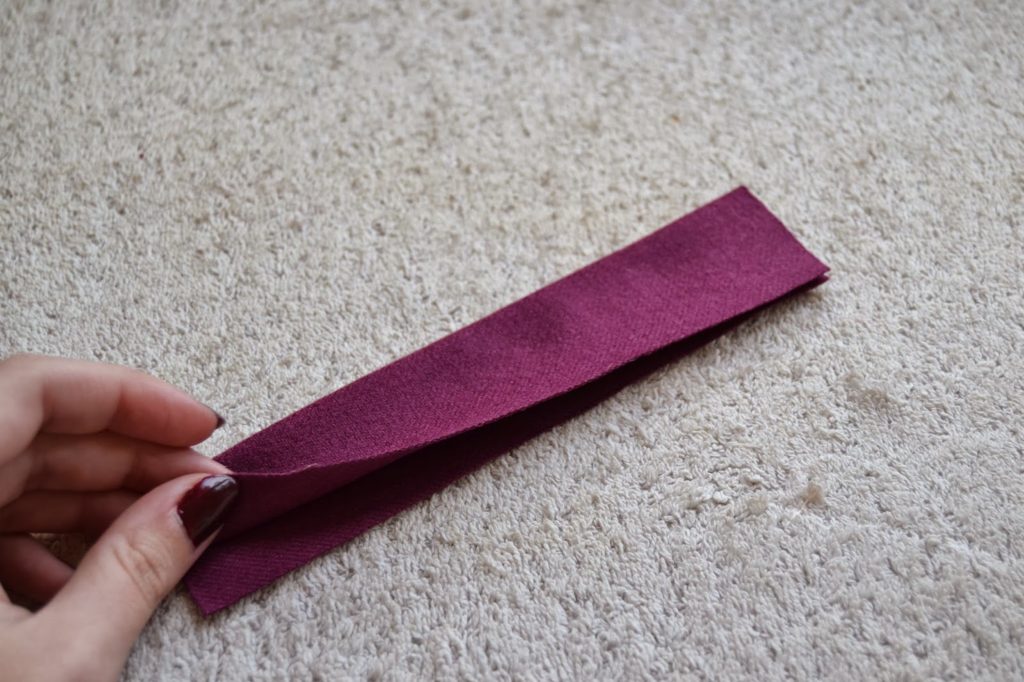
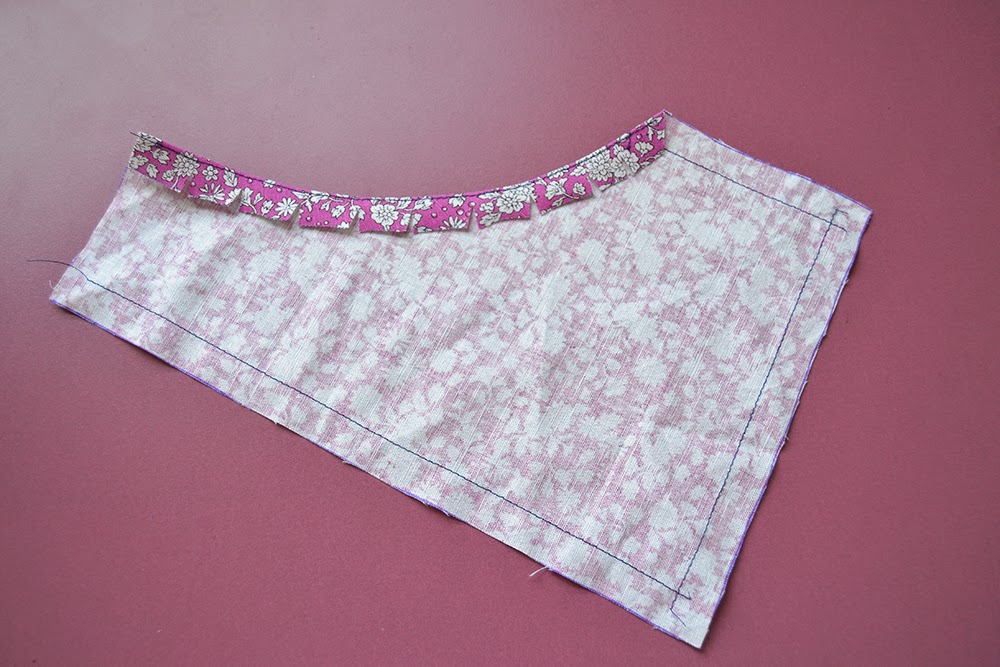 Fold the seam allowance to the inside and press.
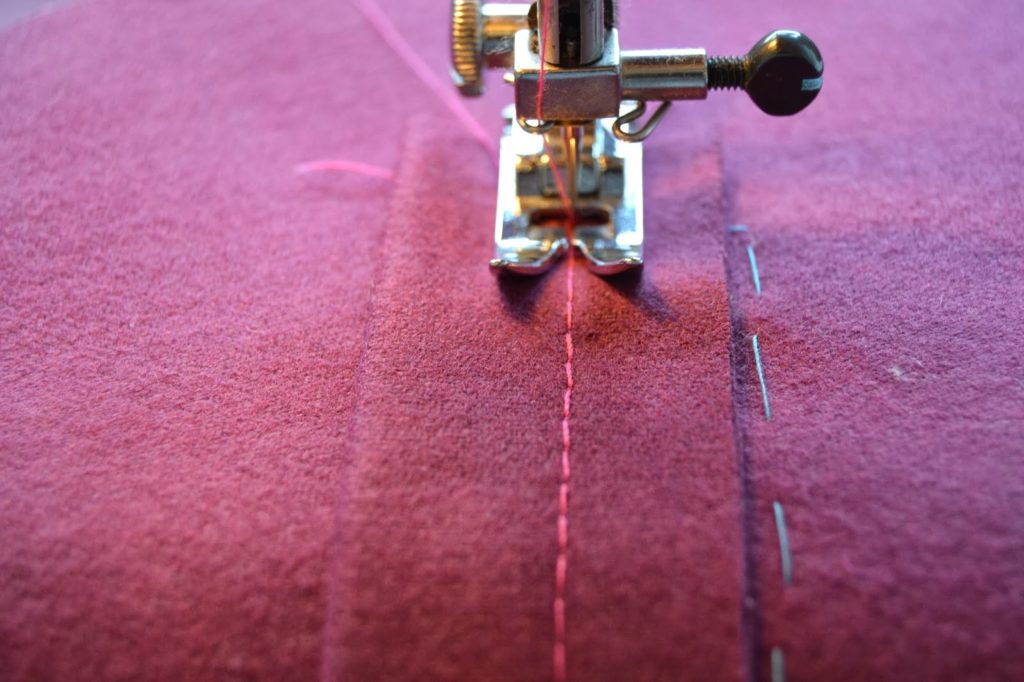
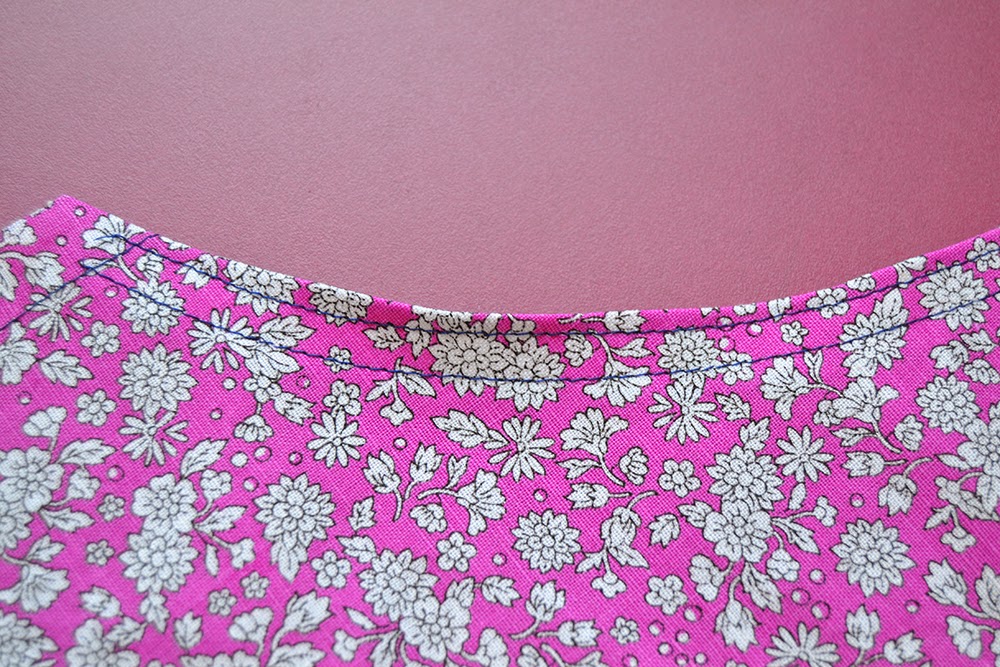 Stitch two rows of topstitching along the curved edge. Here is how I like to sew my topstitching so that the distance between the rows is always the same:
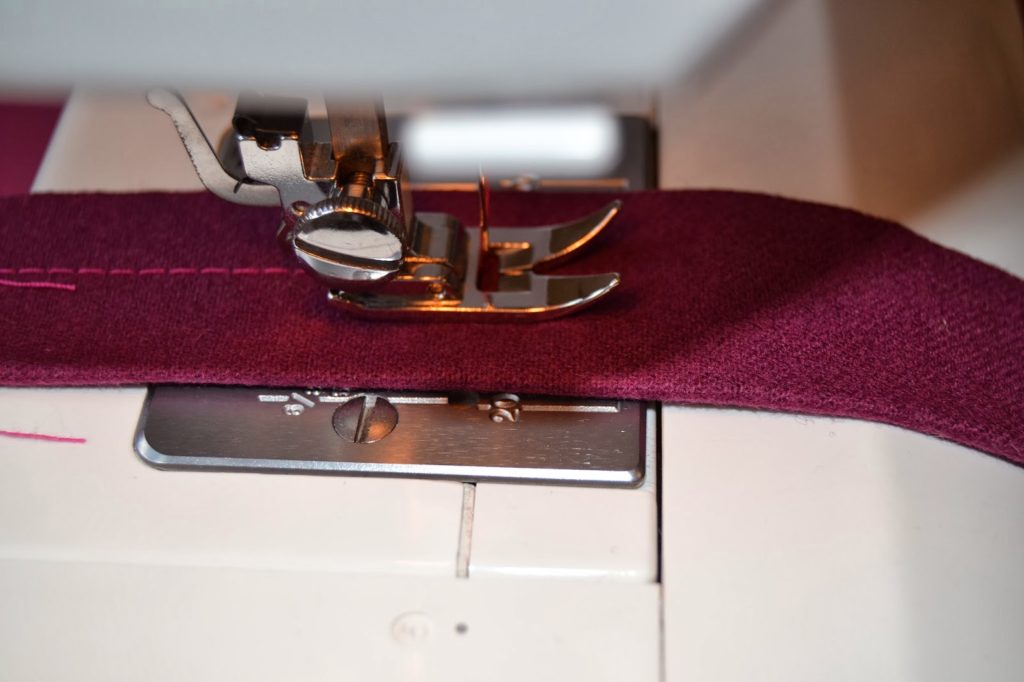
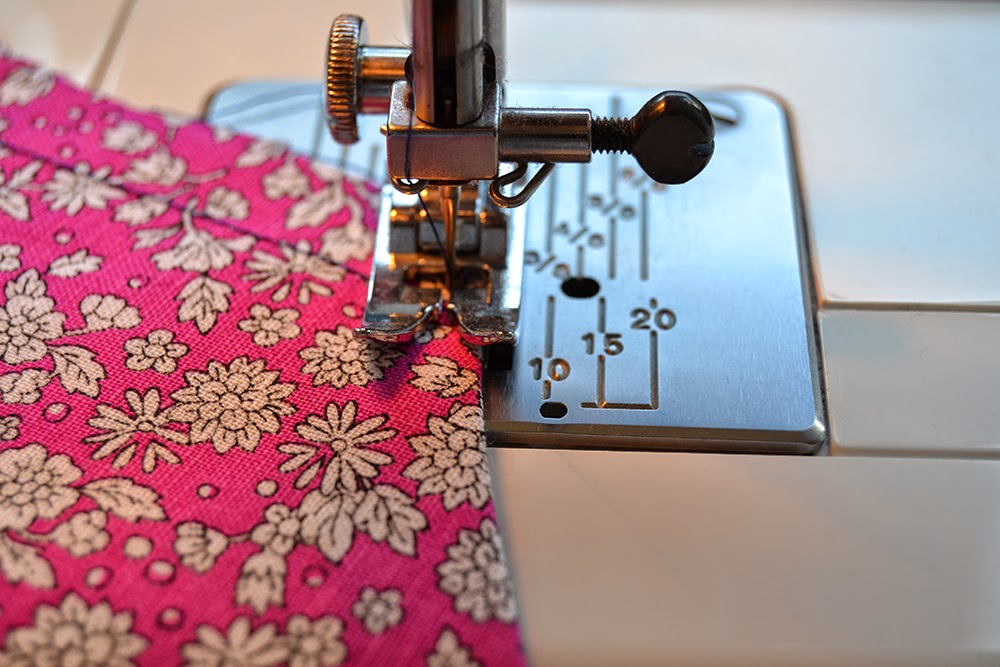
 I like to stitch the first row about 3 mm (1/8″) from the edge. Then I like to place the edge of the needle plate against the first stitching line and follow it (that’s roughly 8 mm or 5/16″).
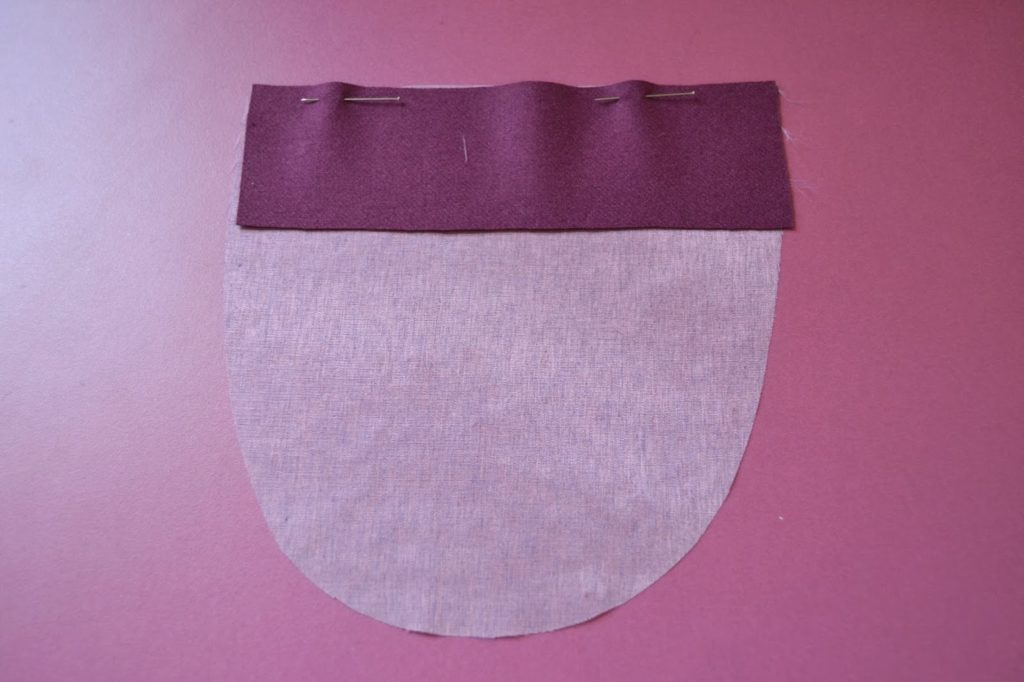
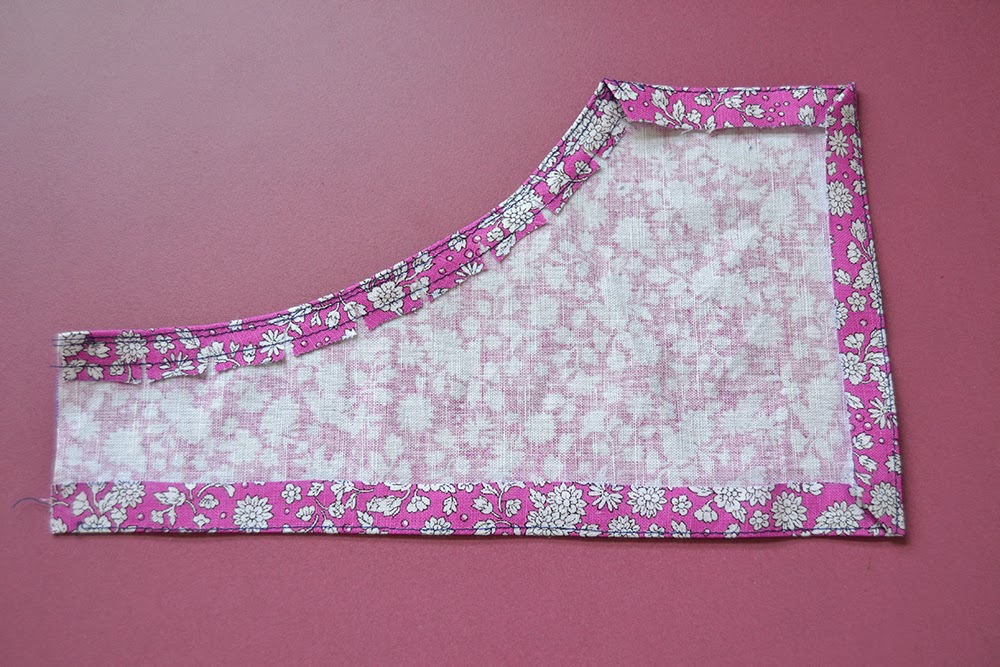 Fold the sides and bottom seam allowances along the staystitch. Make sure the staystitching line is on the inside of the seam allowances.
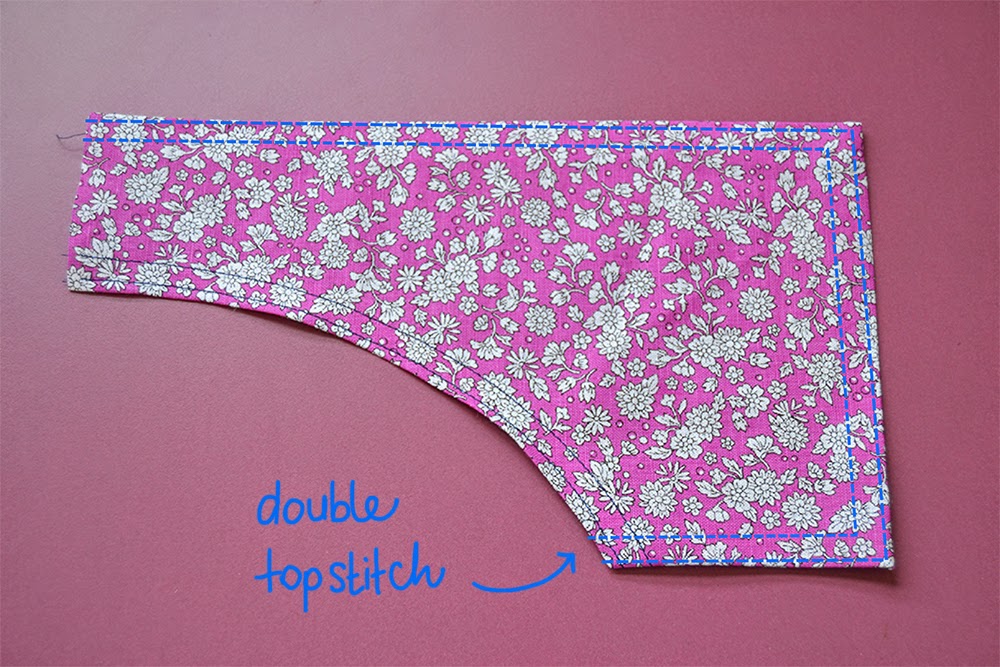 Place the pocket on the dungarees front piece, matching the marks and pin it in place. The top edges of the pocket and the front piece should match. Then stitch two rows of topstitching along the sides and bottom, leaving the curved and top edges open.
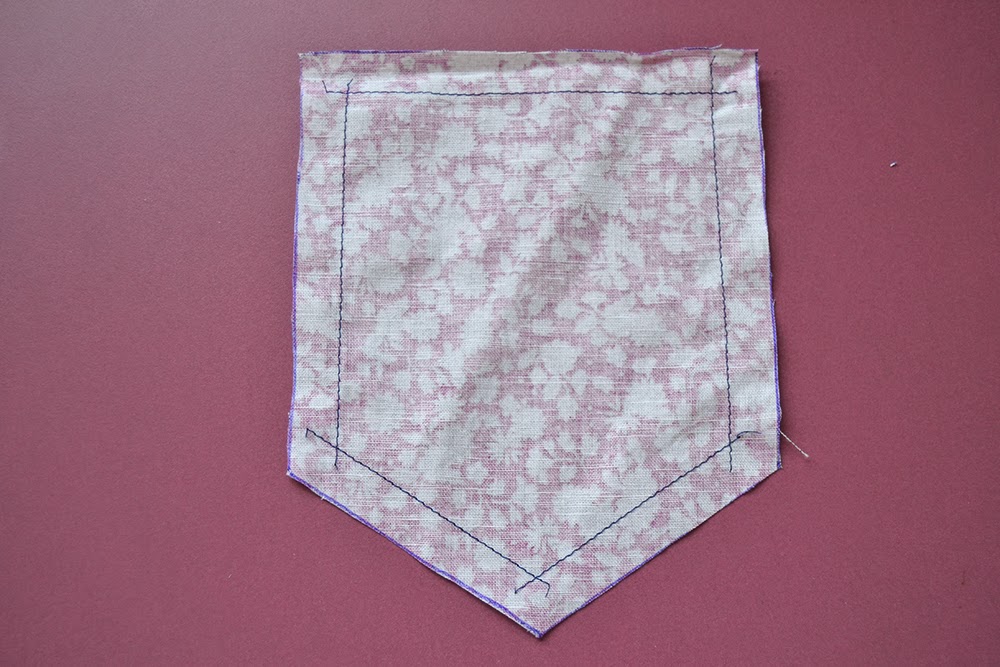 Staystitch all around the front pocket just inside the seam allowance (about 1,2 cm from the edge or 1/2″).
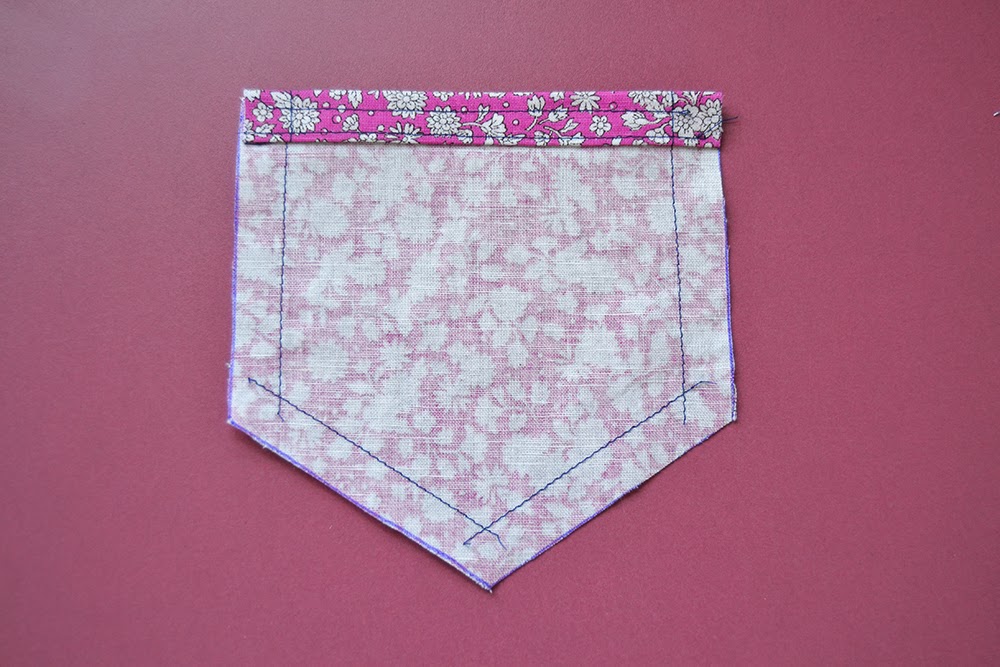
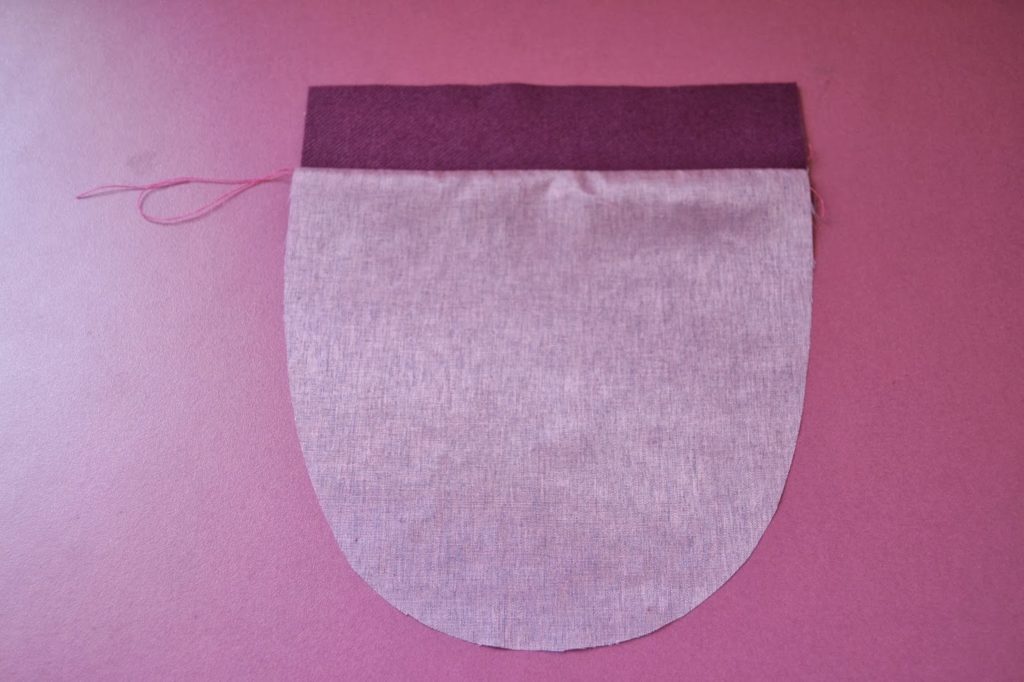
 Turn the top edge along the staystitch, press. Fold again and stitch two rows of topstitching.
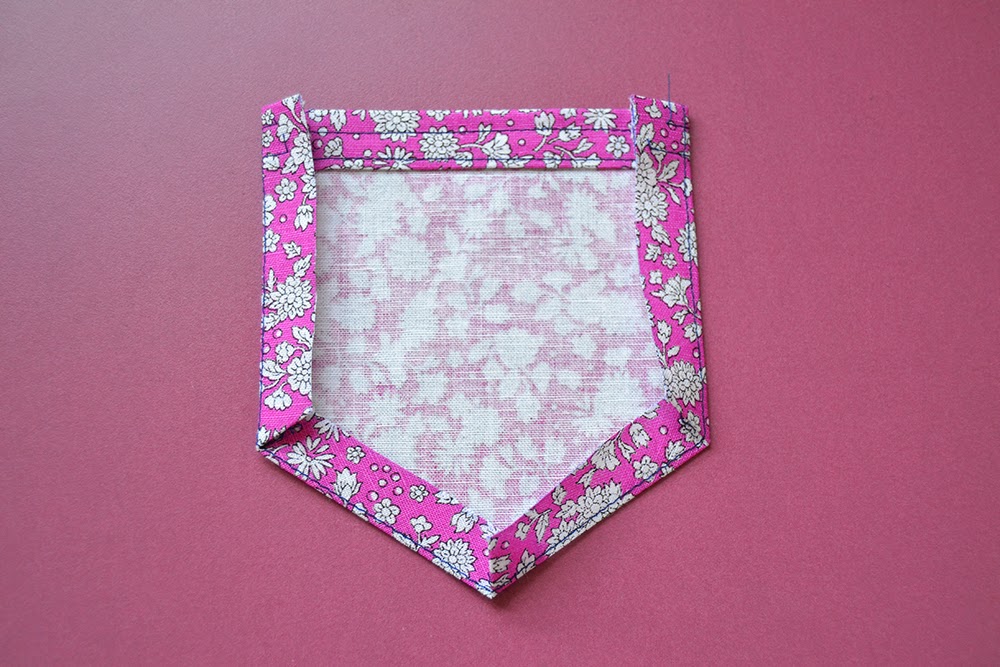 Fold the sides and bottom seam allowances along the staystitch. Make sure the staystitching line is on the inside of the seam allowances. Press.


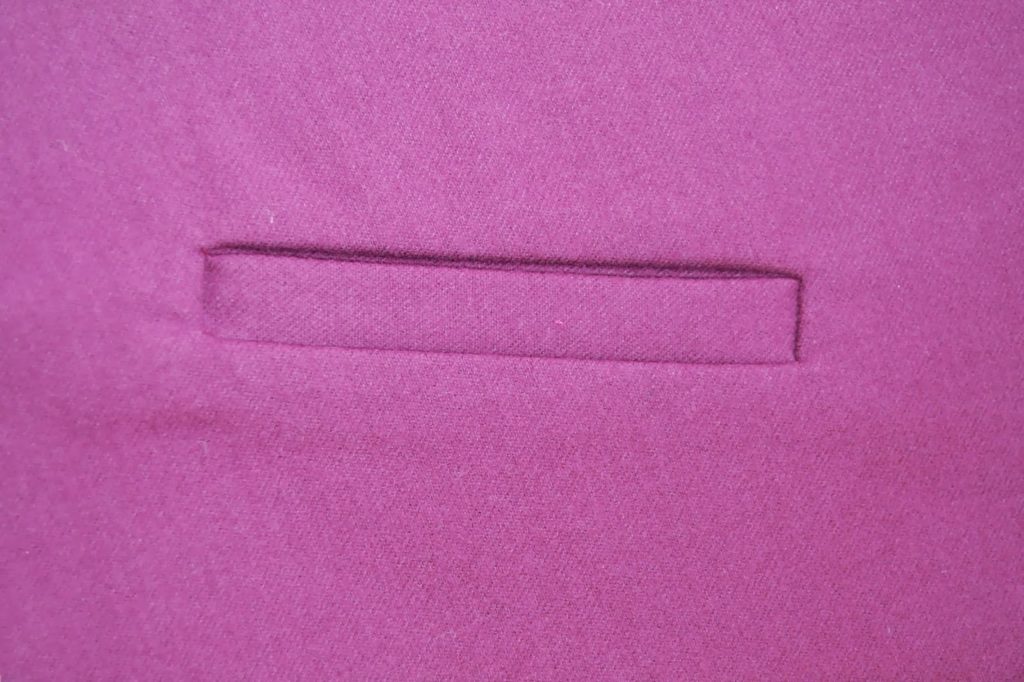
 The sizing of the pattern is good but I found it a little big. According to the measurements, I cut a size XS (and didn’t make a muslin, silly me) but when I tried it on, it was large both at the hips and at the waist (it’s supposed to sit at the natural waist). I remember reading reviews saying the same. I stitched 1,5 cm seam allowances all over instead of the 1 cm included in the pattern. But I think I’ll just cut the XXS size next time as it’s still a little big (it’s the first time I’ve entered into such a small size haha). I would also make them a little bit shorter, but that’s a personal preference. But these are such easy changes that I can only say the best about this pattern (and it’s really my fault as I could have avoided that by making a muslin).
 The instructions are clear (the welt pocket lining could be easier, if you have never made one, take your time and check their online
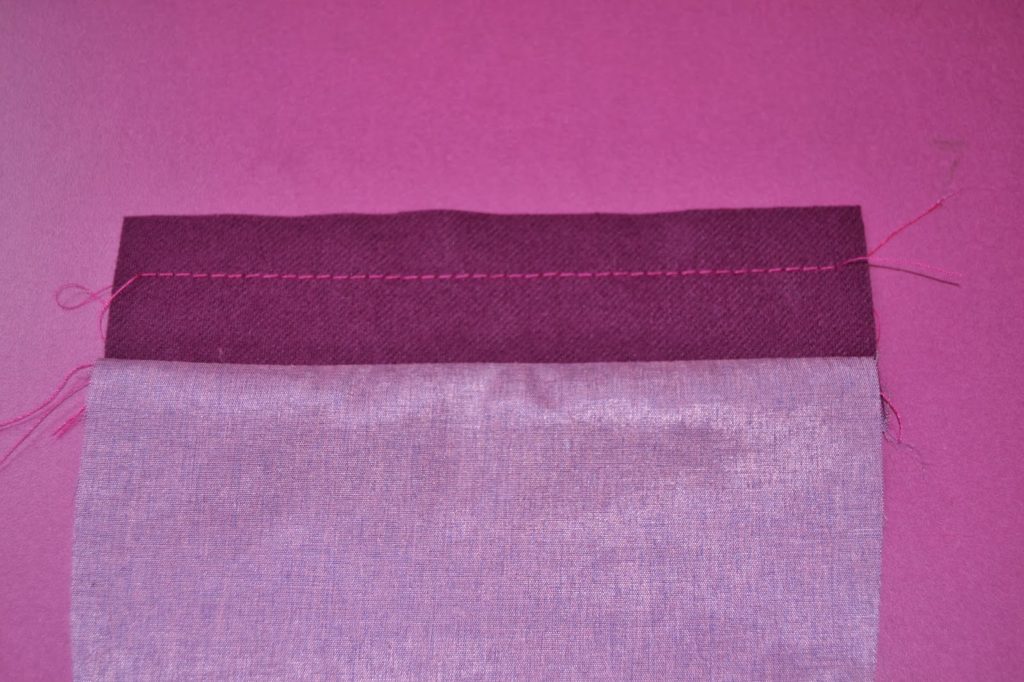
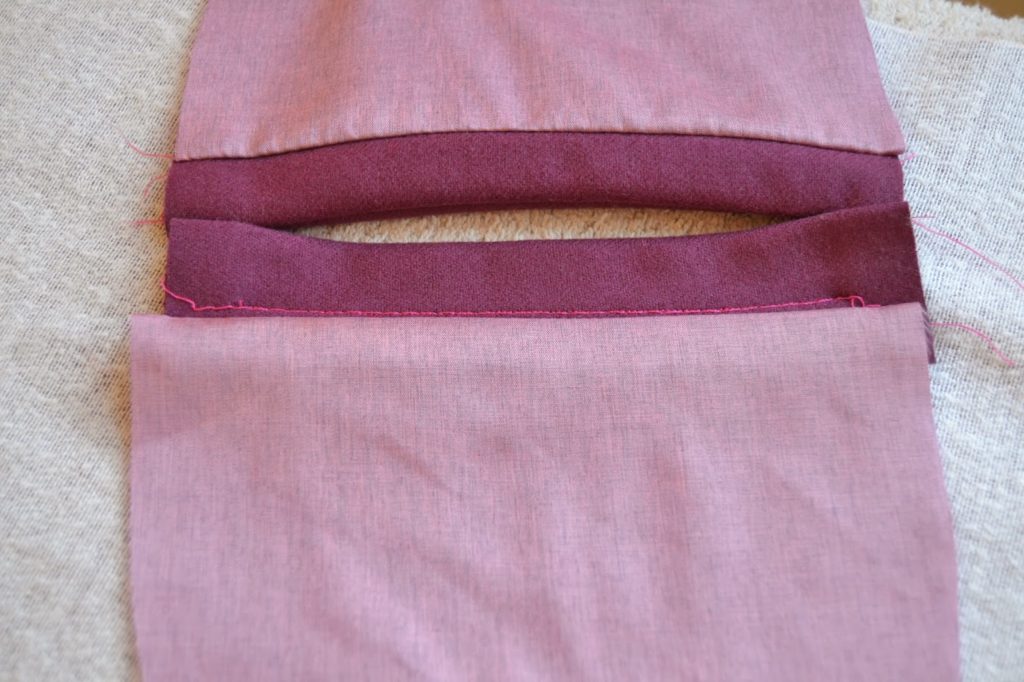
 3.Fold the welt piece in two with wrong sides together. Baste it at 1,5 cm (5/8″) from the outer edge.
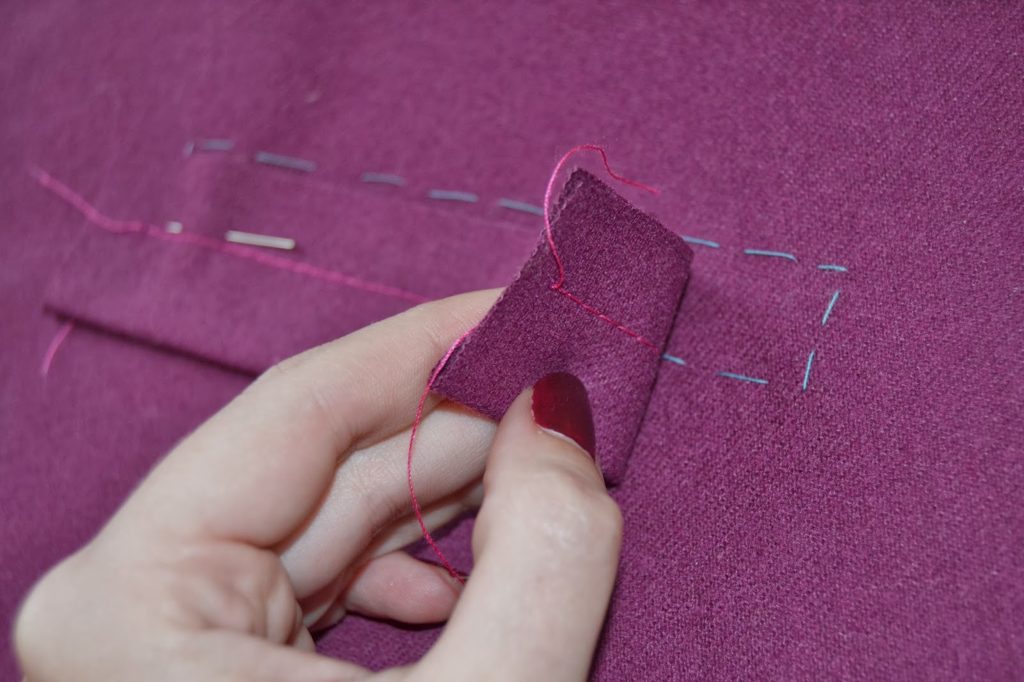
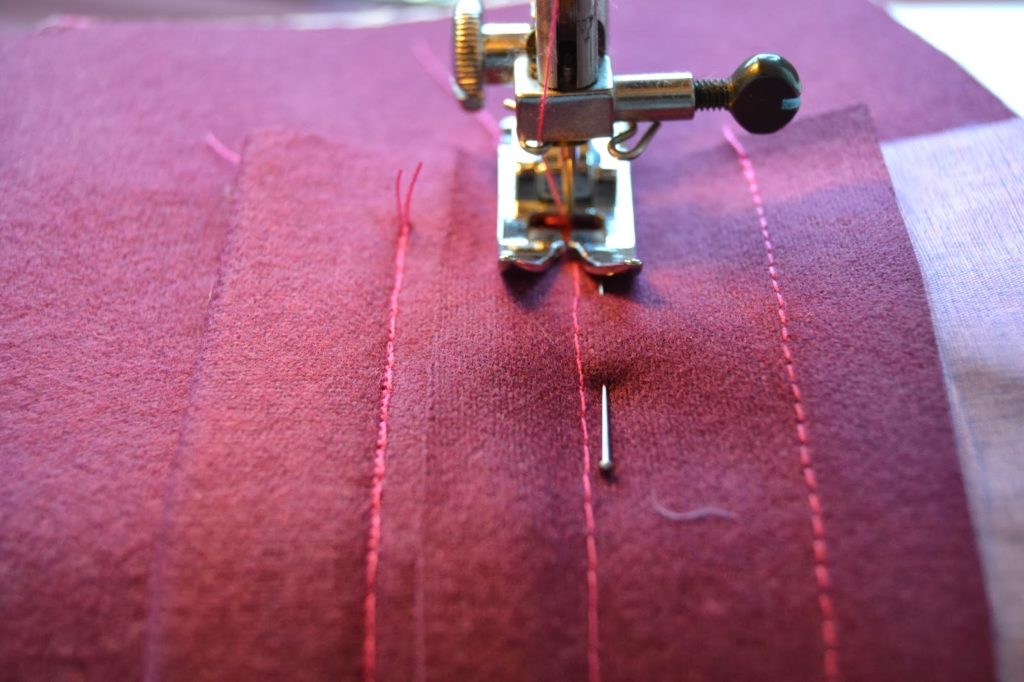 6.With right side facing down (and the pocket upside down), pin the pocket facing to the pocket opening matching the basted lines. Stitch over the basted line, starting and ending 1,5 cm (5/8″) from the edges.
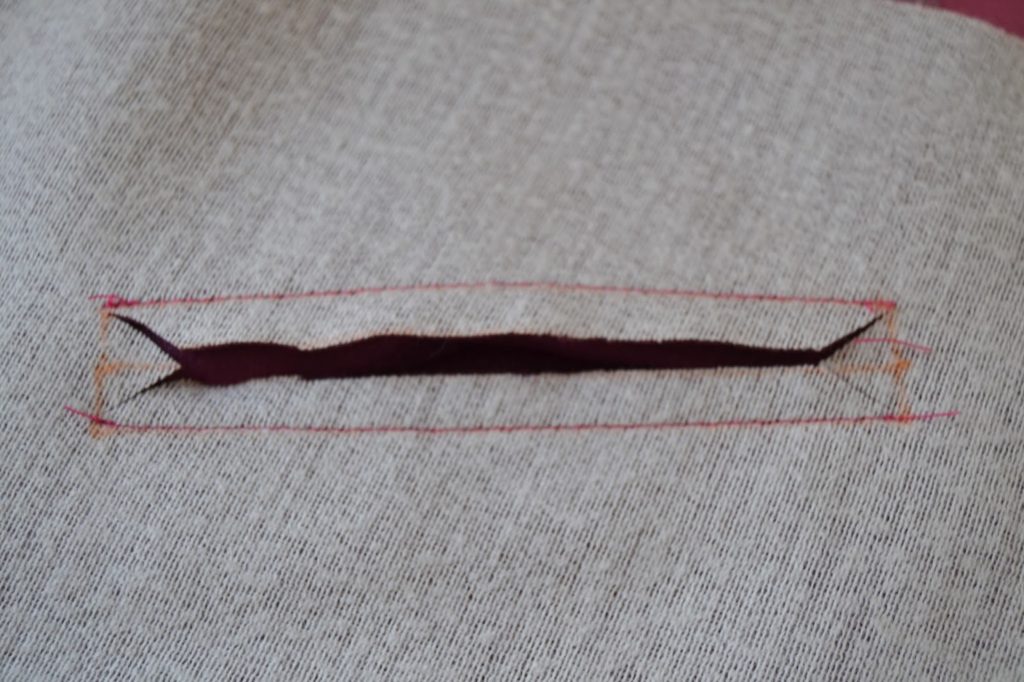
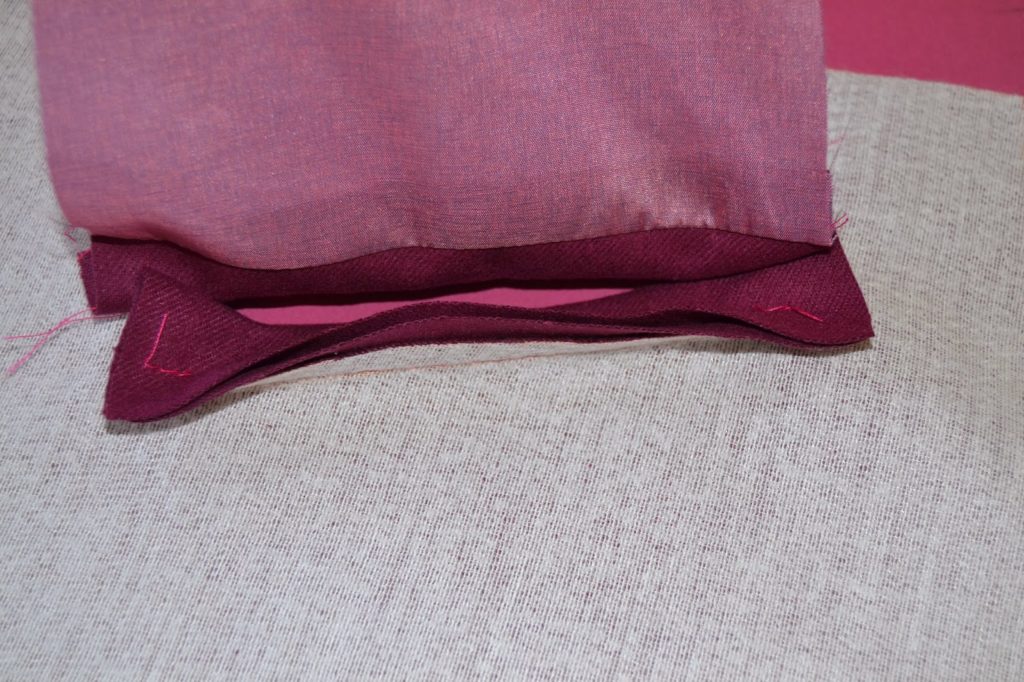
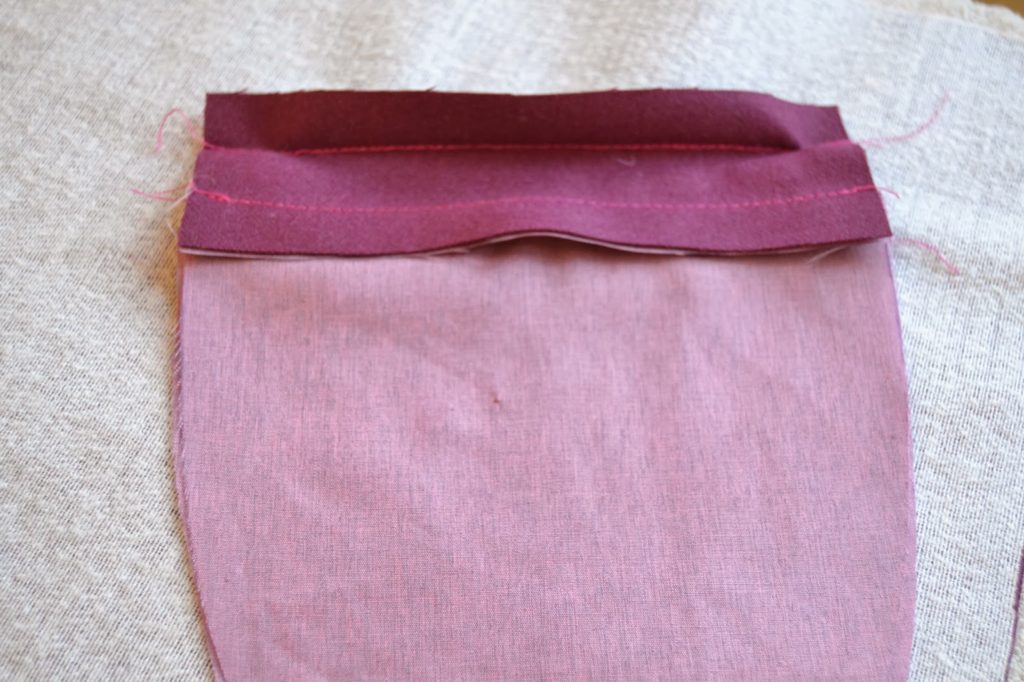
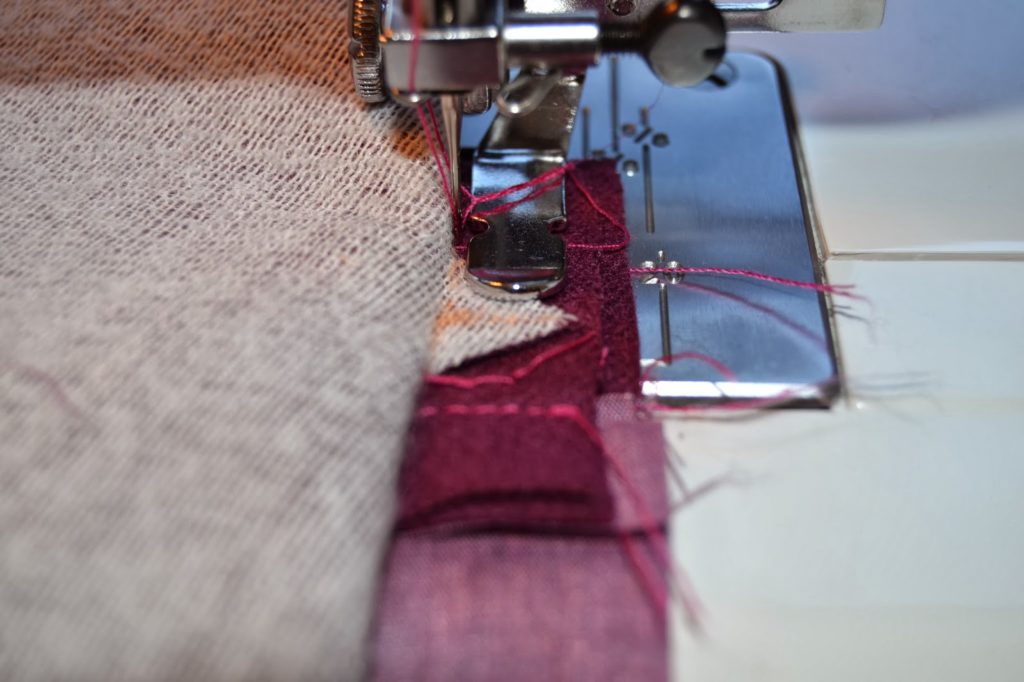
 12.Now stitch the pocket edges together. If you are making version B, finish the edge with bias binding.