It took more time than I thought it would but the new collection is finally here! Let’s take a look at the Albors trousers, the Maritims pullover and the Calvari dress.
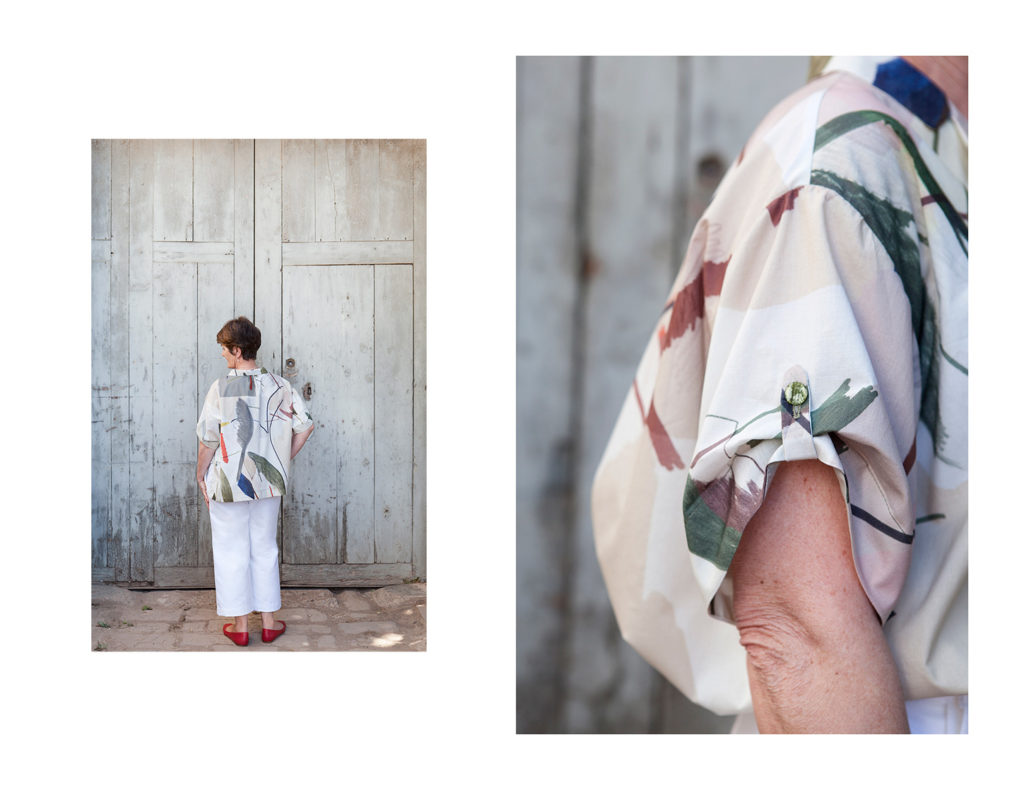
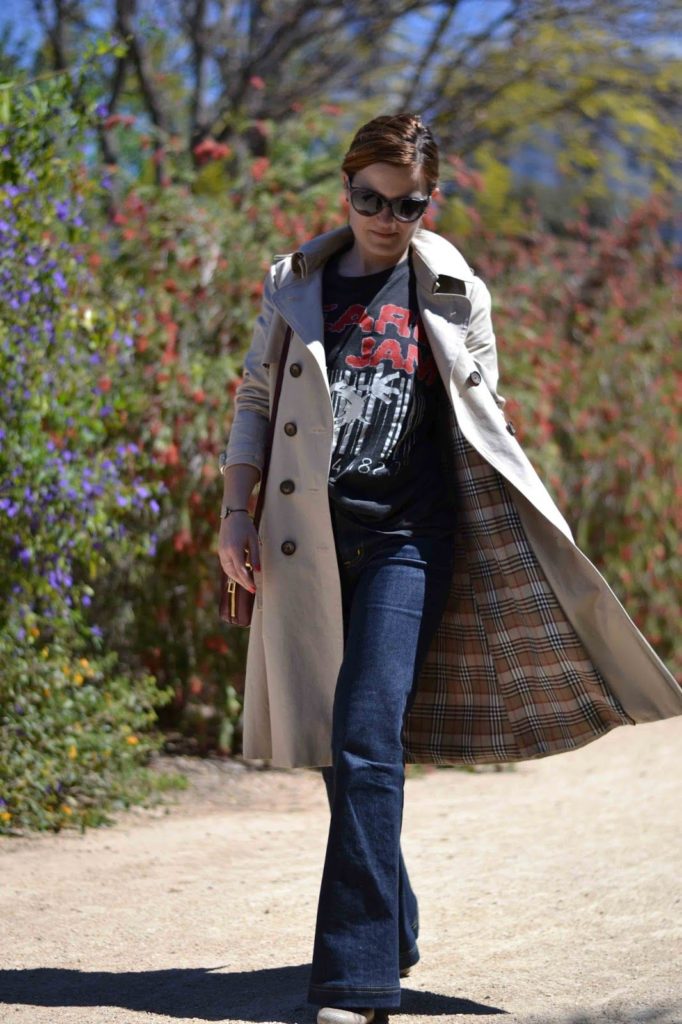
I started designing these patterns when we were confined and I guess it reflects my need of horizons, fresh air and freedom. I wanted clothes I could wear outside, for all weather, that can be worn through the day for different activities, outdoors or indoors. And Rosa, the photograph, understood that perfectly, it shows in the pictures don’t you think ? Here’s a short description of the patterns :
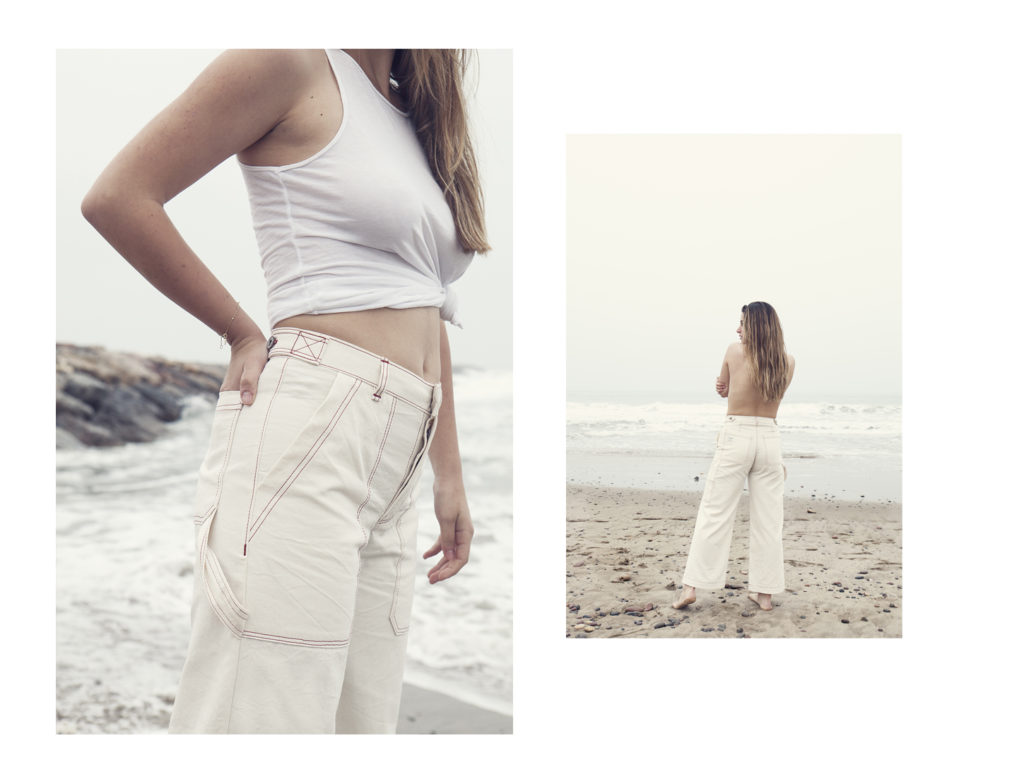
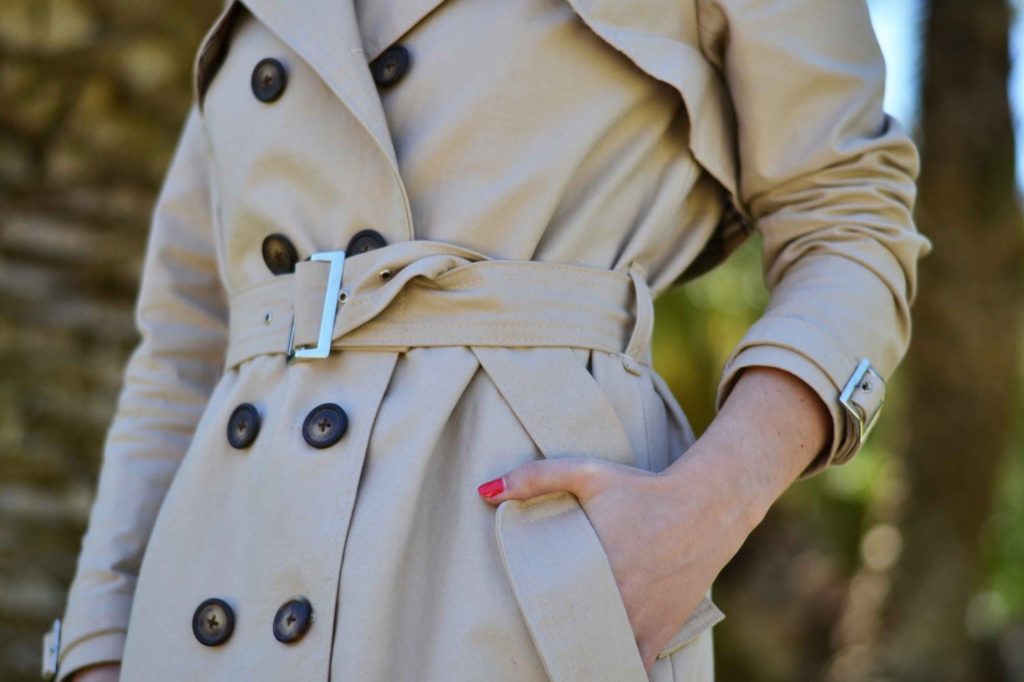
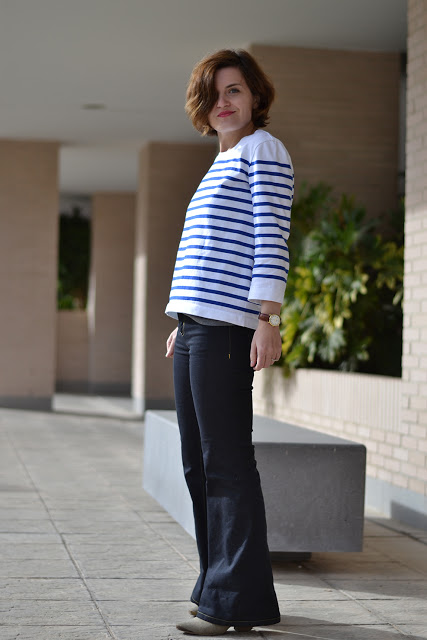
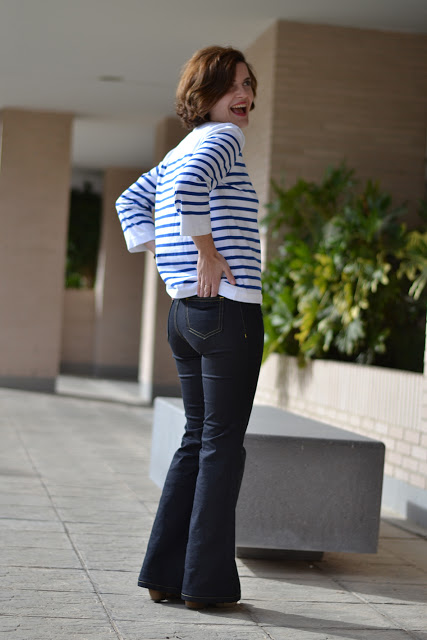
Albors is a classic pair of trousers inspired by workwear (painter’s or carpenter’s trousers) with a wide leg and high waist. What sets it apart : the multipurpose pockets, so handy !
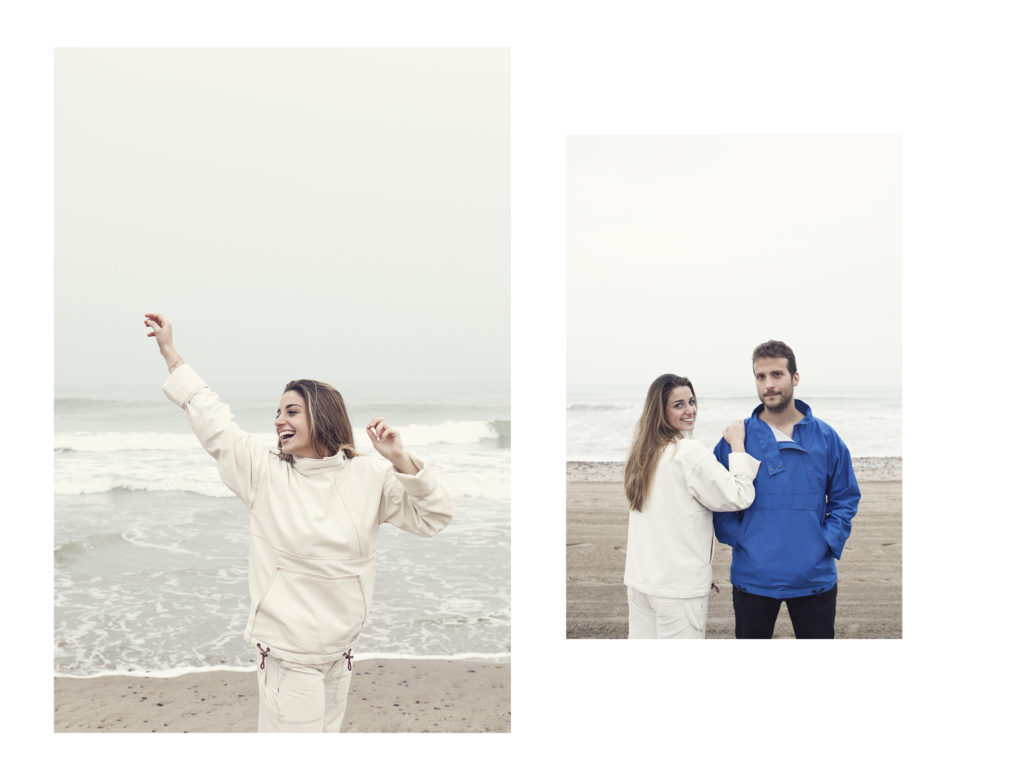
The Maritims pullover will be perfect for all outdoors activities : fully lined, you can pull it on easily thanks to the zipped opening and high buttoned collar.
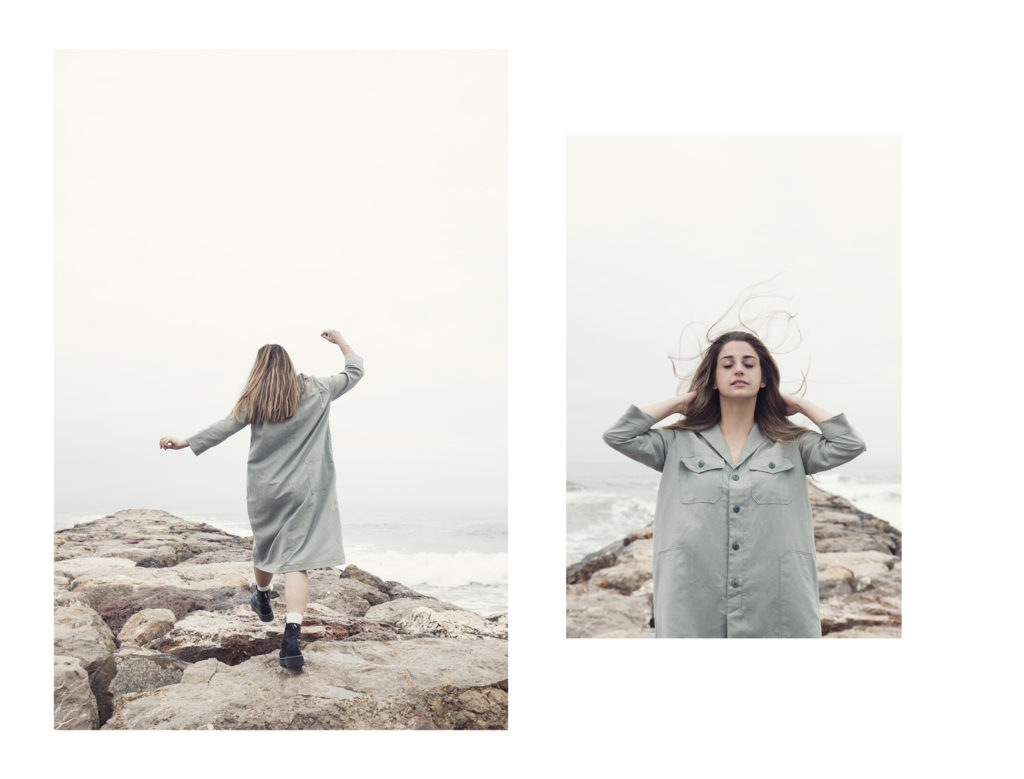
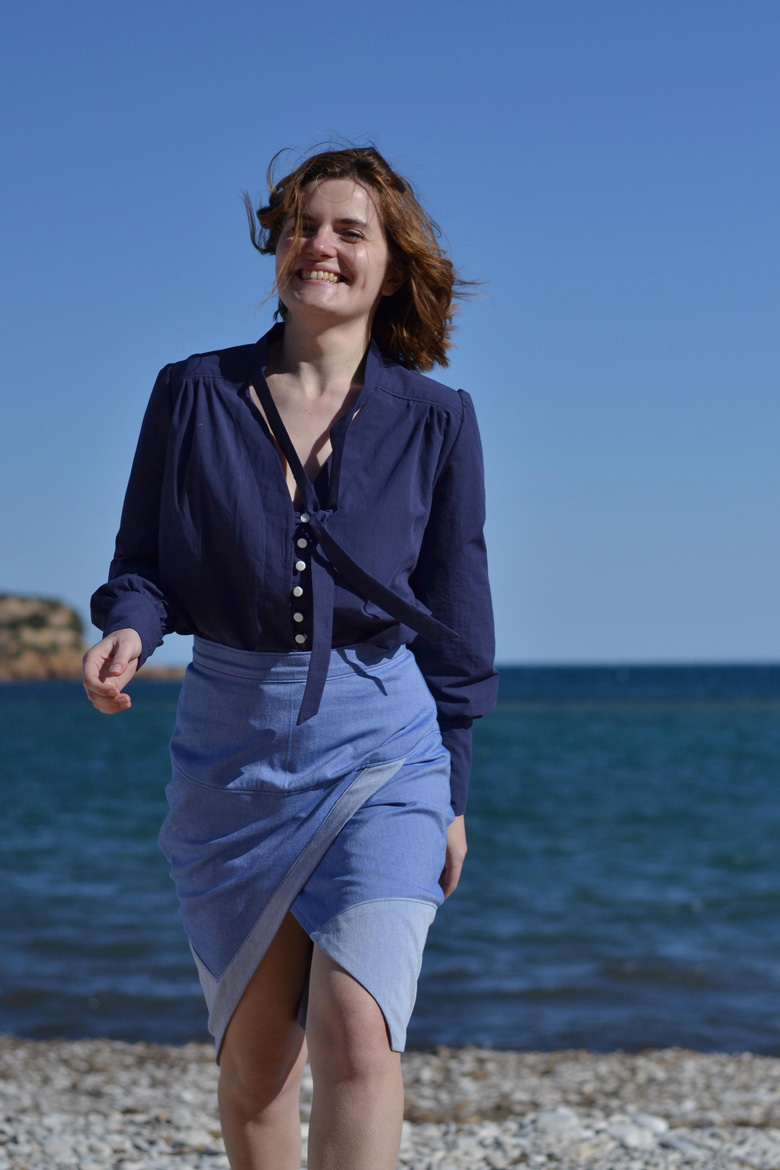
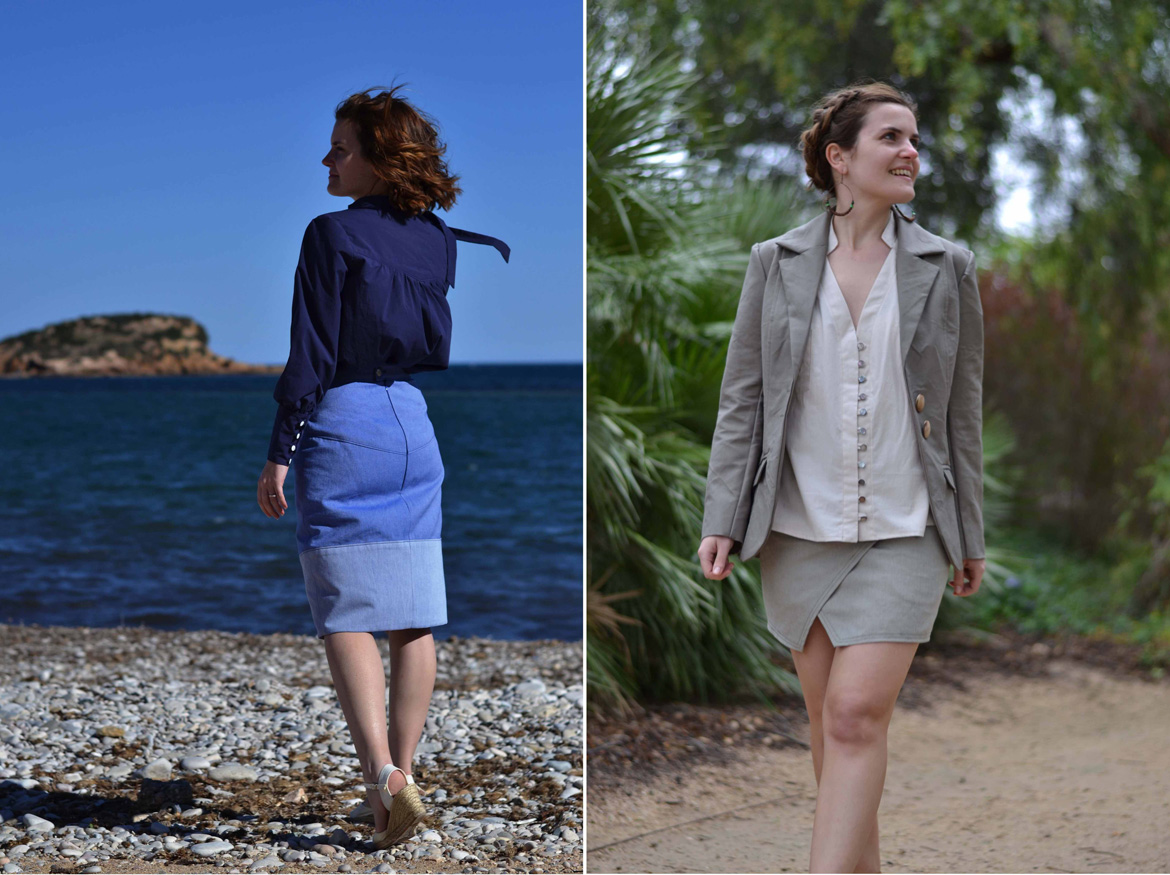
The Calvari dress is casual but with lots of character. The shirt dress with its notched collar, buttonband and pockets is classic and ideal all year round.


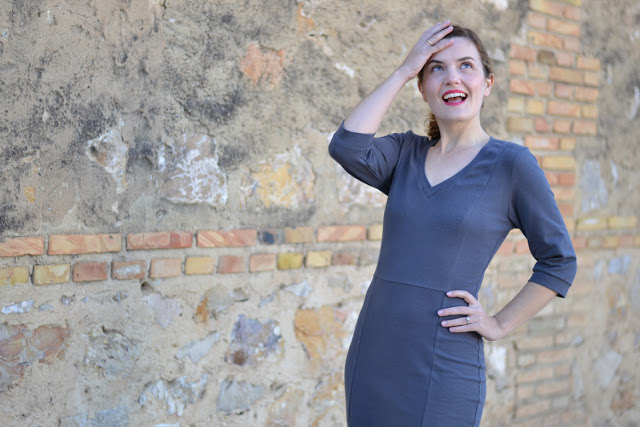


 For the pattern itself, I made some changes mostly due to my petite size: I had to shorten the body about 30 cm and the sleeves by about 10 cm (fyi I’m 1m55 tall , 5ft1). The instructions were very complete but I wouldn’t recommand this pattern for a beginner (which Named patterns doesn’t either, the pattern is marked 5/5 and challenging). There are a lot of pieces and the construction has to be very detailed and meticulous. But the results are very professional looking. The only complaint I have is just some personal preference: I like to cut my pattern directly in the paper but I could n’t do it as the numerous pieces are layered on top of each other so I had to trace them first.
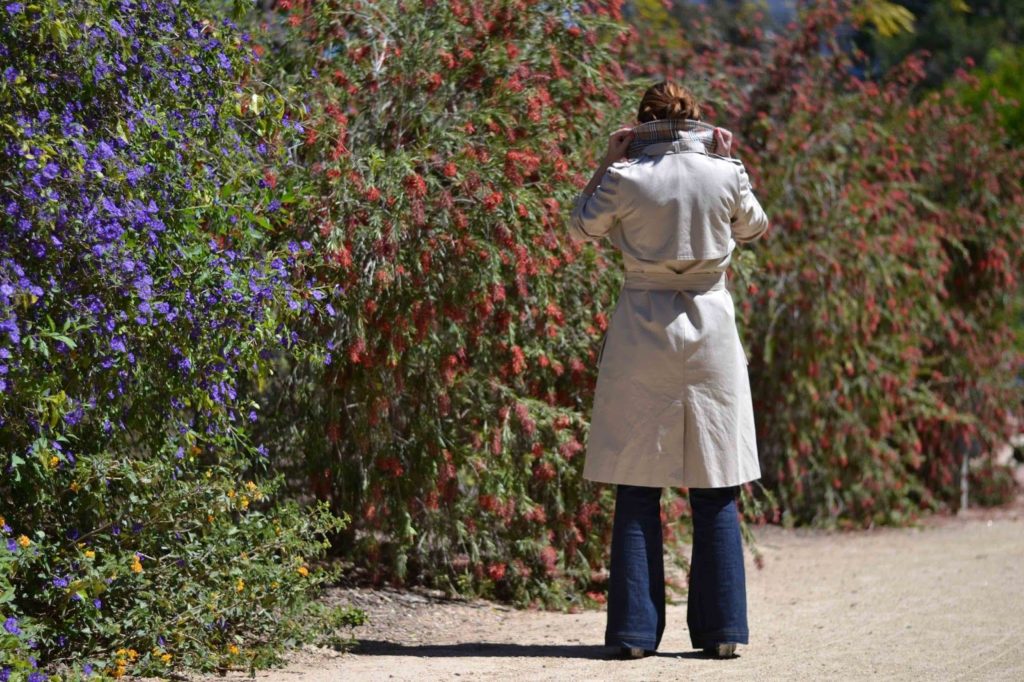


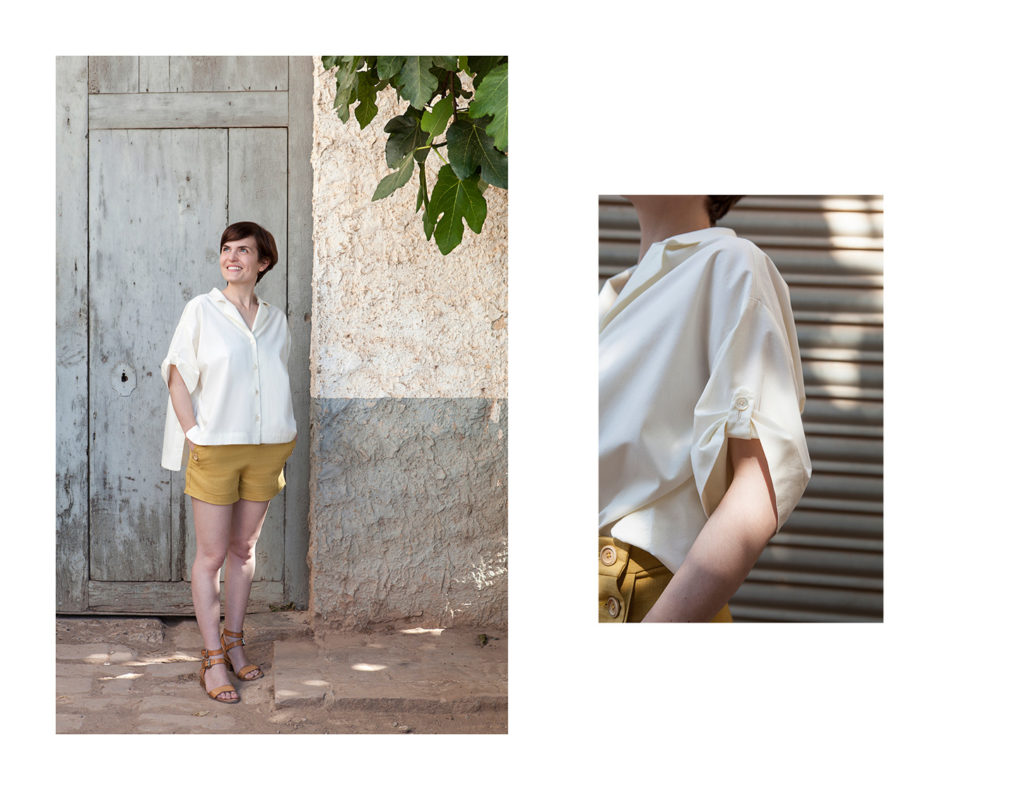
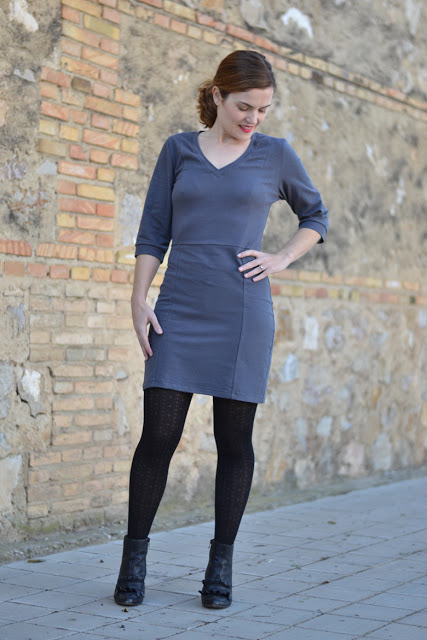
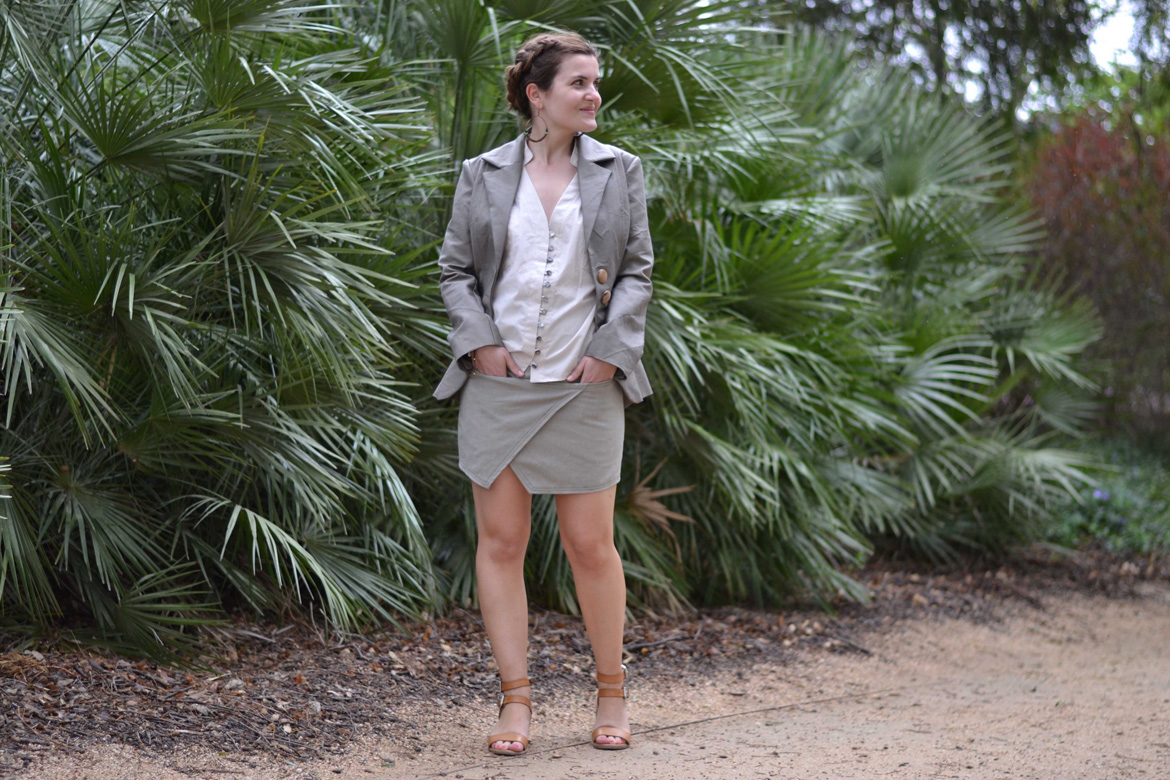
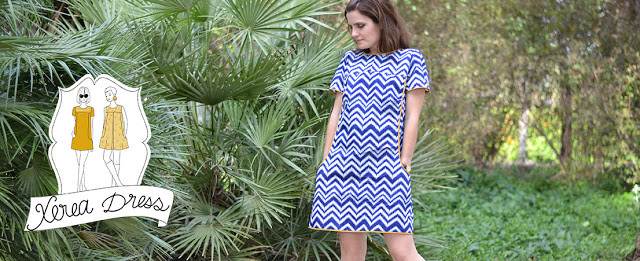 Today let’s talk about the perfect summer dress: the
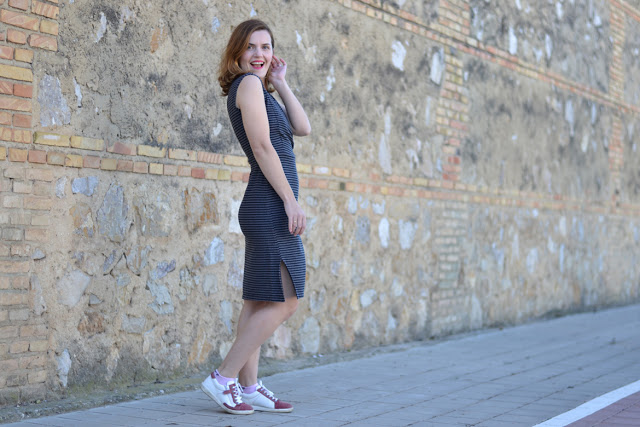
 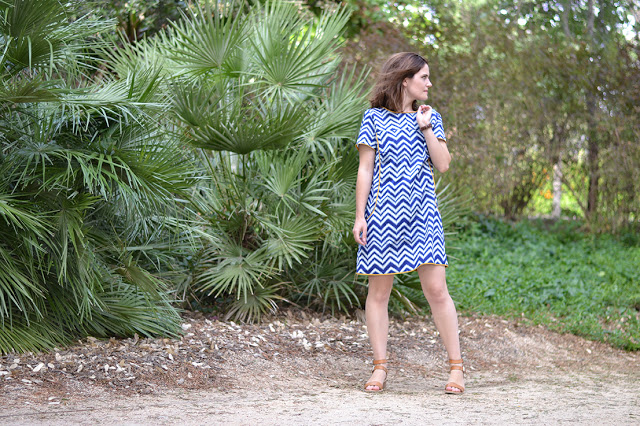 Xerea
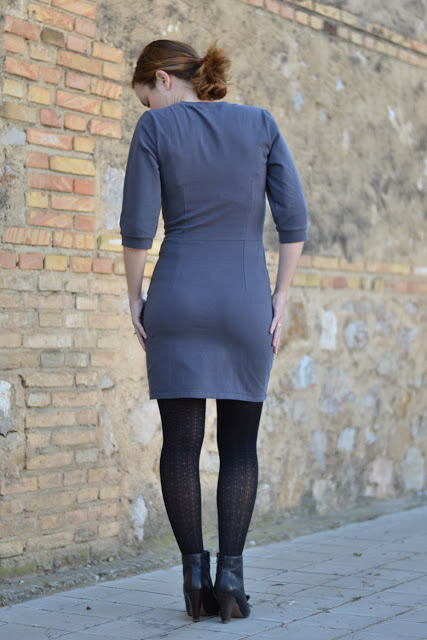
Xerea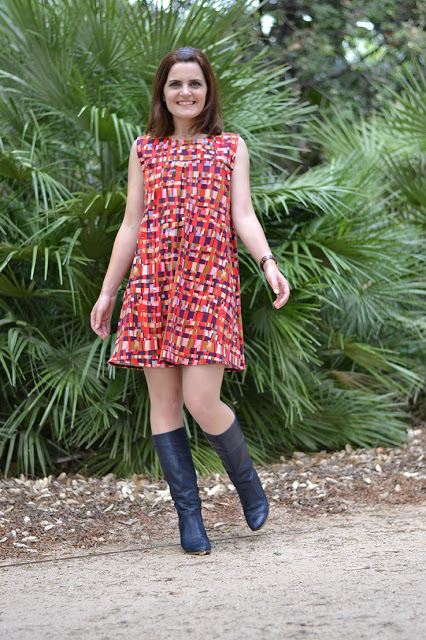 For fabrics, I would recommend fabrics with some drape, in particular if you choose the shift dress.
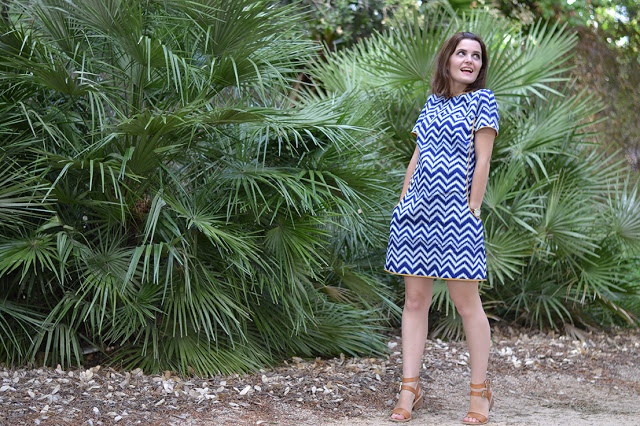
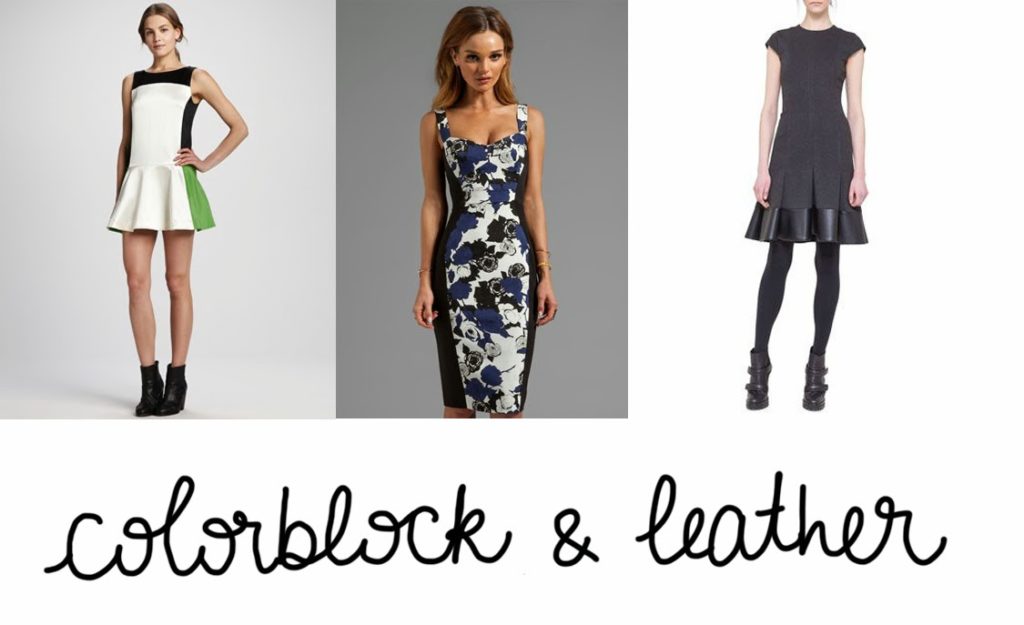
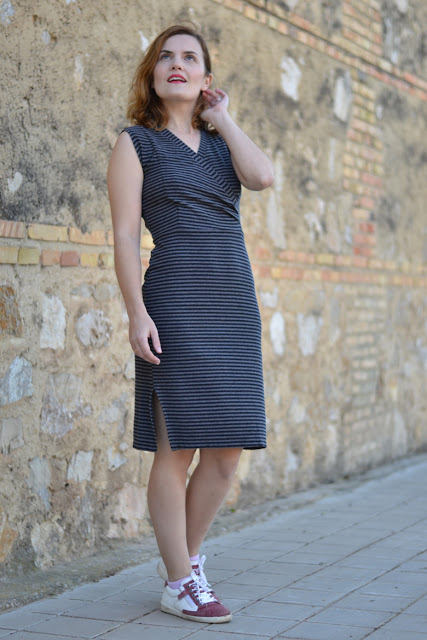
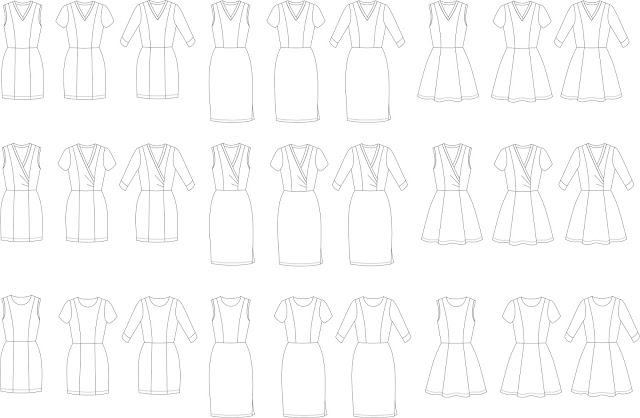
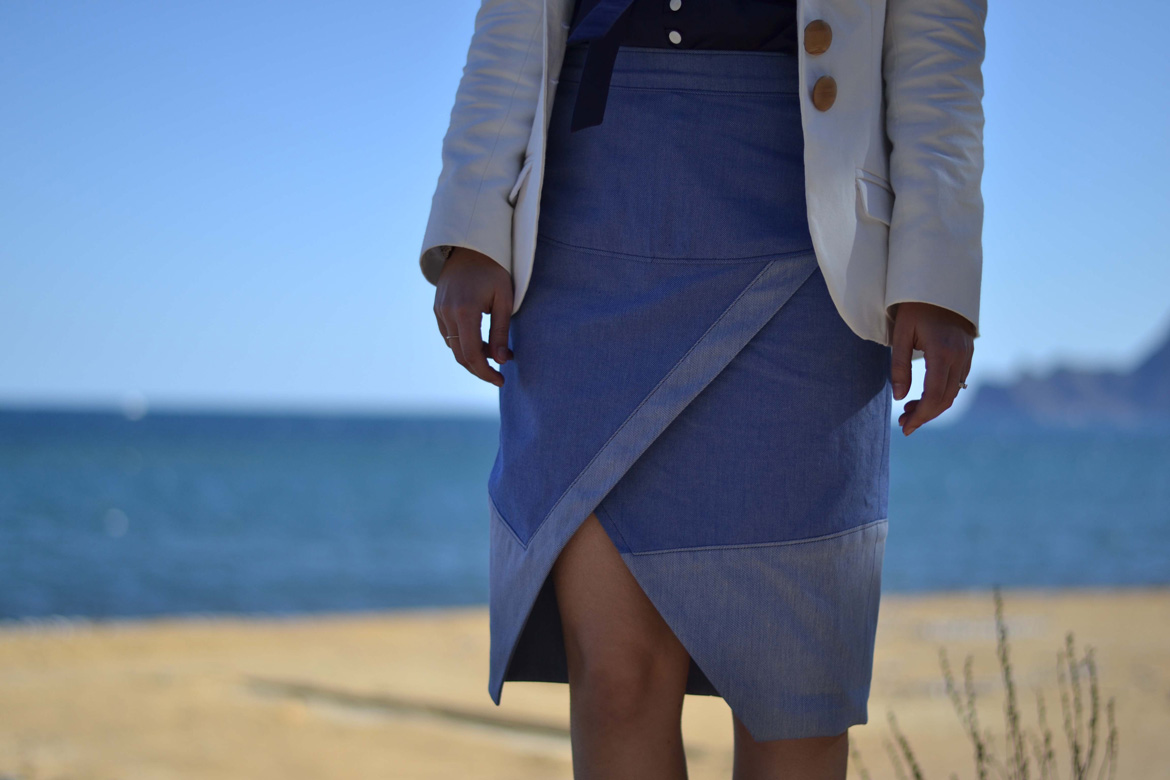
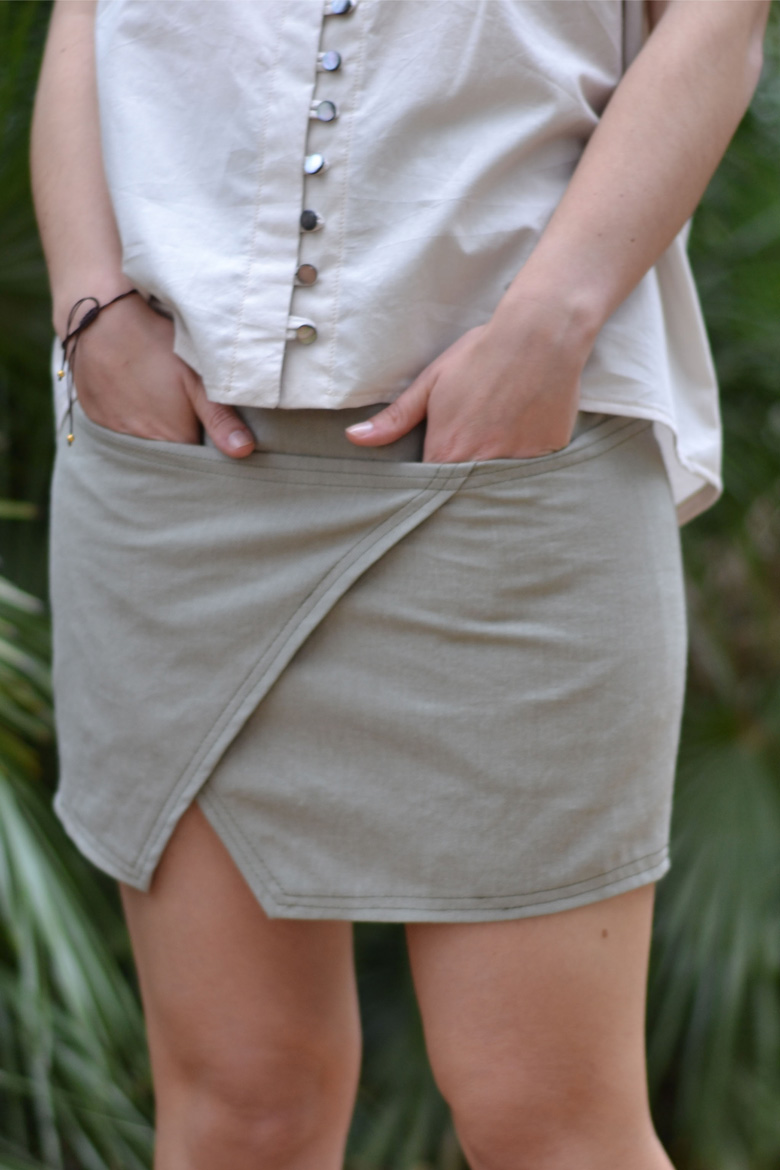
 The yoke design allow you to use contrasting fabric very easily: how about color blocking or lace accents? All the hems are finished with bias binding, make your own with matching fabric for an invisible finish or add some subtle contrast to your dress.
 I hope you’ll like the new patterns, the
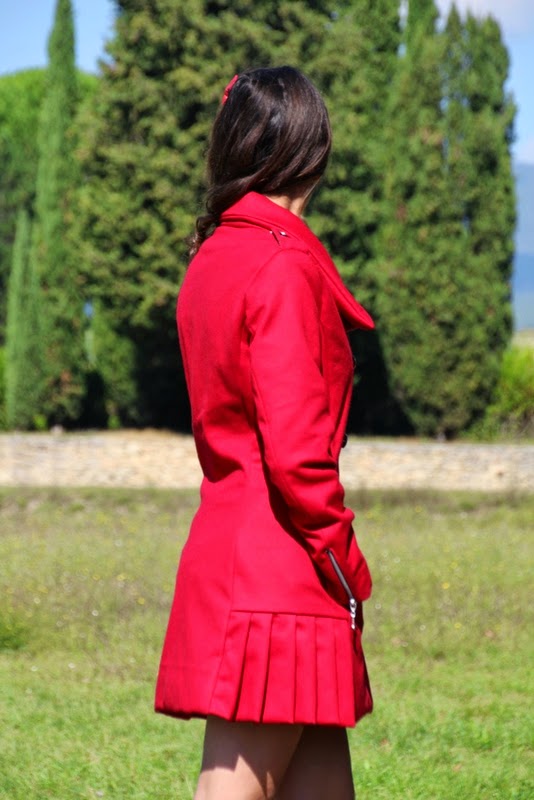
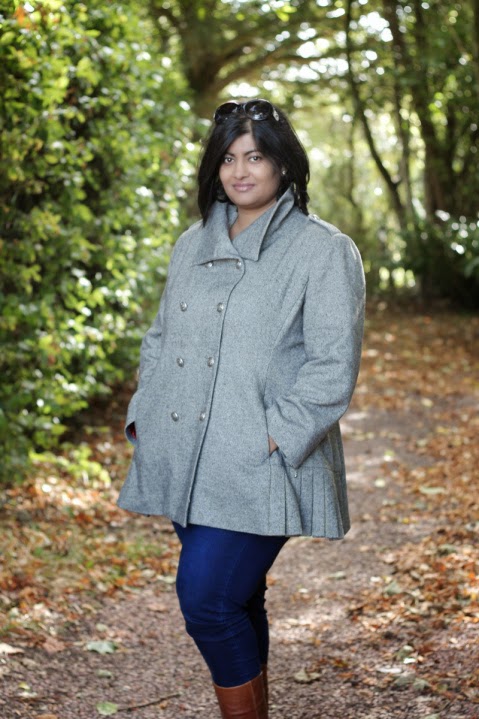
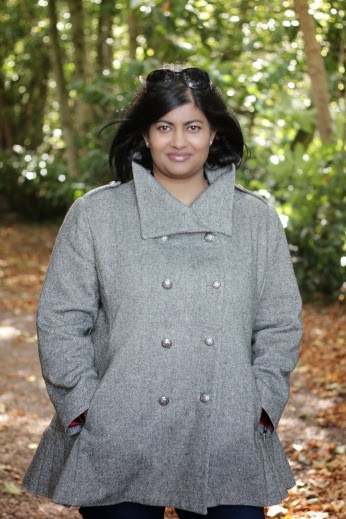
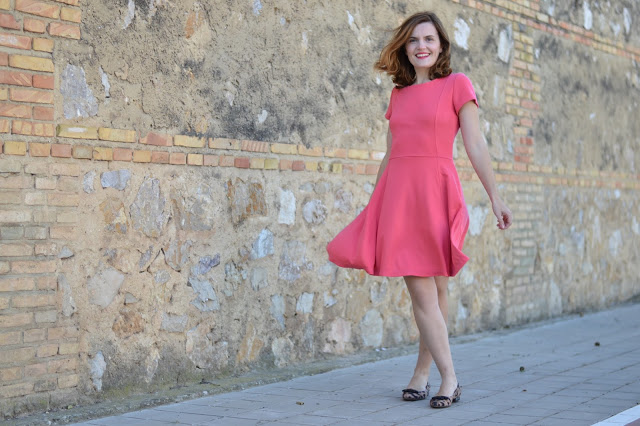
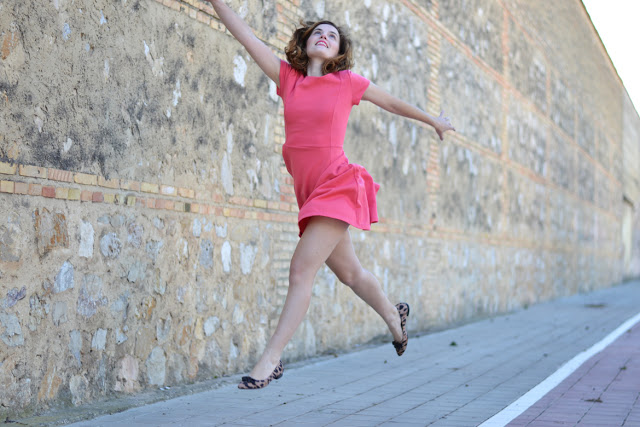
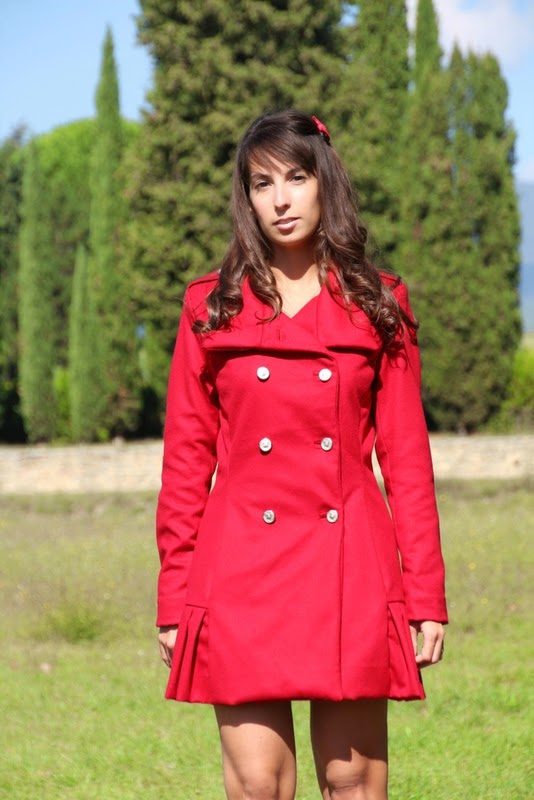 Sandra’s beautiful red Quart looks very festive! This is such a great way to brighten a grey Winter.