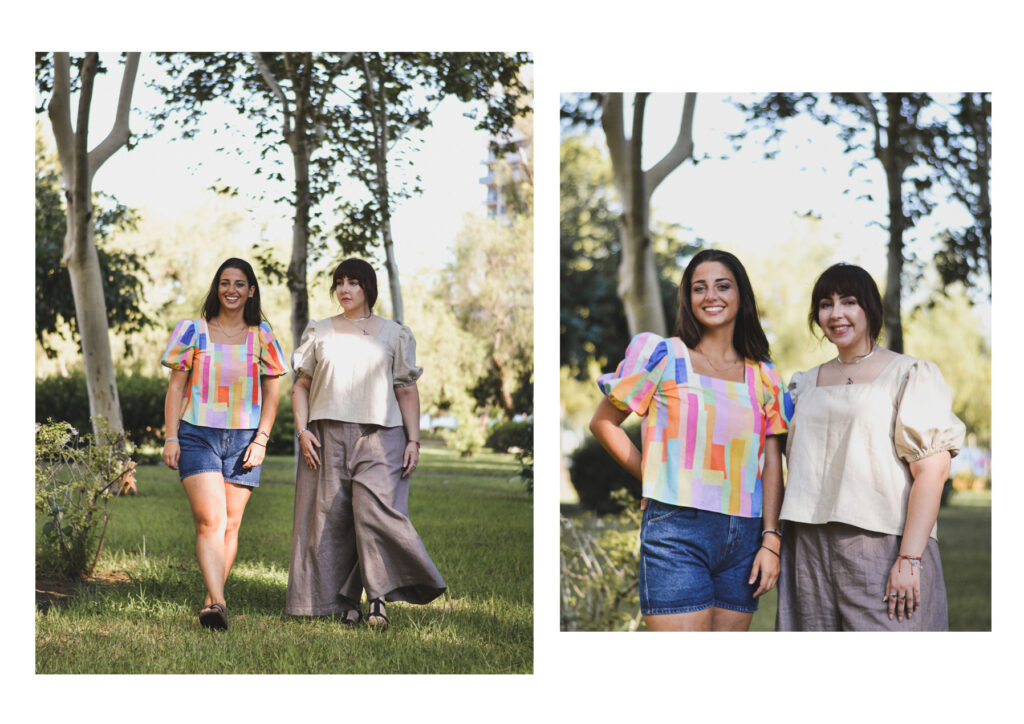
Autumn is here, and with it comes the desire to sew something new. Perfect timing — the VELES and VENTS patterns were released yesterday!
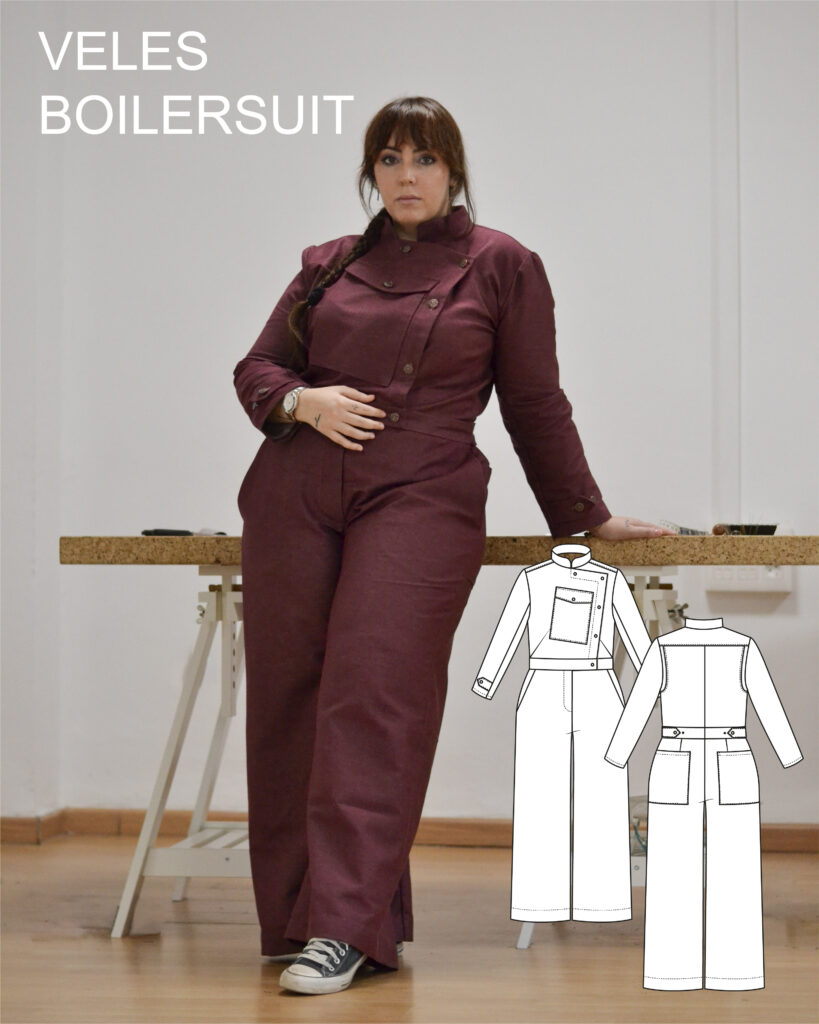
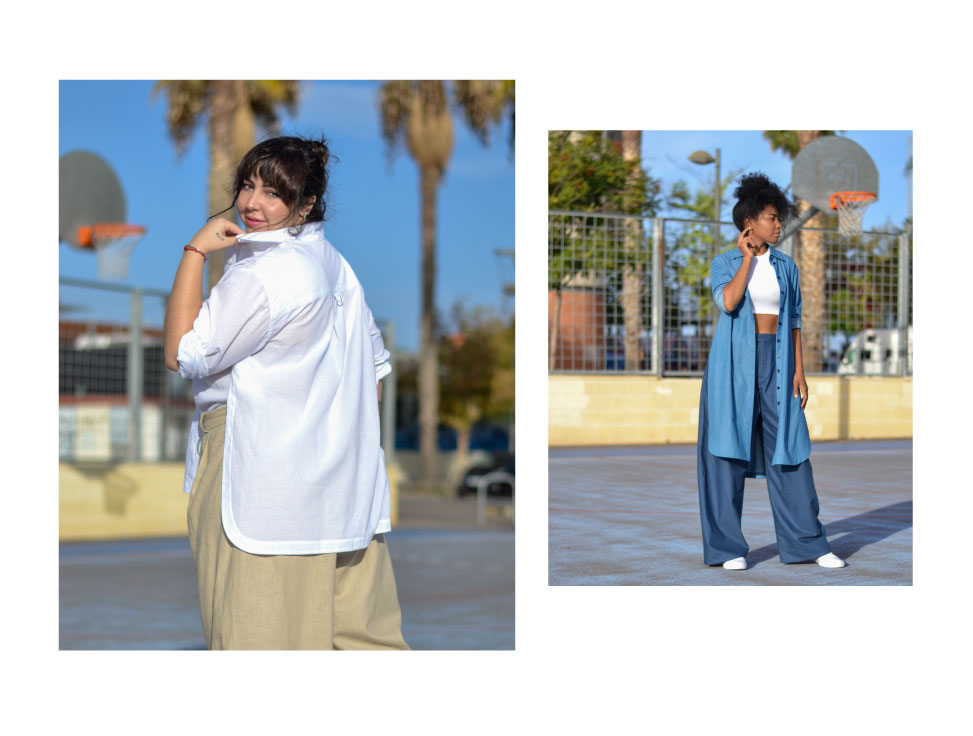
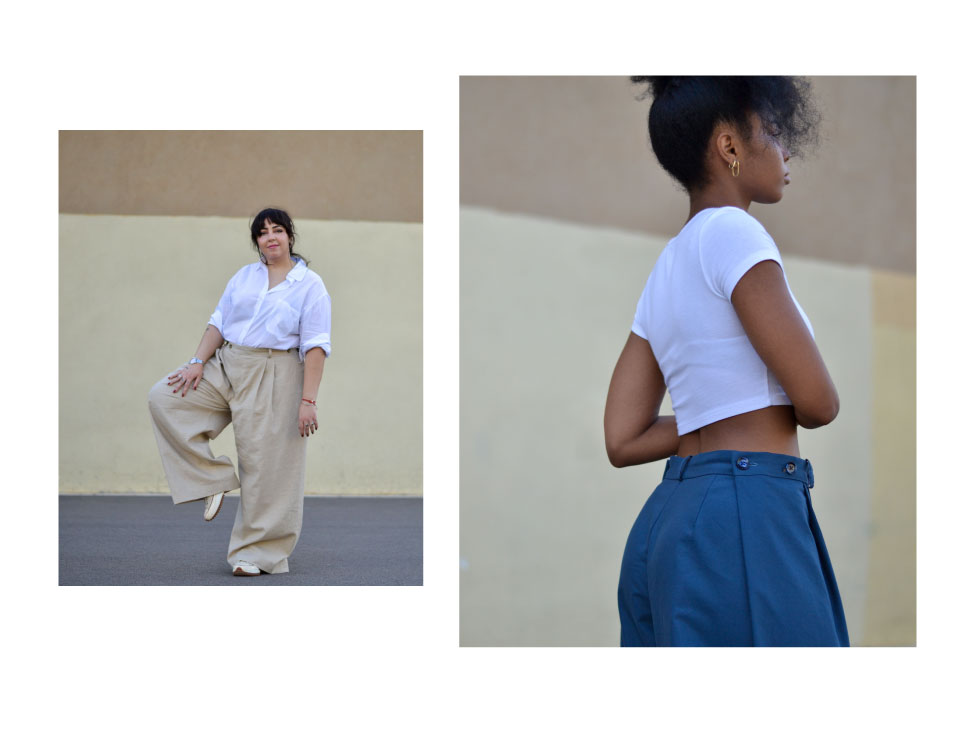
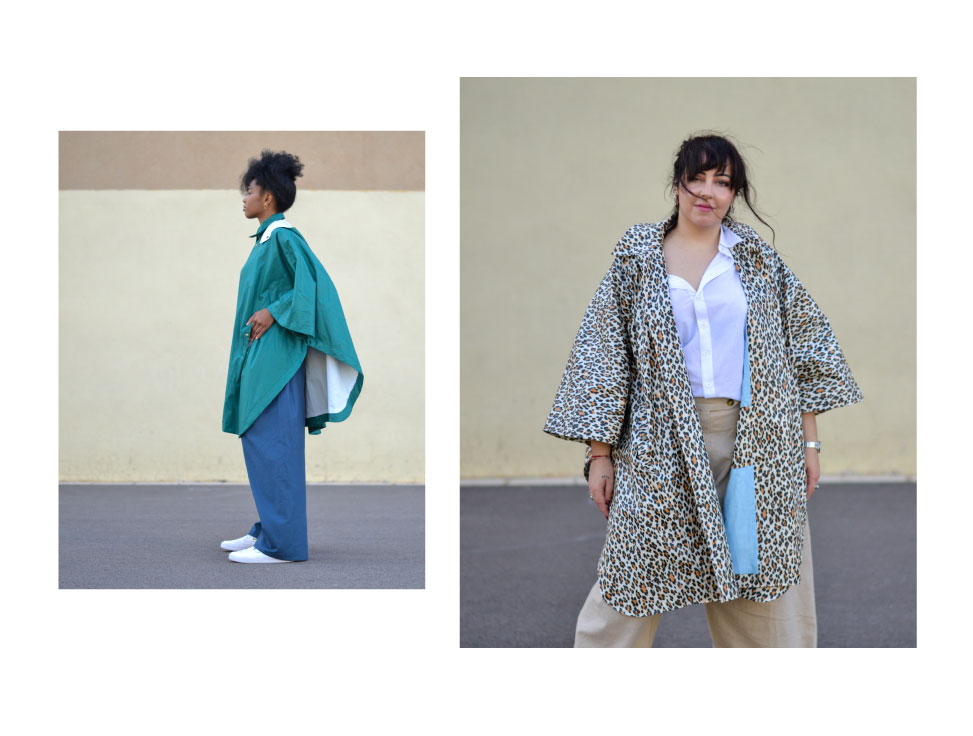
Let’s start with the VELES boilersuit. A design made for everyday life, with a workwear spirit and practical details. I drew inspiration from the asymmetrical opening I had seen on aviation jumpsuits from World War I, as well as the large central pocket (originally used by messengers). The fit is fairly close to the body, but the pattern includes enough ease for complete freedom of movement: the crotch is slightly lowered so you can sit comfortably (yes, it passes the squat test!), and the shoulder action pleats allow for a wide range of arm movement while adding a stylish detail to the silhouette.
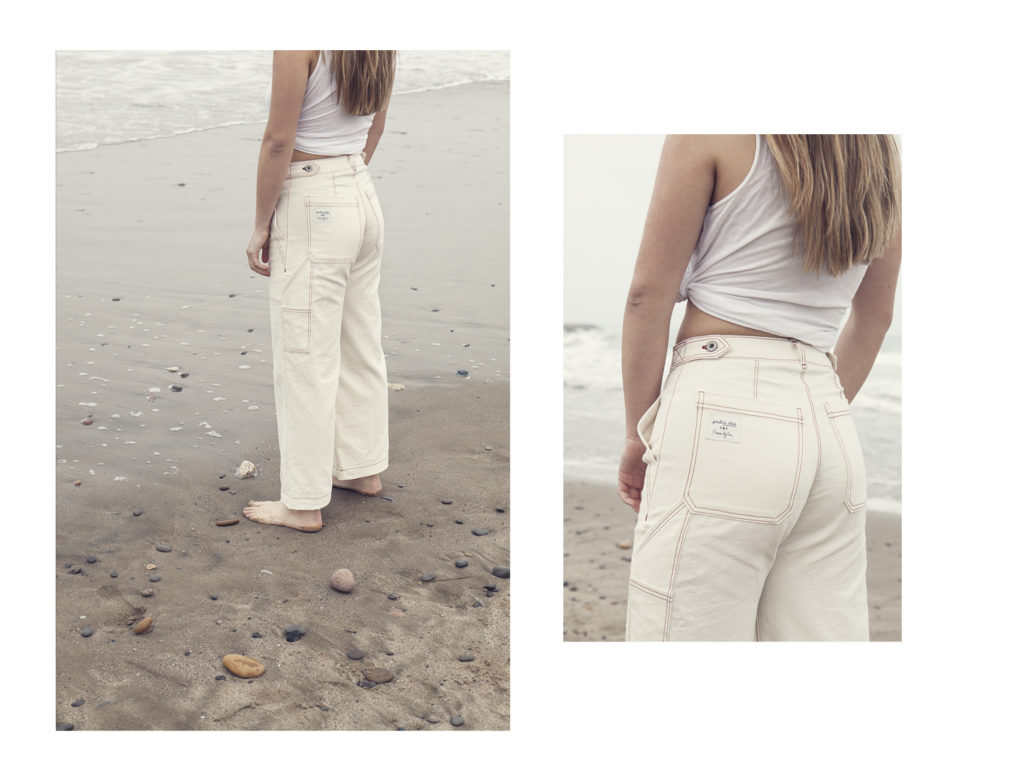
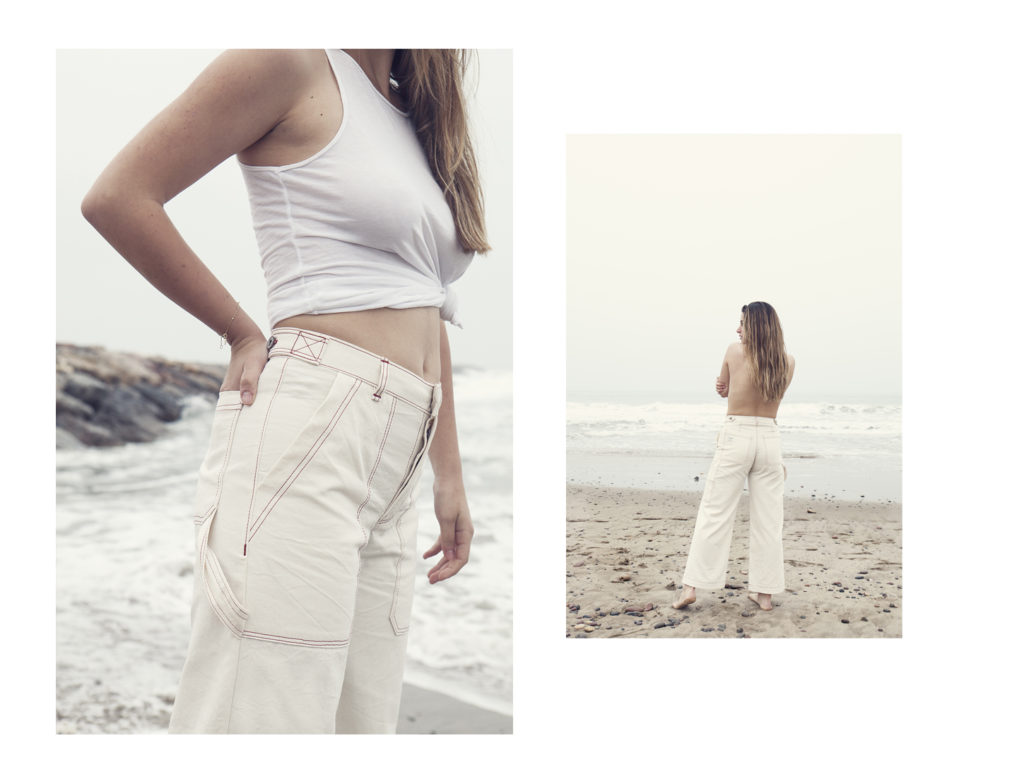
The trousers feature wide legs that reach the floor, back darts, large Italian pockets anchored at the waistband for extra support, and back patch pockets that extend into the side seams. Both the waistband and the long sleeves are finished with button tabs for an adjustable fit. You can also choose short sleeves for a lighter, springtime version.
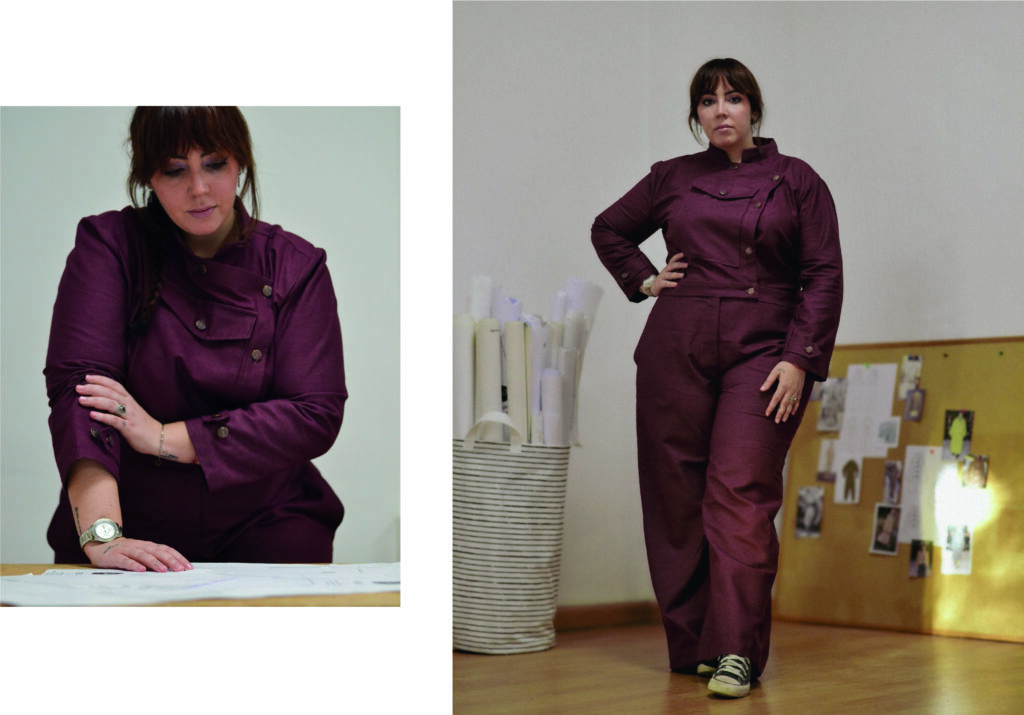
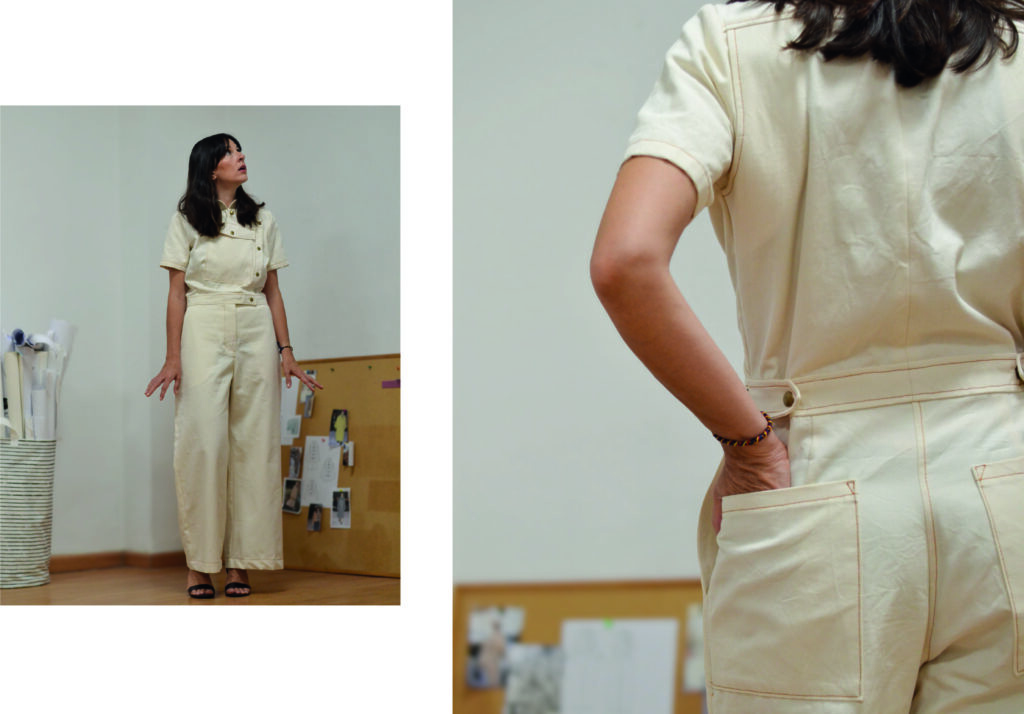
For fabric, we recommend a medium-weight material with good structure, such as cotton poplin or twill, linen, lightweight denim, flannel, or fine corduroy. You’ll also need some interfacing, lining fabric (preferably cotton), and snap fasteners (which can also be replaced by regular sew-on buttons or jeans buttons).
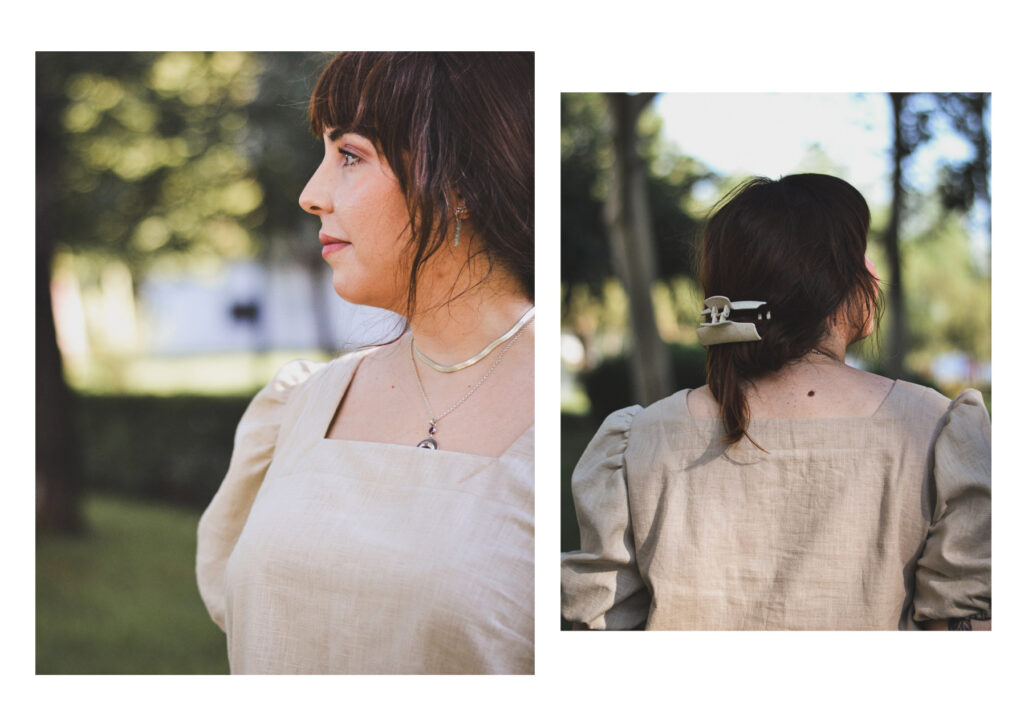
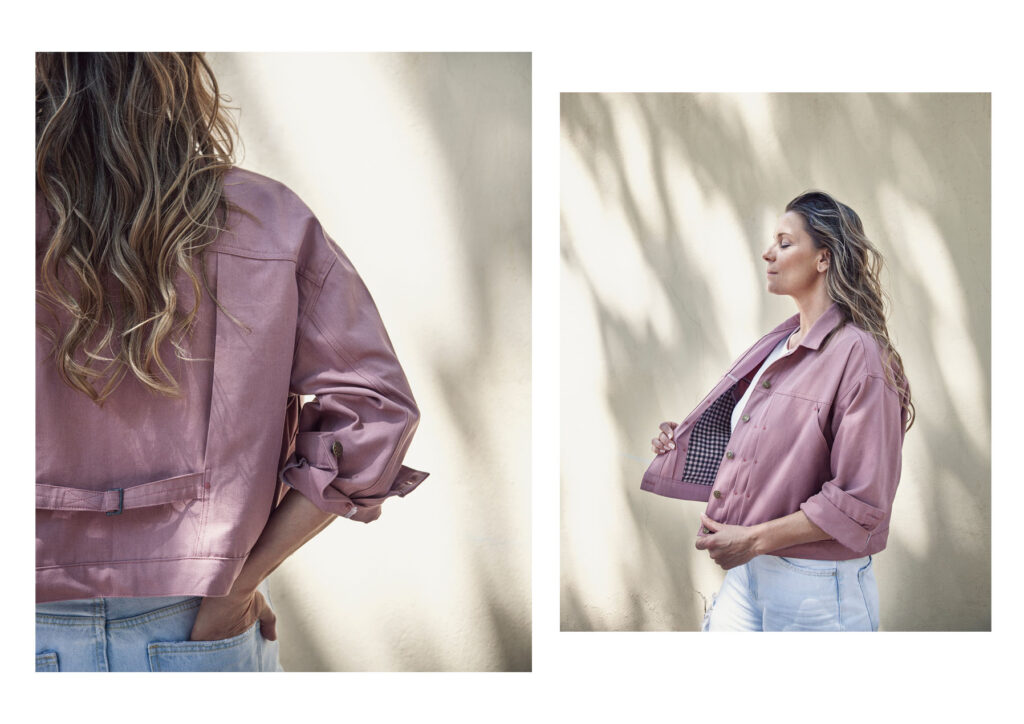
In the photos, María wears size 50 graded to a 52 at the hips, sewn in a burgundy denim from Les Trouvailles d’Amandine. Naira wears size 40, sewn in an off-white cotton canvas.
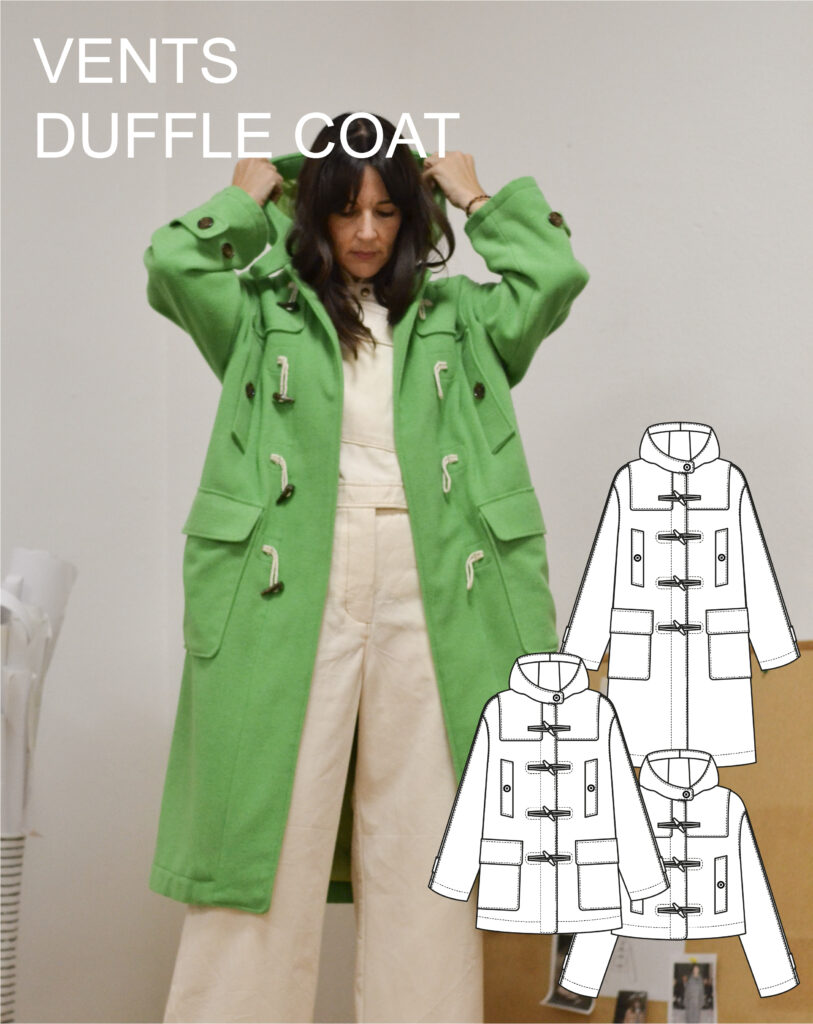
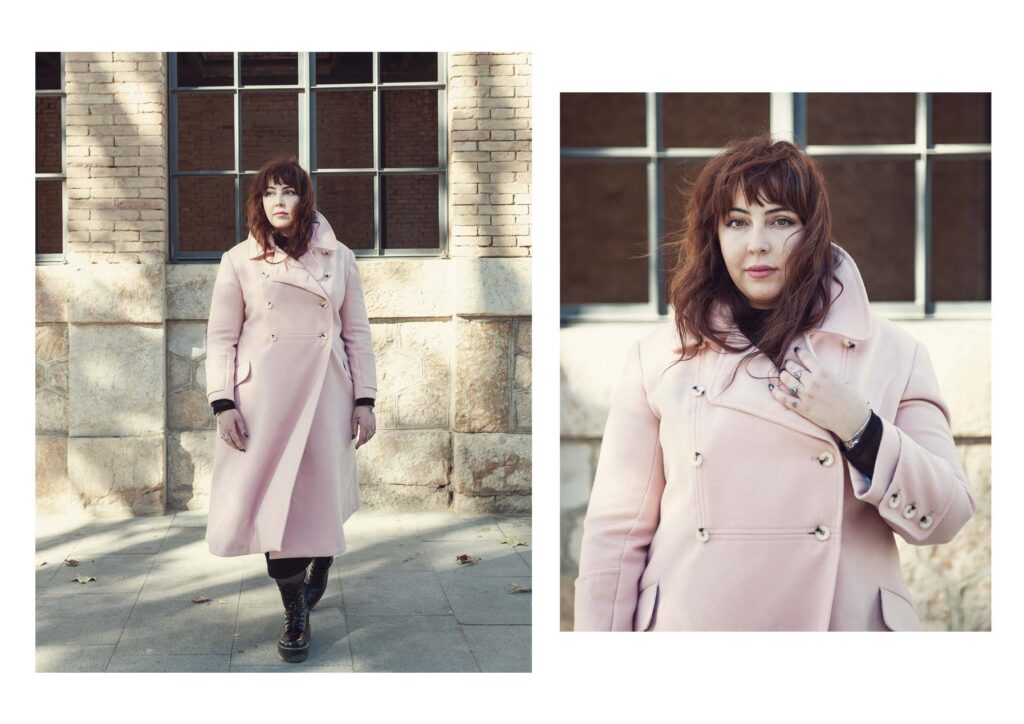
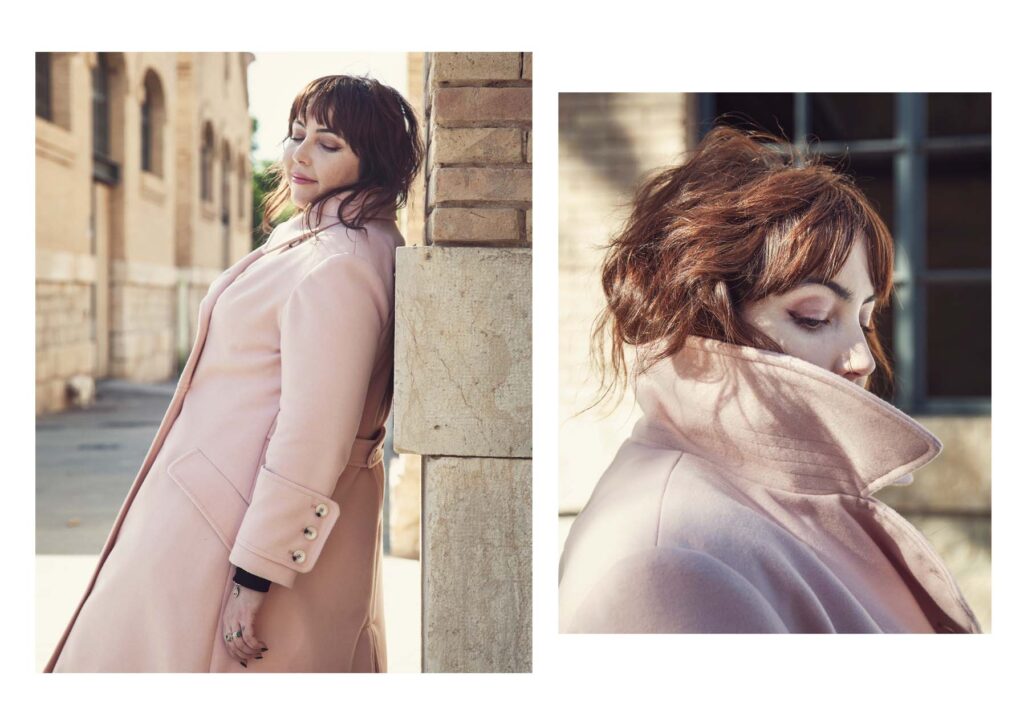
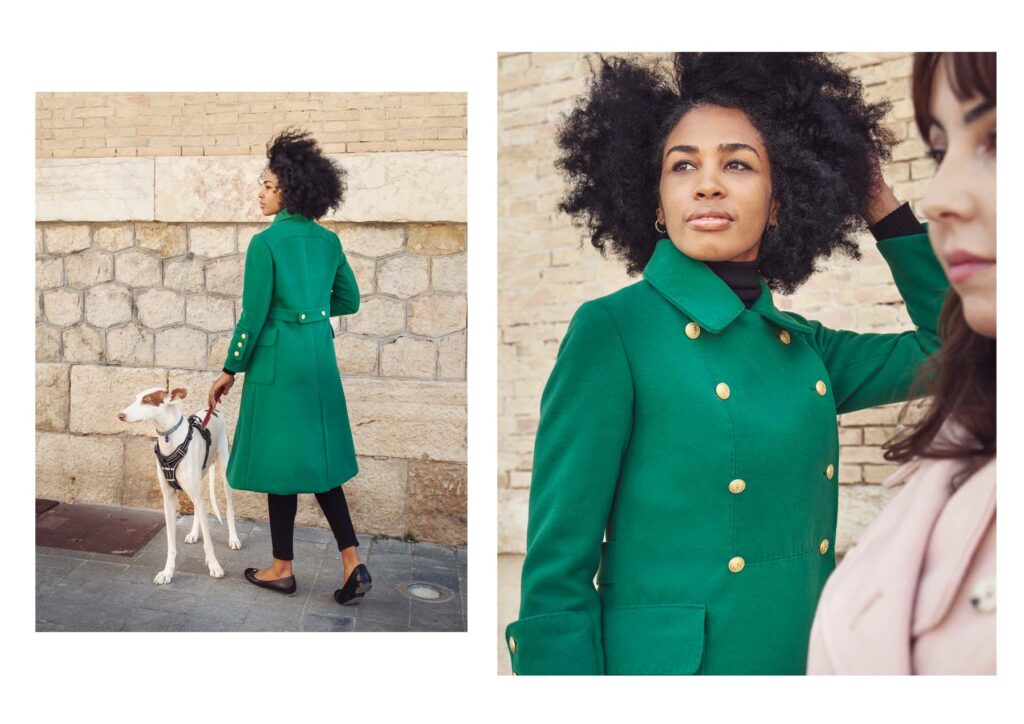
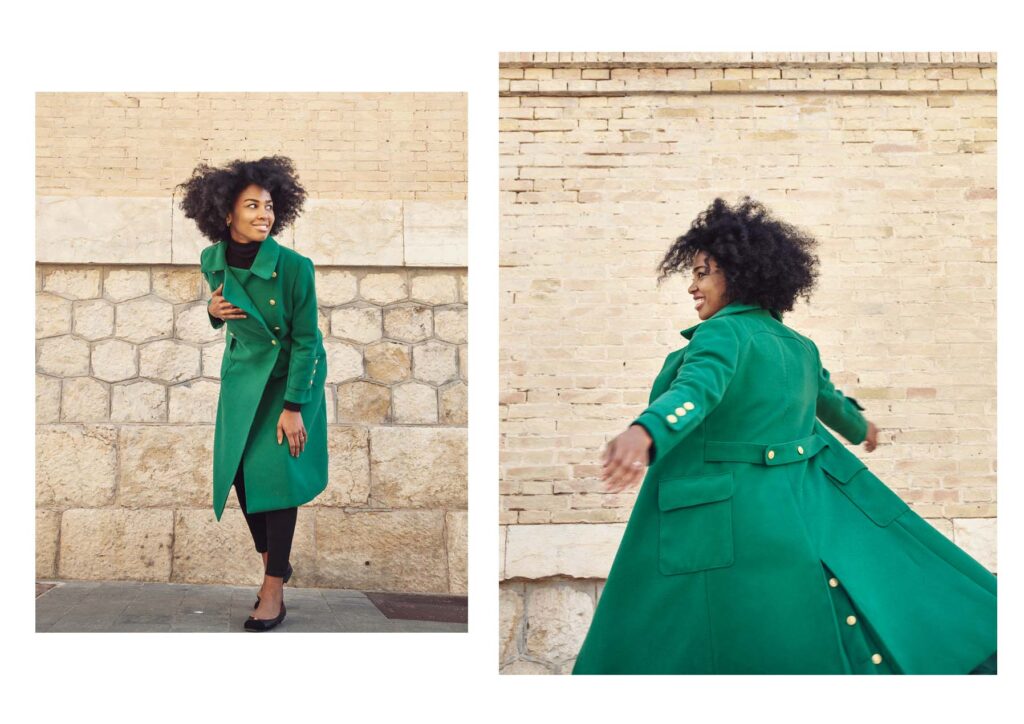
Now, let’s talk about the VENTS duffle coat. While researching WWI aviator jumpsuits, I came across another garment born in that same era and still very much alive today: the duffle coat. Coats are my guilty pleasure — I love designing them, sewing them, and above all, wearing them. So, it was time to tackle this iconic overcoat and give it my own touch.
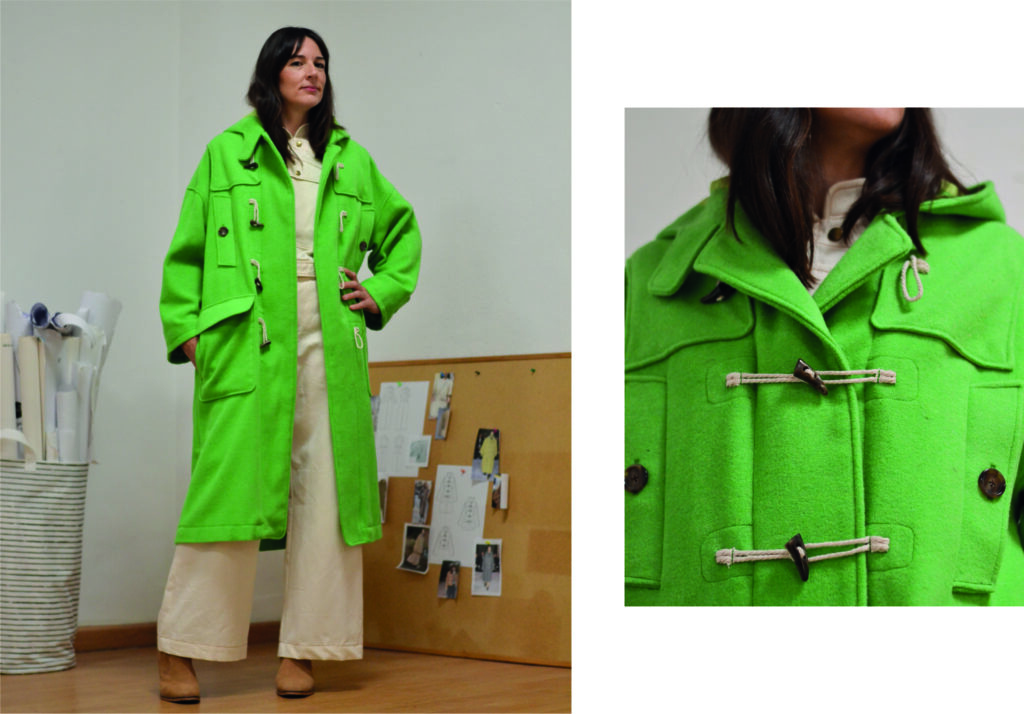
VENTS preserves the original generous volume of the duffle coat, originally designed to protect British sailors from bad weather. It offers an oversized silhouette with dropped shoulders. The classic shoulder yoke highlights the natural shoulder line and adds structure. The pattern retains all the traditional elements: a hood, toggle fastenings at the front, and button tabs to cinch the waist and sleeves if needed. And of course, pockets — because you can never have too many! Chest welt pockets closed with a button, plus large patch pockets with flaps and double entry: you can slide your hands in from the top or the sides. Two pockets in one!
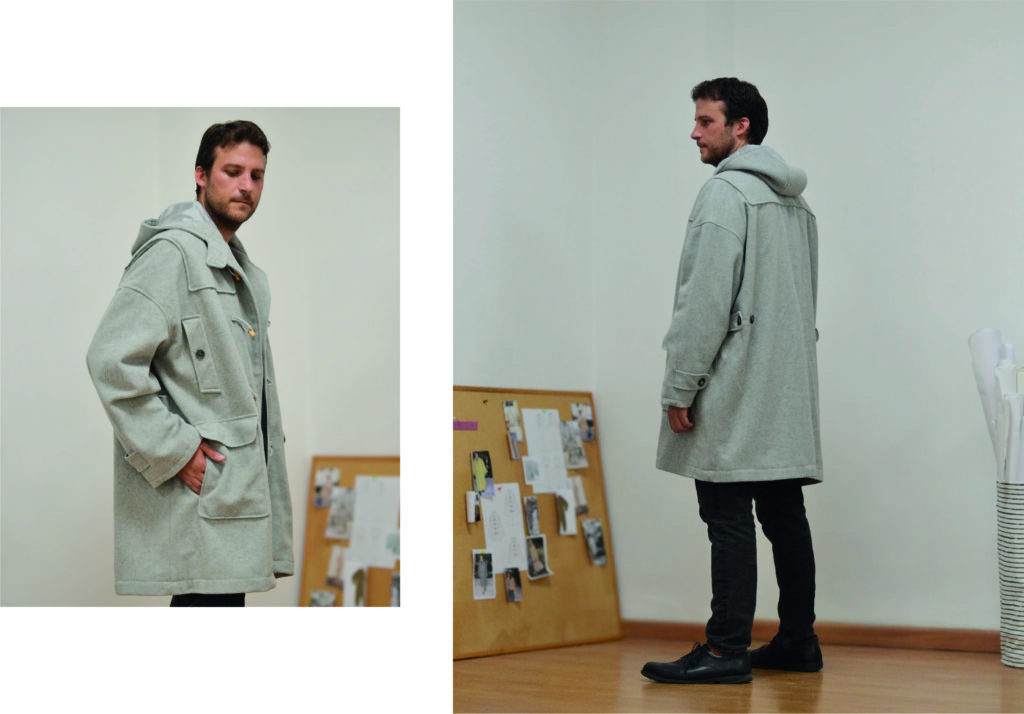

VENTS is available in three lengths: below the knee, mid-thigh, and hip length.
Choose a medium- to heavy-weight coat fabric such as wool broadcloth, melton, boiled wool, fulled wool, or tweed. For the lining, go with a classic lining fabric, or flannel for an extra-warm winter version.
The pattern comes in unisex sizes XS to XXL. In the photos, Naira wears length 1 in size XS, sewn in an apple-green velour wool from Stragier. Aquilino wears length 2 in size XL, sewn in a seagull-grey velour wool. María wears length 3 in size XL, sewn in a red velour wool.


")