I guess you’re looking forward to finish your Camí dress, no? Well, with today’s step, it’s going to be almost done and you’ll be able to try it and see the overall look and fit.
We are going to sew the pockets, gather the skirt and attach it to the bodice. I don’t know about you, but for me, the perfect garment (whether it is a dress, a skirt or a jacket for example) has to have pockets. They are to practical and it’s always a cute detail to add.
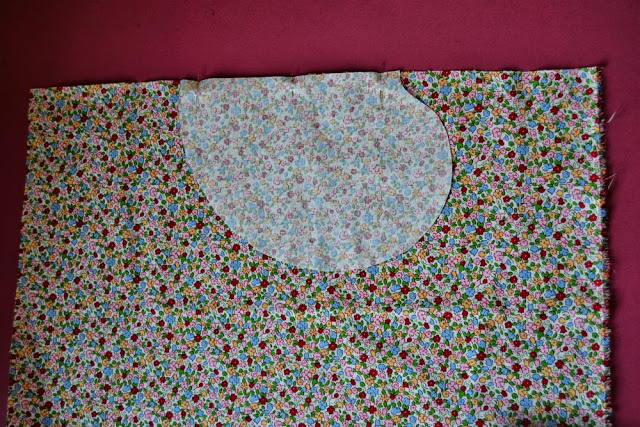
DRAW THE SKIRT PIECES
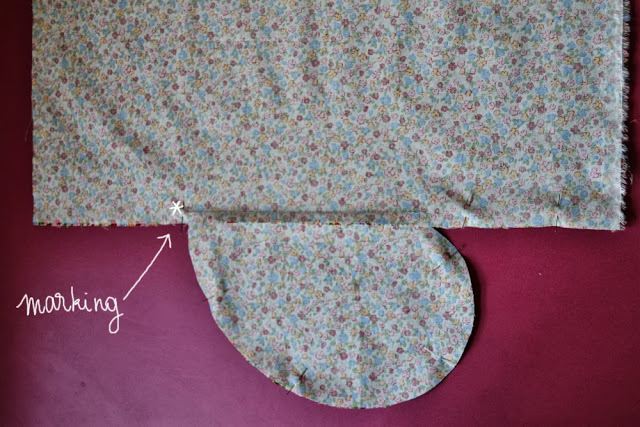
1.Following the instructions, draw the 2 skirts pieces and mark the zipper opening and the pocket start and end.
If you wish to make a circle skirt, there will be a tutorial on how to draw your own circle skirt pattern on Wednesday 9th.
STITCH THE POCKETS
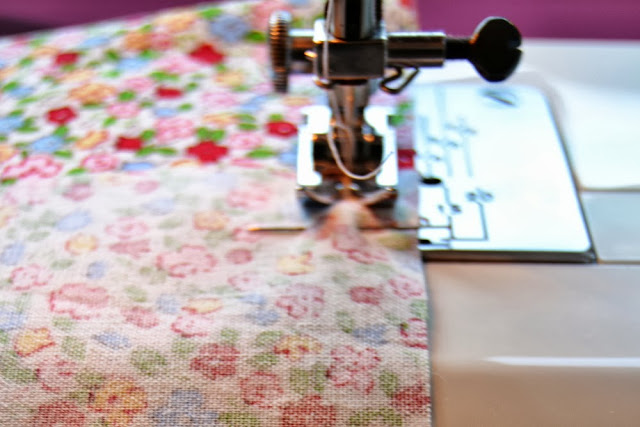
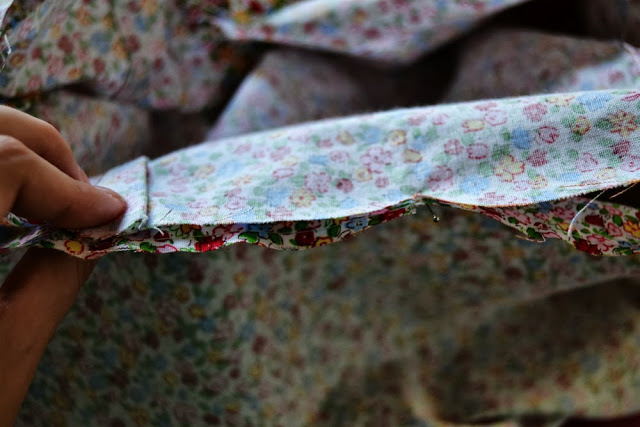
1.Match the pocket marks to the skirt marks and pin right sides together. Stitch with a 1 cm (3/8″) seam allowance.
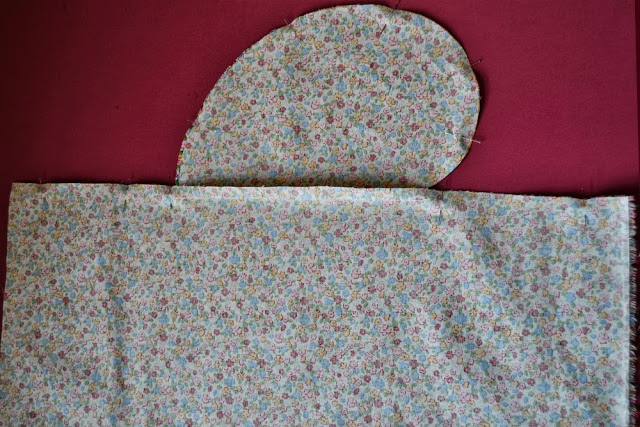
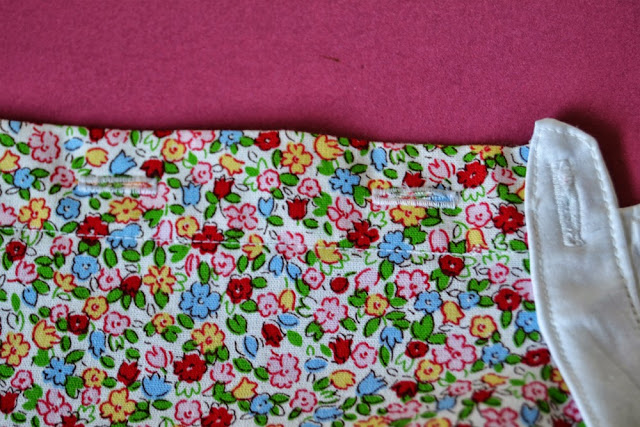
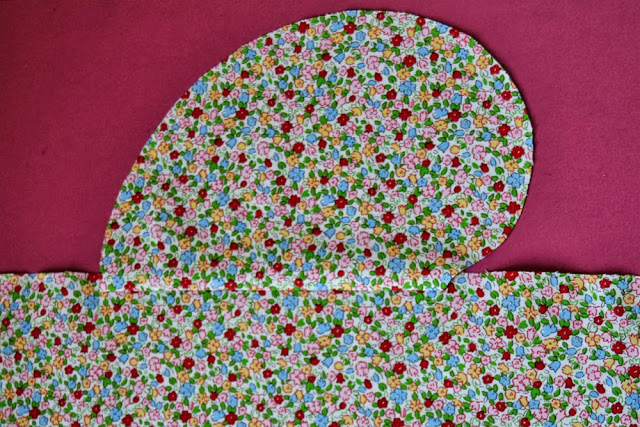 2.Fold the pocket over and press the seam allowances toward the pocket.
Repeat with the other pocket on the opposite side and the two other pockets on the other skirt piece.
STITCH THE SKIRT PIECES TOGETHER
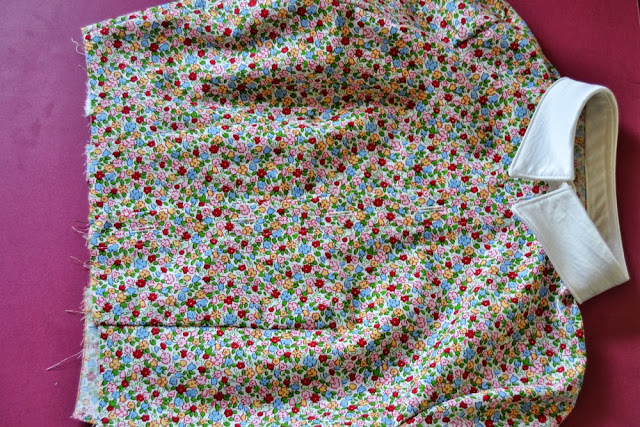
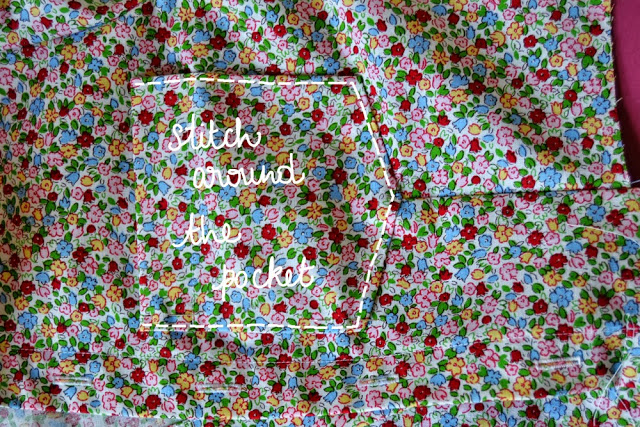
 1.On the right side, match the seams of the two skirt pieces together all around the pockets, with right sides together and pin.
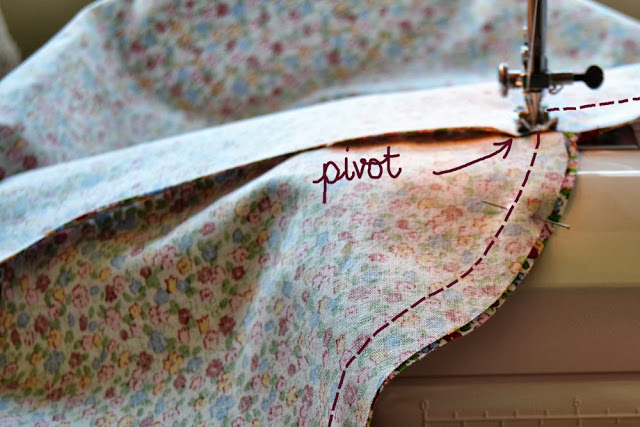 2.Stitch, pivoting at the pocket angle.
 3. If you insert a regular zipper on the left side (that’s what I will do), match the seams, pin and start stitching from the zipper mark to the hem.
If you are inserting an invisible zipper, it will be easier first to gather the skirt, attach it to the bodice, set the zipper and then close the side seam.

4.Finissez les marges et repassez les poches vers le devant de la jupe.
GATHERING THE SKIRT
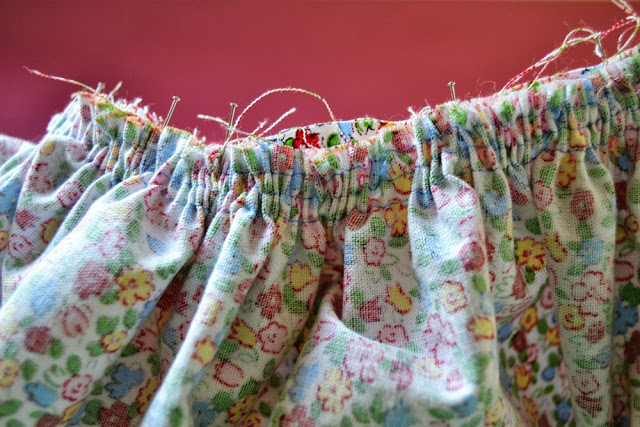
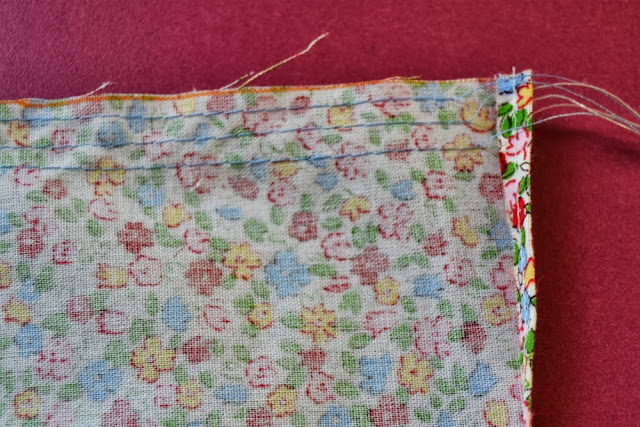 1.On the skirt waist seam, baste 3 lines of stitches at 1,5 cm, 1 cm and 0,5 cm from the egde (5/8″, 3/8″ and 1/4″).
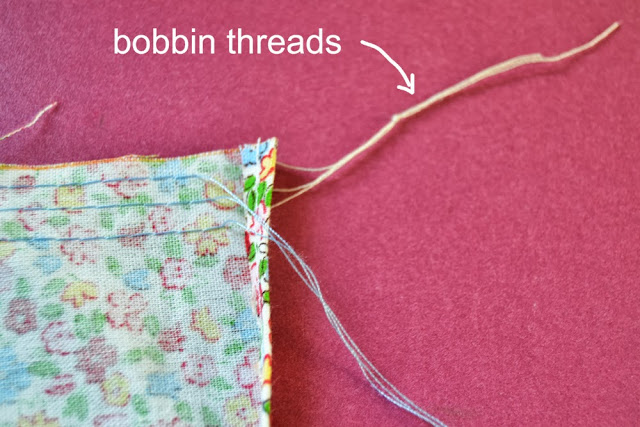
2.Tie the bobbin threads (the ones at the bottom) together at both end. You will pull them to gather the skirt volume.
 3.Match the skirt side openings, front and back center, side seam to the corresponding bodice marks, with right sides together and pin. Gather the skirt between the marks until it fits the bodice.
When it does, stitch and finish the seam allowances (I like to bind the seam with bias).
There you go! On Wednesday we’ll see how to draw a circle skirt and how to add a lining in case your fabric needs it. Now go try your almost finished dress! And the whole Sew-Along posts are here.


 1.Mark the buttonholes on the right side and the buttons on the left side. Mark the buttonhole and button on the under collar as well.
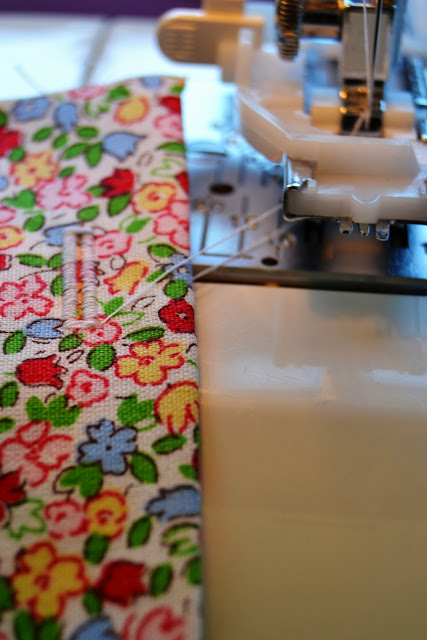 2.Stitch the buttonholes on the right side. Sew the buttons on the left side.
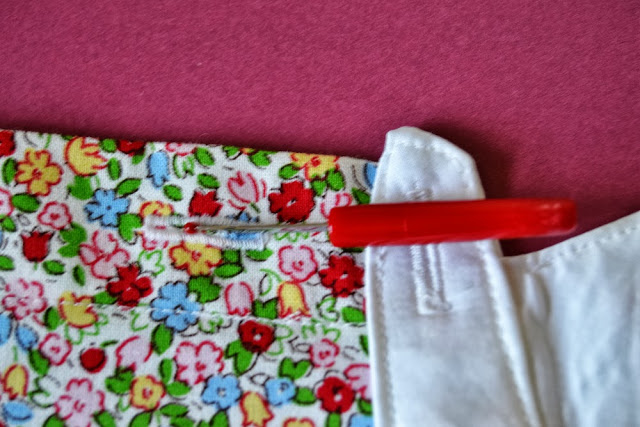

 2.Place the pocket over the bodice front left side and pin it matching the pocket bottom to the dart leg. Adjust the height as prefered. Mine is situated just over the bust apex.
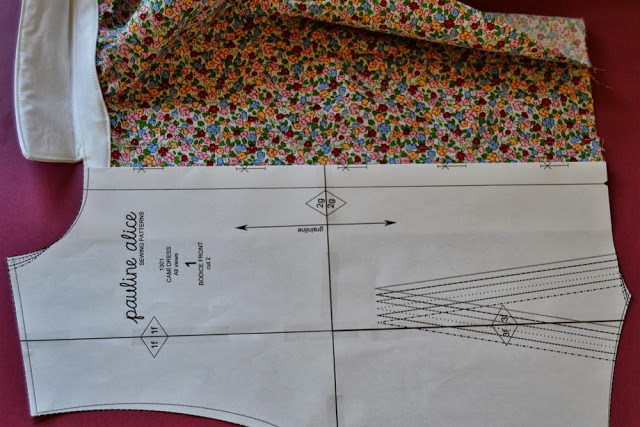
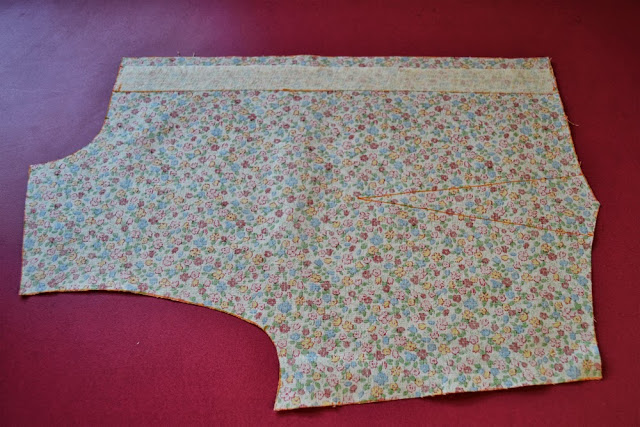 1.Take your bodice front piece and make sure you have transfered all the markings (dart, sleeve marking, zipper marking).
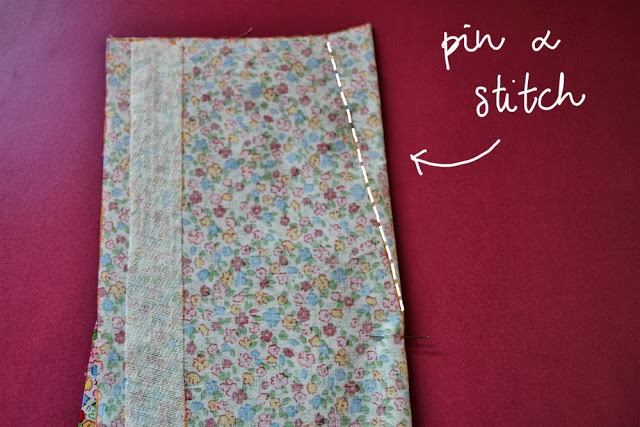 2.Fold the dart in the center with right sides together, matching up the dart legs. Pin into place.
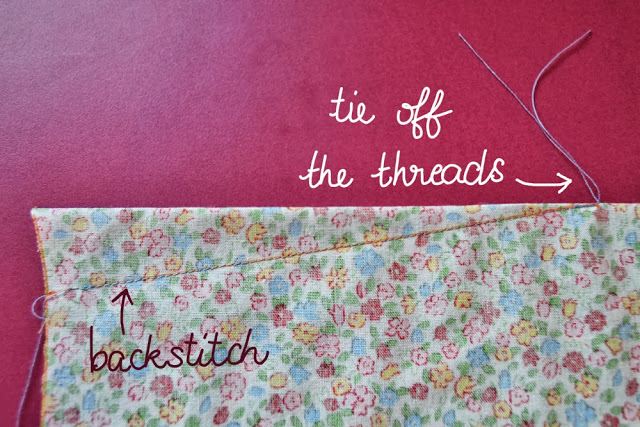 3.Stitch the dart: backstitch at the beginning but not at the end. When you arrive at the dart tip, tie off the threads.
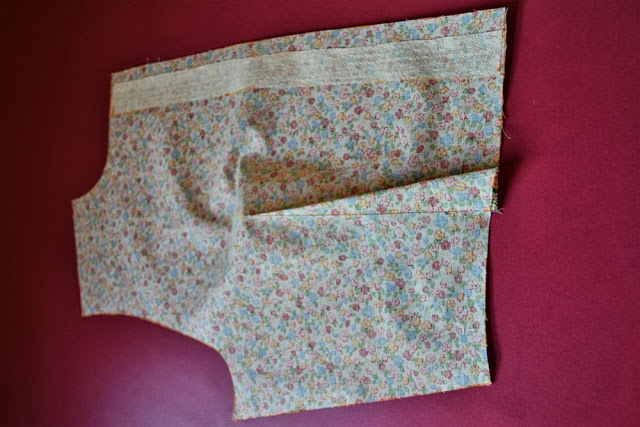 4.Press the dart toward the center.
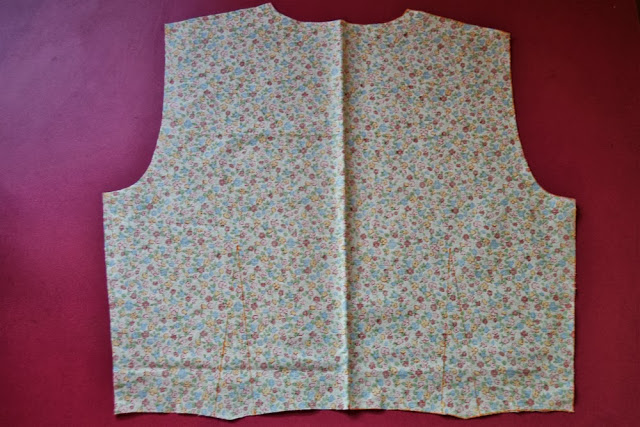 1.Take your bodice back piece and report all markings (darts, waist and collar center, sleeve and zipper markings).
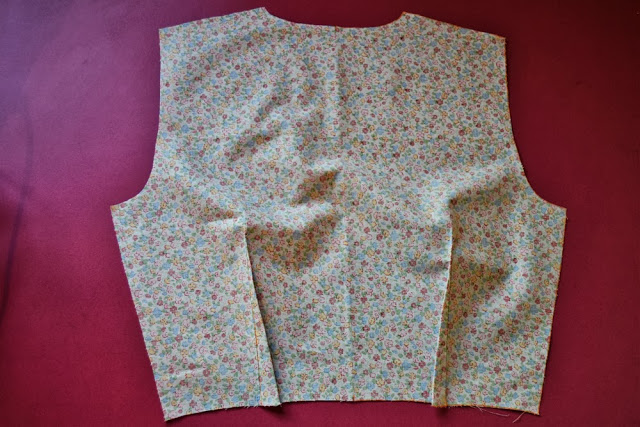 2.Stitch the darts like for the bodice front and press them toward center.
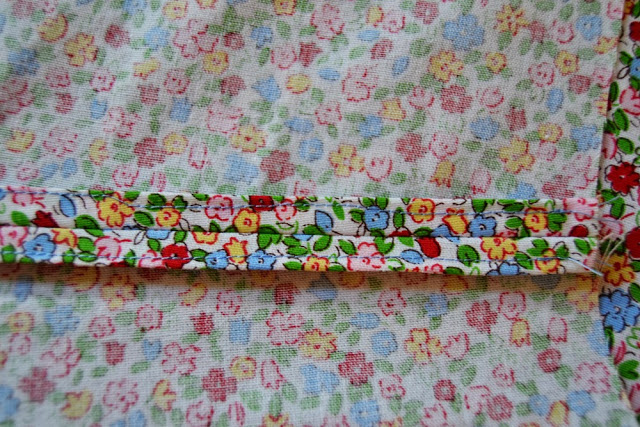 2.I decided to make a turned-and-stitched finish.
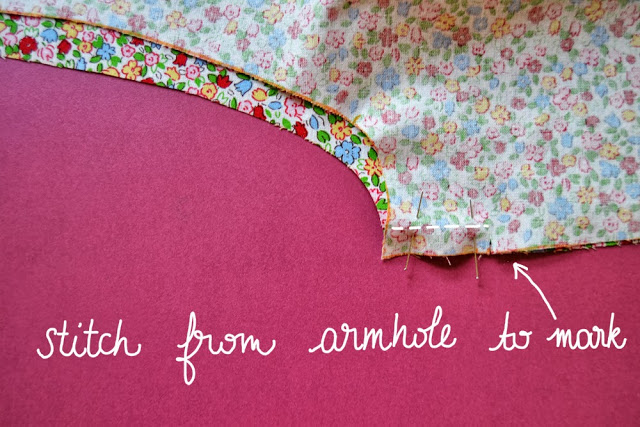 3.On the left side, stitch from the armhole to the zipper marking. Depending on how you finish you seam allowances, you might want to finish them before stitching the side seam (serger, zig-zag).
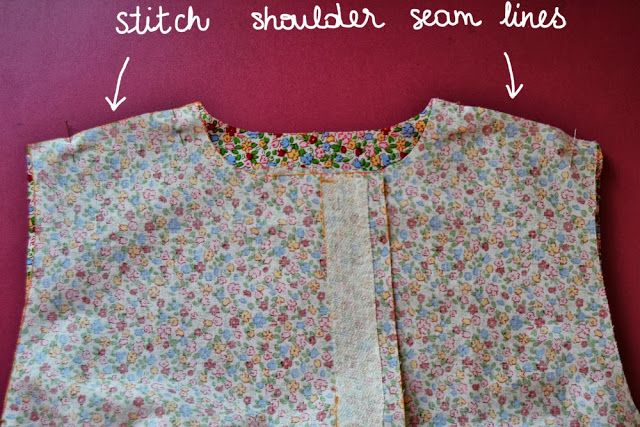 1.Pin the shoulder seams together with right sides together and stitch. Press the seams allowances open and finish them.
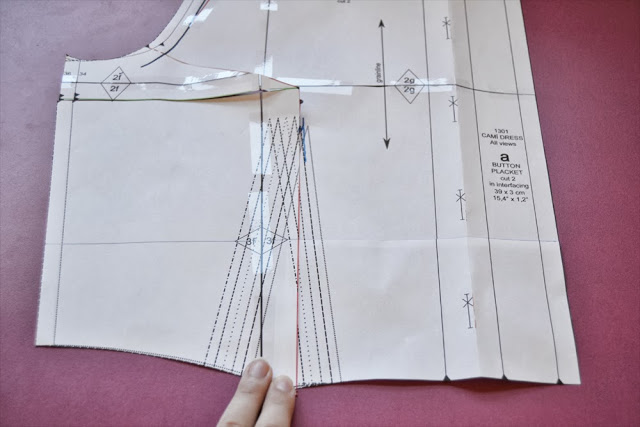
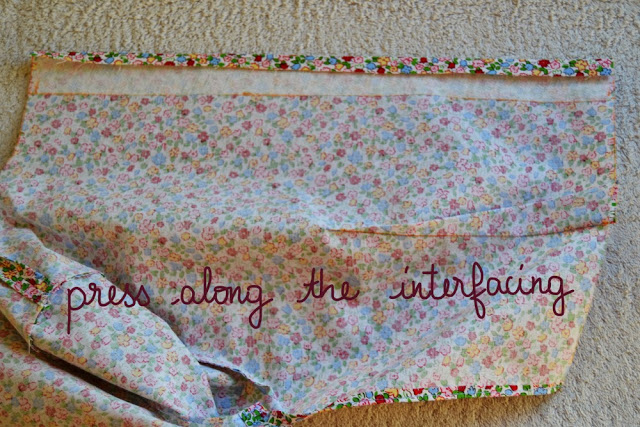 1.Take the bodice front. Fold and press the fabric margin (1 cm, 3/8″) along the interfacing, following the markings, like on the picture.
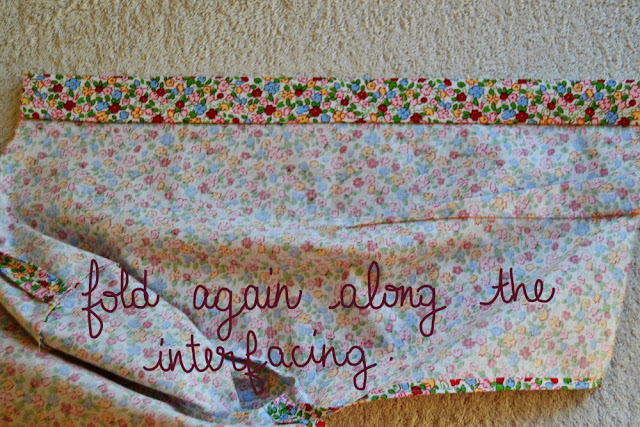 2.Fold again follwing the markings (3 cm, 1,2″) and press.
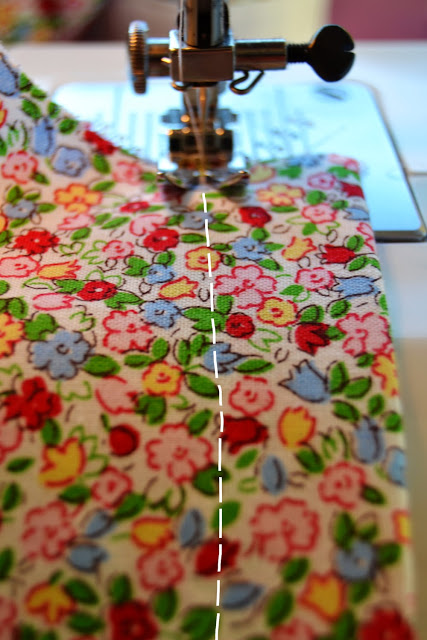 3.On the right side, stitch very close the fold. Repeat on the other bodice side.


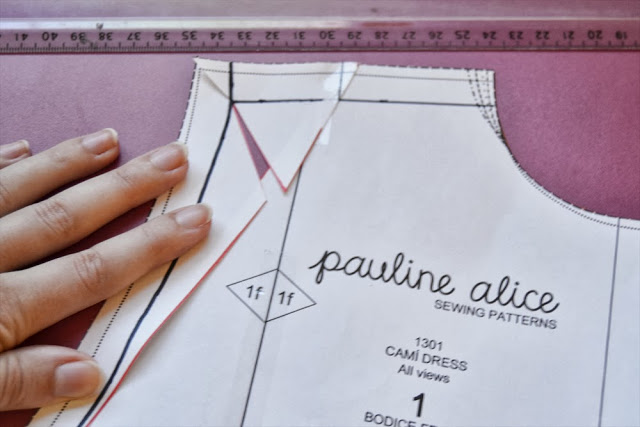
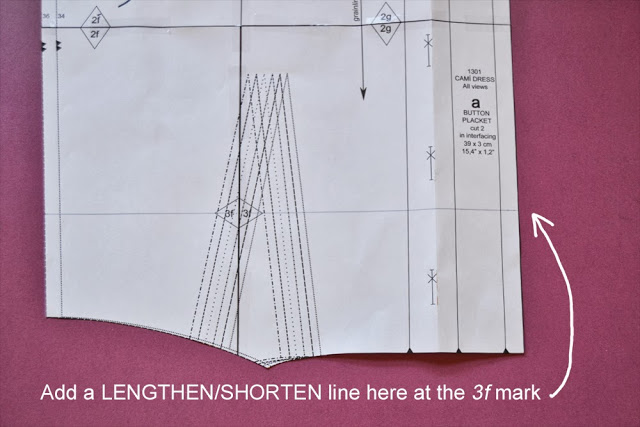 1.If the waist line of the muslin doesn’t hit at your natural waist, you might want to lengthen or shorten the bodice. First, you’ll need to add a lengthen/shorten line. It’s not on the pattern but it can be added at the 3f mark.
 3.To shorten the bodice, bring the pieces over each other and paste.
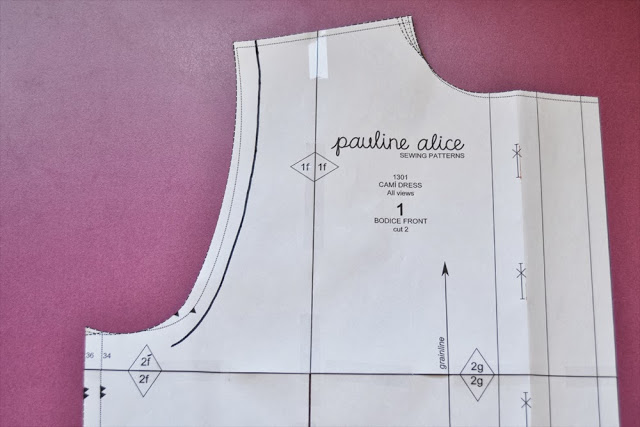 1.Draw the seam allowance line around the armhole (1,5 cm or 5/8″).
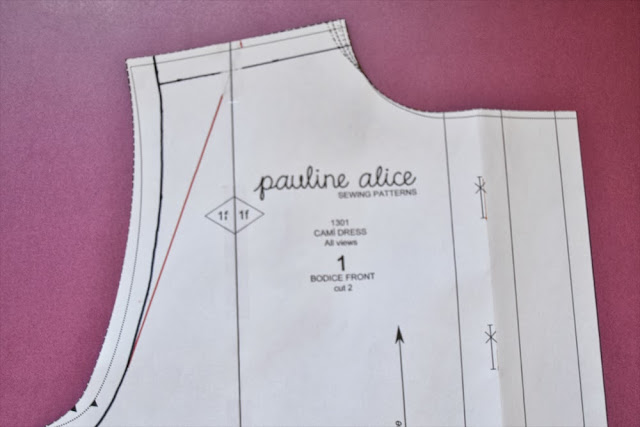 2.Draw the other seam allowance line at the shoulder (black). Join the shoulder center to the armhole line: red line.
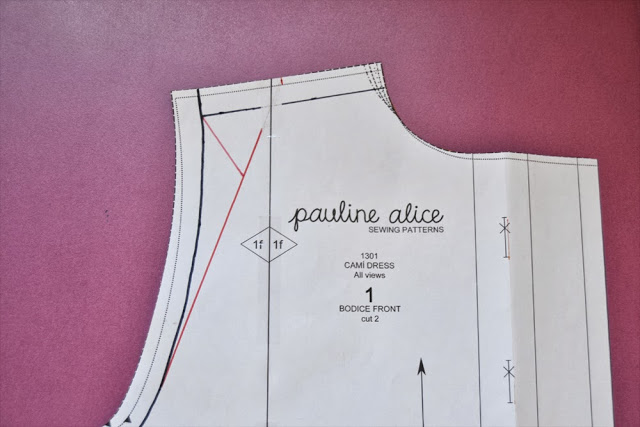 3.Draw a line from the shoulder angle to the red line.
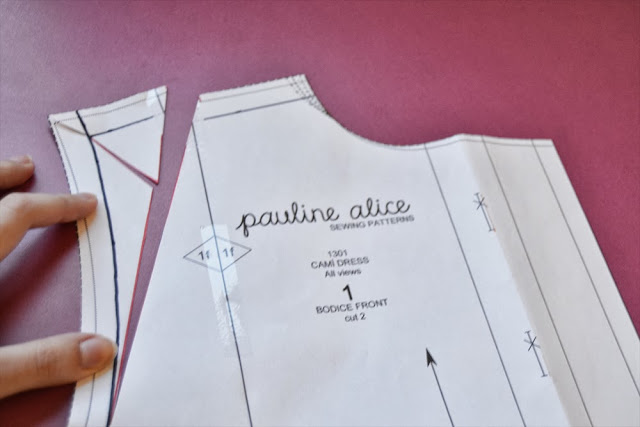 4.Cut the red lines making sure not to cut the black line. You now have a pivot point.
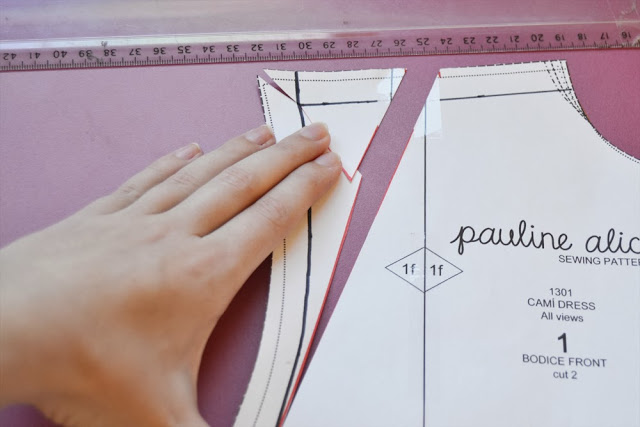
 5.To widen the shoulder, add the desired ease and paste over a piece of paper. To narrow the shoulder, bring the pattern pieces over and paste. Report changes on the back pattern piece.
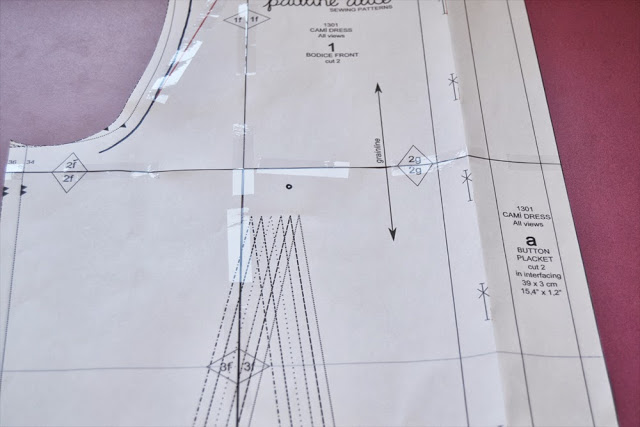 1.Draw the bust apex about 2 cm (0,8″) above the dart point.
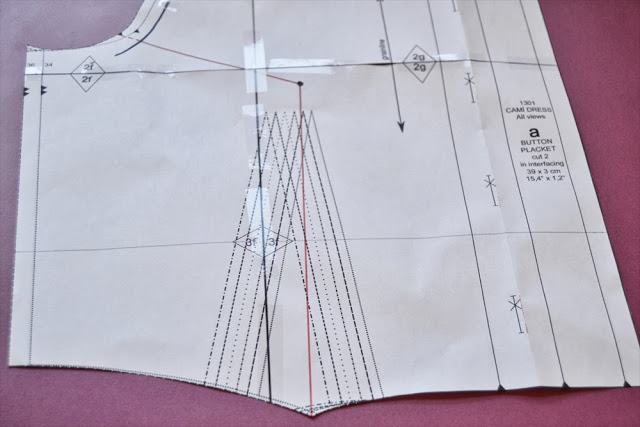 2.Draw 2 lines (in red) from the bust apex: one going to the middle of the dart legs and the other one going to the armhole (I joined mine to the triangle mark).
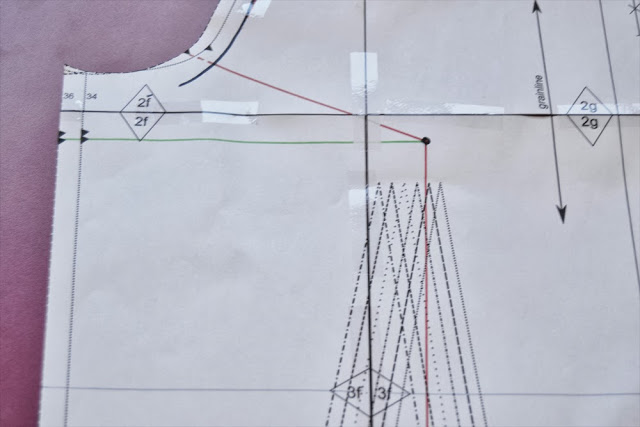 3.Draw a line (in green) parallel to the lengthen/shorten line if you have made it (if not, parallel to the 2f cutting line).
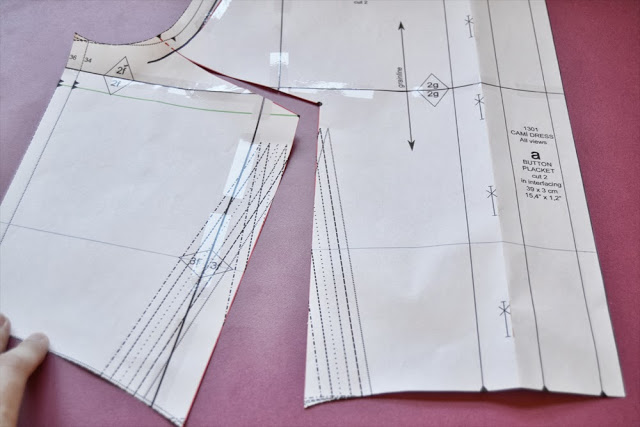 4.Cut the red line up to the black armhole line.
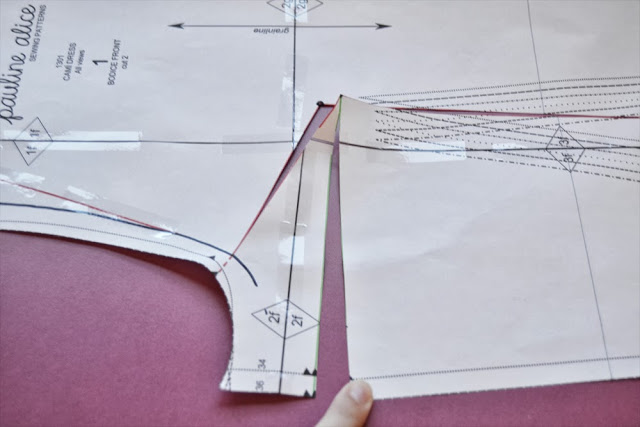 5.Cut the green line leaving it attached by 1 cm (3/8″) approx.
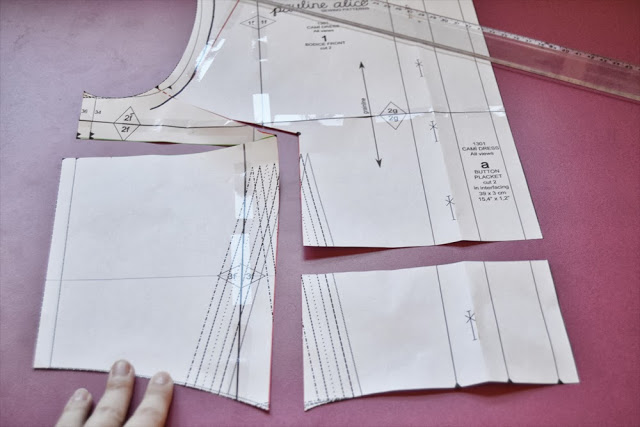
 6.Cut along the lengthen/shorten line to the red line. To make a Full Bust Adjustment, add the desired ease and match the pattern pieces. Paste them on paper and redraw the lines.