
Hello! Are you ready for the last Ninot jacket Tutorial?
I remind you that we saw previously how to make a bound buttonhole, the buttonhole opening on the facing and the welt pocket (click on the link to see the tutorial). Let’s start!
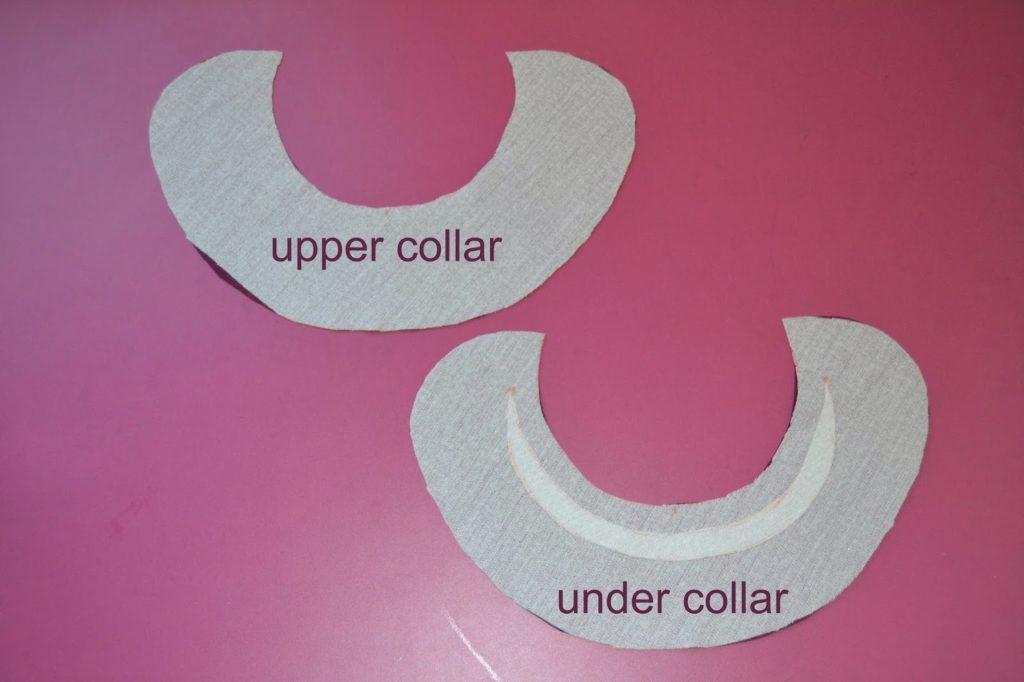
1.Apply interfacing to the under collar piece (here I have interfaced both to give more strength to my fabric, but you should interface only the undercollar with both interfacing pieces). Cut a piece of interfacing to form the collar roll, it should look like the bottom collar piece in the picture. This become your under collar and the other piece is then the upper collar.
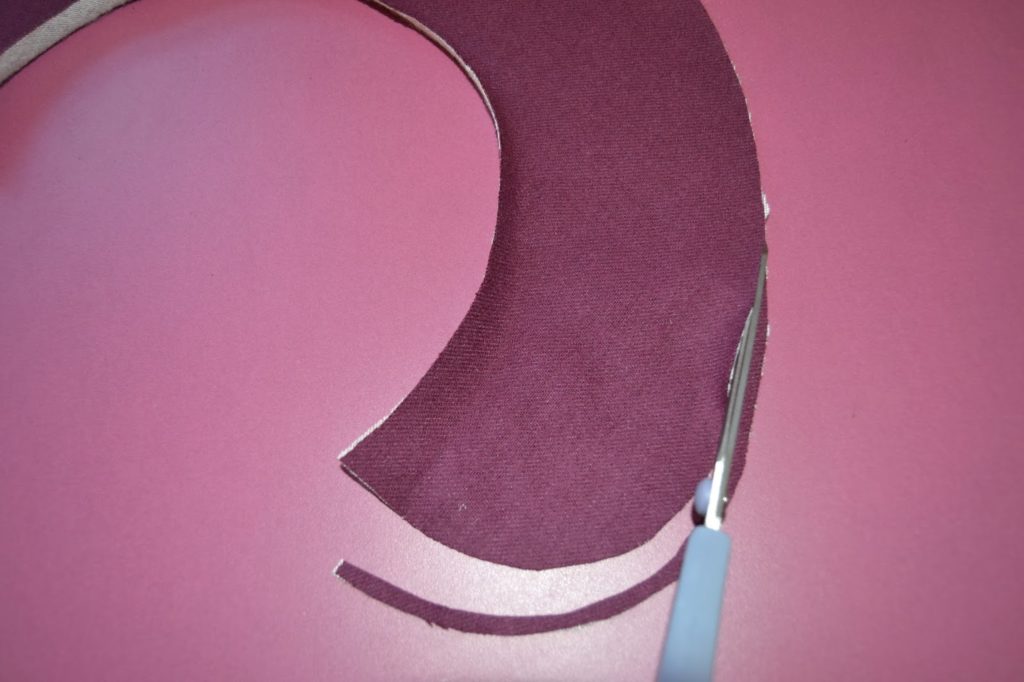 2.Take the under collar piece and trim about 2 – 3 mm (2/16″ – 1/8″) from the outer edge. This will account for the turn of cloth and keep the stitching line from showing.
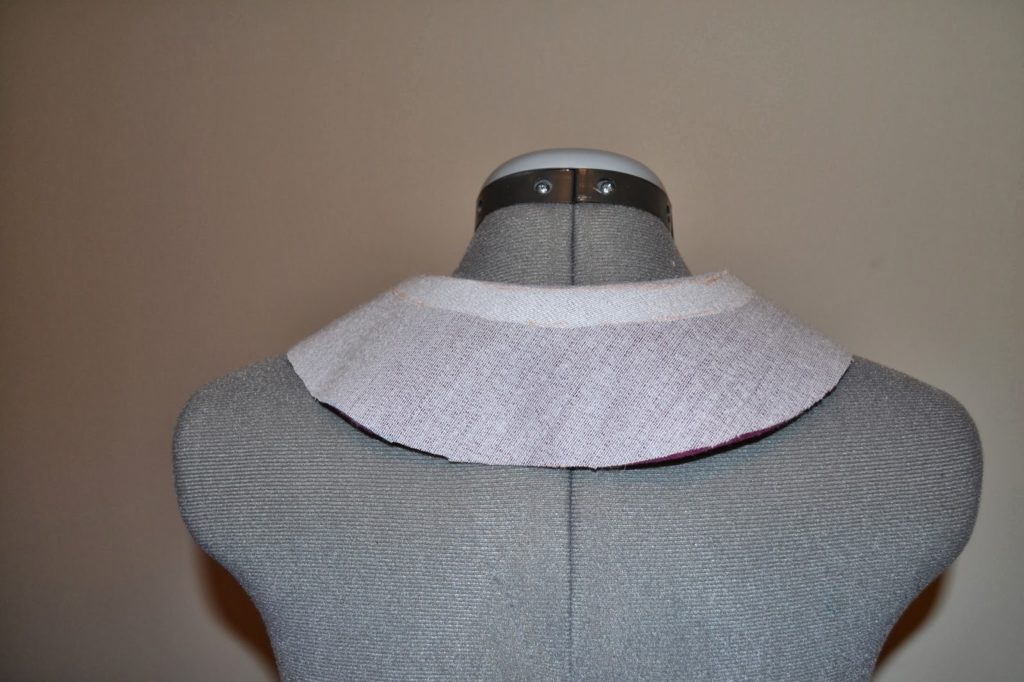
 3.Shape the under collar around your dress form if you have one (if you don’t you can use a folded towel about the size of your neck). Fold gently around the collar roll and pin in place. Steam the collar and leave it cool down at least a few hours (a full night is better).
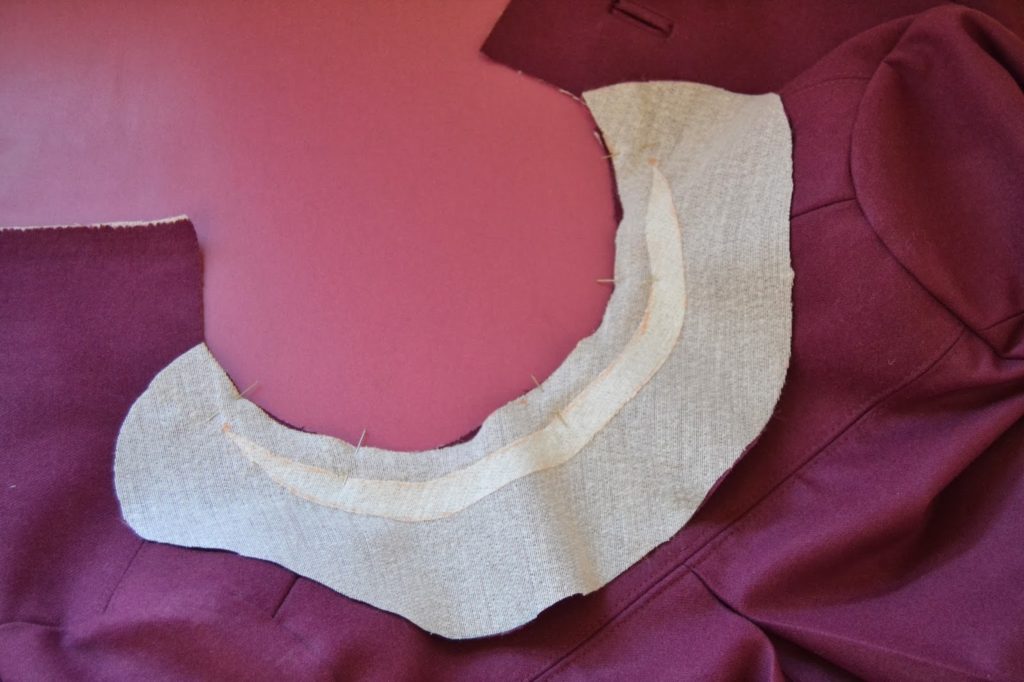
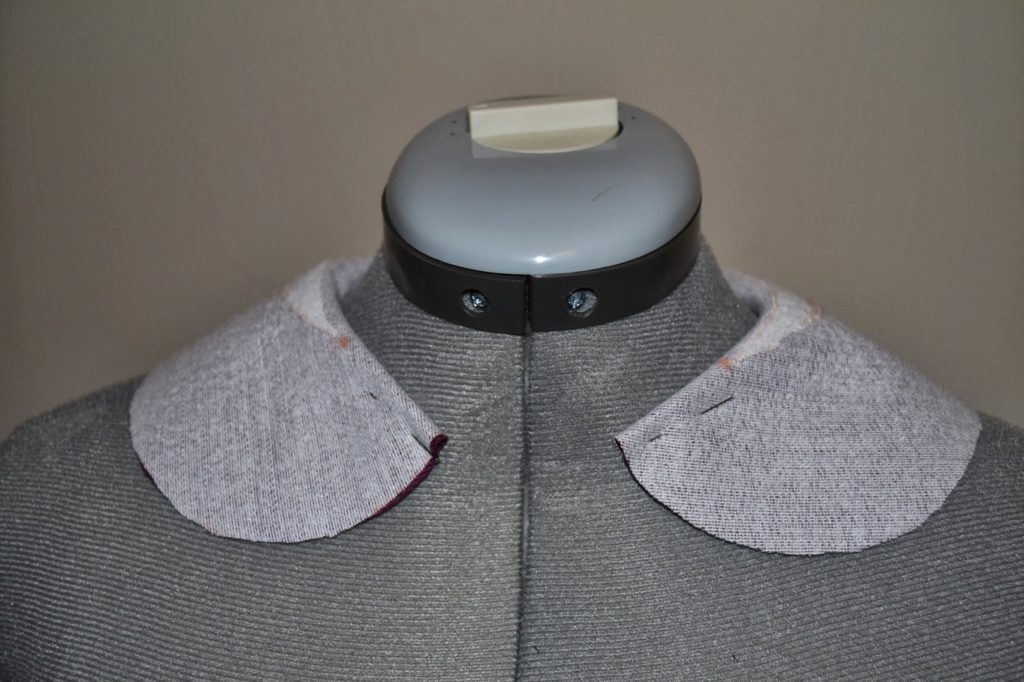
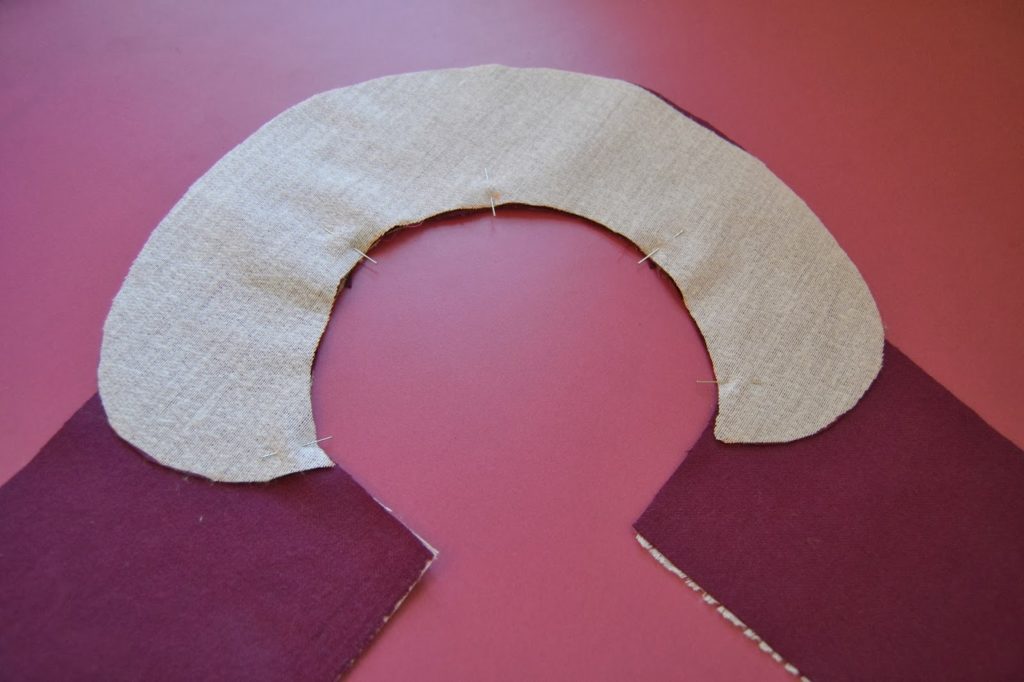
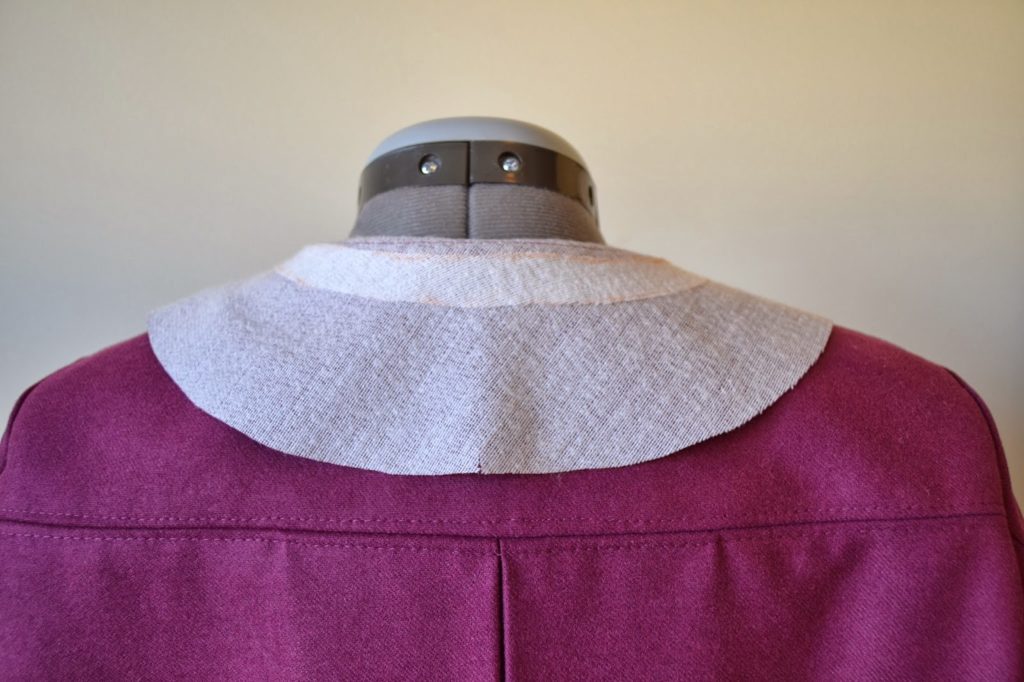 4.After the under collar is completely dry, pin it to the jacket shell matching center back and front marks. Stitch. Trim and clip the seam allowances to reduce bulk.
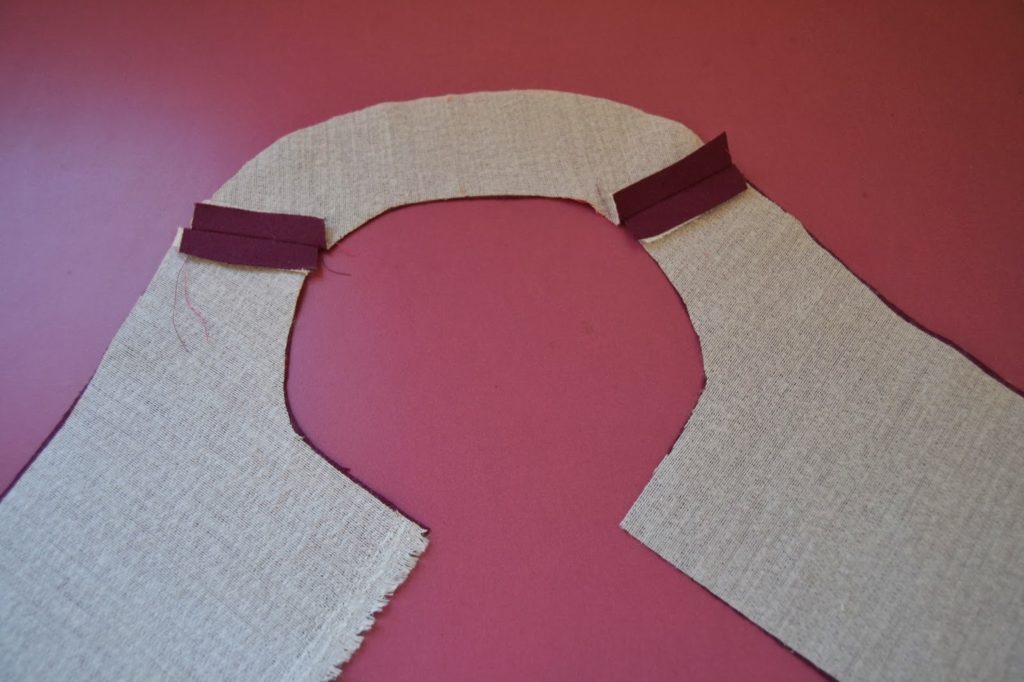
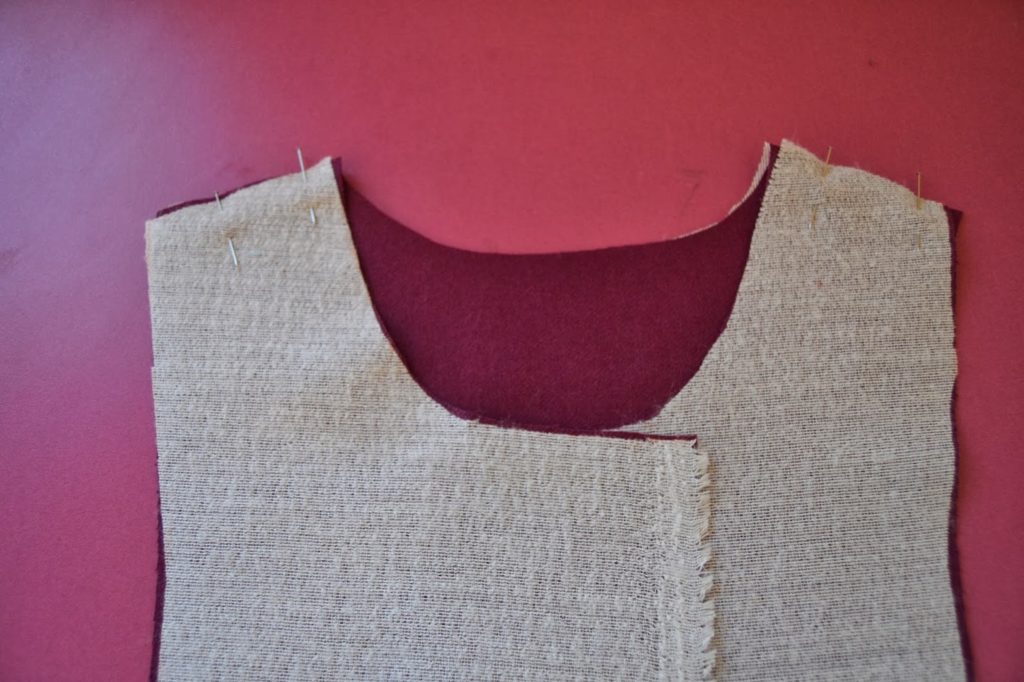
5.Take the front and back facing pieces and interface them. Match the shoulder seams, pin and stitch together. Press the seam allowances open.
 6.Pin the upper collar to facing, matching center back and front marking. Stitch. Trim and clip the seam allowances to reduce bulk
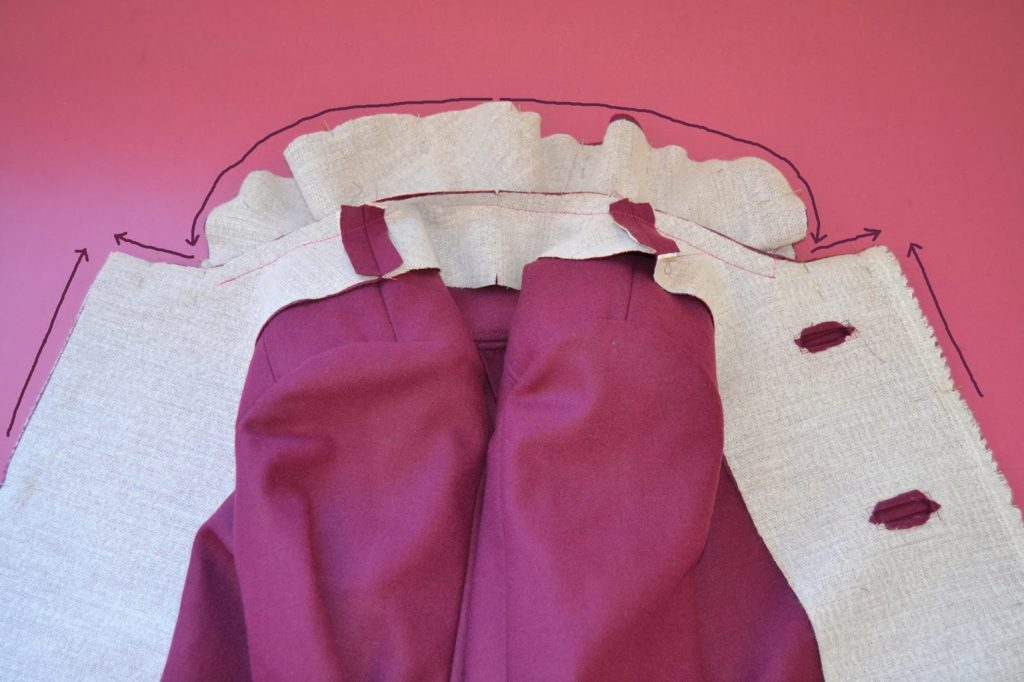

7.Pin the facing to the jacket like you would do for a normal jacket, pinning also the collars together. The under collar is slightly smaller than the upper collar because we trimmed it, so you will have to ease it a little bit while pinning them together. Start stitching from the center of the collar and stitch down to the collar end. Repeat on the other side. Then stitch the facings corners.
Clip and trim the seam allowances to reduce excessive bulk, especially where the collar meets the jacket.

8.Here is the turn of cloth: see how the stitching line is kept under the collar? Press it flat nicely.
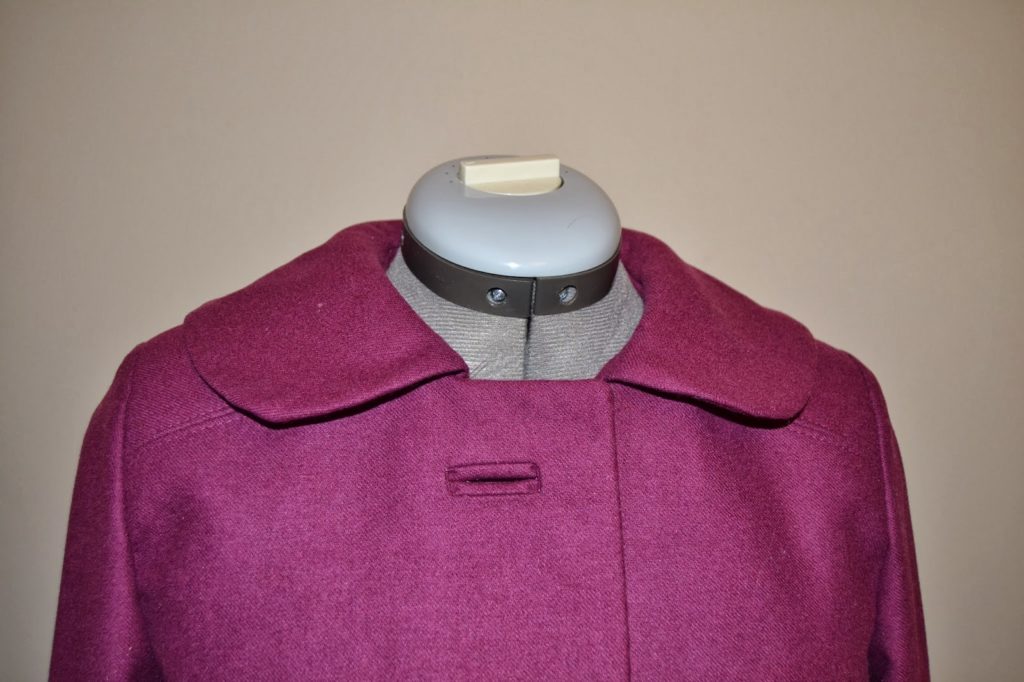
9.The finished collar! And as the facing is stitched to the jacket, now is the moment to finish your buttonholes and handstitch the opening to the buttonhole.
I hope the tutorials were useful for the confection of the Ninot jacket or any other jacket by the way.
Have a wonderful week end!


 1. These are your 4 collar pieces: 2 undercollar (which will be attached to the rest of the shirt) and 2 uppercollar (which fold over the tie for example). You need to interface the 4 pieces.


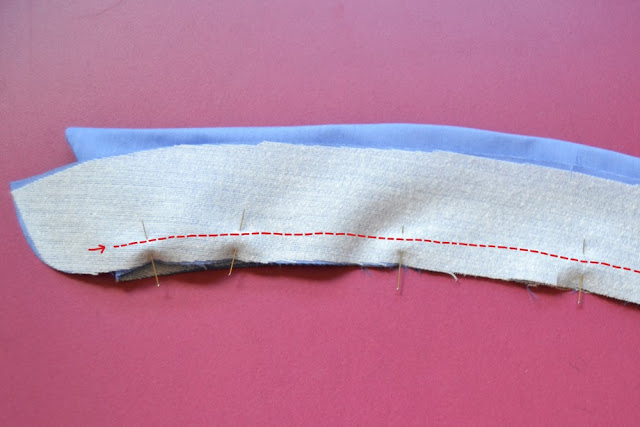 5. Stitch the undercollar to the layer of uppercollar following the red line from mark to mark (they depend of your pattern, but they should be more or less where the red line start).


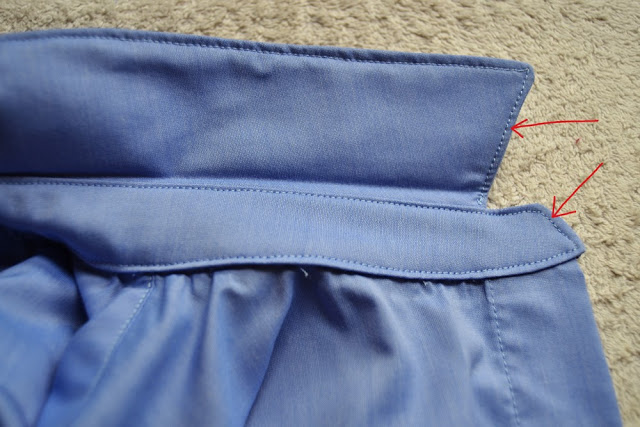 13. Matching the center and the extremities, pin the collar to the shirt. Stitch first the inside layer like you would for bias biding. Press the seam allowance toward the collar. Fold in the seam allowance of the other layer, pin and stitch with a topstitch very close to the edge (see the arrows). Continue the topstitching around the whole collar.