
The Carme blouse pattern 2.0 is here! As it’s one of my first pattern, the sizing was not up to date, but I’m happy to tell you that you can now sew this blouse from size 34 to 52.
The pattern includes a print-at-home file as well as copyshop version. Get your copy here: Carme blouse pattern.
Now, let’s talk about the Sew-Along! Today is a big day as we’re going to make the entire sleeve piece. But don’t worry, there are 4 steps but each one is quite easy on its own.
Let’s begin!
SLEEVE VENT
SLEEVE TAB
SLEEVE CUFF
SET THE SLEEVE
I hope the videos are being useful and that you’re not already fed up with the jingle and my broken English (I know I am after editing the videos and watching them so much). I wish a great day and I’ll see you on Friday for the collar part of the Sew-Along.


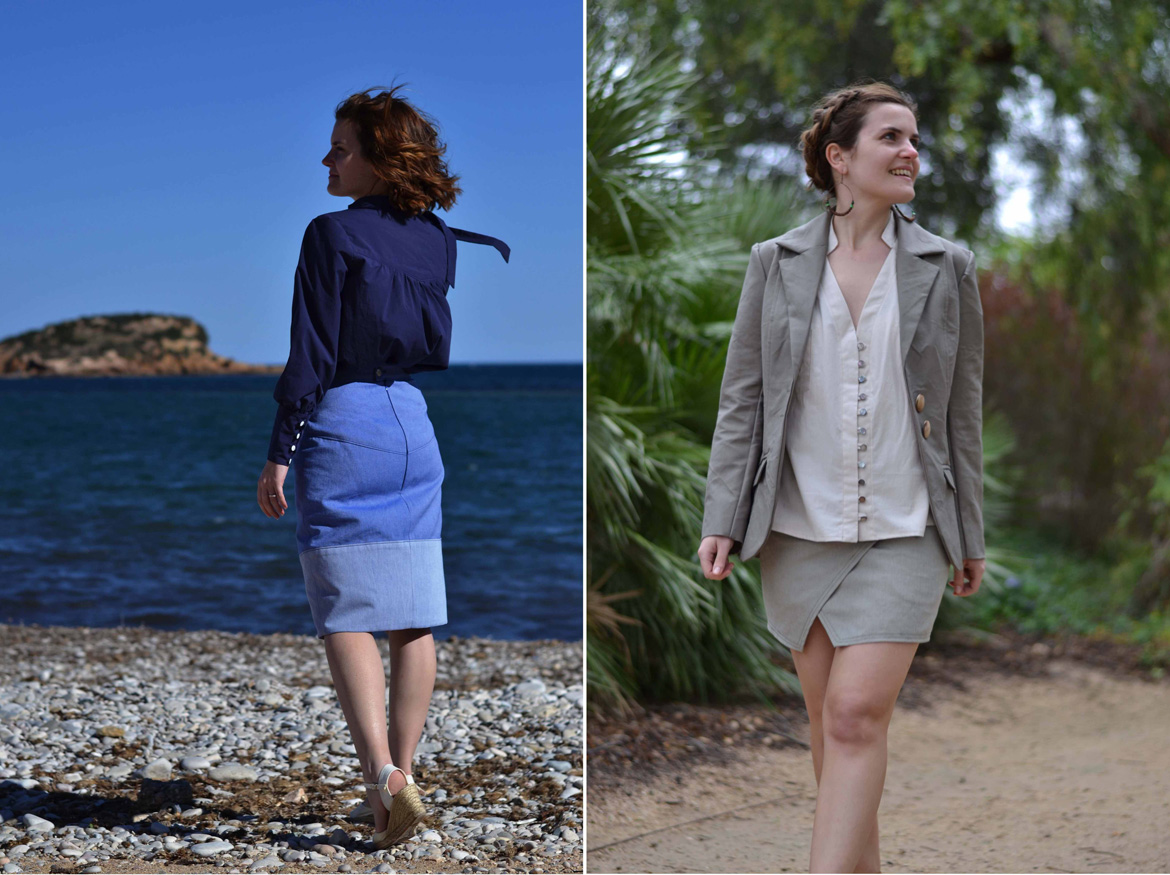


 The
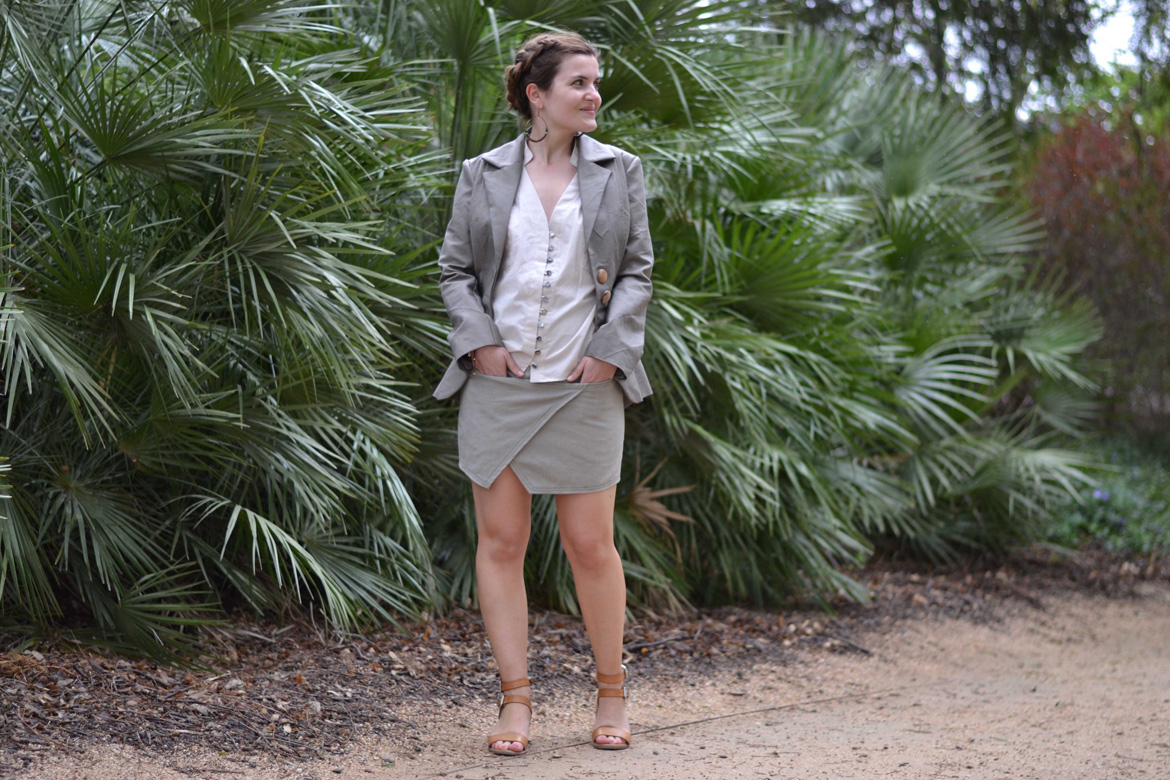
The 

 I’m wearing it with an


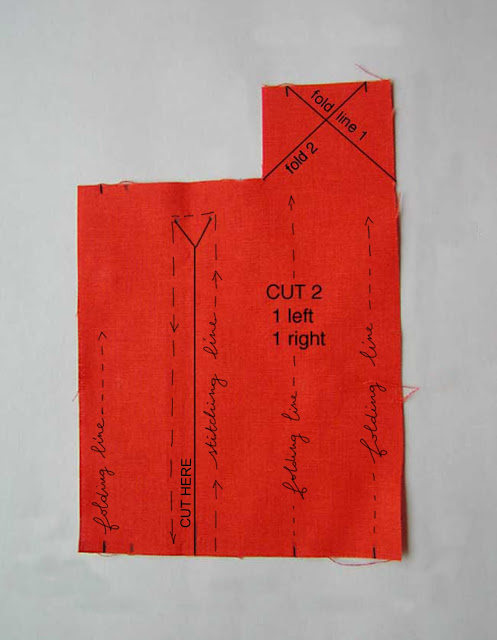 1. Here is what your placket pattern piece should look like more or less. It should come with your shirt pattern but if not, you can find printable templates quite easily.
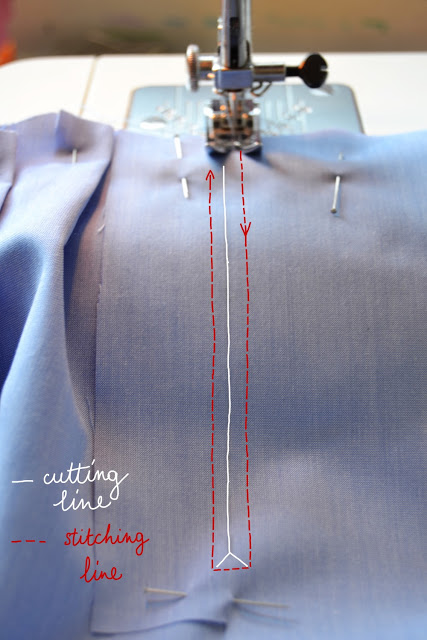
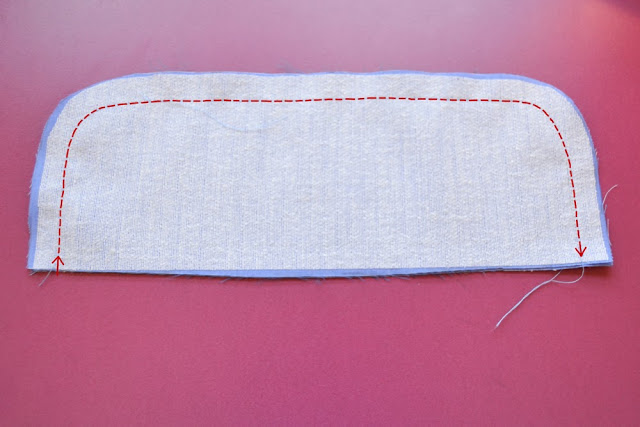
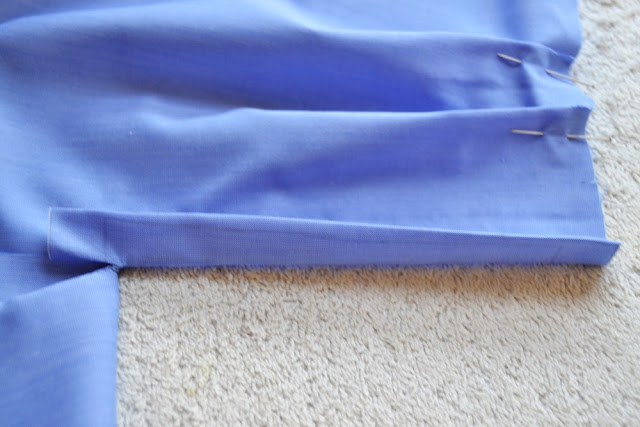 5. Take the small side and fold under along the folding line. Press.
 6. Stitch very close to the folding line.
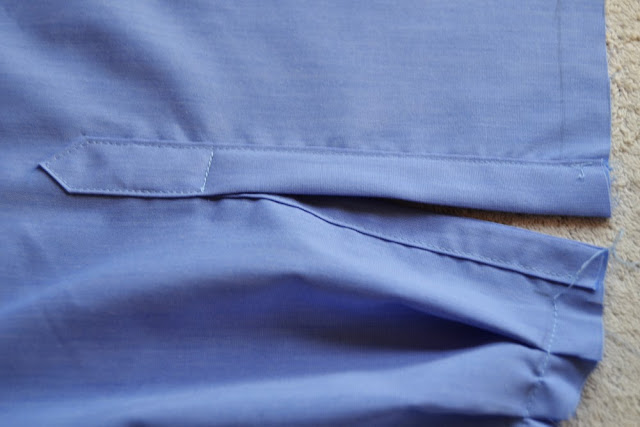
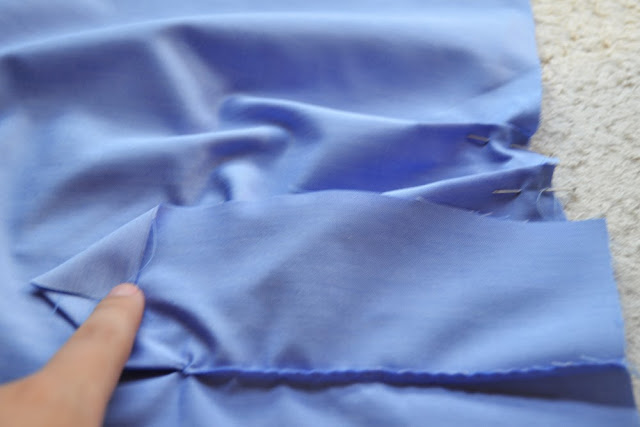 7. On the other side, fold the end forming a point. Press.
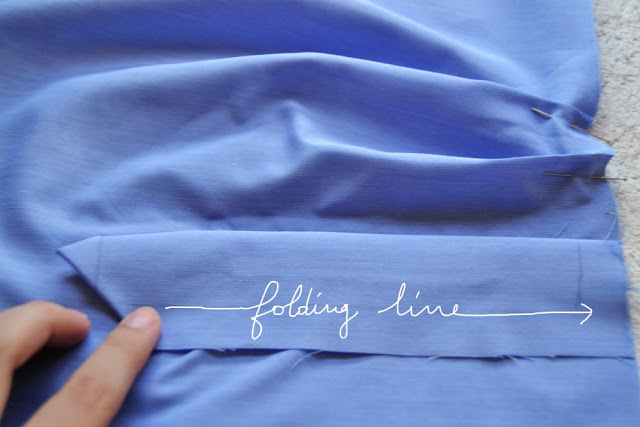 9. Now we have folded and pressed the fisrt line, we are going to fold the other one and press it.
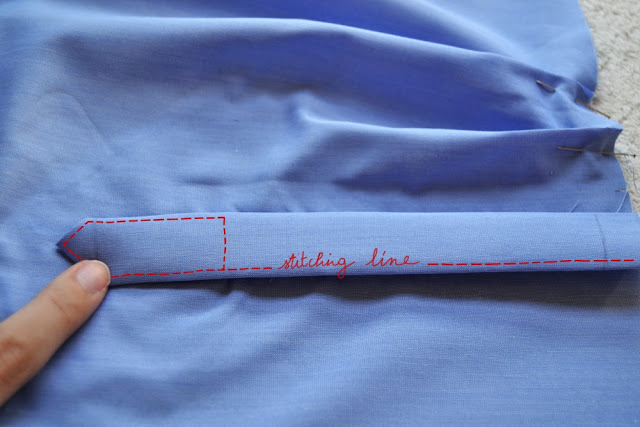 10. Place the pointed part over the small one. We are now going to stitch the red line, enclosing the raw edges under the placket.
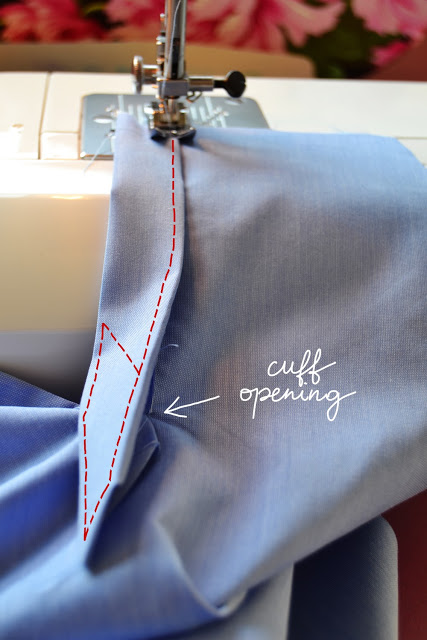

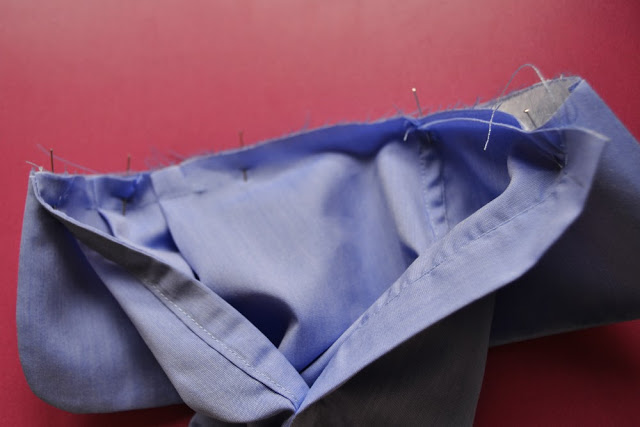
 16. Fold the seam allowance of the cuff inside, press it and edgestitch all around the cuff. You’re done! The only missing step is sewing the button and buttonhole.

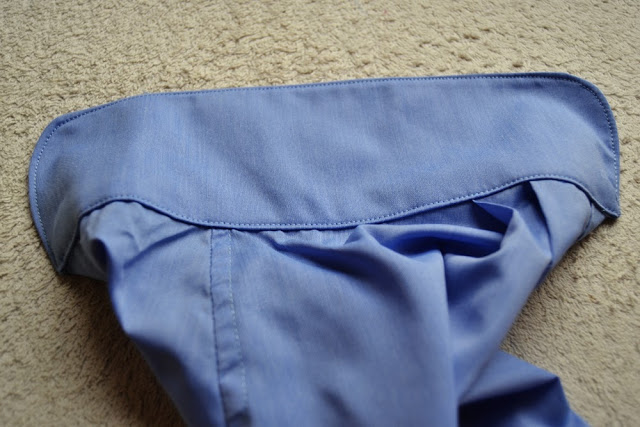
 1. These are your 4 collar pieces: 2 undercollar (which will be attached to the rest of the shirt) and 2 uppercollar (which fold over the tie for example). You need to interface the 4 pieces.


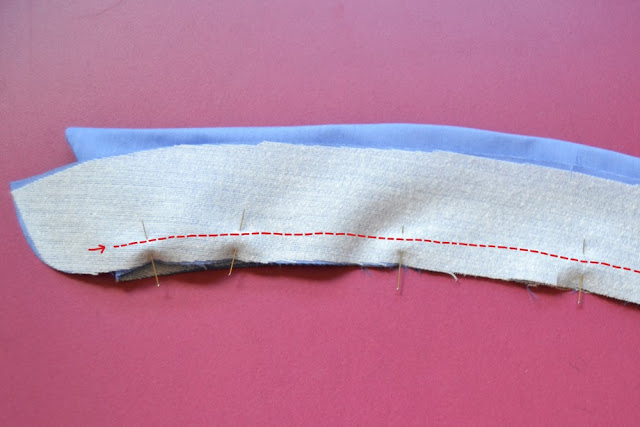 5. Stitch the undercollar to the layer of uppercollar following the red line from mark to mark (they depend of your pattern, but they should be more or less where the red line start).


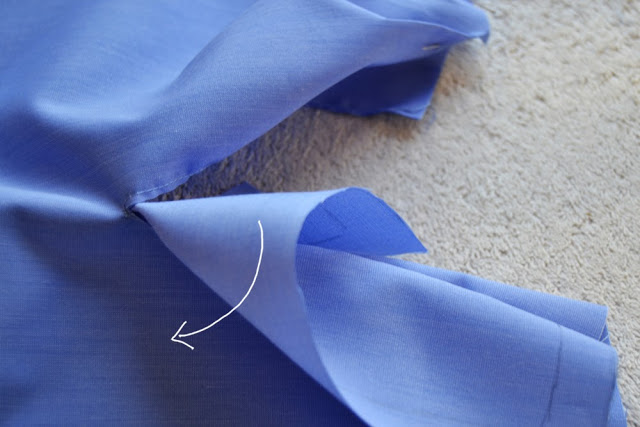
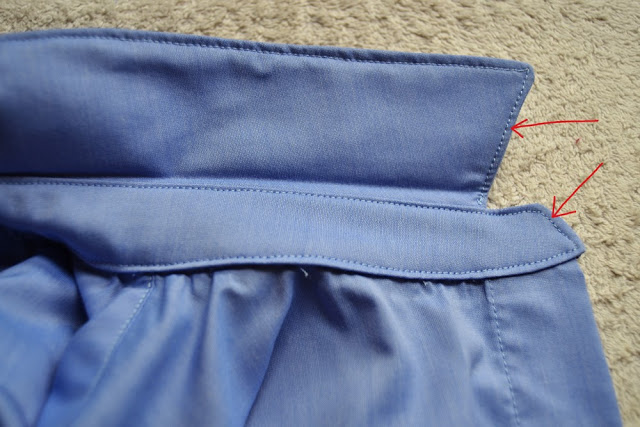 13. Matching the center and the extremities, pin the collar to the shirt. Stitch first the inside layer like you would for bias biding. Press the seam allowance toward the collar. Fold in the seam allowance of the other layer, pin and stitch with a topstitch very close to the edge (see the arrows). Continue the topstitching around the whole collar.