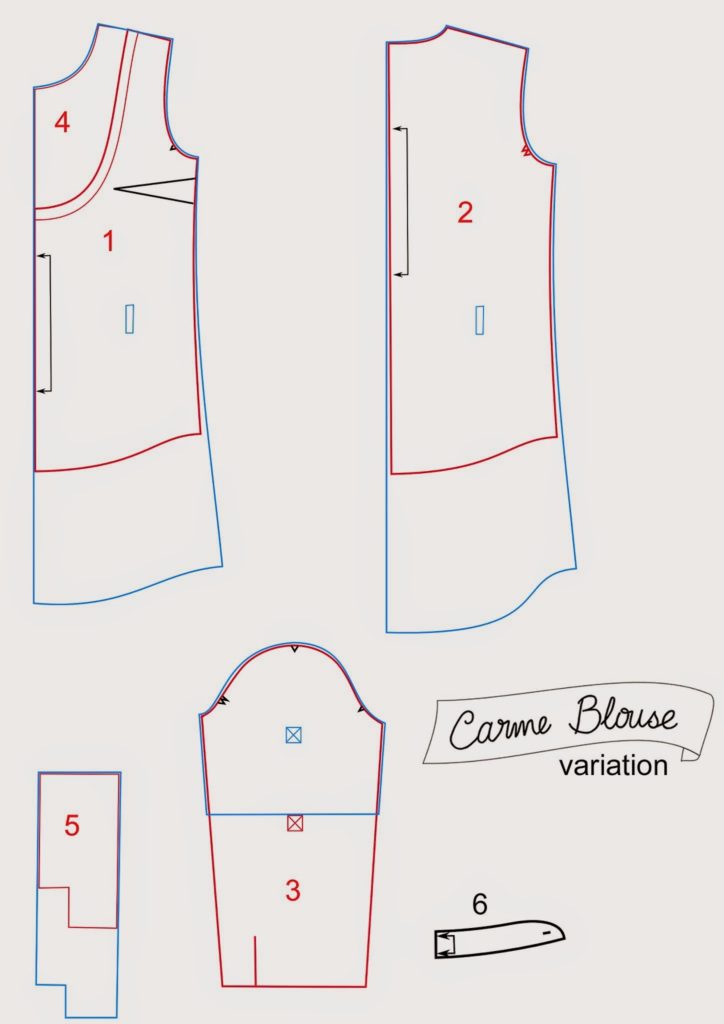
The Alameda dress is taking shape little by little: you now have your complet bodice with lining.
Today, we’ll see how to make the skirt of the Alameda, the skirt lining and join them to the bodice:
Watch the video directly in Youtube.
Let’s meet on Saturday for the last step of the #AlamedaSewAlong!


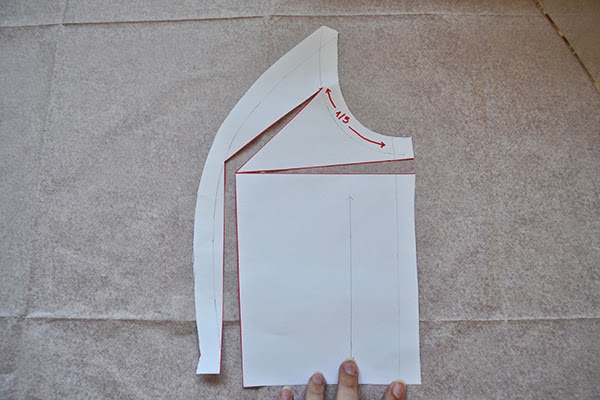
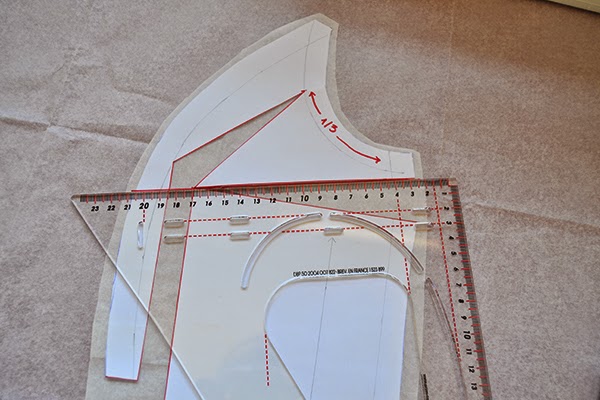
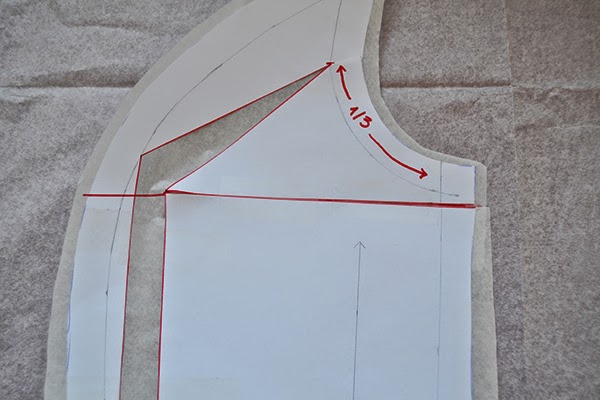
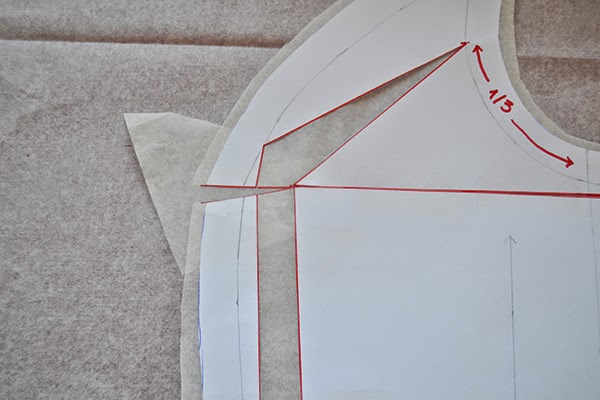
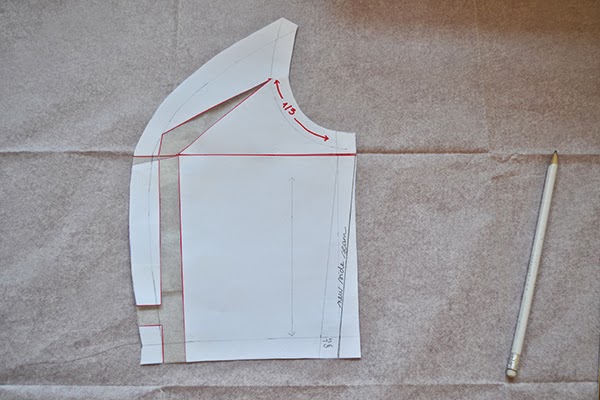
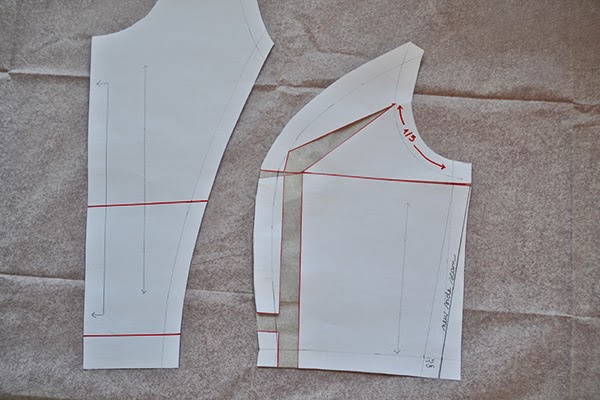
 Let’s take Maria’s measurements again: her bust measurement is 92 cm (36″) when the one corresponding to her size 38 is 88 cm (34 1/2″), there is a 4 cm (1 1/2″) difference. She’ll cut the pattern in size 38 and add 2 cm (3/4″) at each bust seam to make the full bust adjustment, without increasing the waistline or the neckline.
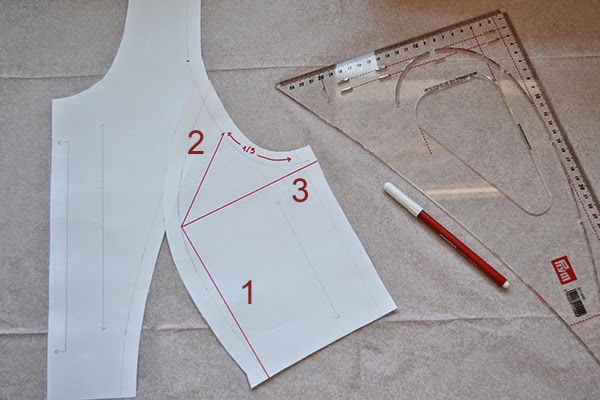
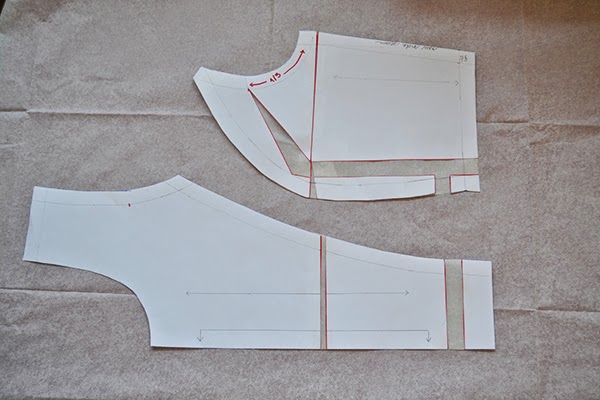
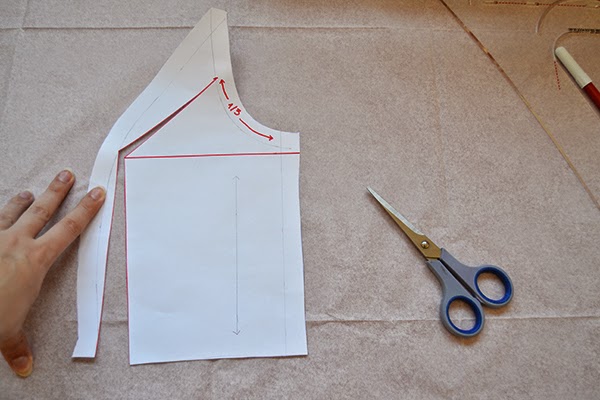 2. Cut lines 1 and 2 and stop when you reach the seam allowance.
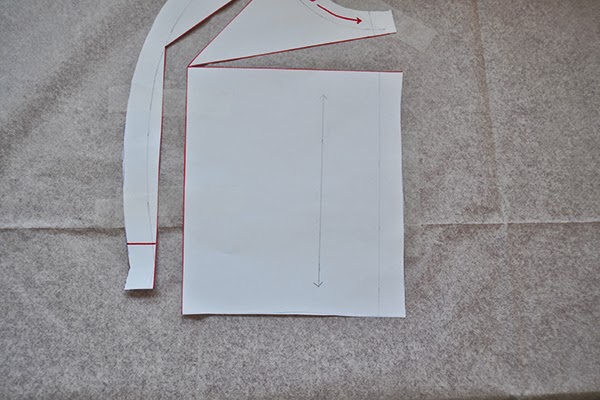
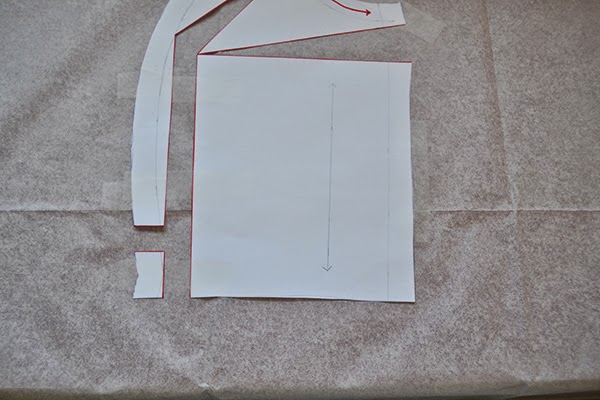
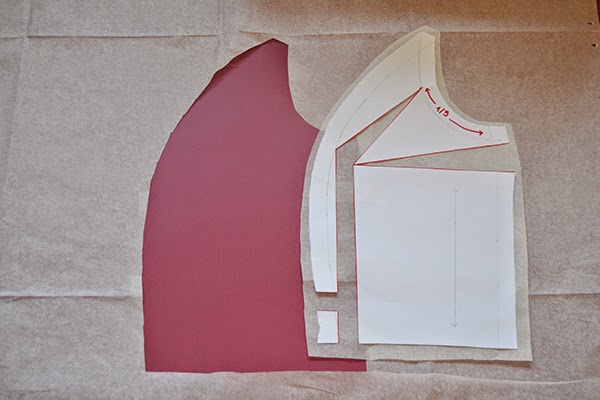
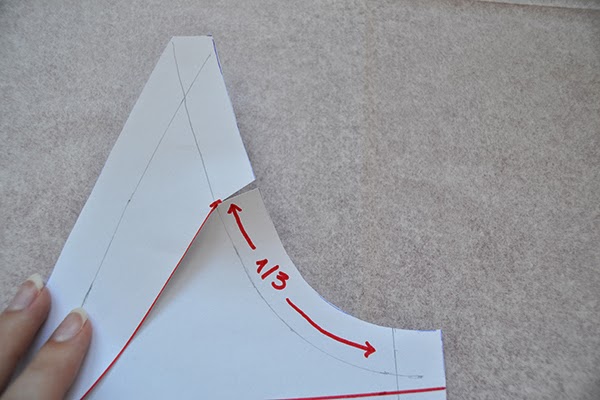


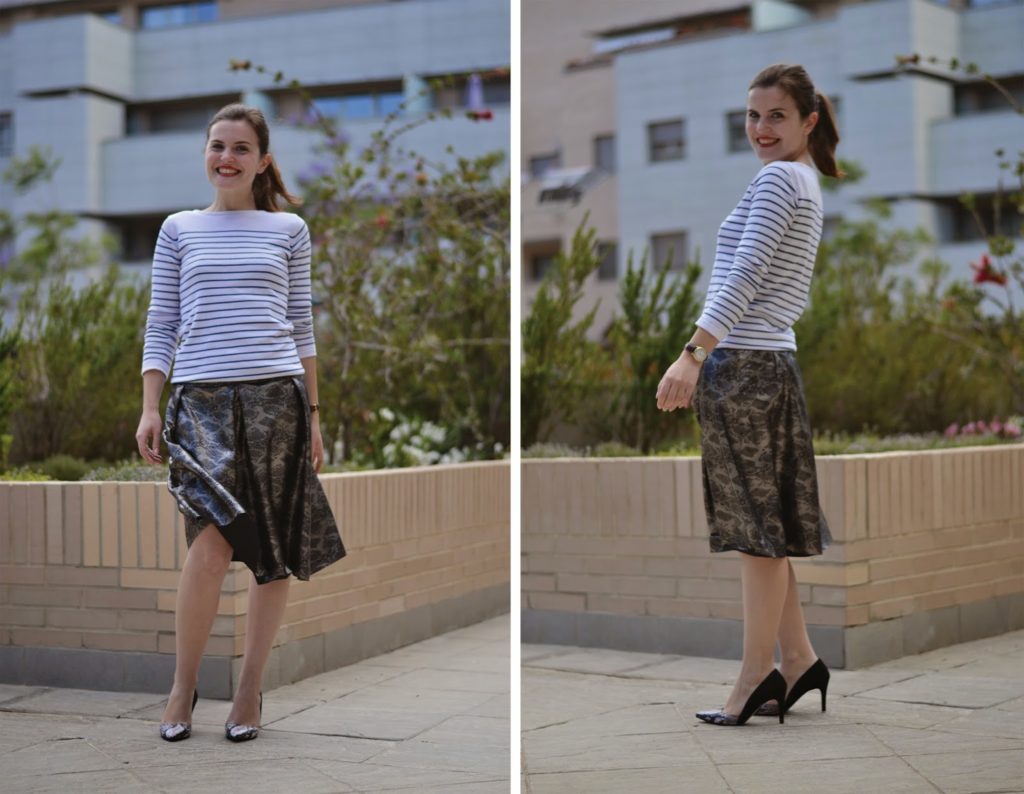
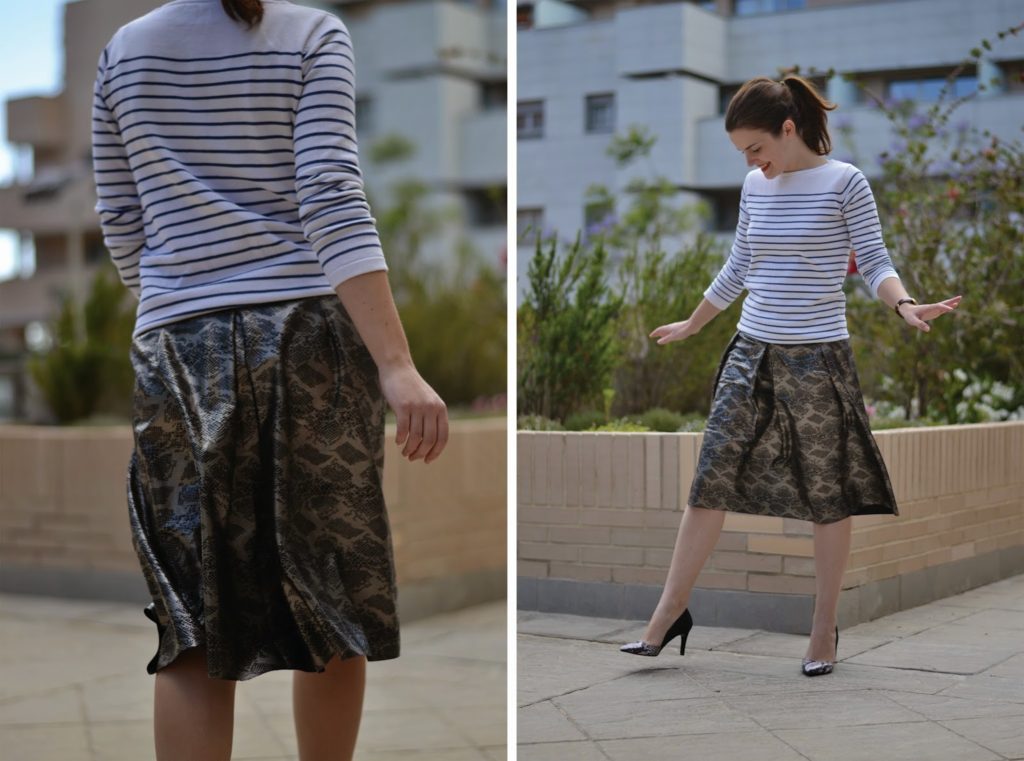


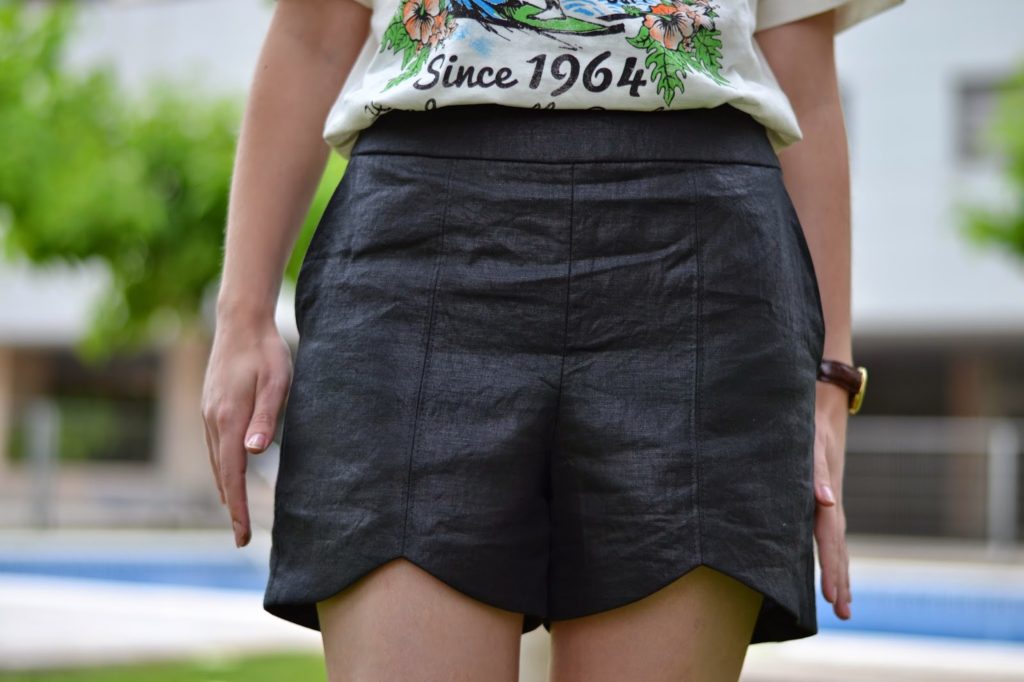 The sizing of the pattern is good but I found it a little big. According to the measurements, I cut a size XS (and didn’t make a muslin, silly me) but when I tried it on, it was large both at the hips and at the waist (it’s supposed to sit at the natural waist). I remember reading reviews saying the same. I stitched 1,5 cm seam allowances all over instead of the 1 cm included in the pattern. But I think I’ll just cut the XXS size next time as it’s still a little big (it’s the first time I’ve entered into such a small size haha). I would also make them a little bit shorter, but that’s a personal preference. But these are such easy changes that I can only say the best about this pattern (and it’s really my fault as I could have avoided that by making a muslin).
 The instructions are clear (the welt pocket lining could be easier, if you have never made one, take your time and check their online


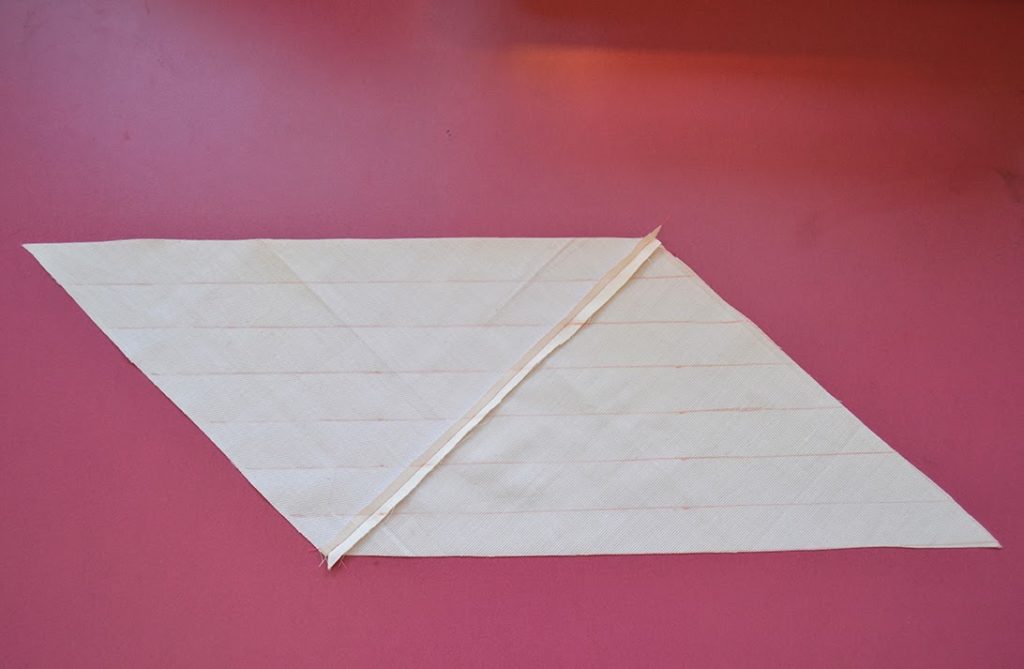
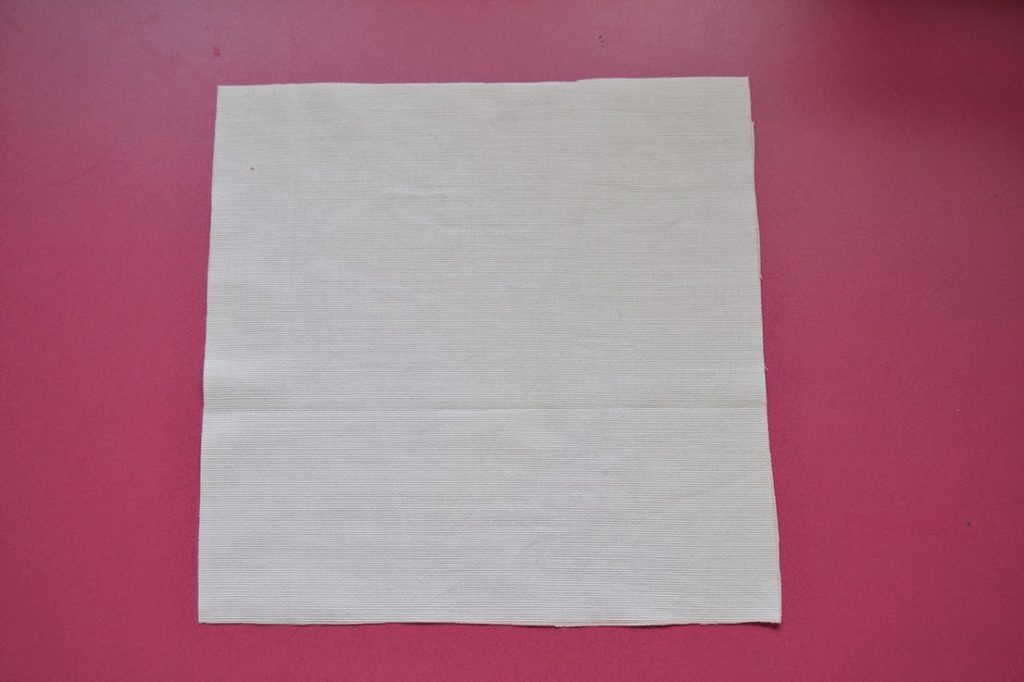 2. Cut a square piece of fabric. I made mine 25 cm x 25 cm (10″ x 10″) but you can make it as big or small as you want. With this size, I was able to make a 2,4 m strip of bias (2 1/4 yards).
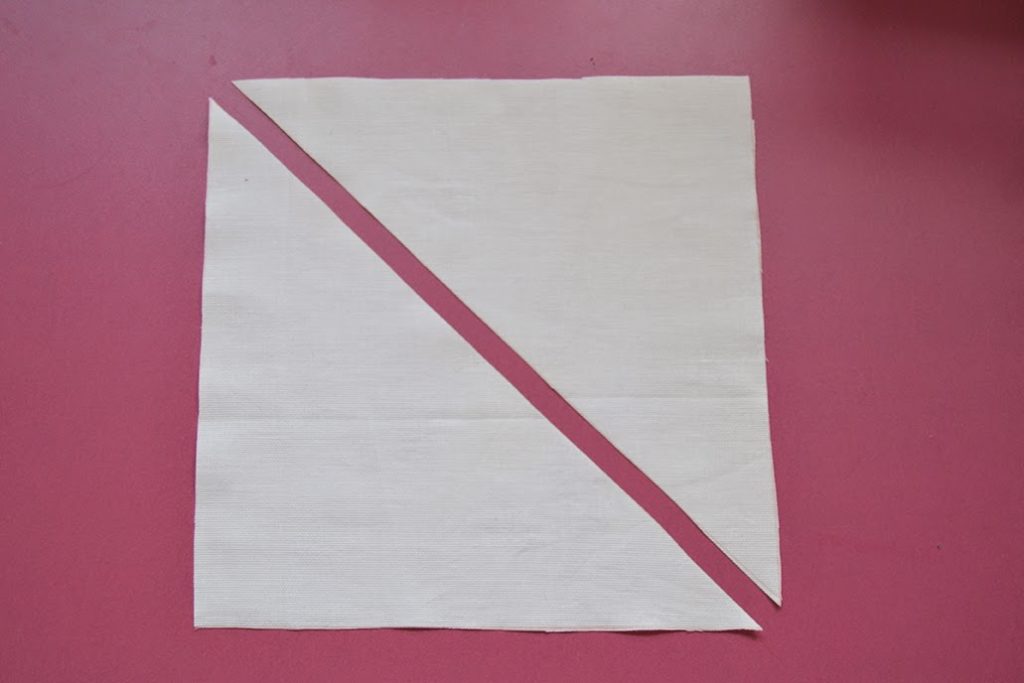

 6. Draw parallel
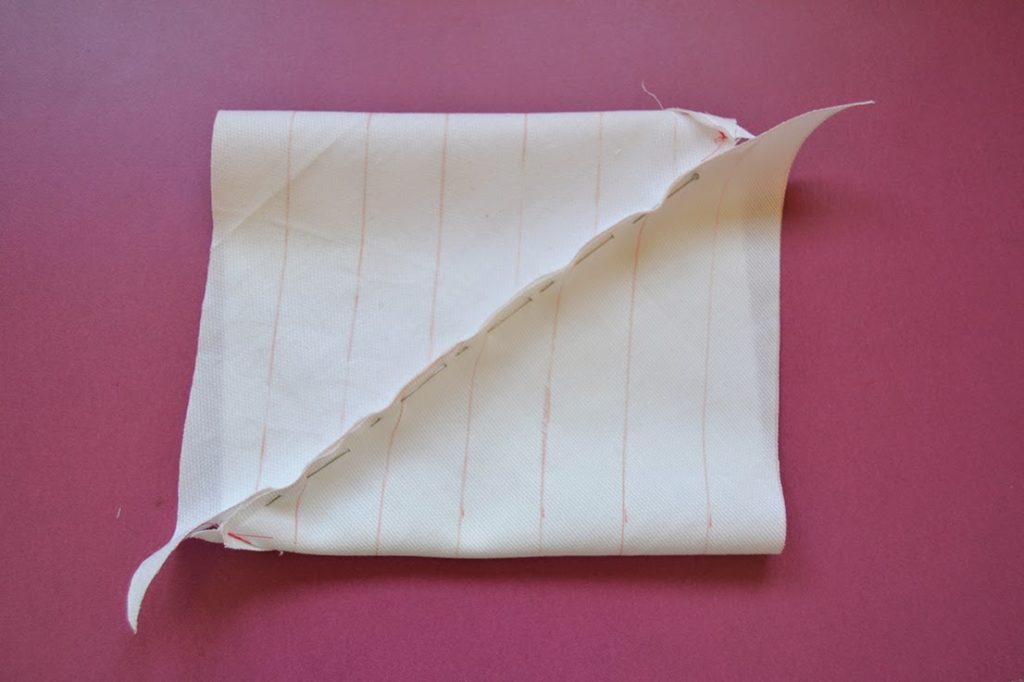
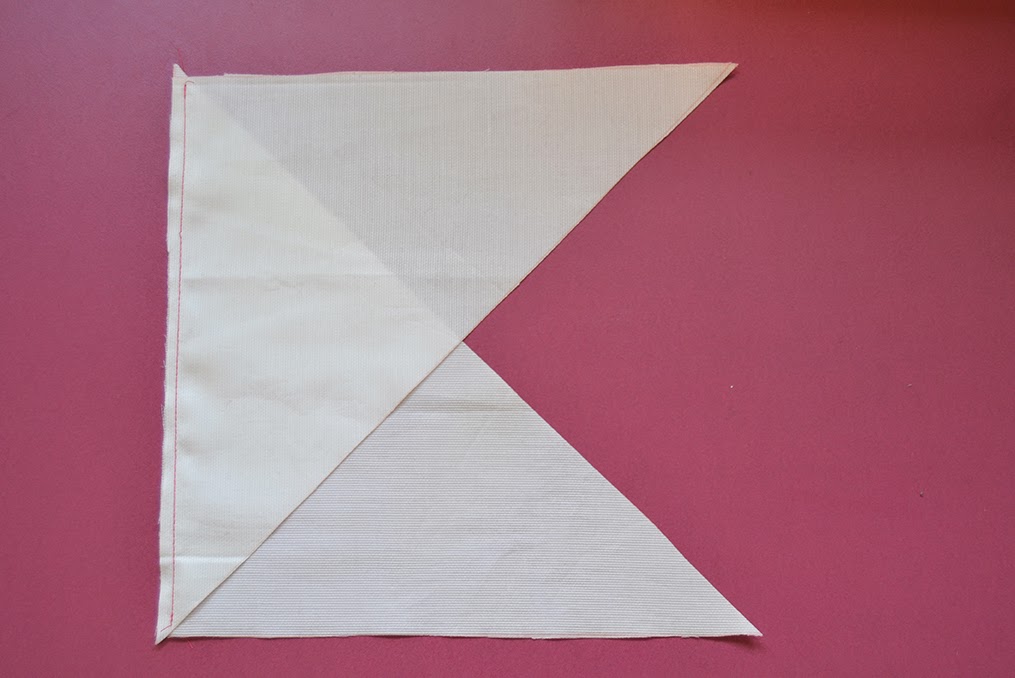
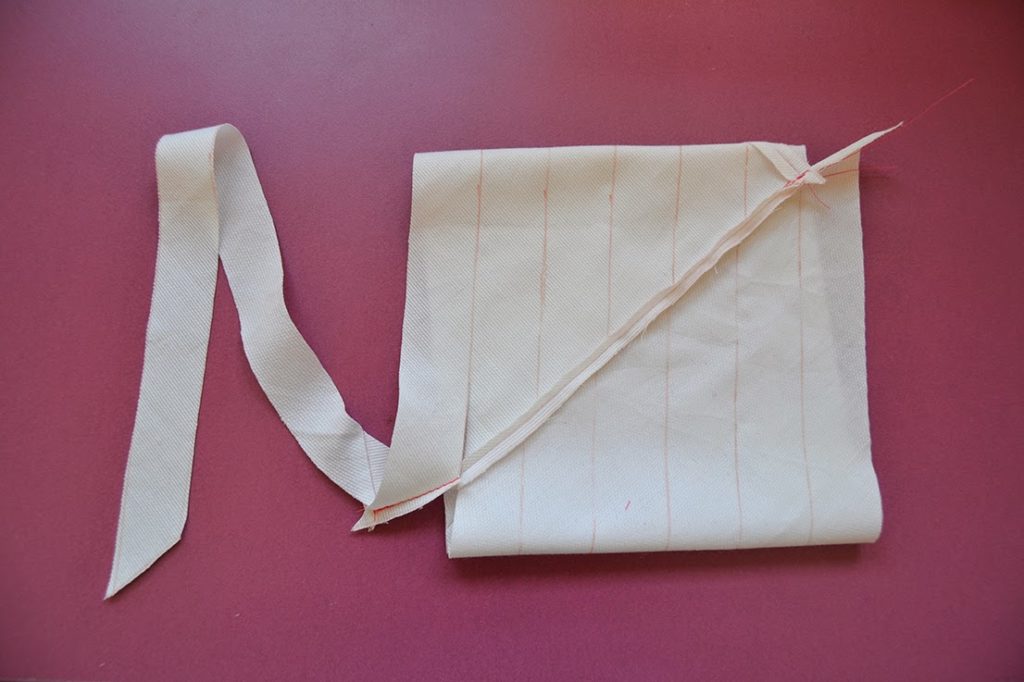 8. After the tricky part, the fun one! Now that you have a tube, start cutting the first offset row following the continuous line until the end.
 9. Now you have the strip of fabric cut on the bias and you need your cord.
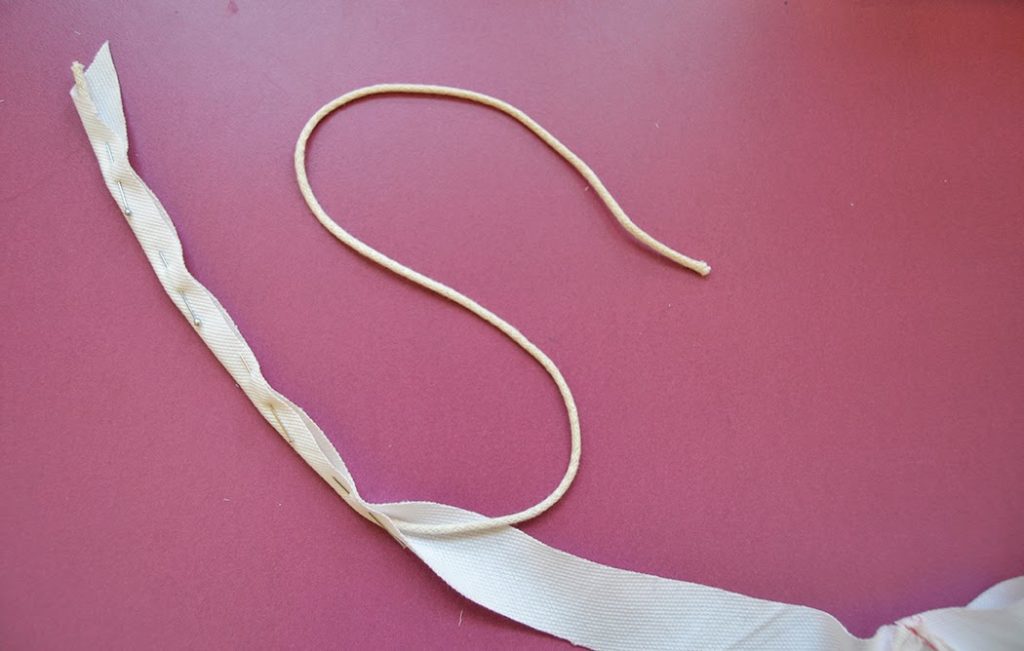 10. Place the cord on the wrong side on the bias, fold the bias in half to sandwich the cord and secure it in place with pins.
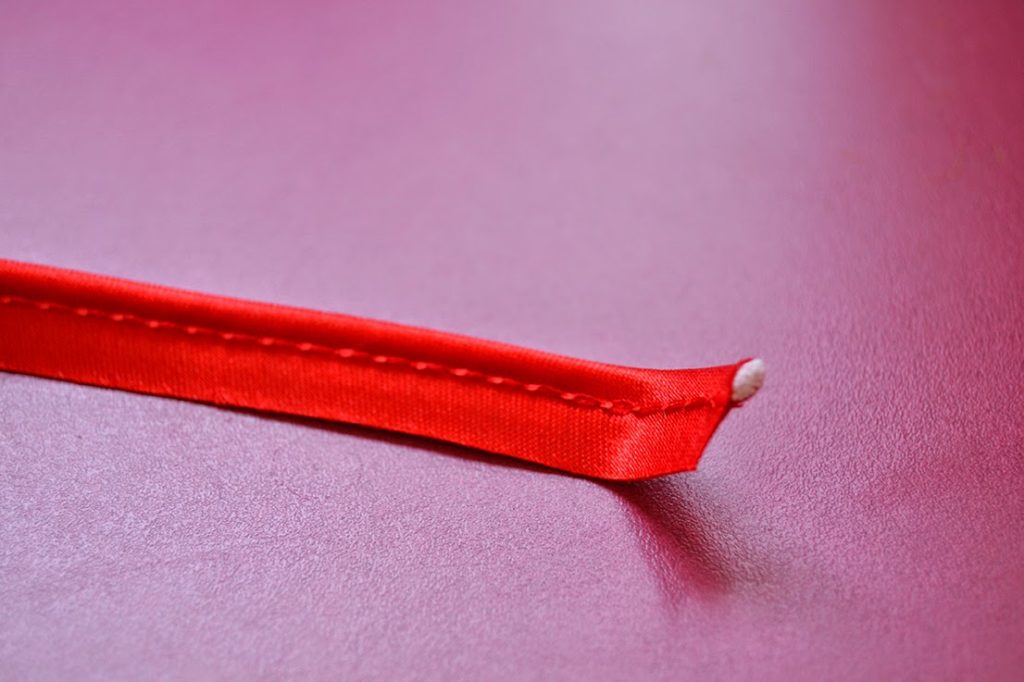
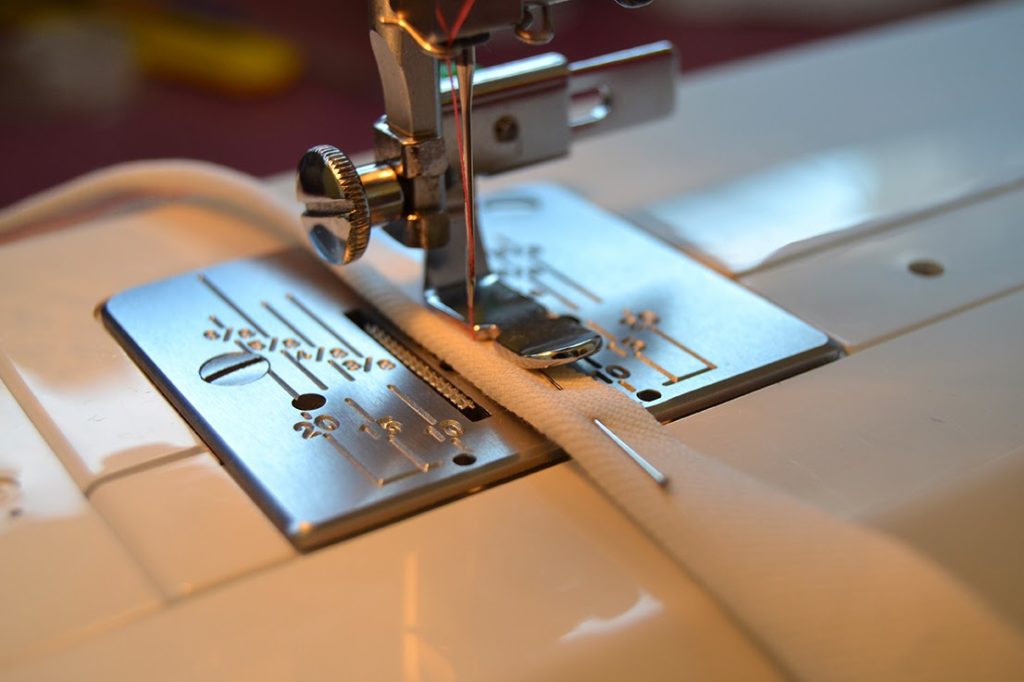 11. With a zipper foot, stitch as close as possible to the cord (possibly with a matching thread! I’m using a constrating one so you see it better).
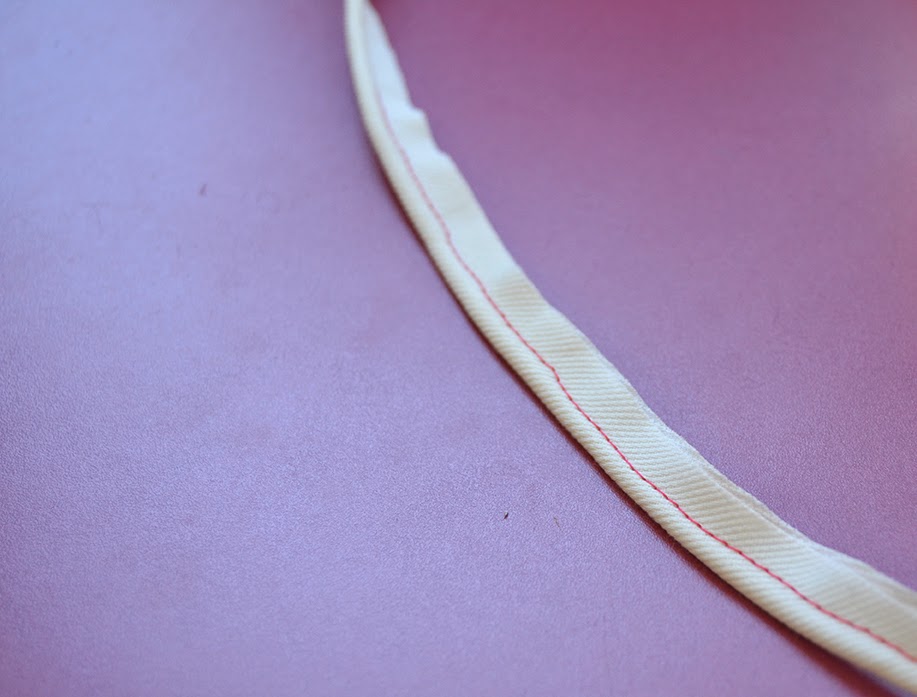 12. There you go! You made your own piping! Now use it in some great outfits!