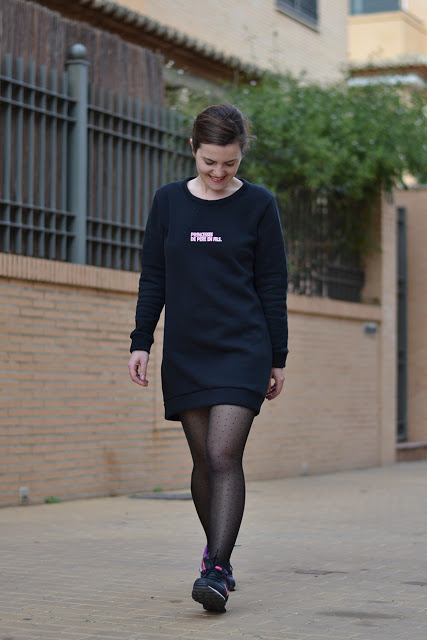
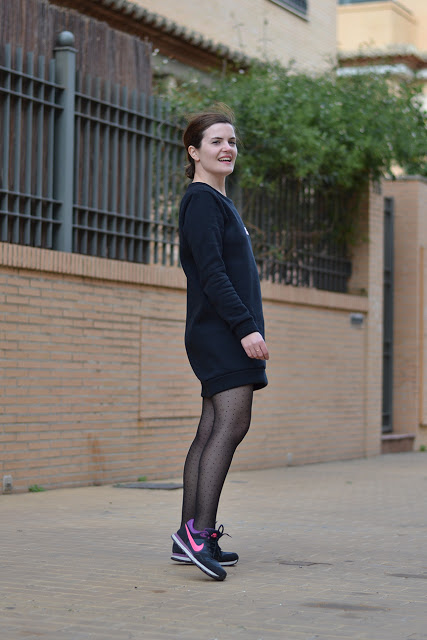
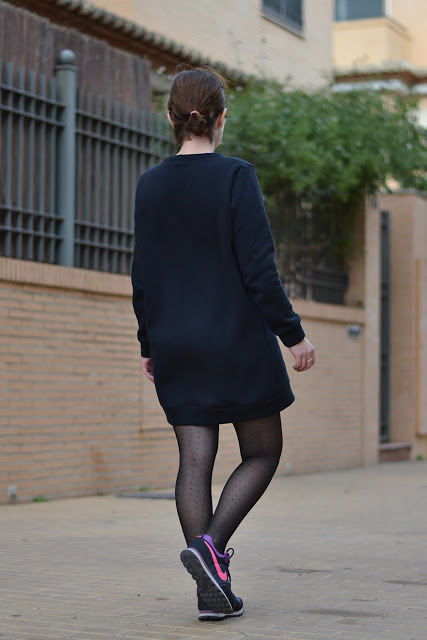
It’s time to shine the light on the Calvari dress. It has all the characteristics of a shirt dress : a notched collar, a buttonband, shoulder yoke, breast pockets. Its simple, loose shape makes it perfect for every season. The buttonband finishes with a pleat on the front, which adds some ease as well as the back pleats below the yoke.
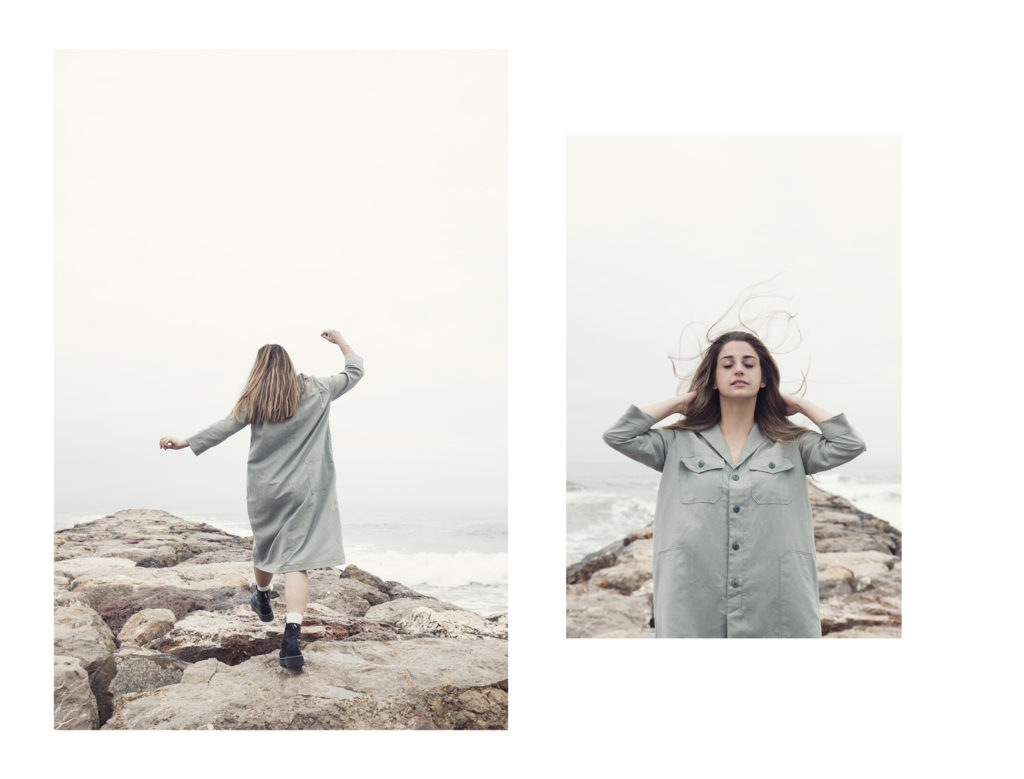
Like a modern uniform with the bracelet length sleeves and the notch collar, you can wear it alone as a dress or over some trousers as an oversize tunic. I imagine it perfectly worn by the seaside, at the market or gardening.
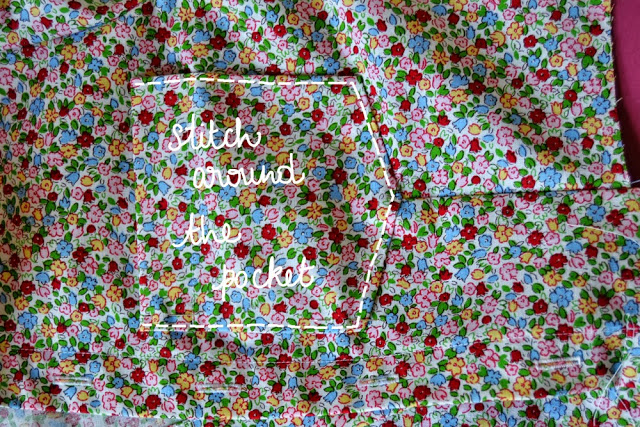
For this collection, I was inspired by workwear and Calvari reminds me of the painters’ smocks they would were not to get paint on their clothes. And because you almost always need pockets, I’ve added multiples ones on this pattern : breast pockets with flap, big patch pockets on the front and back, you’ll have enough.
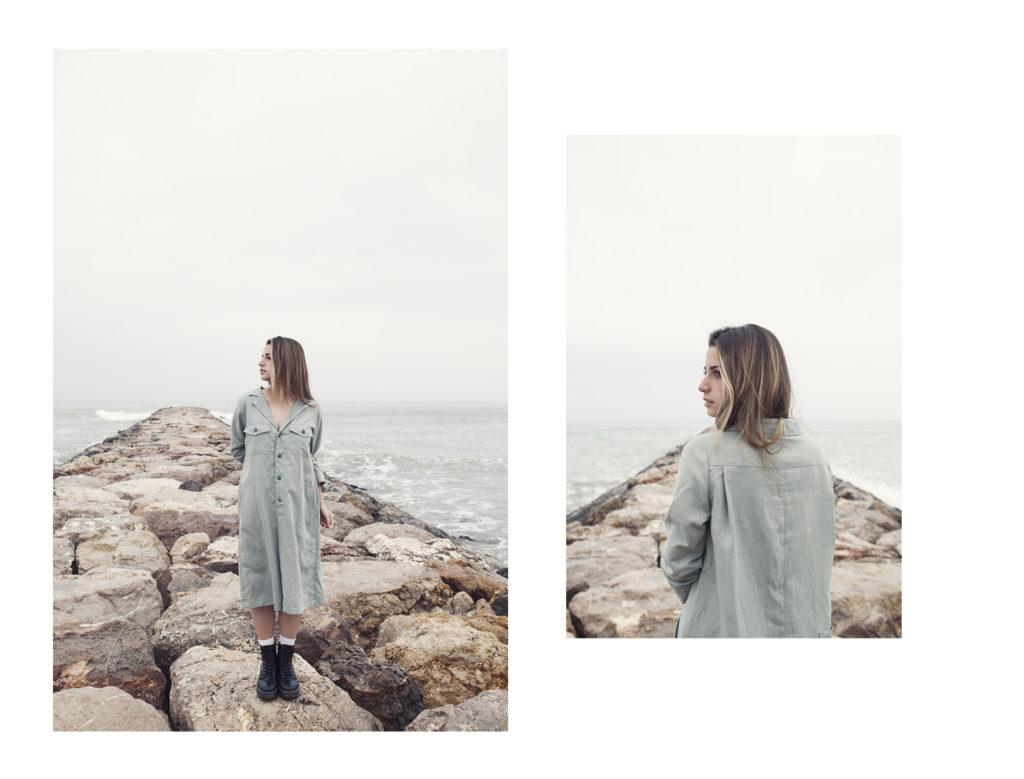
I would suggest light to medium weight fabrics to make Calvari : poplin for a classic shirt look, linen, chambray or even flannel for a winter version. And like the patterns from this collection, feel free to use contrasting topstitching to highlight the collar or pockets.
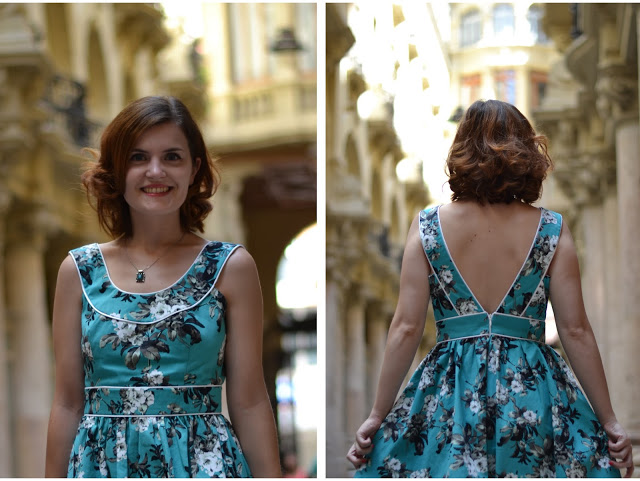
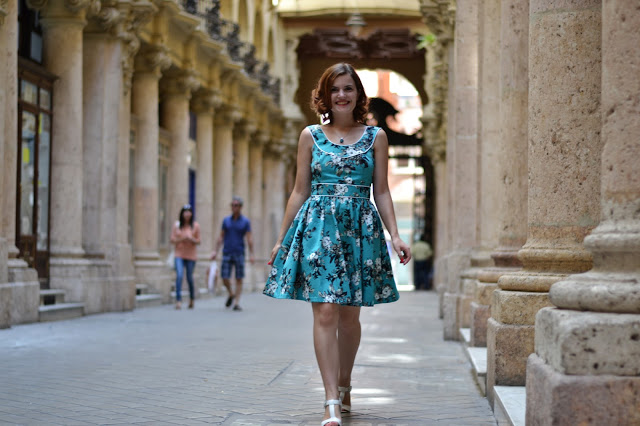
Maria is wearing a size 38, made in a linen/cotton fabric (coming soon) with matching topstitching.


 2.Place the pocket over the bodice front left side and pin it matching the pocket bottom to the dart leg. Adjust the height as prefered. Mine is situated just over the bust apex.
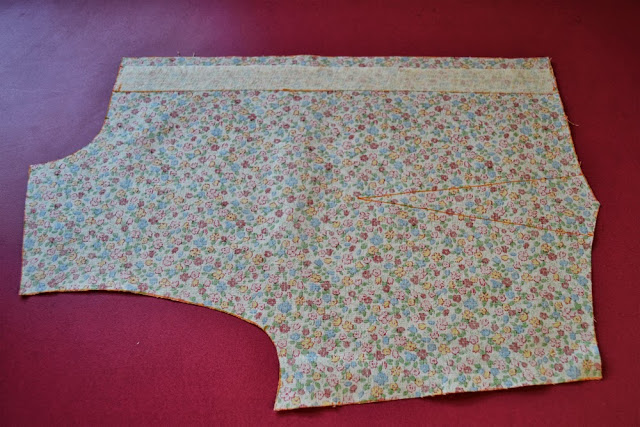 1.Take your bodice front piece and make sure you have transfered all the markings (dart, sleeve marking, zipper marking).
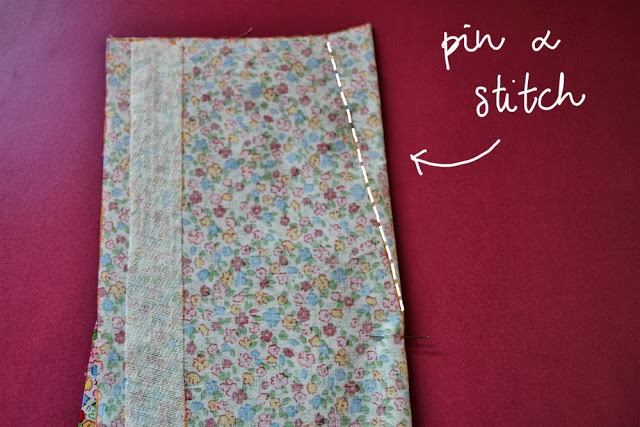 2.Fold the dart in the center with right sides together, matching up the dart legs. Pin into place.
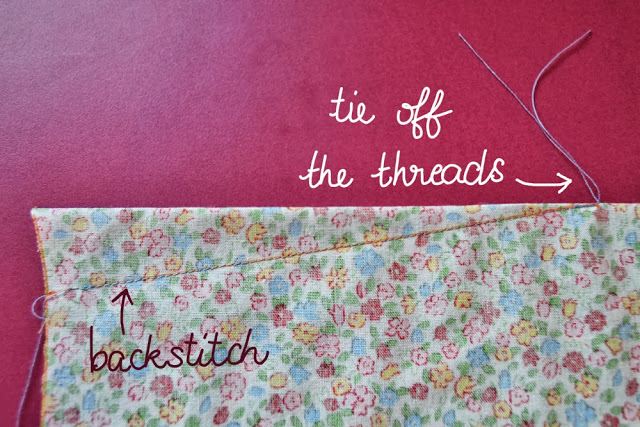 3.Stitch the dart: backstitch at the beginning but not at the end. When you arrive at the dart tip, tie off the threads.
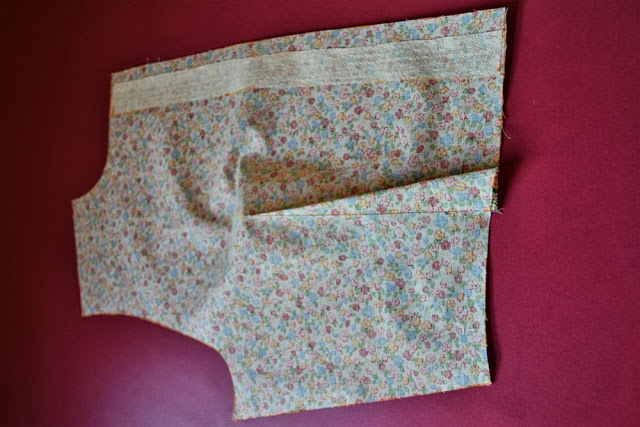 4.Press the dart toward the center.
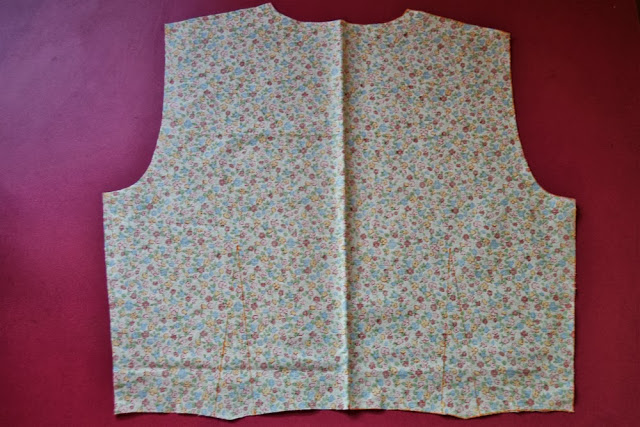 1.Take your bodice back piece and report all markings (darts, waist and collar center, sleeve and zipper markings).
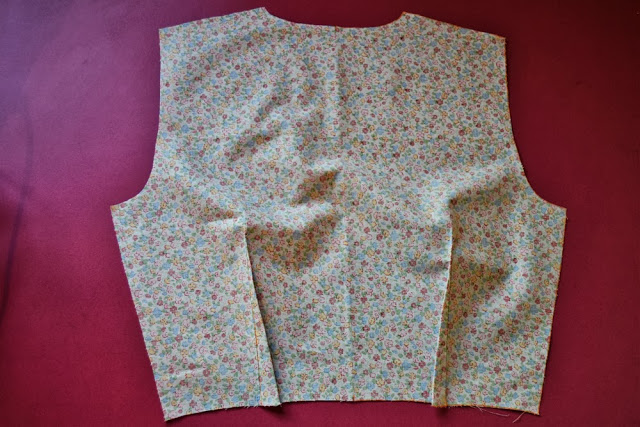 2.Stitch the darts like for the bodice front and press them toward center.
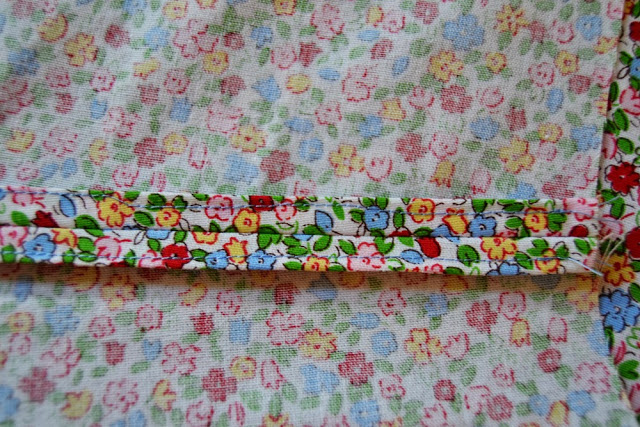 2.I decided to make a turned-and-stitched finish.
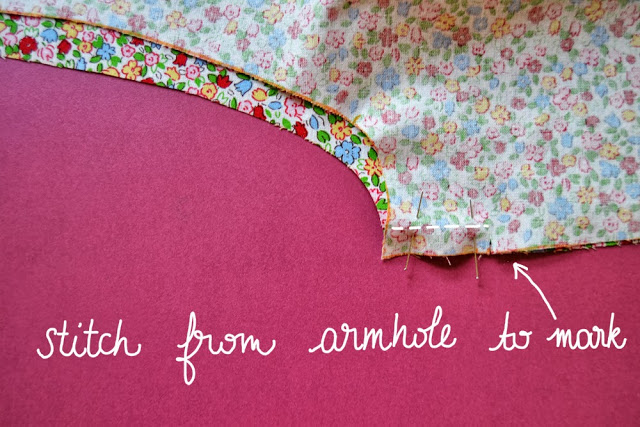 3.On the left side, stitch from the armhole to the zipper marking. Depending on how you finish you seam allowances, you might want to finish them before stitching the side seam (serger, zig-zag).
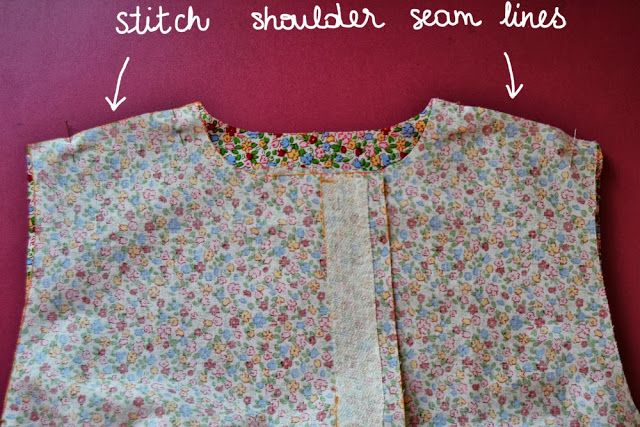 1.Pin the shoulder seams together with right sides together and stitch. Press the seams allowances open and finish them.
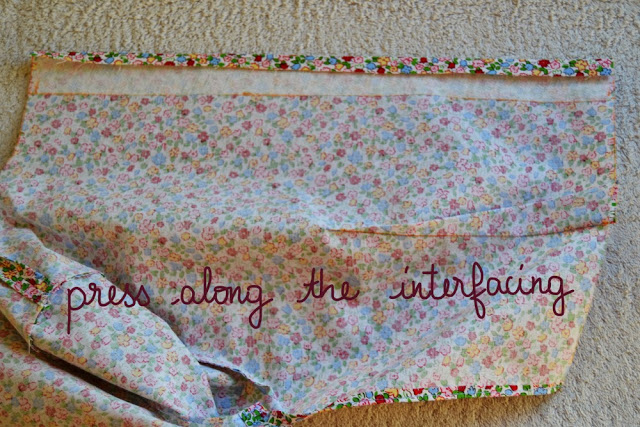 1.Take the bodice front. Fold and press the fabric margin (1 cm, 3/8″) along the interfacing, following the markings, like on the picture.
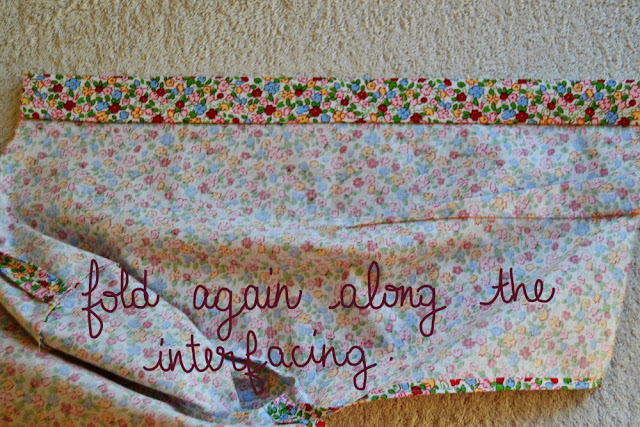 2.Fold again follwing the markings (3 cm, 1,2″) and press.
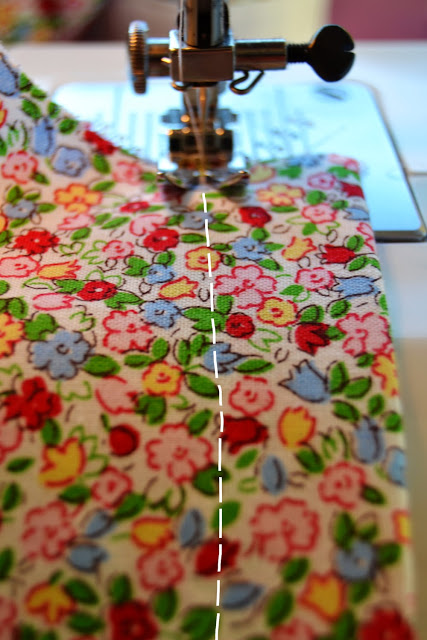 3.On the right side, stitch very close the fold. Repeat on the other bodice side.

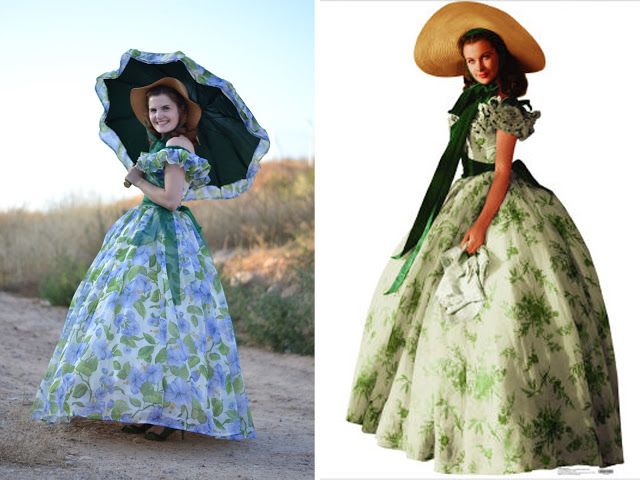
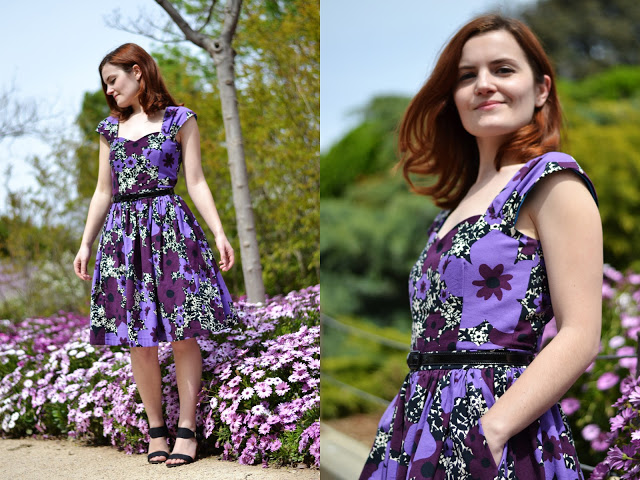
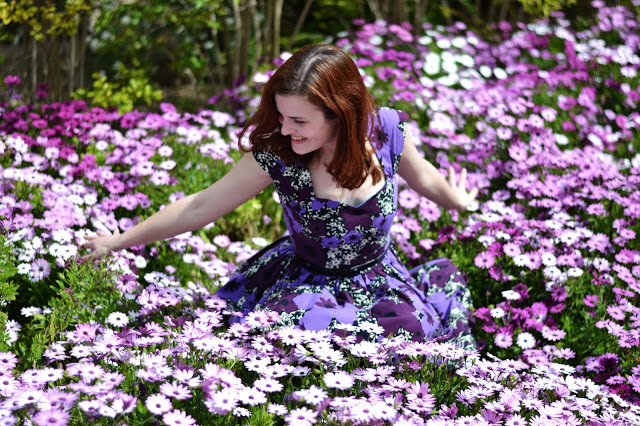
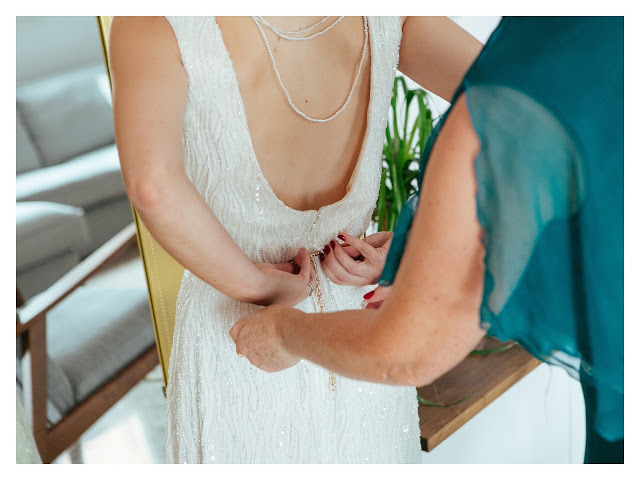
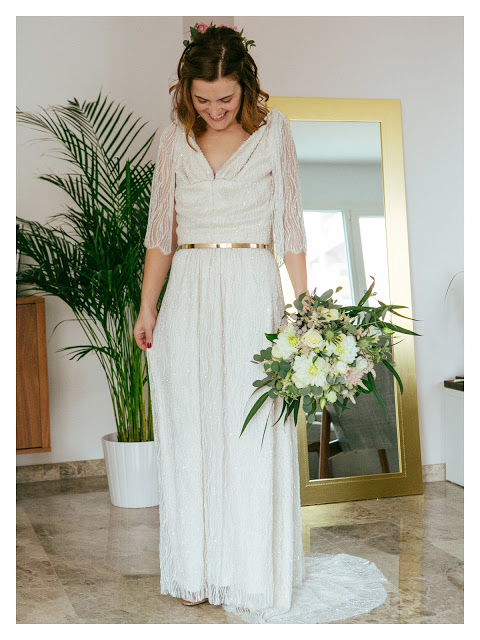
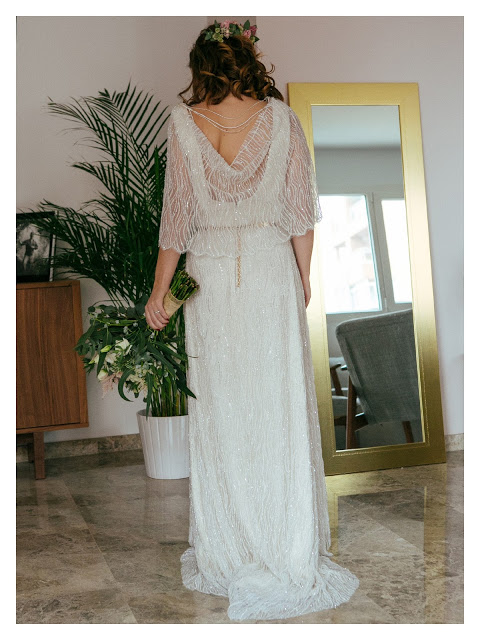
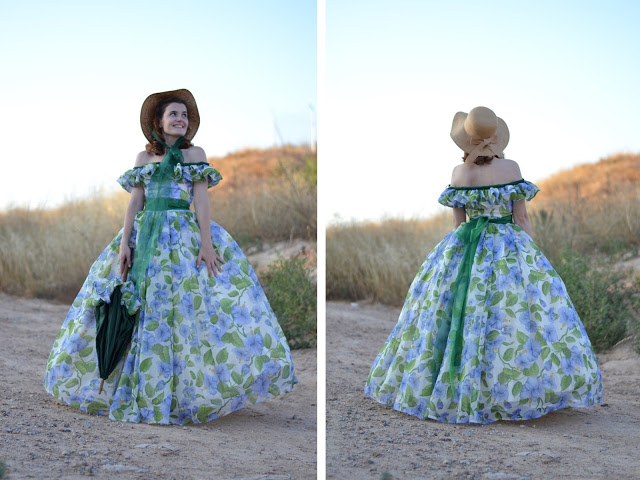 I drafted the pattern myself: the skirt is gathered (5 meters of fabric) and the bodice has front and back darts. It was not a dificult dress to make even if it looks like it, but quite time consumming (one week-end non-stop).
 The dress was surprisingly very confortable and so dramatic. I didn’t want to take it off at the end of the night…