
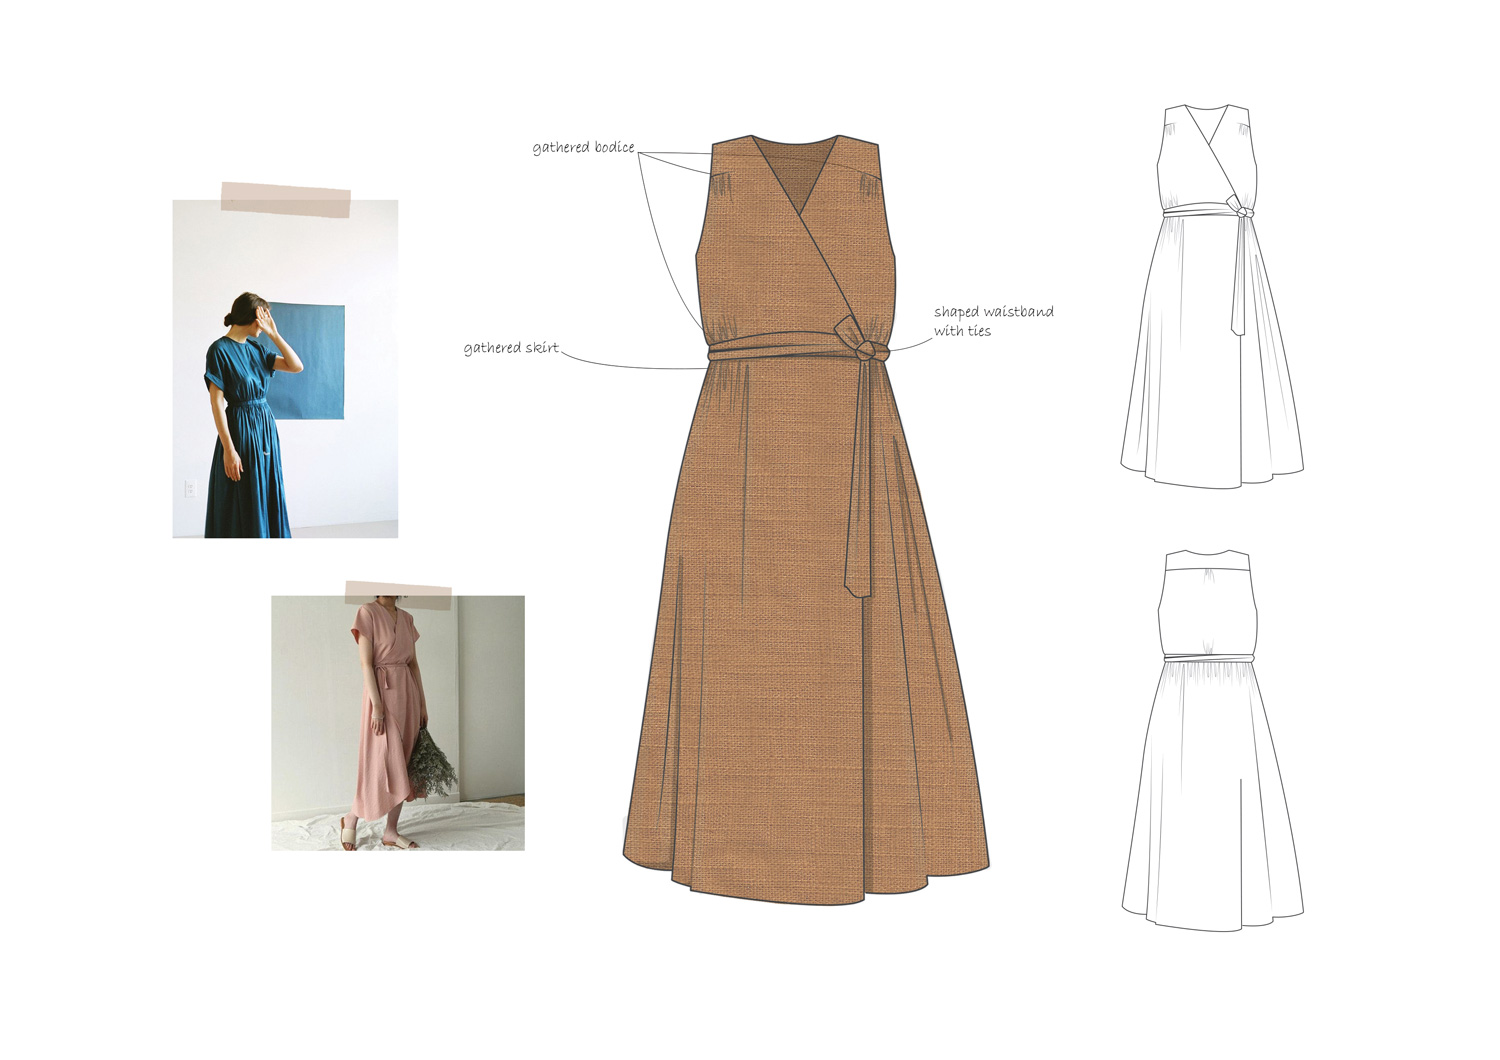
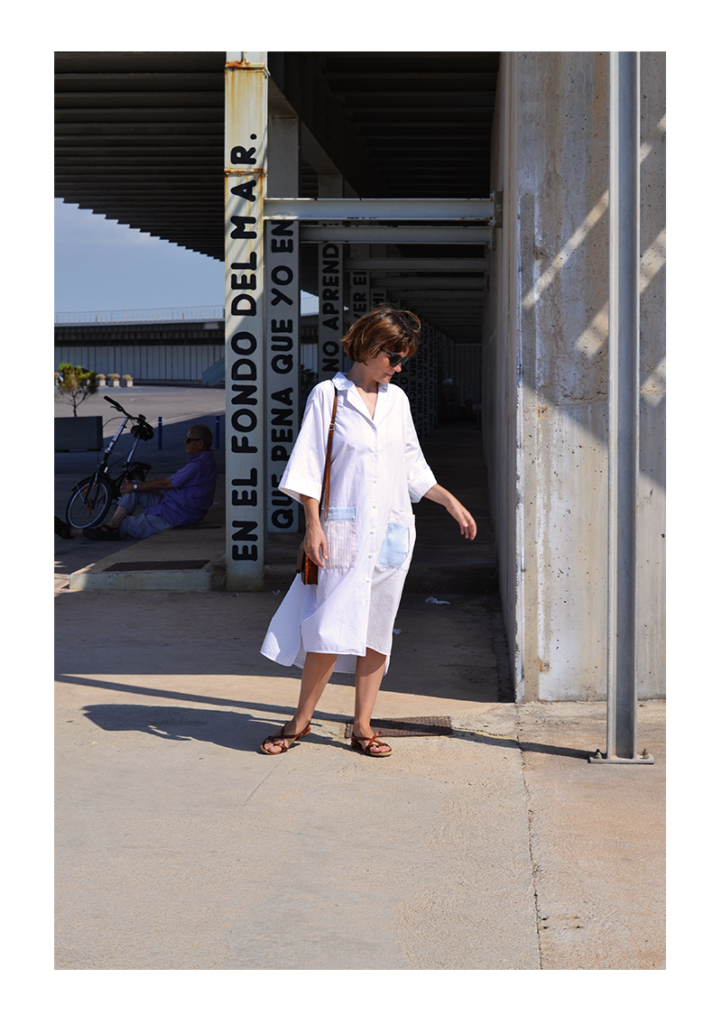
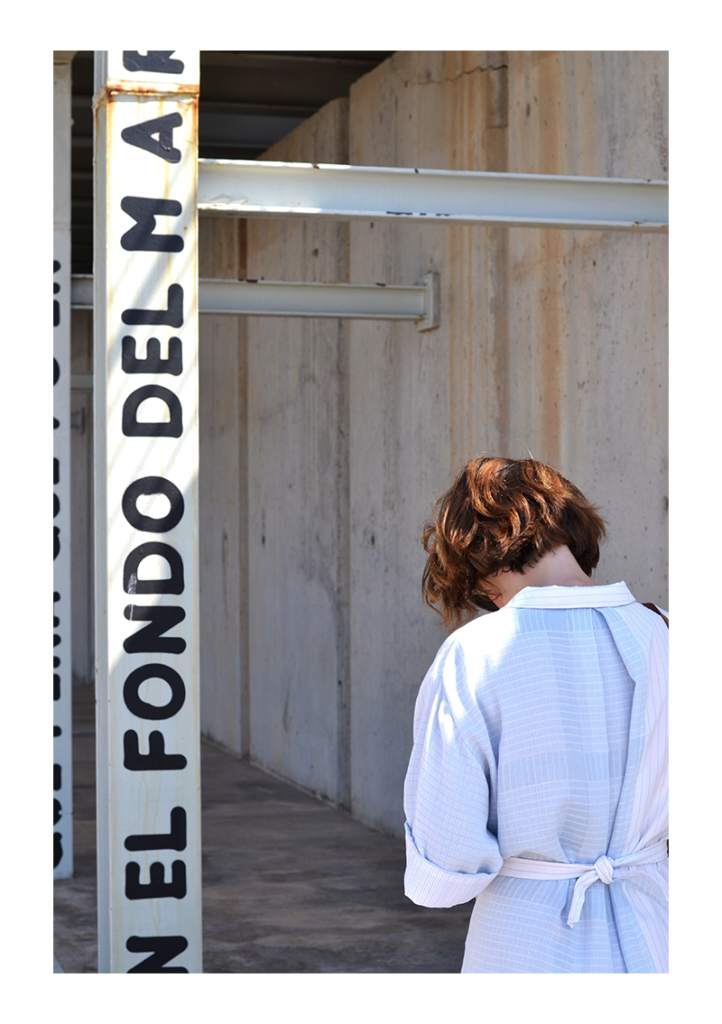
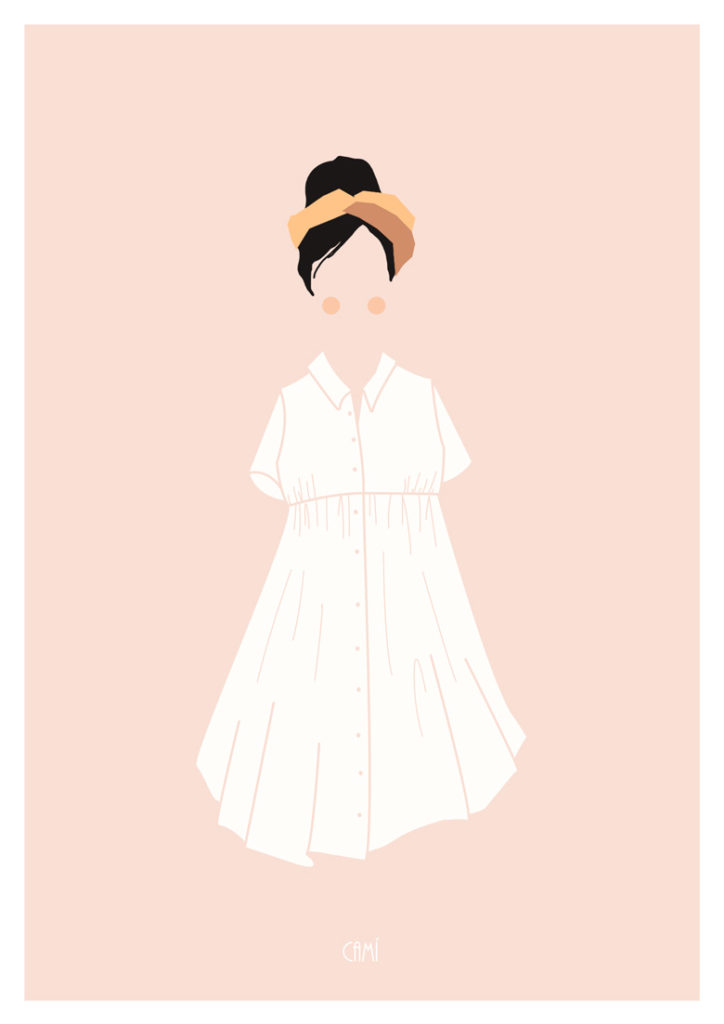
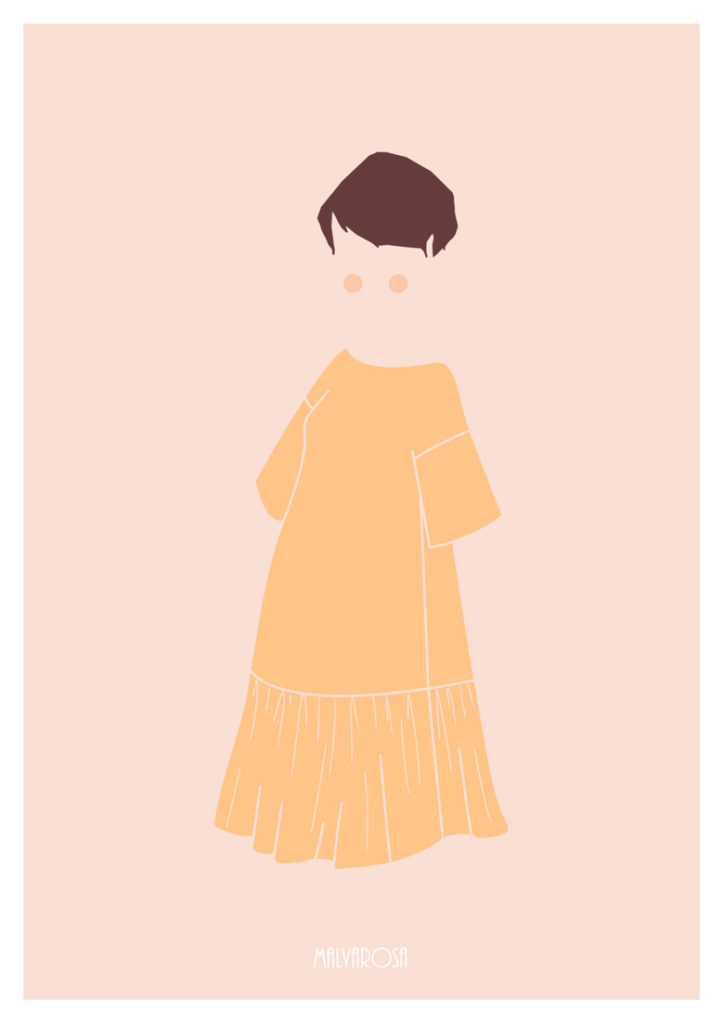
Another easy way to change your Onil blouse is to shorten the sleeves and lengthen the blouse to make it a cute A-line dress.
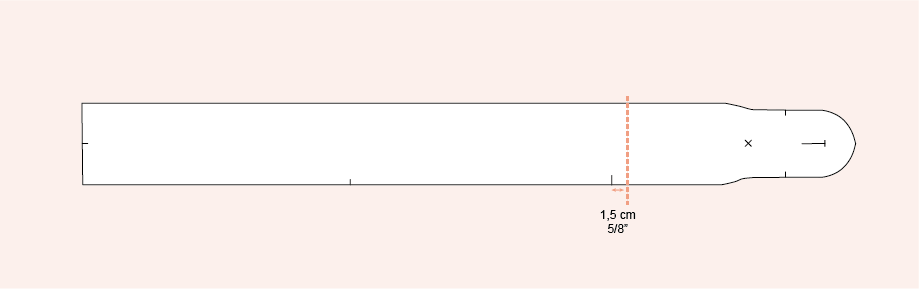
Note: if you are going to made some modifications to your pattern, it’s easier to do without seam allowances. The A4 and A0 pattern files have a specific “cutting line” layer for each size, with no seam allowances. Then add your 1,5 cm or 5/8″ seam allowances to the finished and modified pattern pieces.
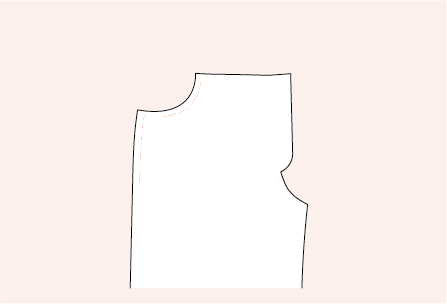
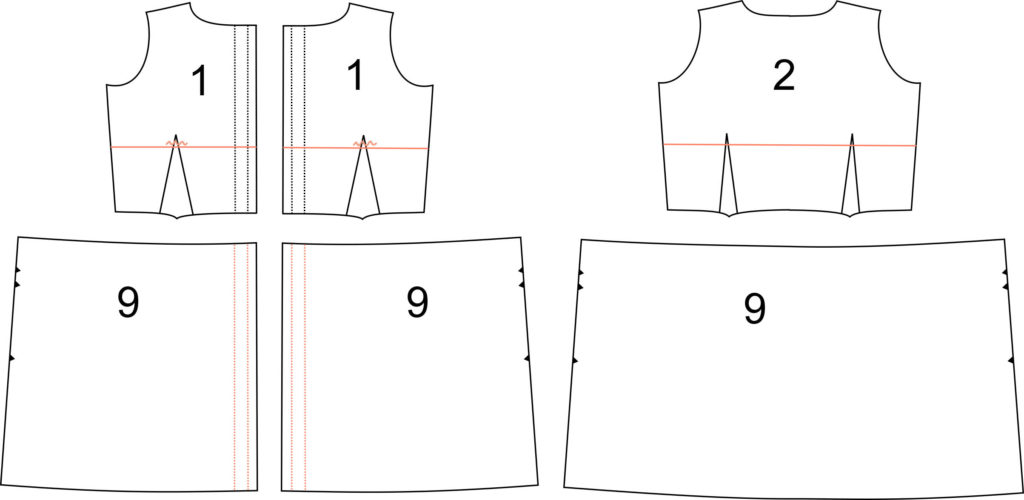
ONIL HACK #3: A-LINE DRESS
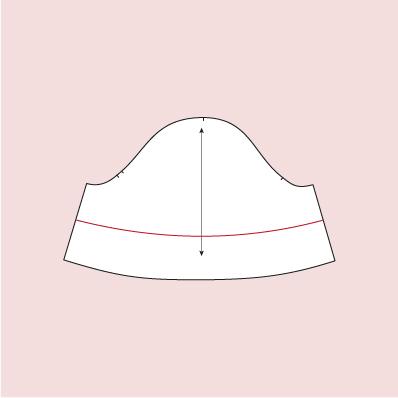
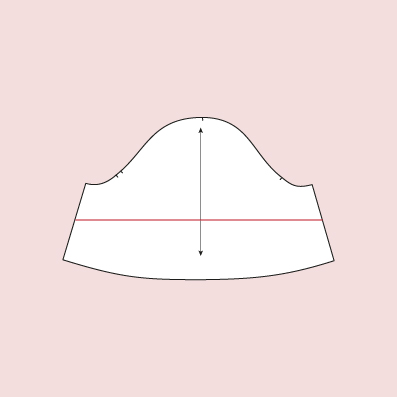
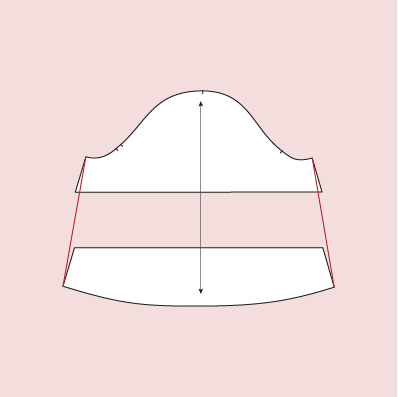
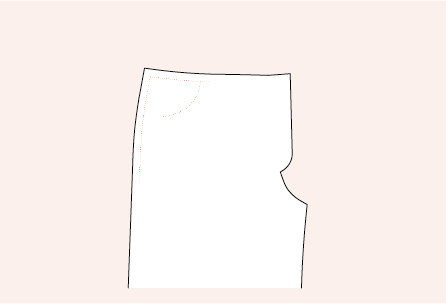
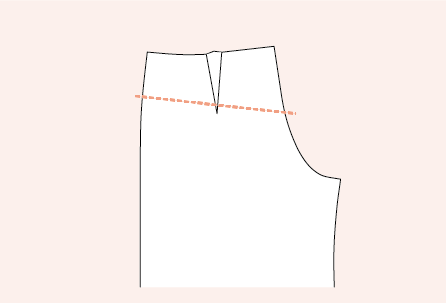
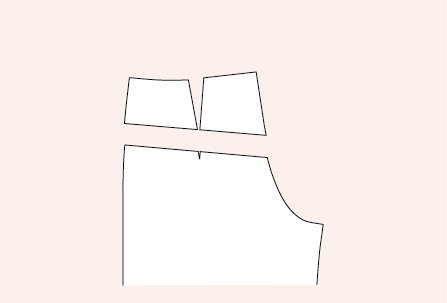
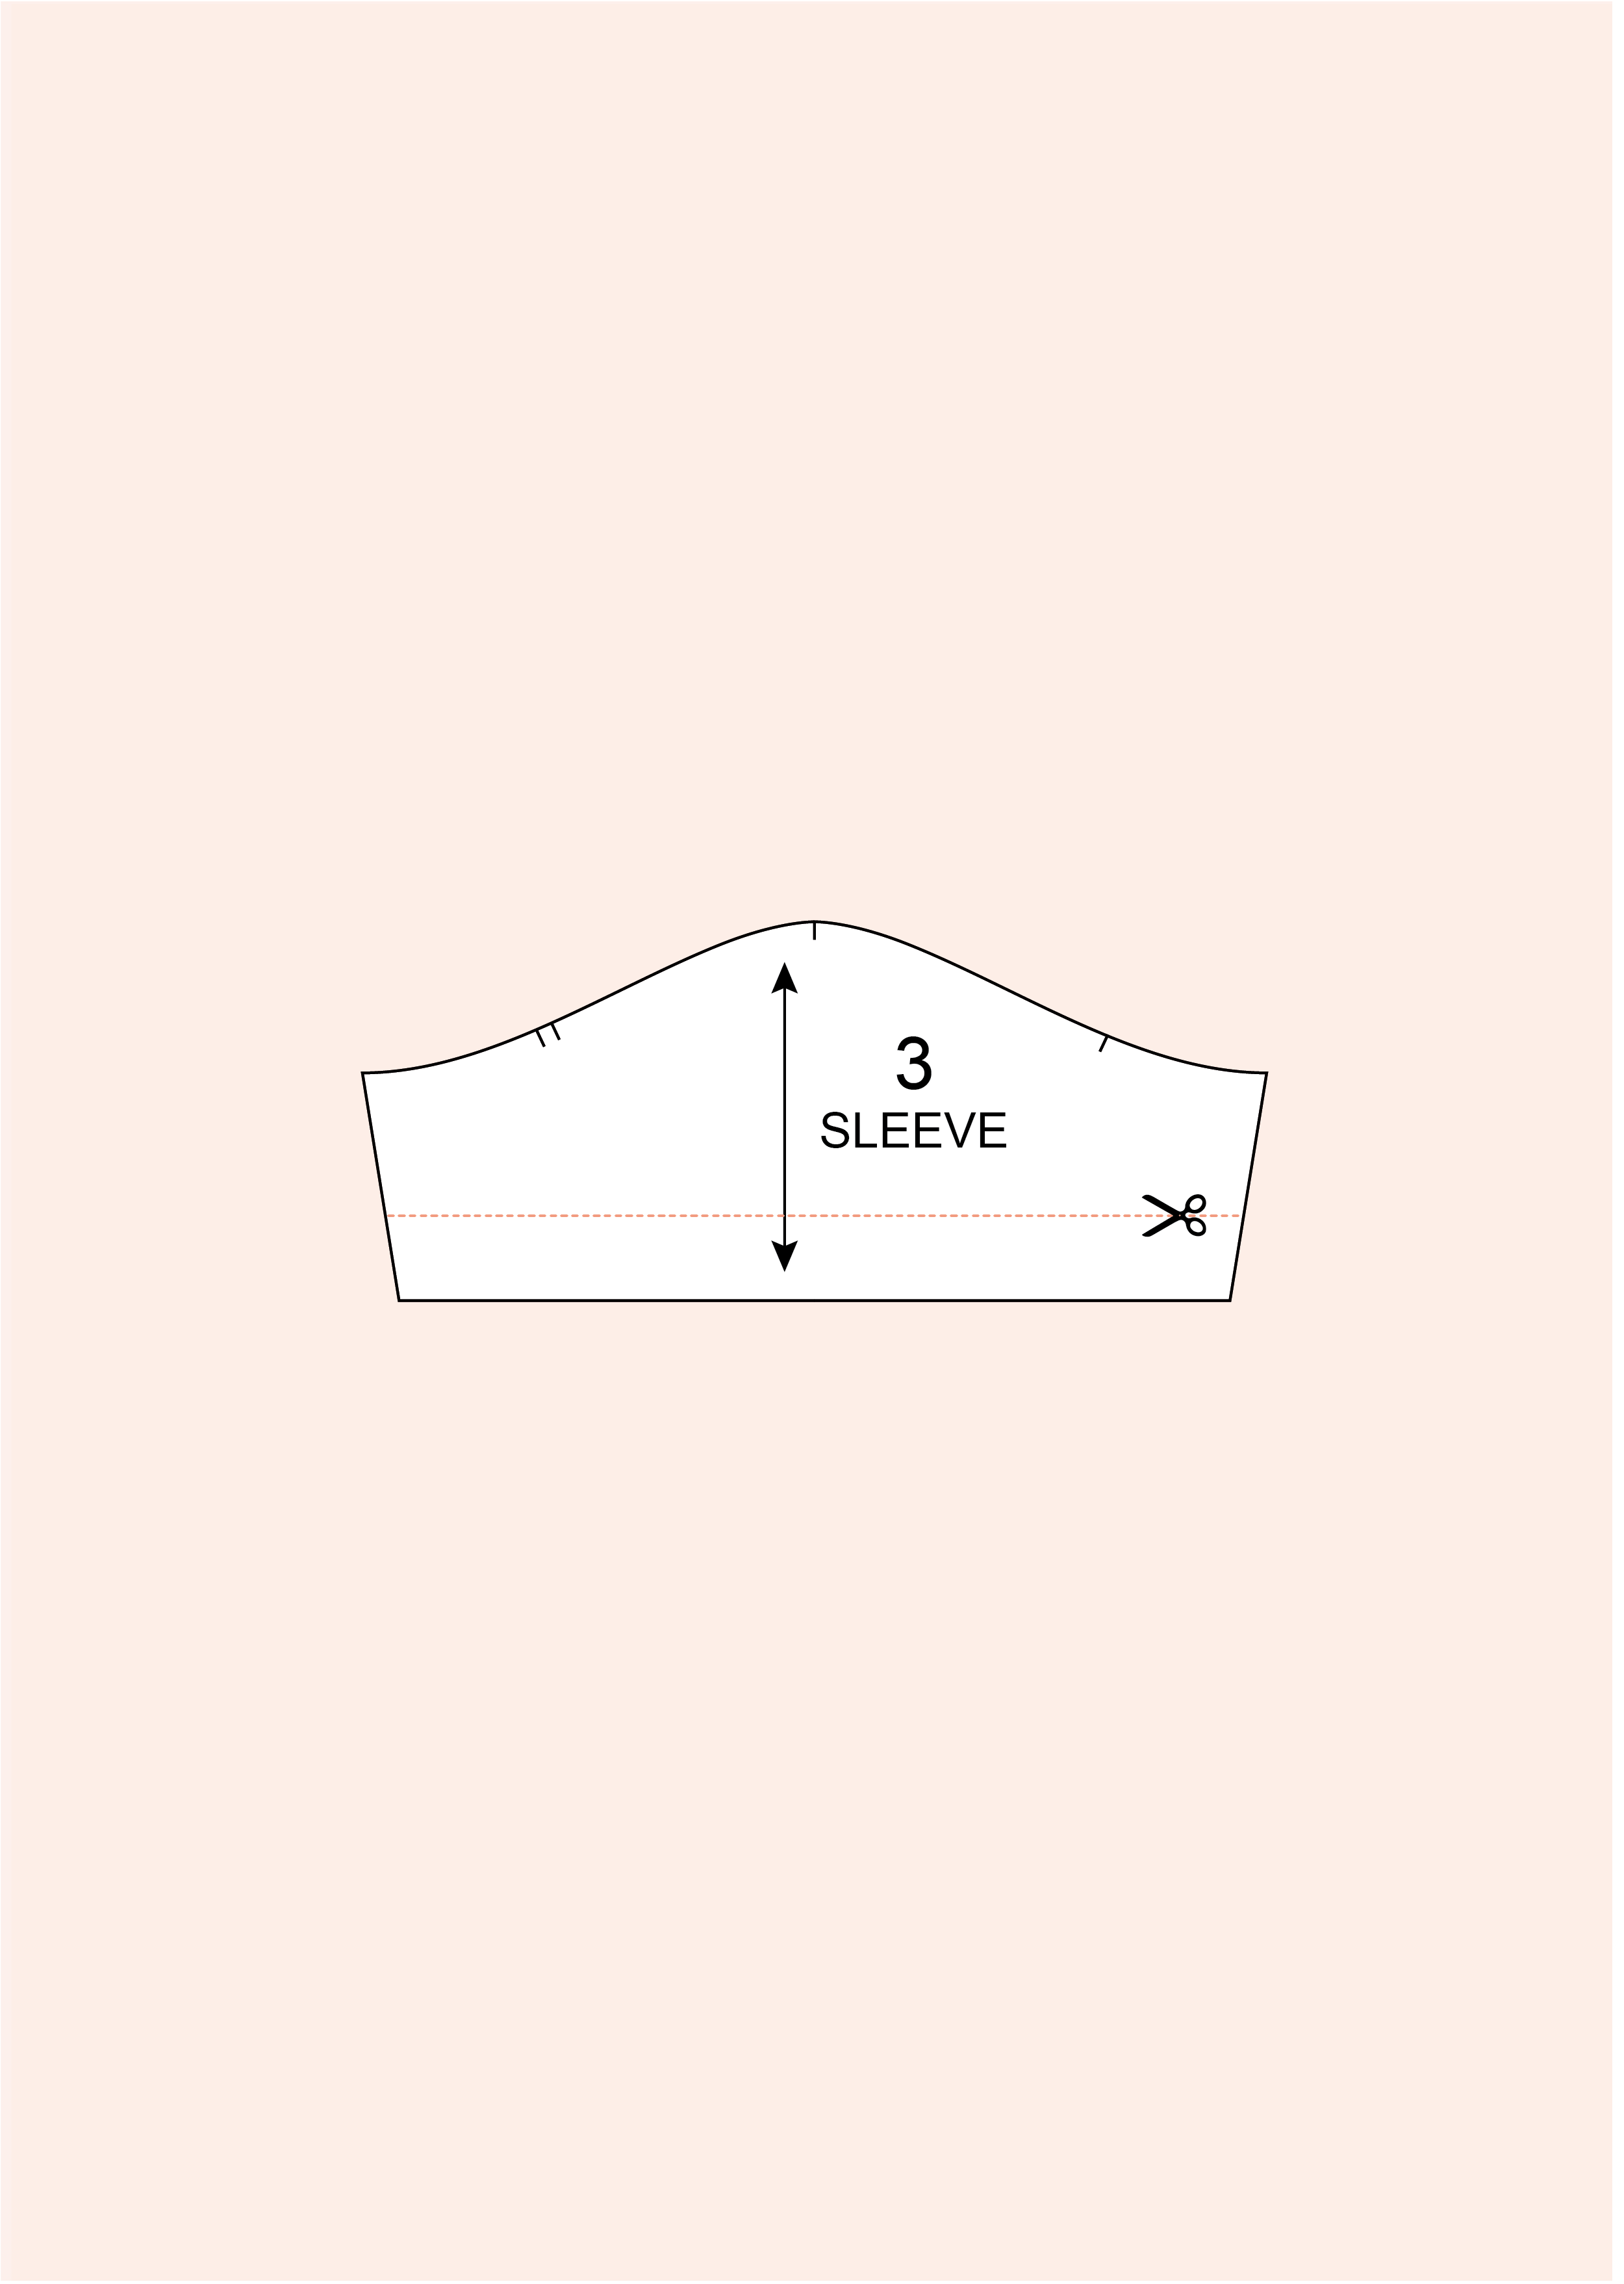
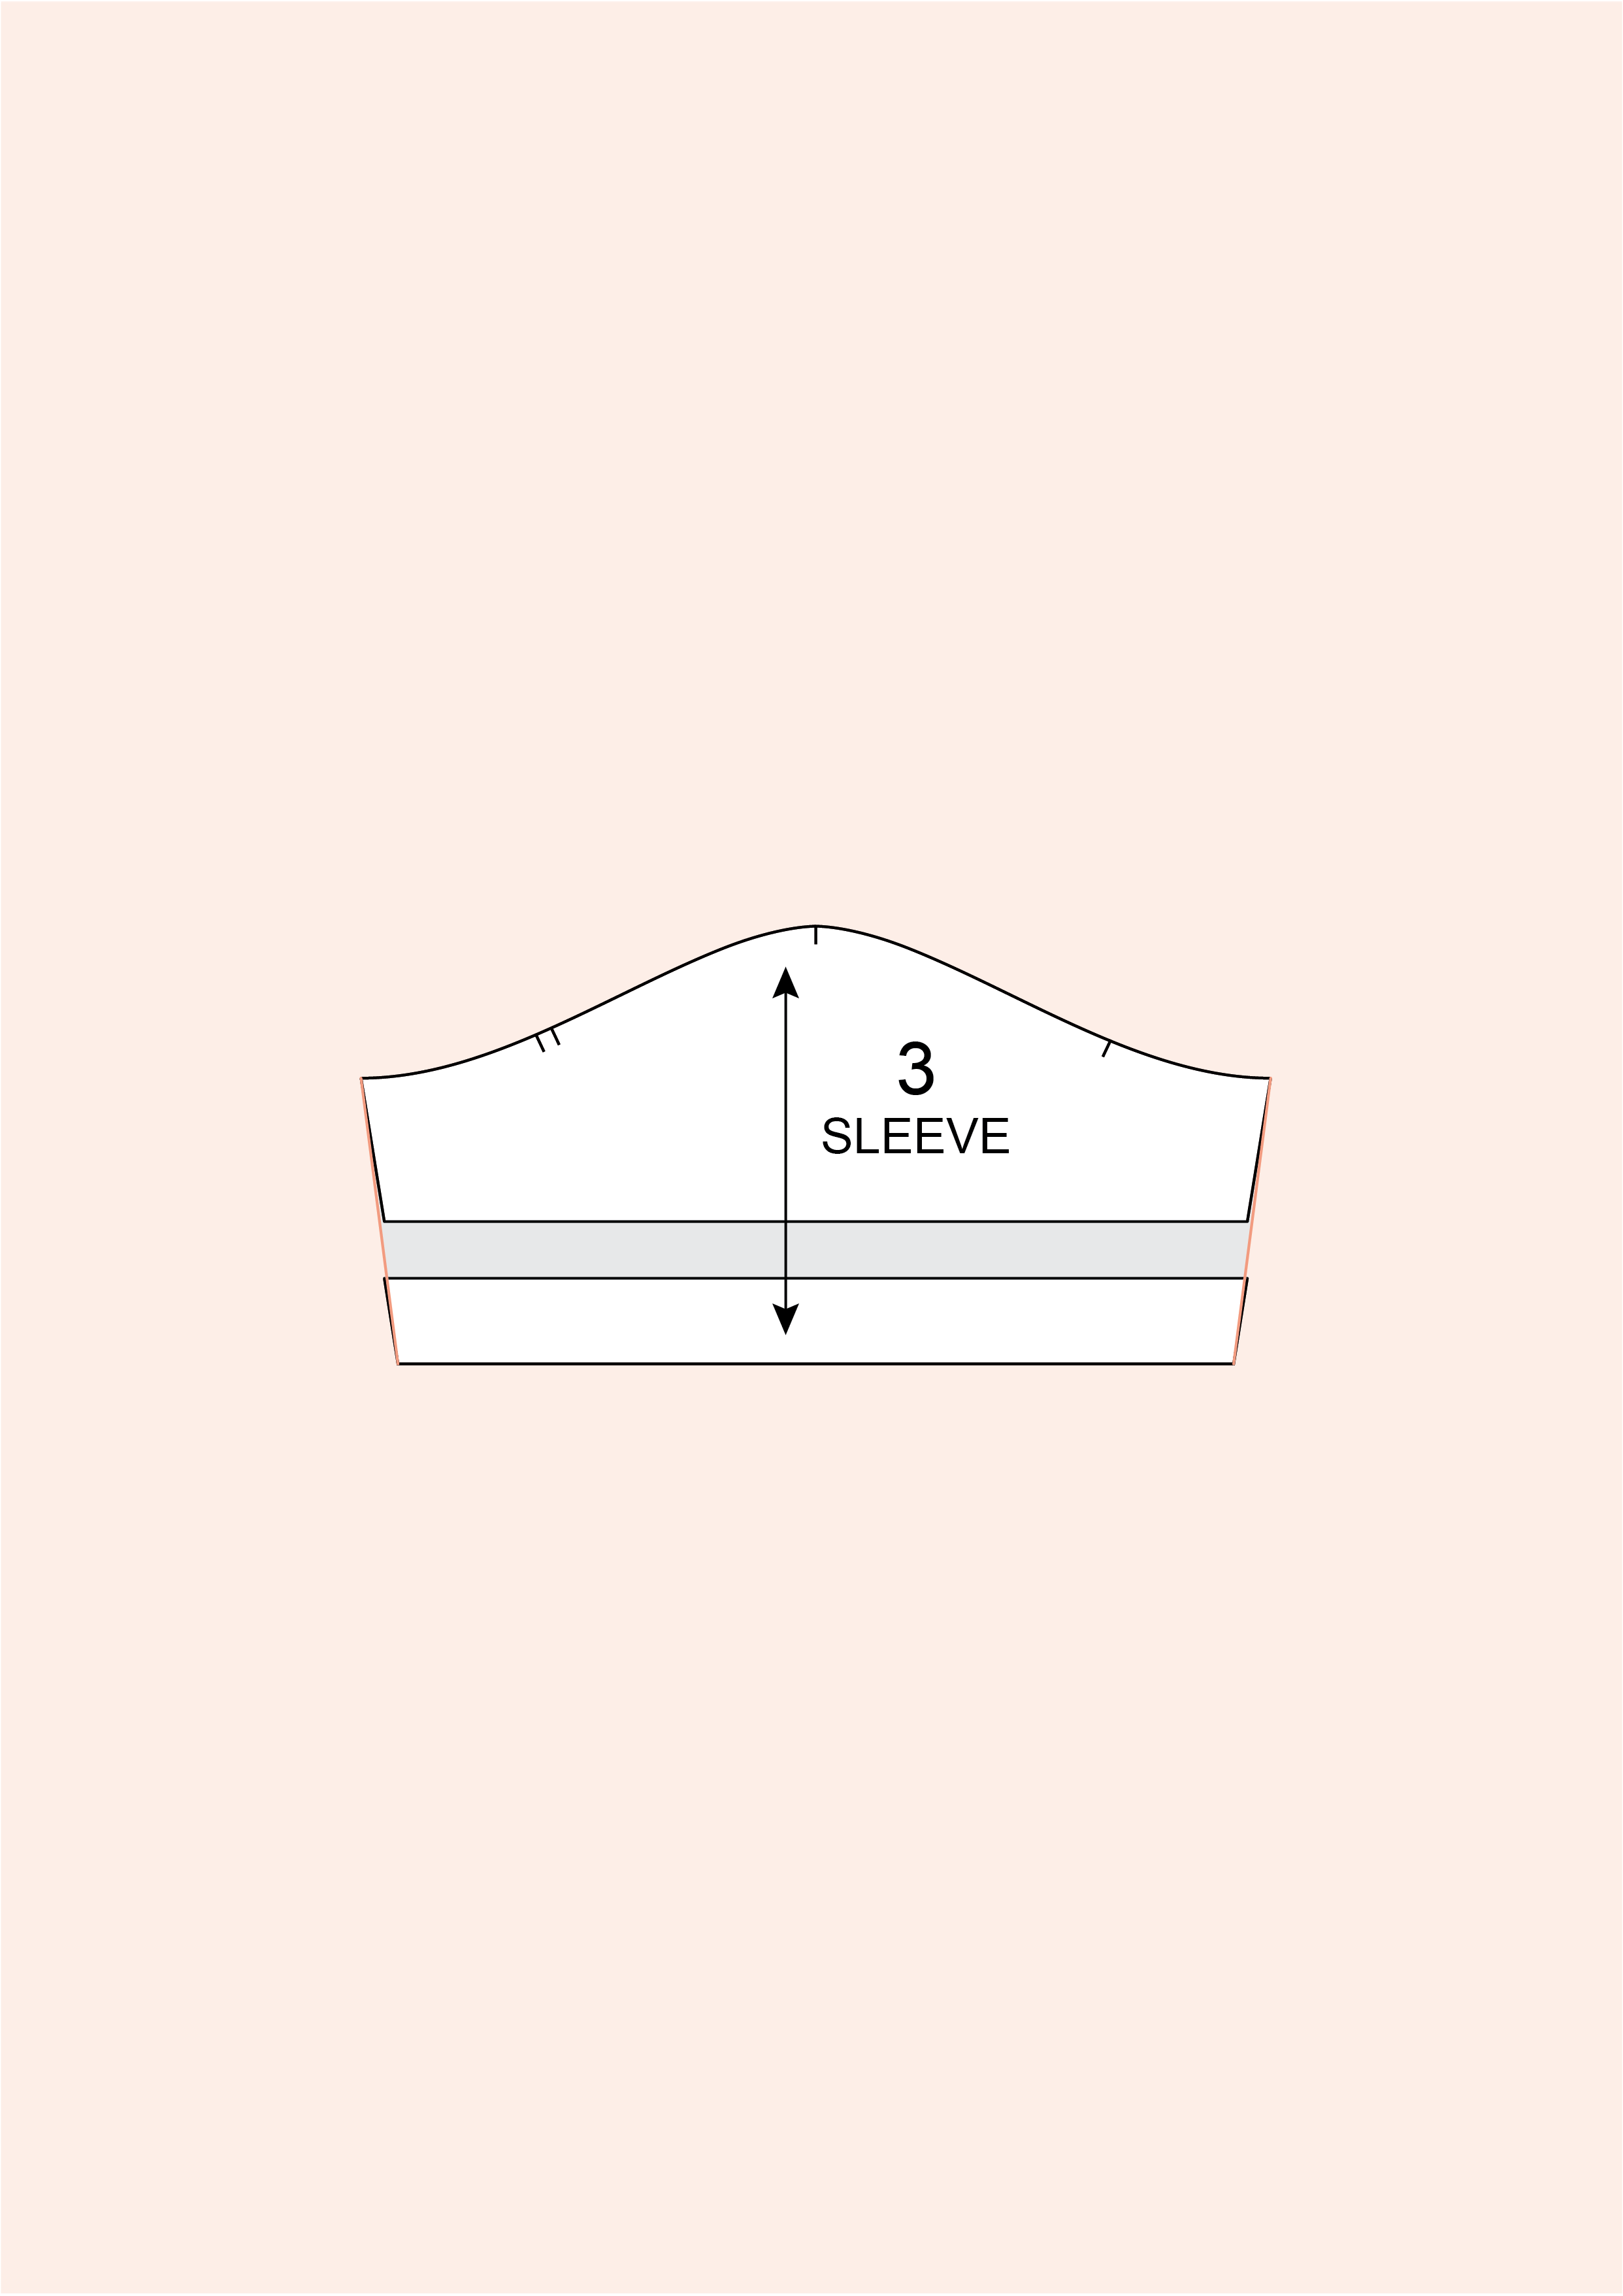
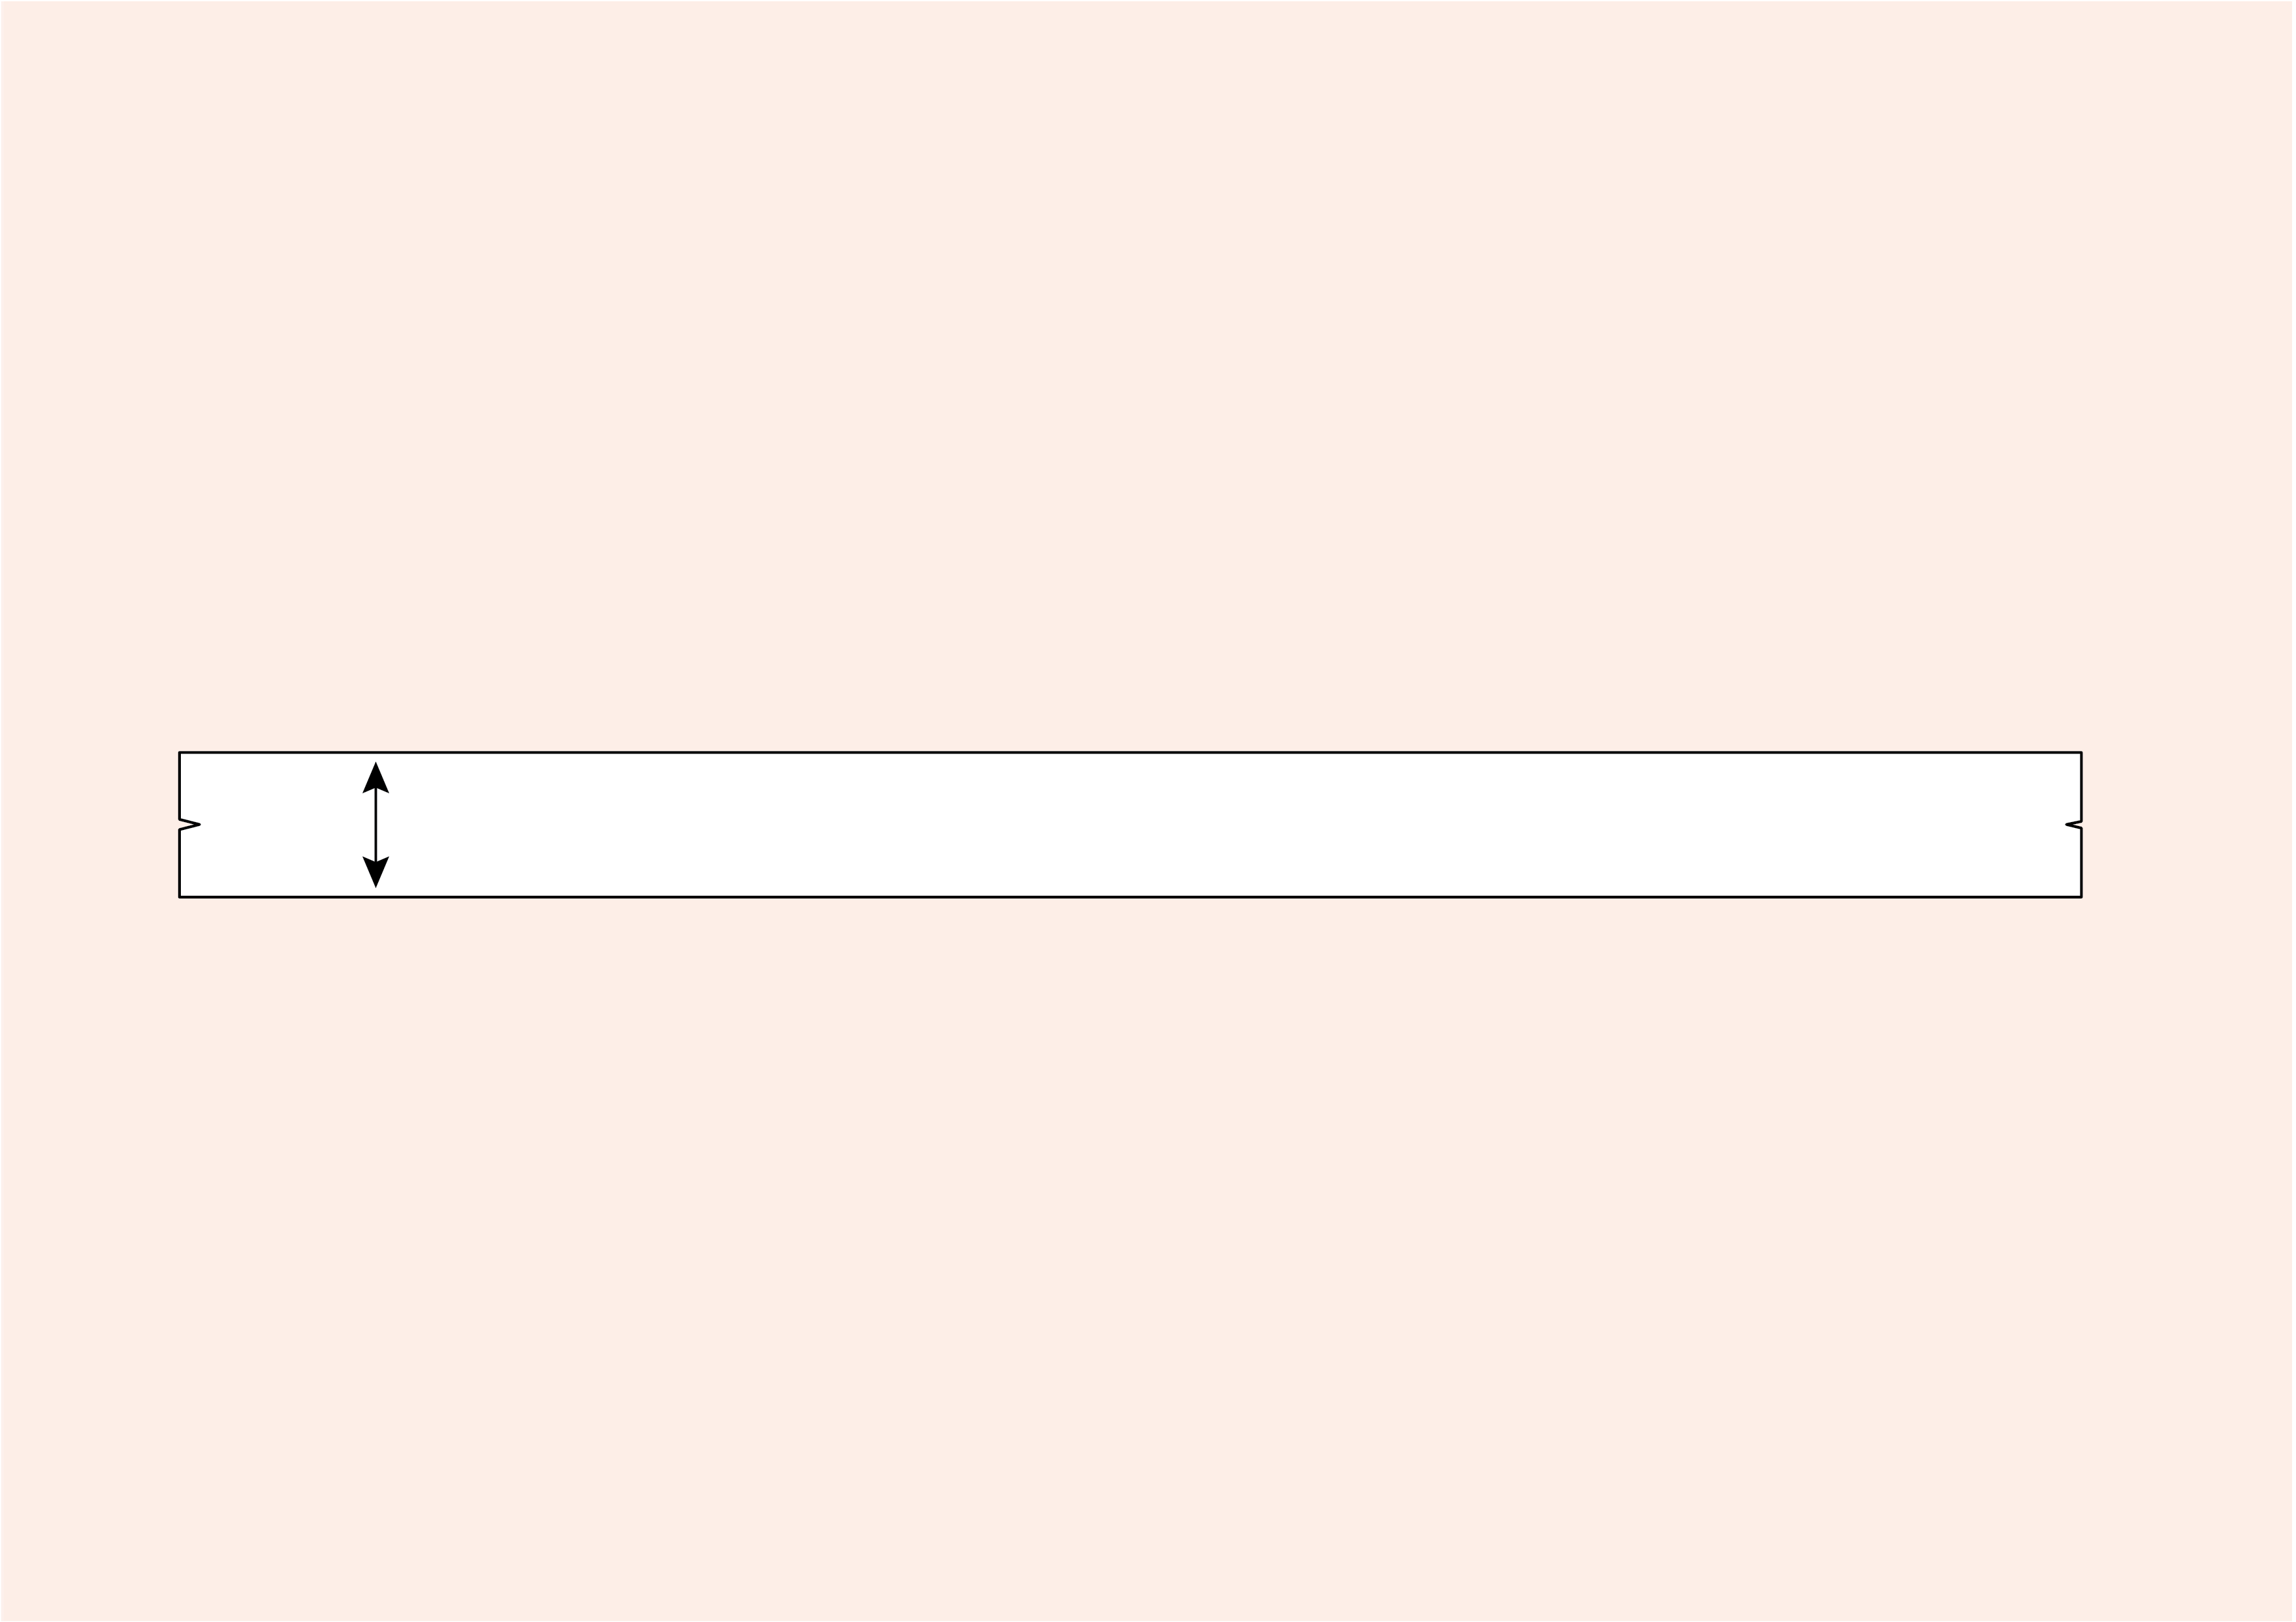
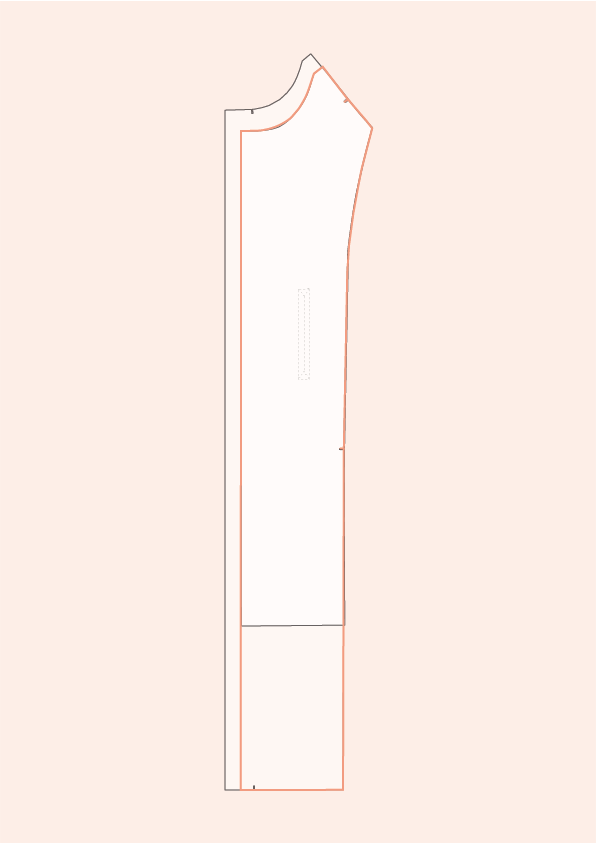
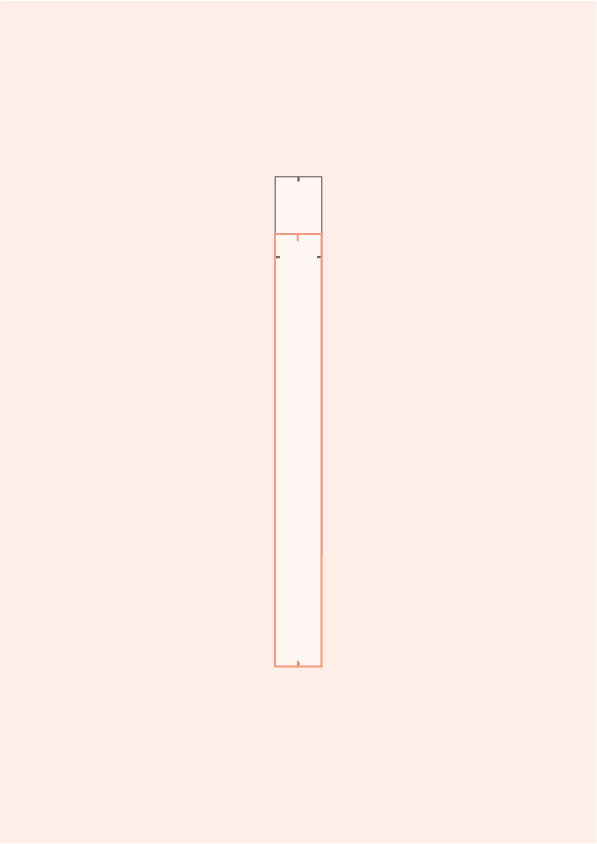
1.Draw the new hem line on the sleeve at your desired length. Make sure you follow the curve.
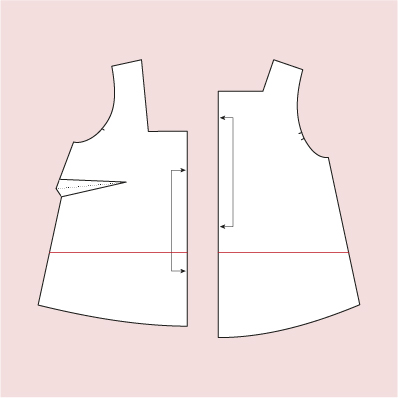
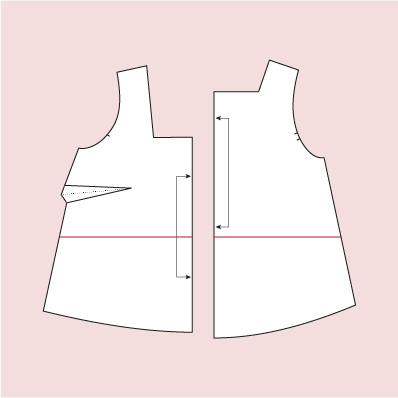
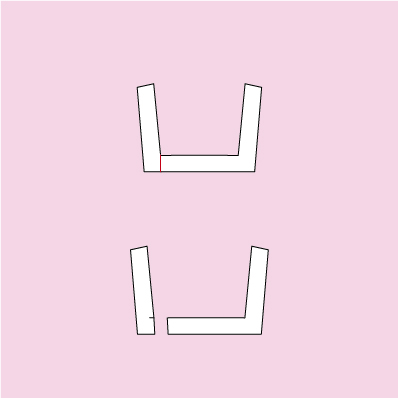
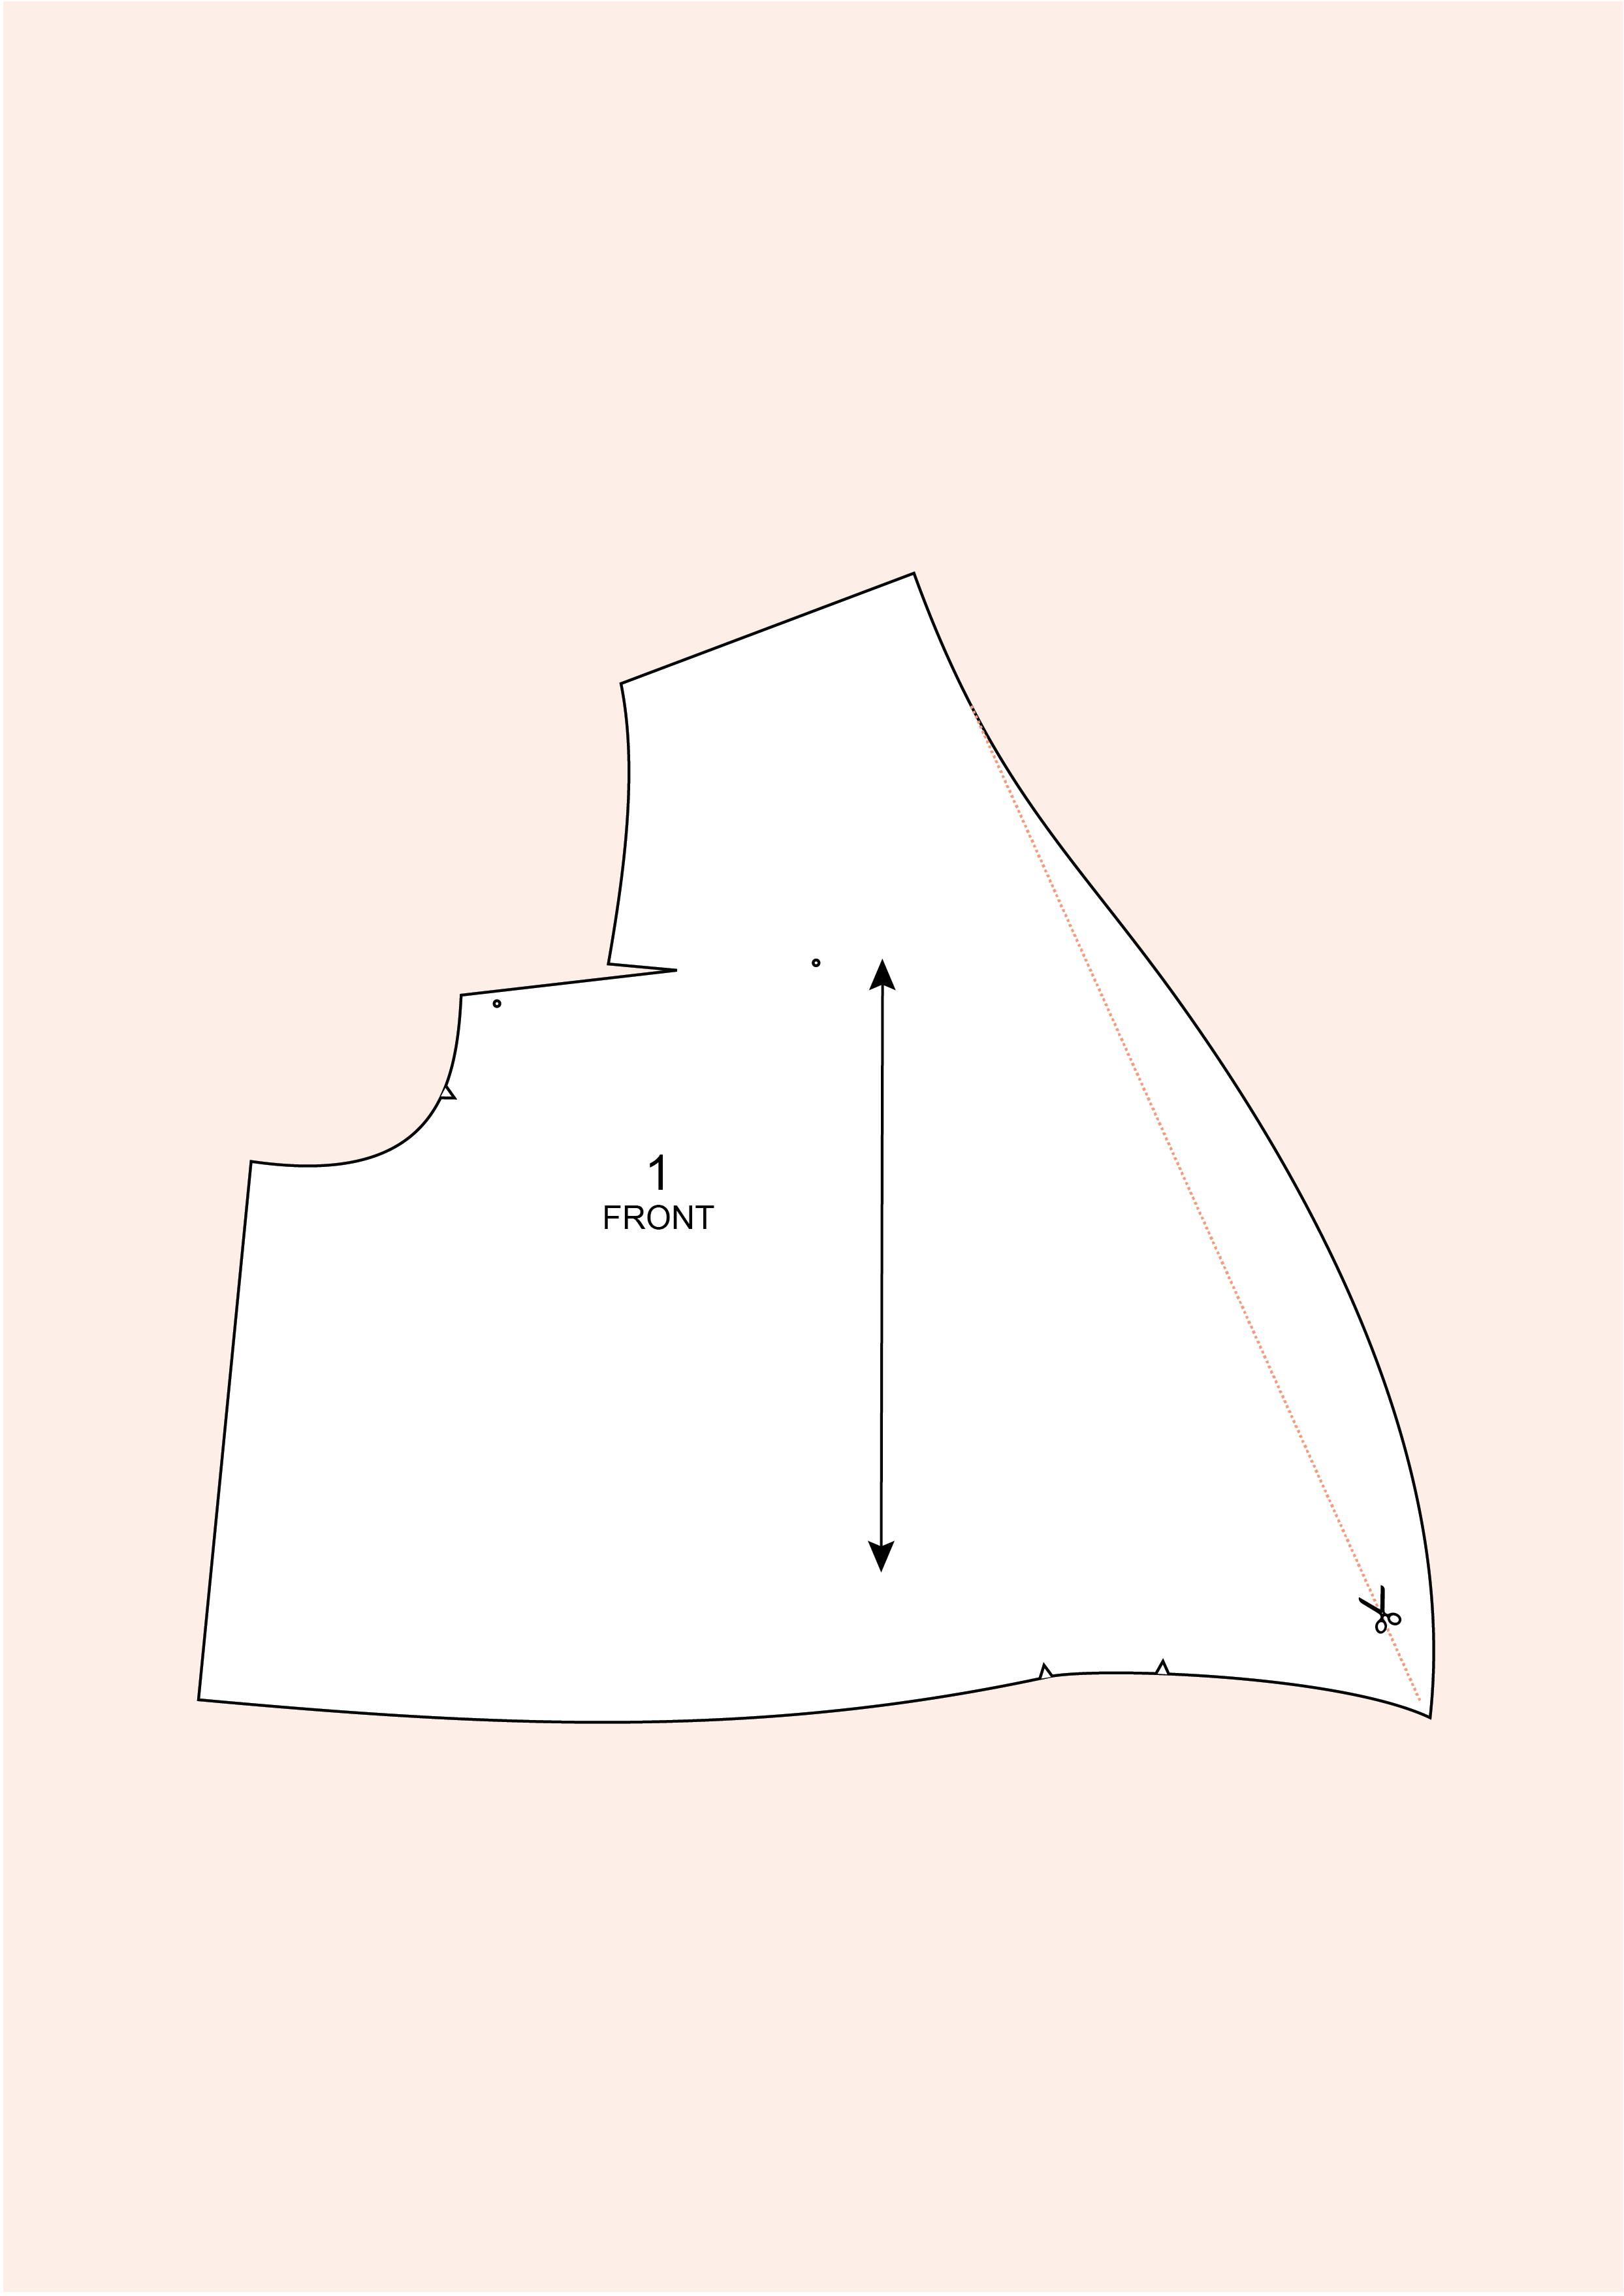
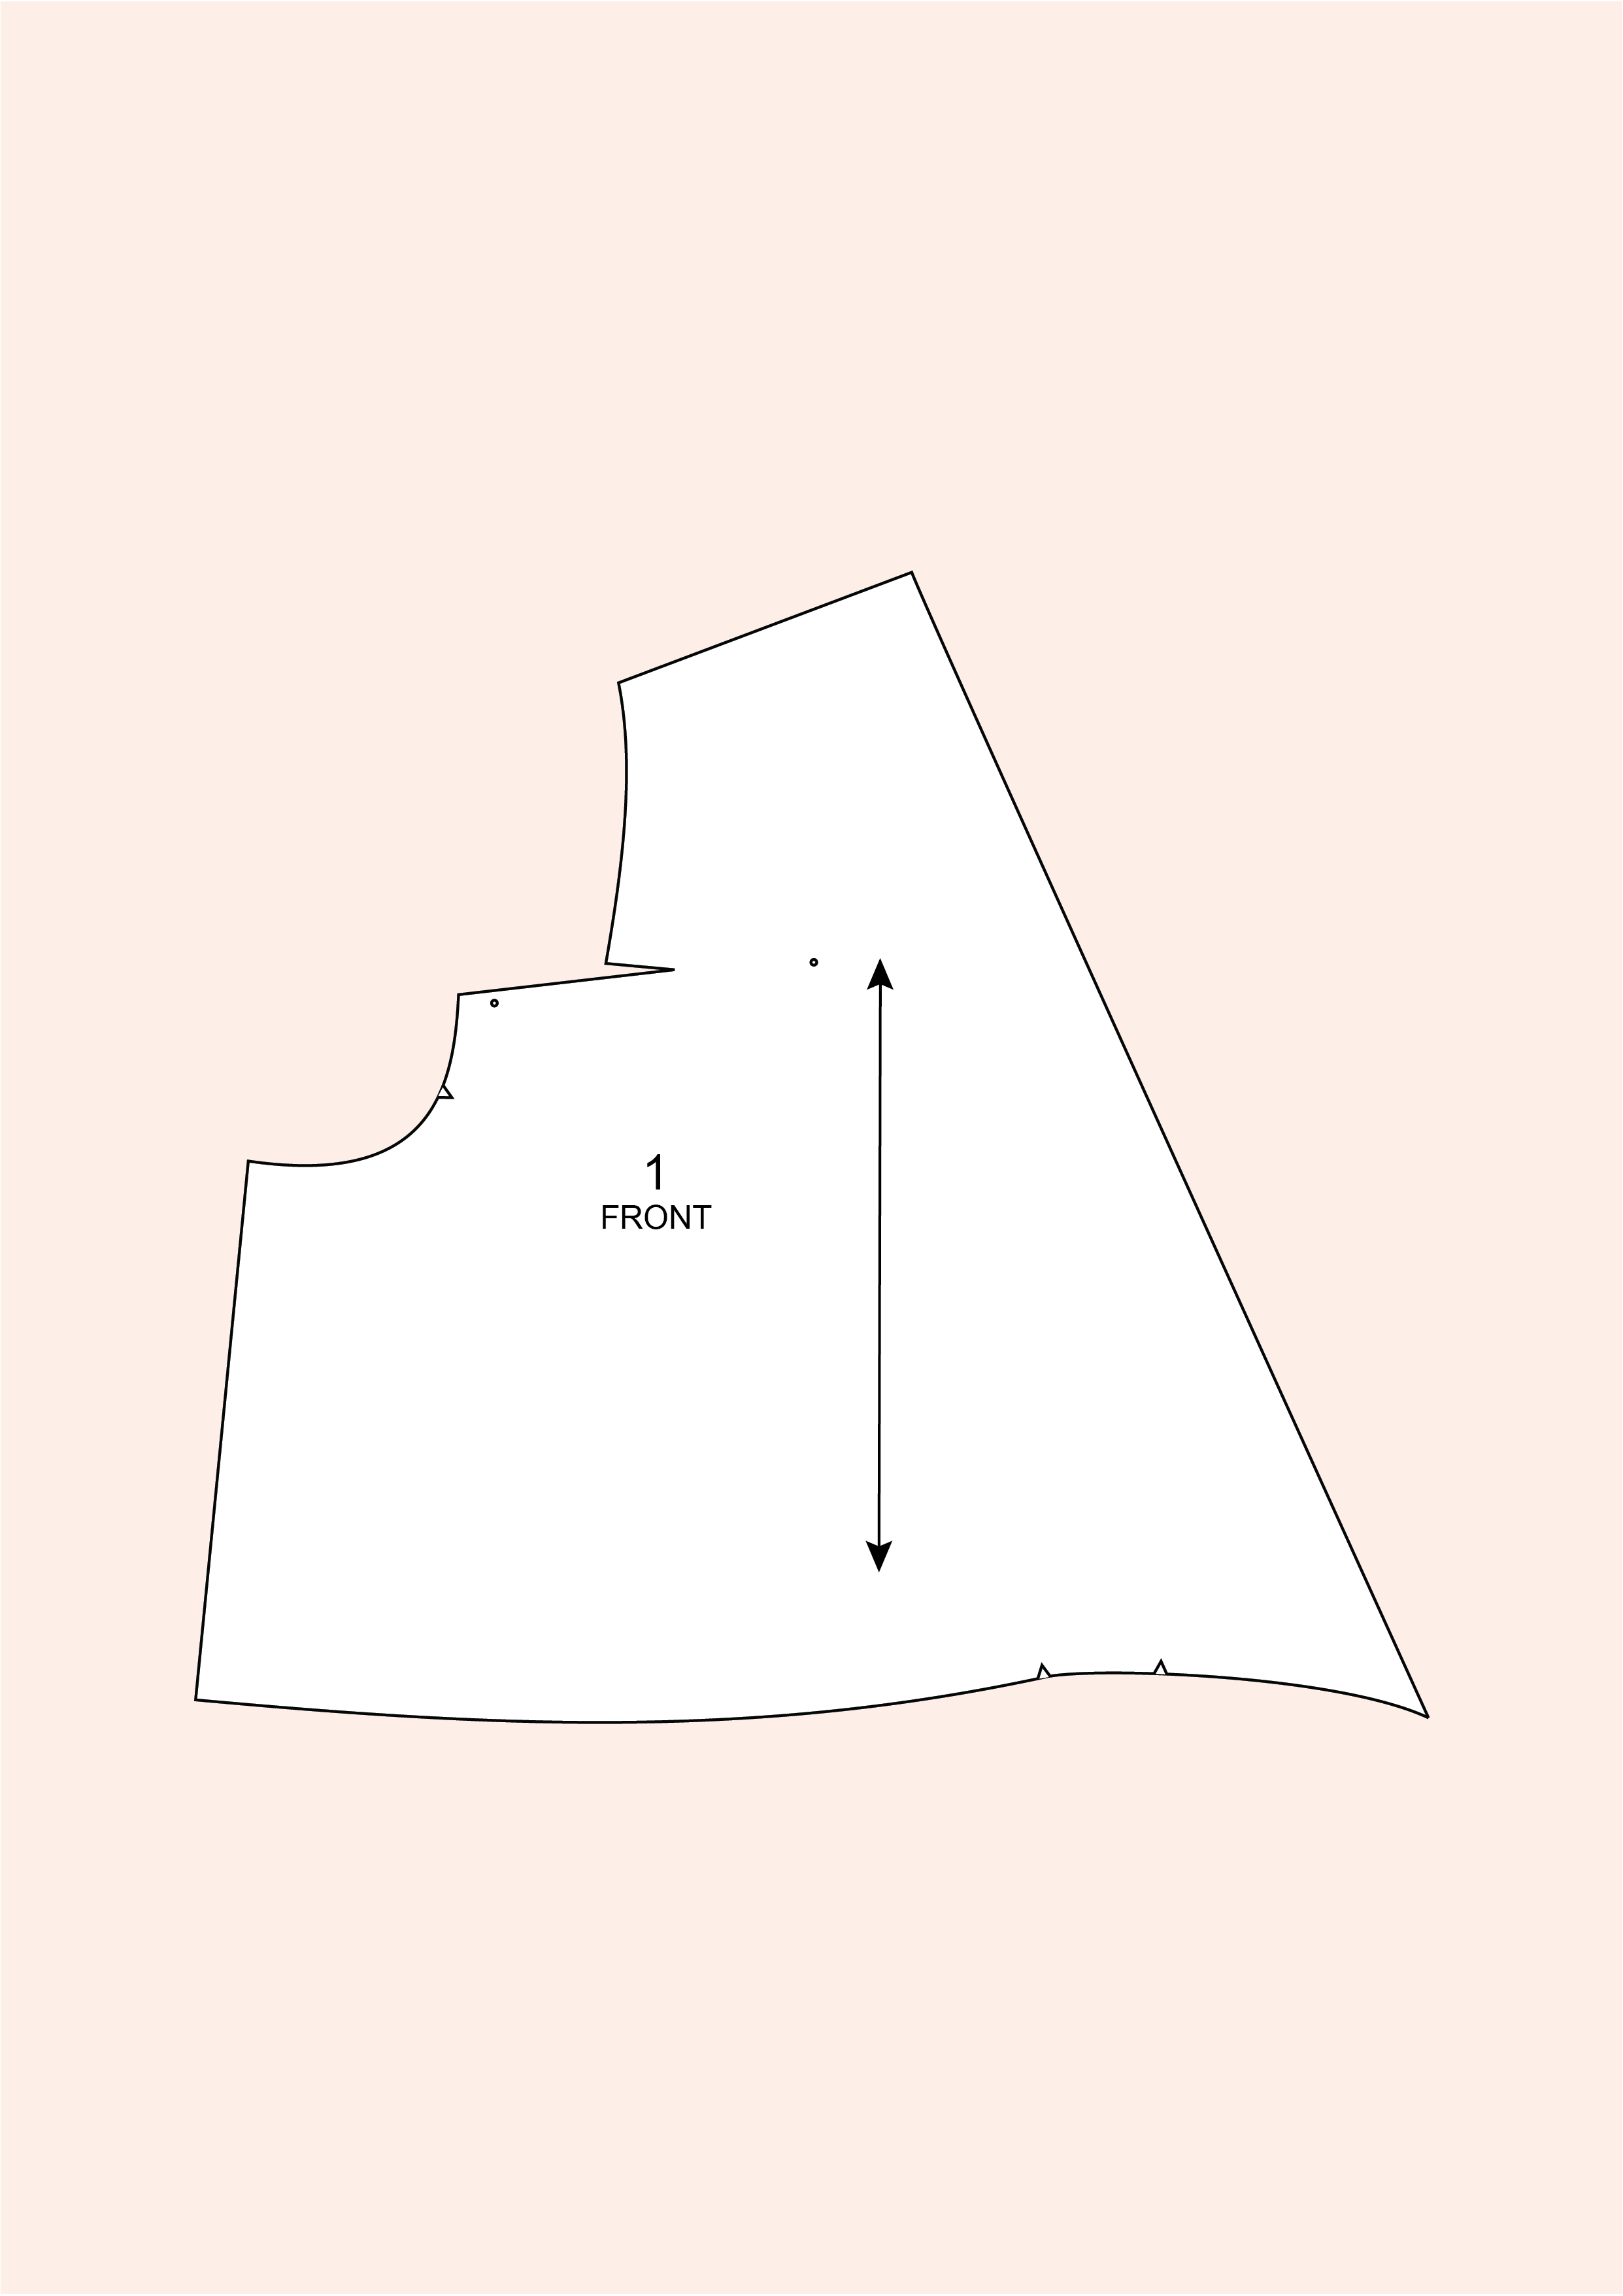
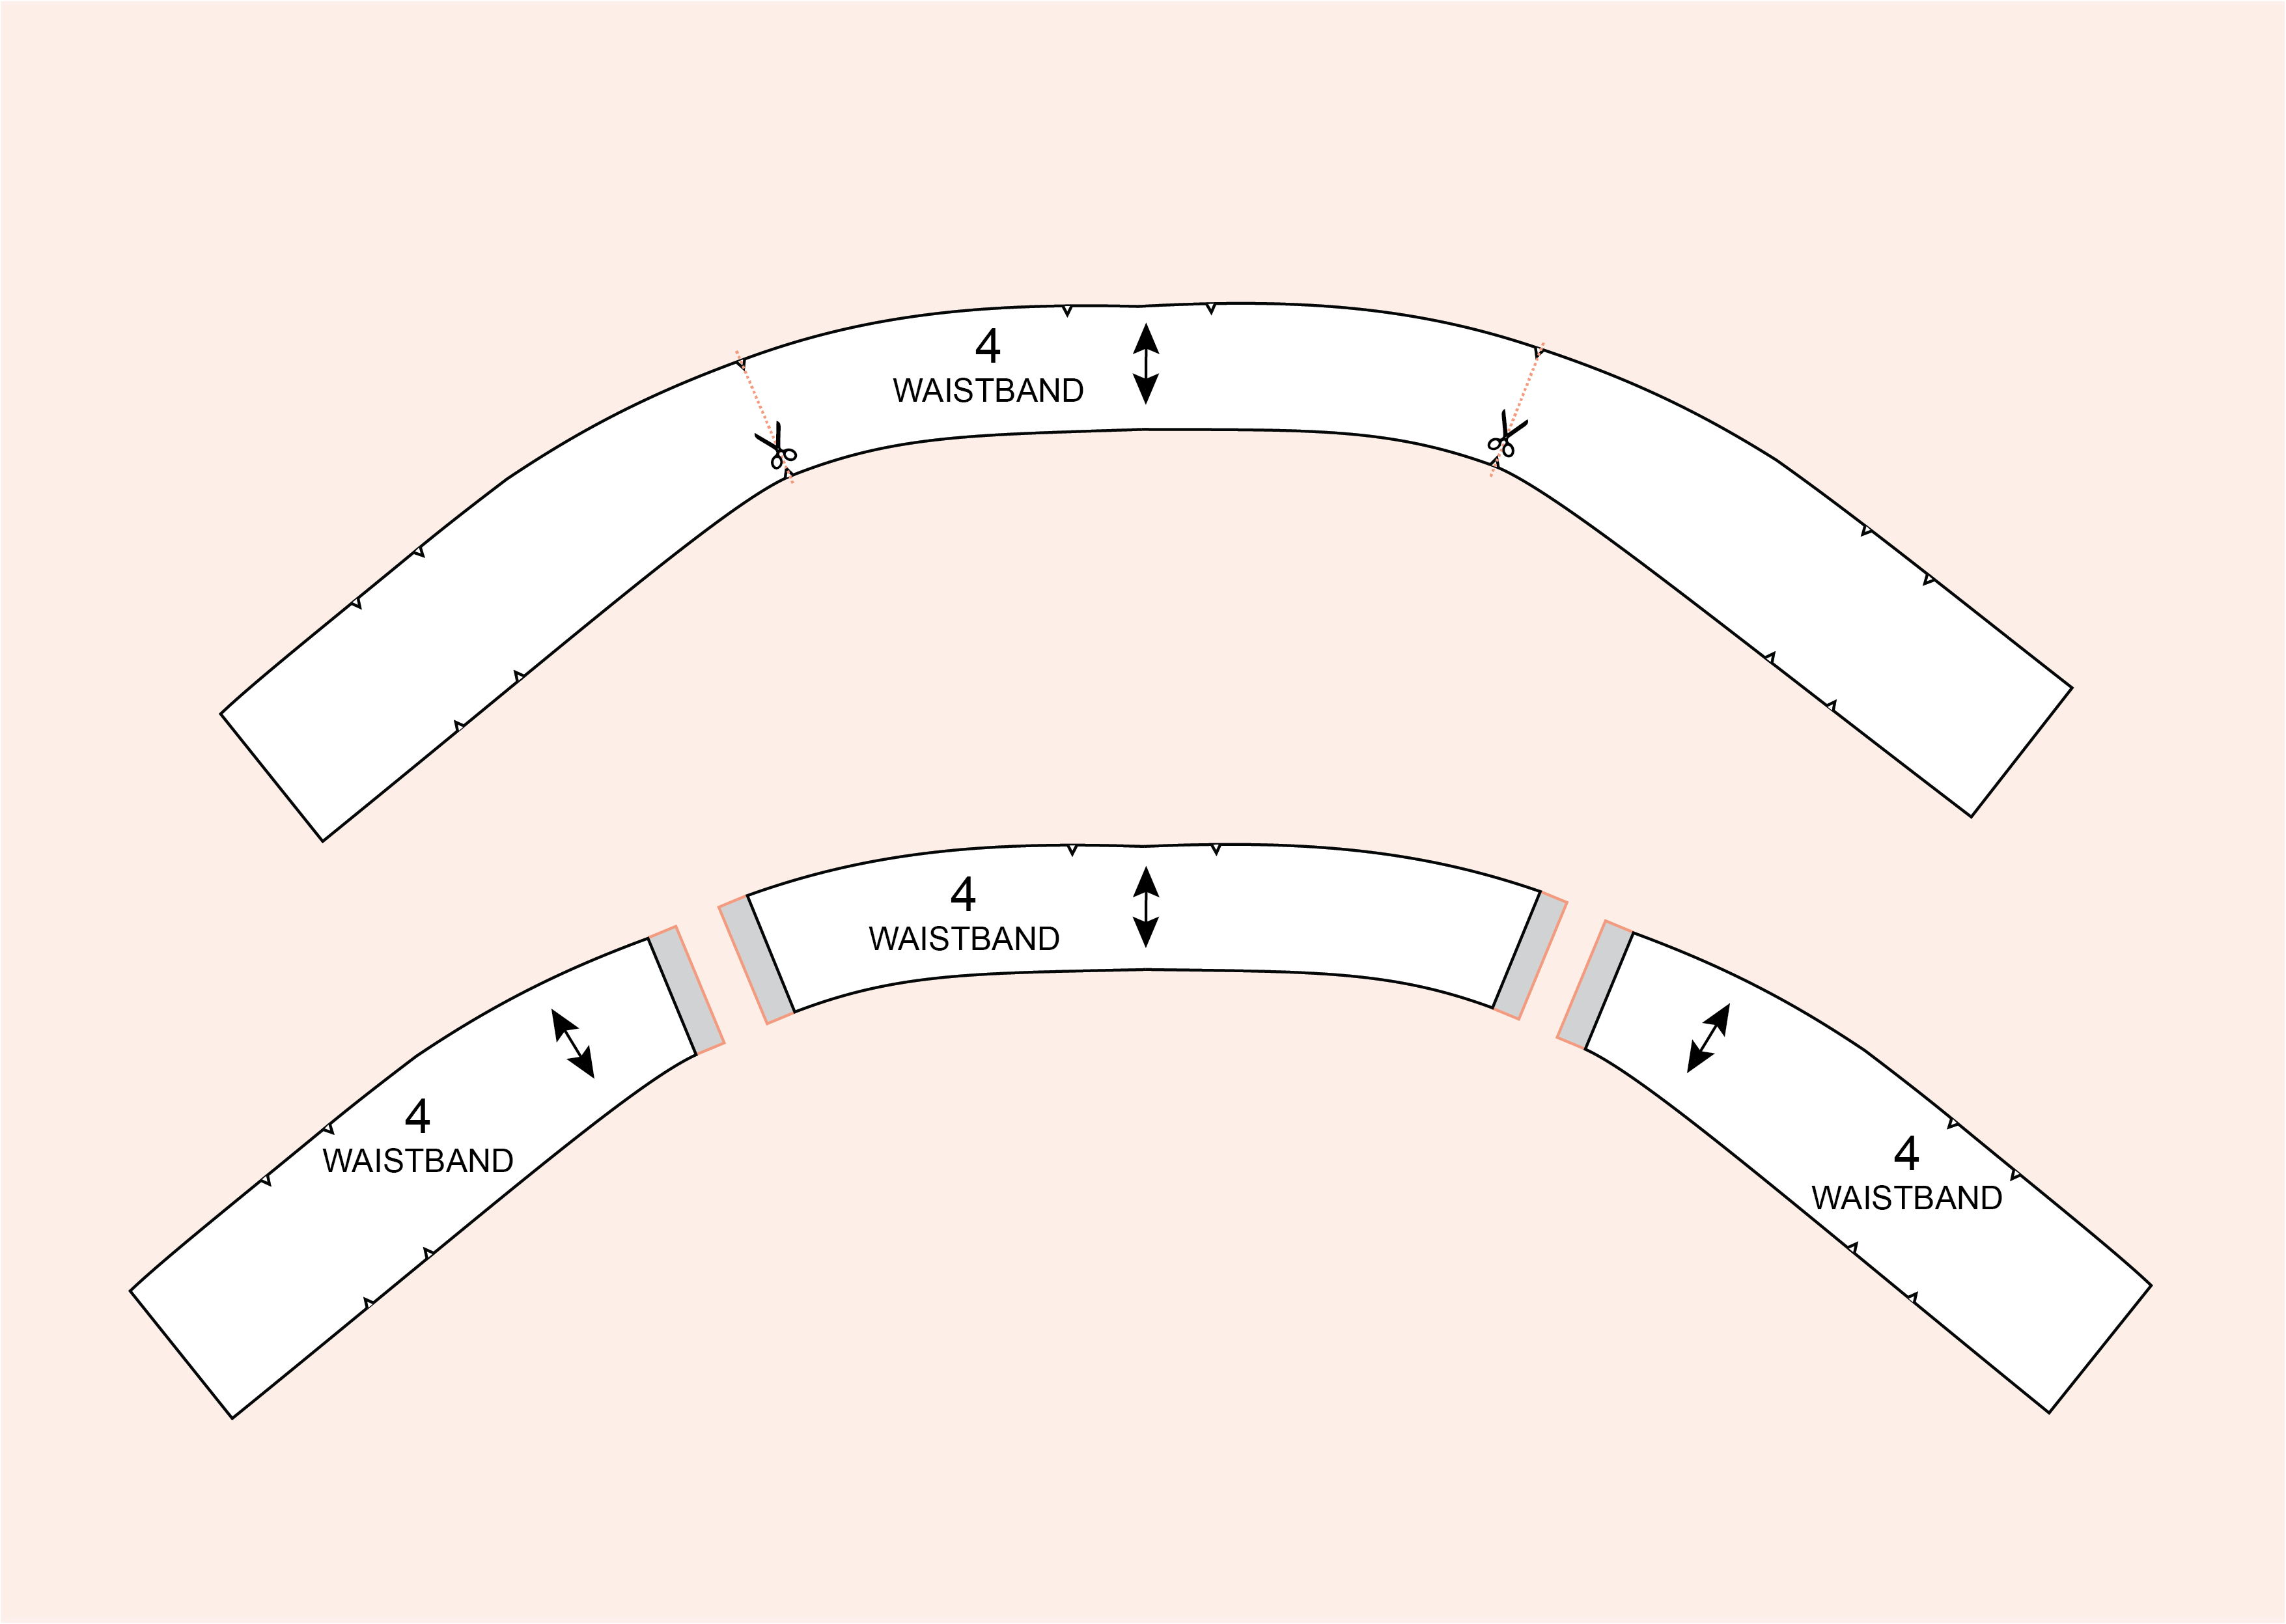
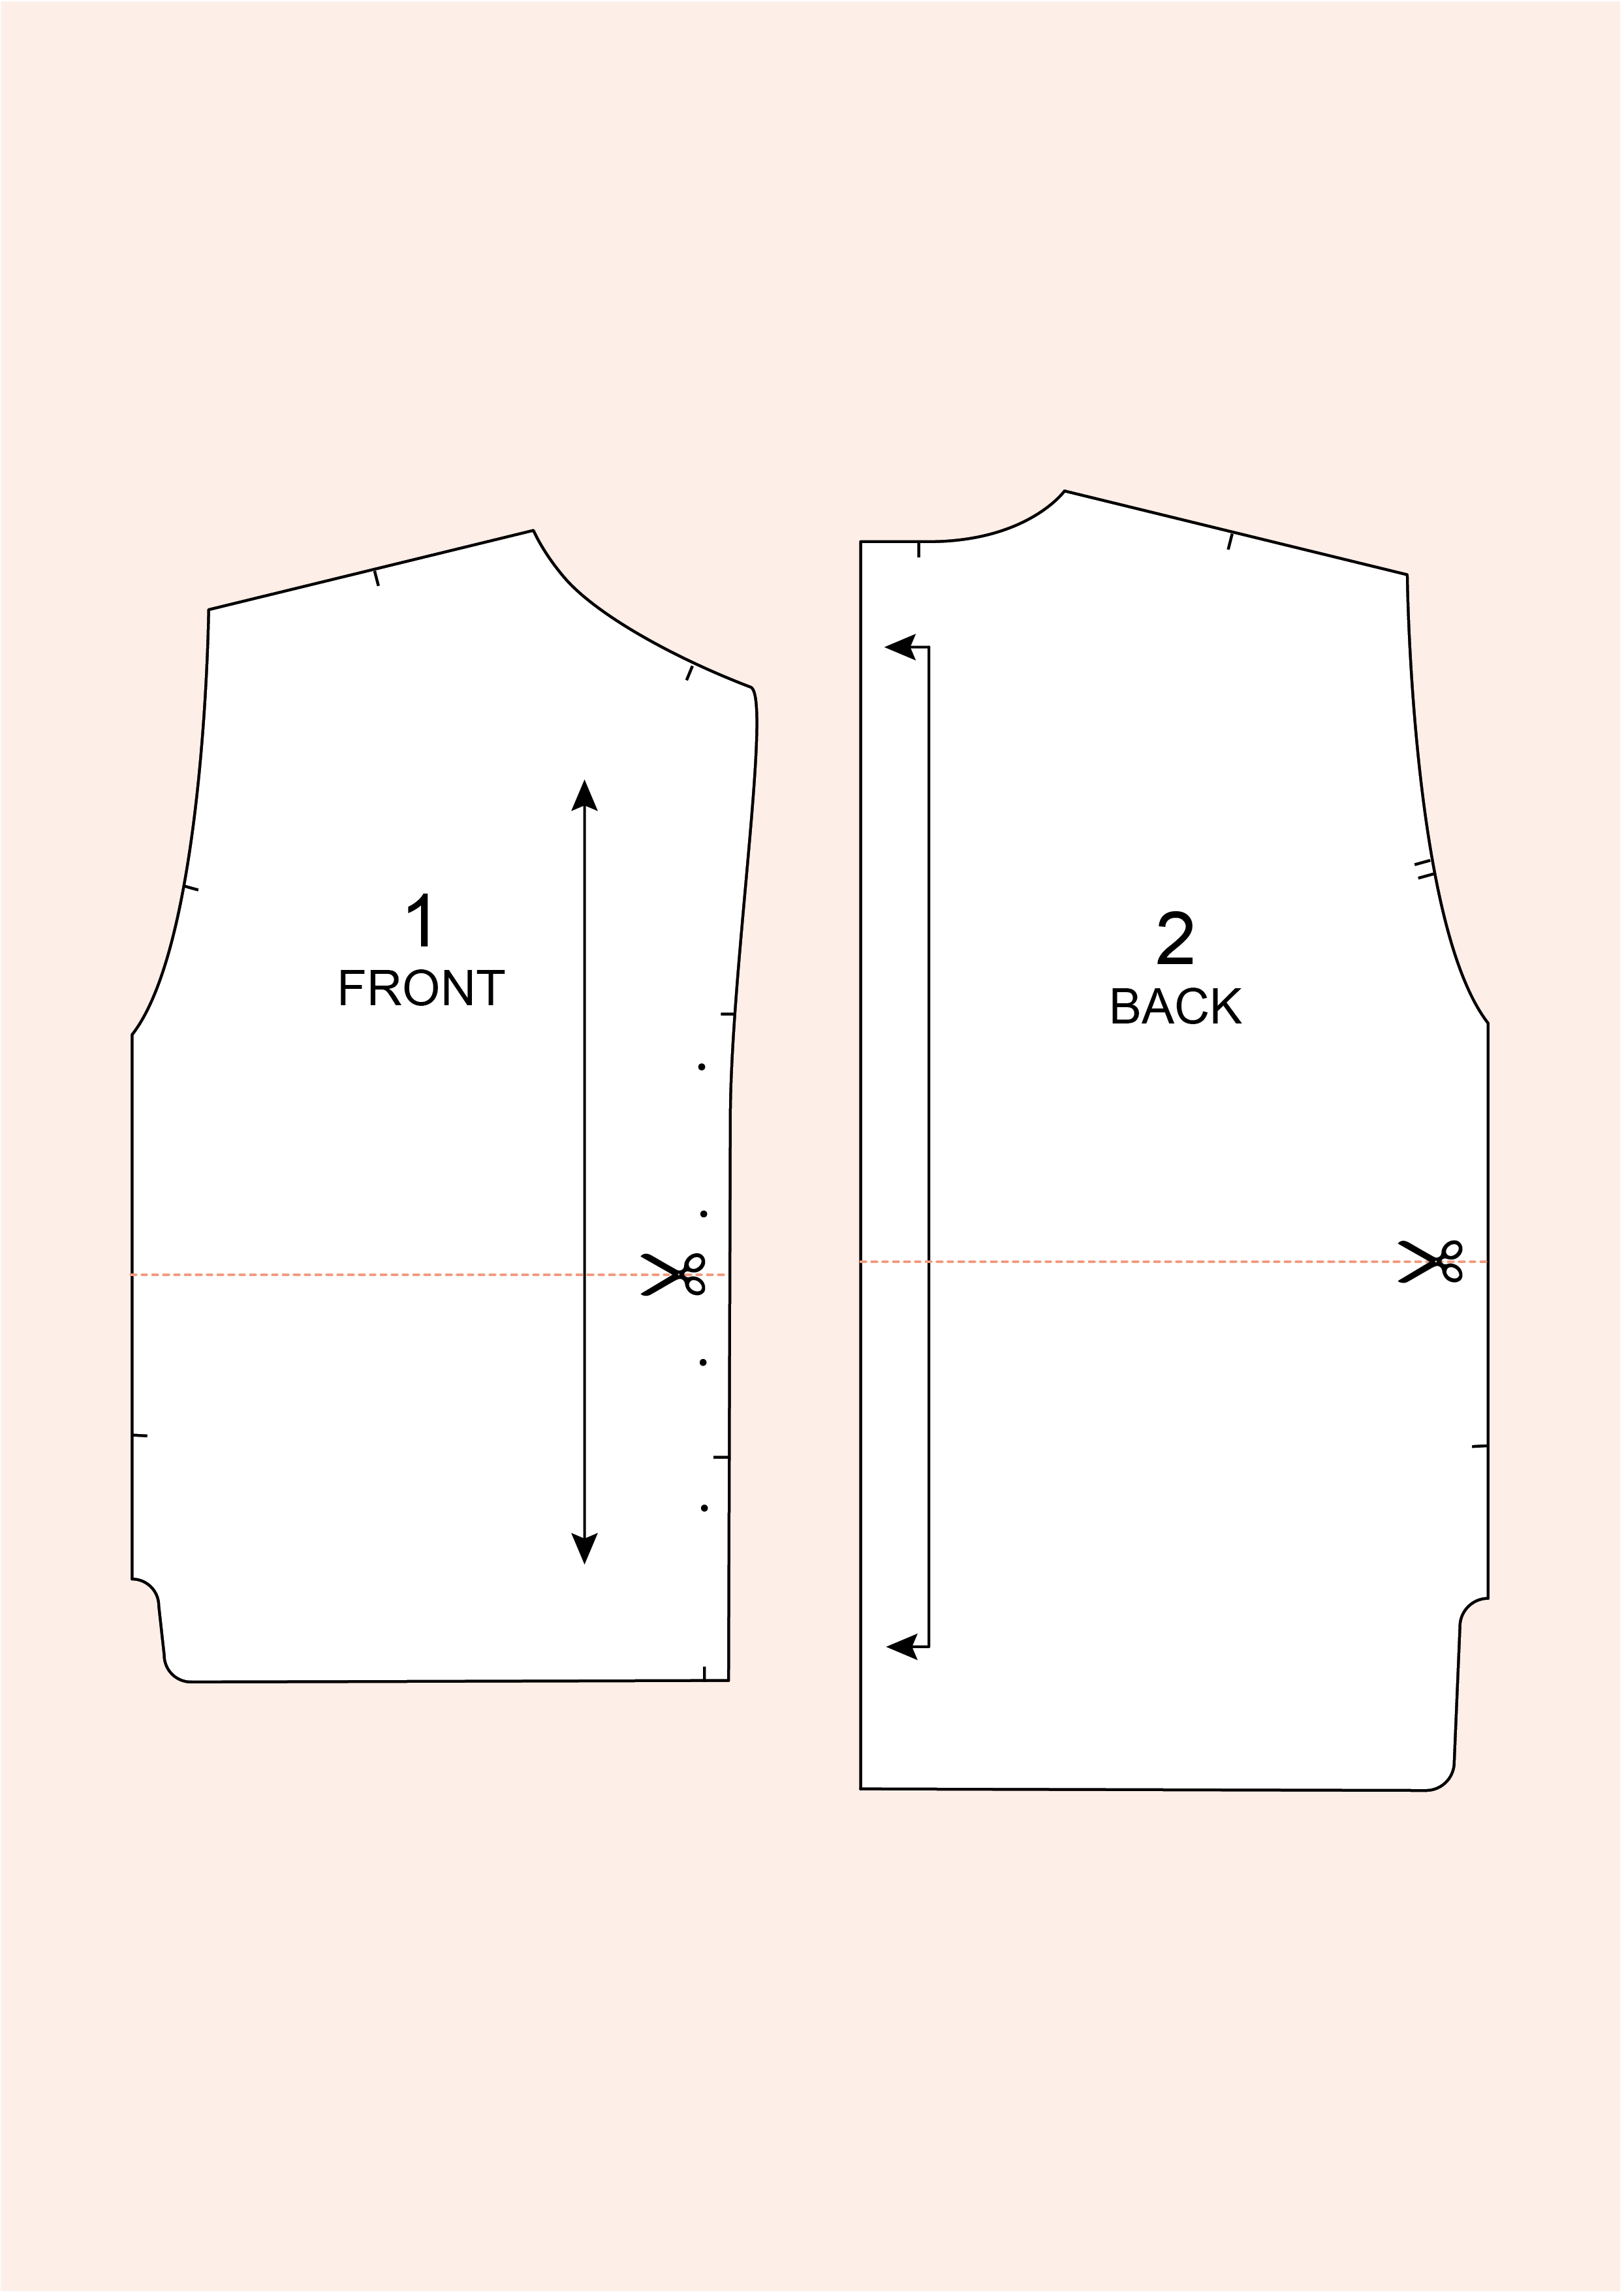
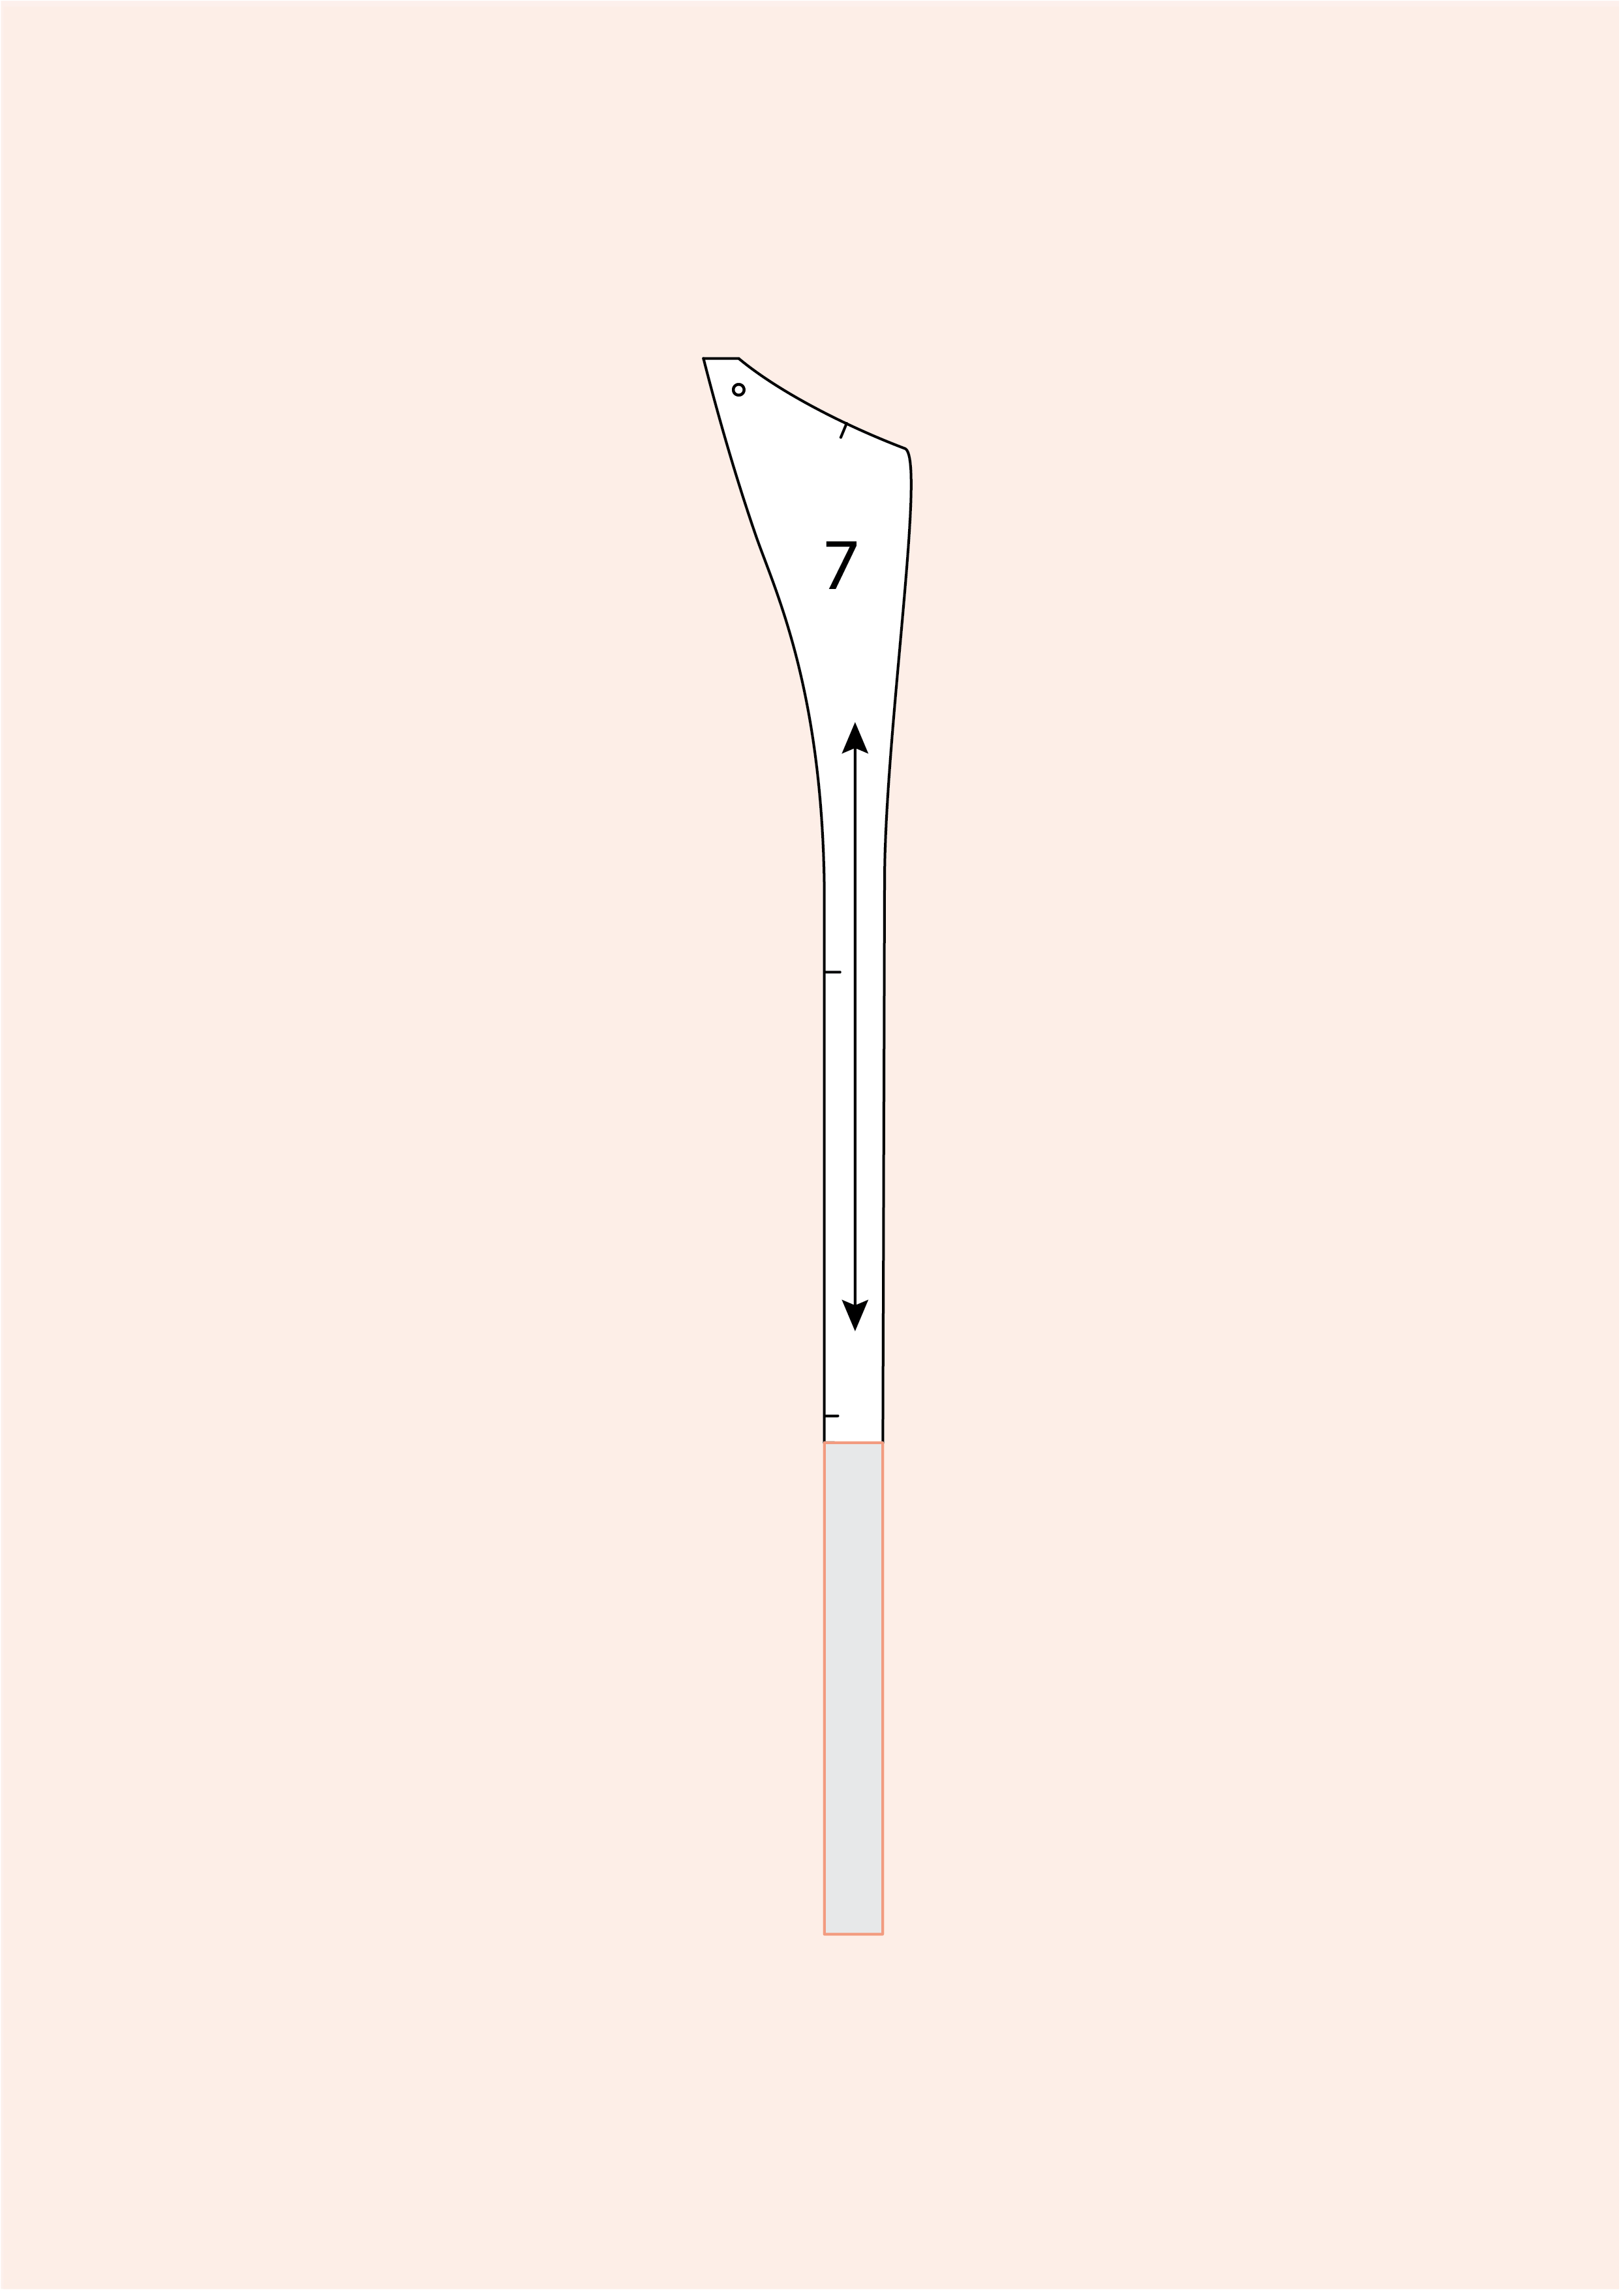
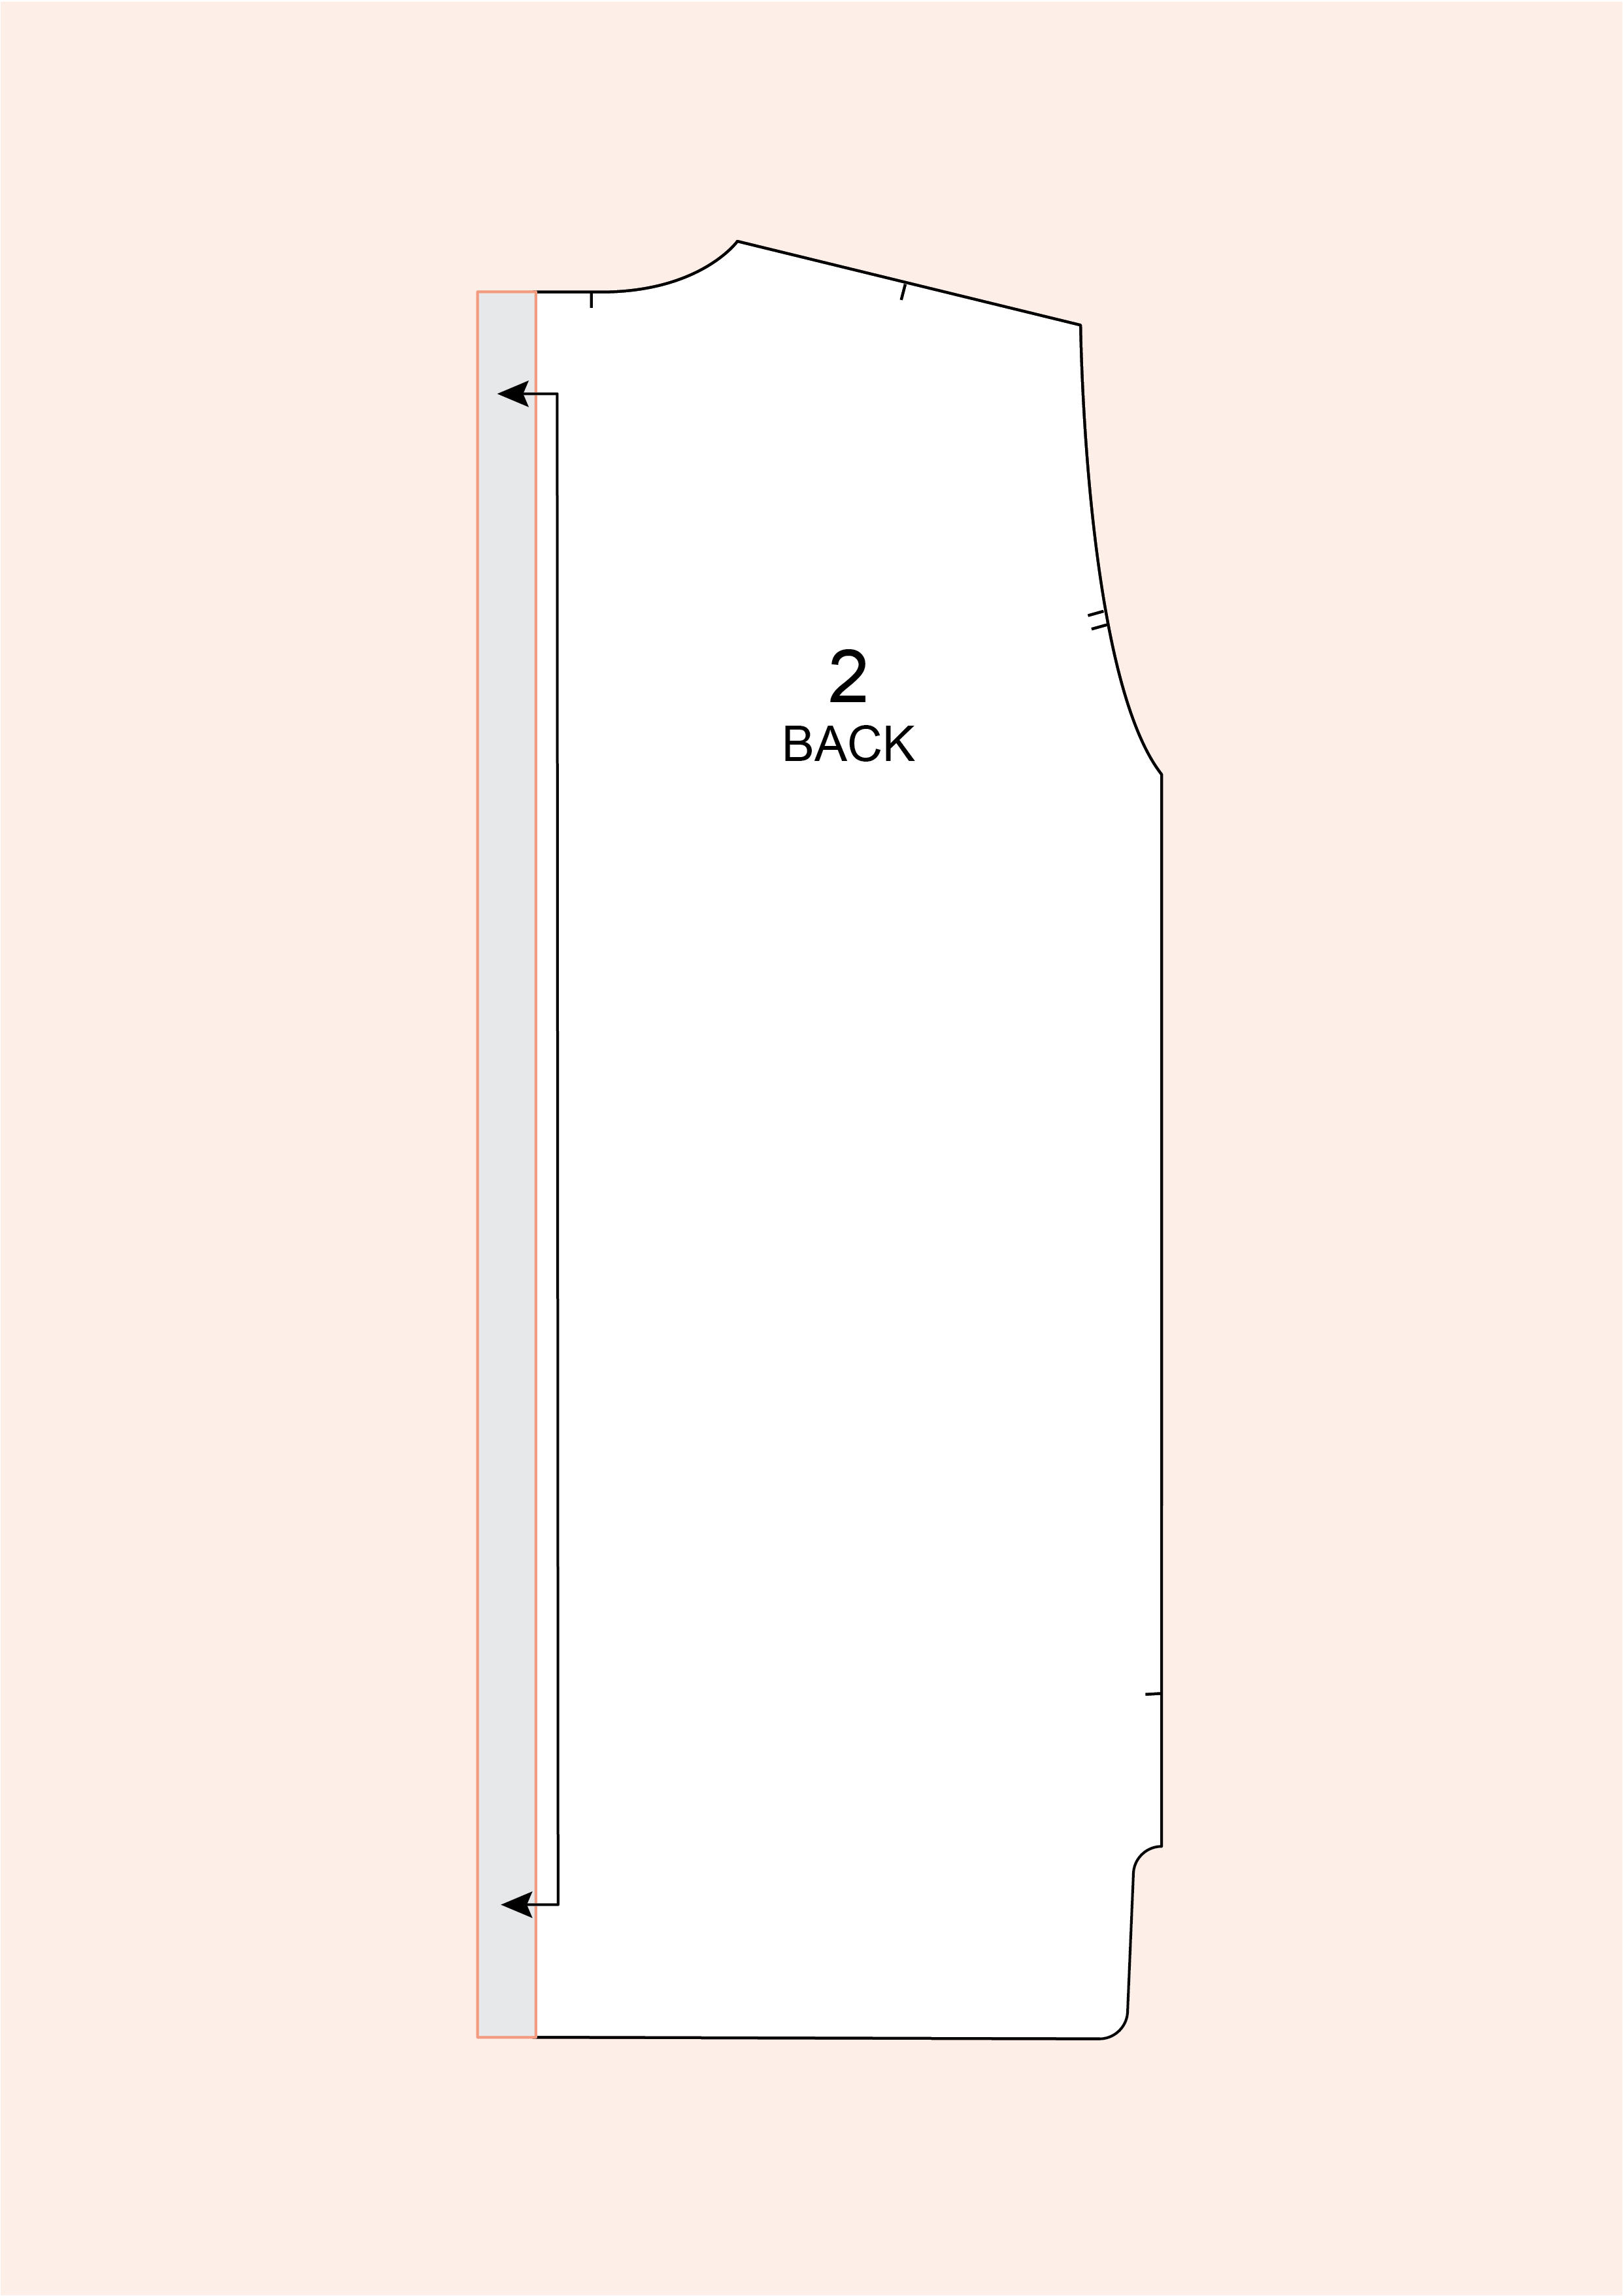
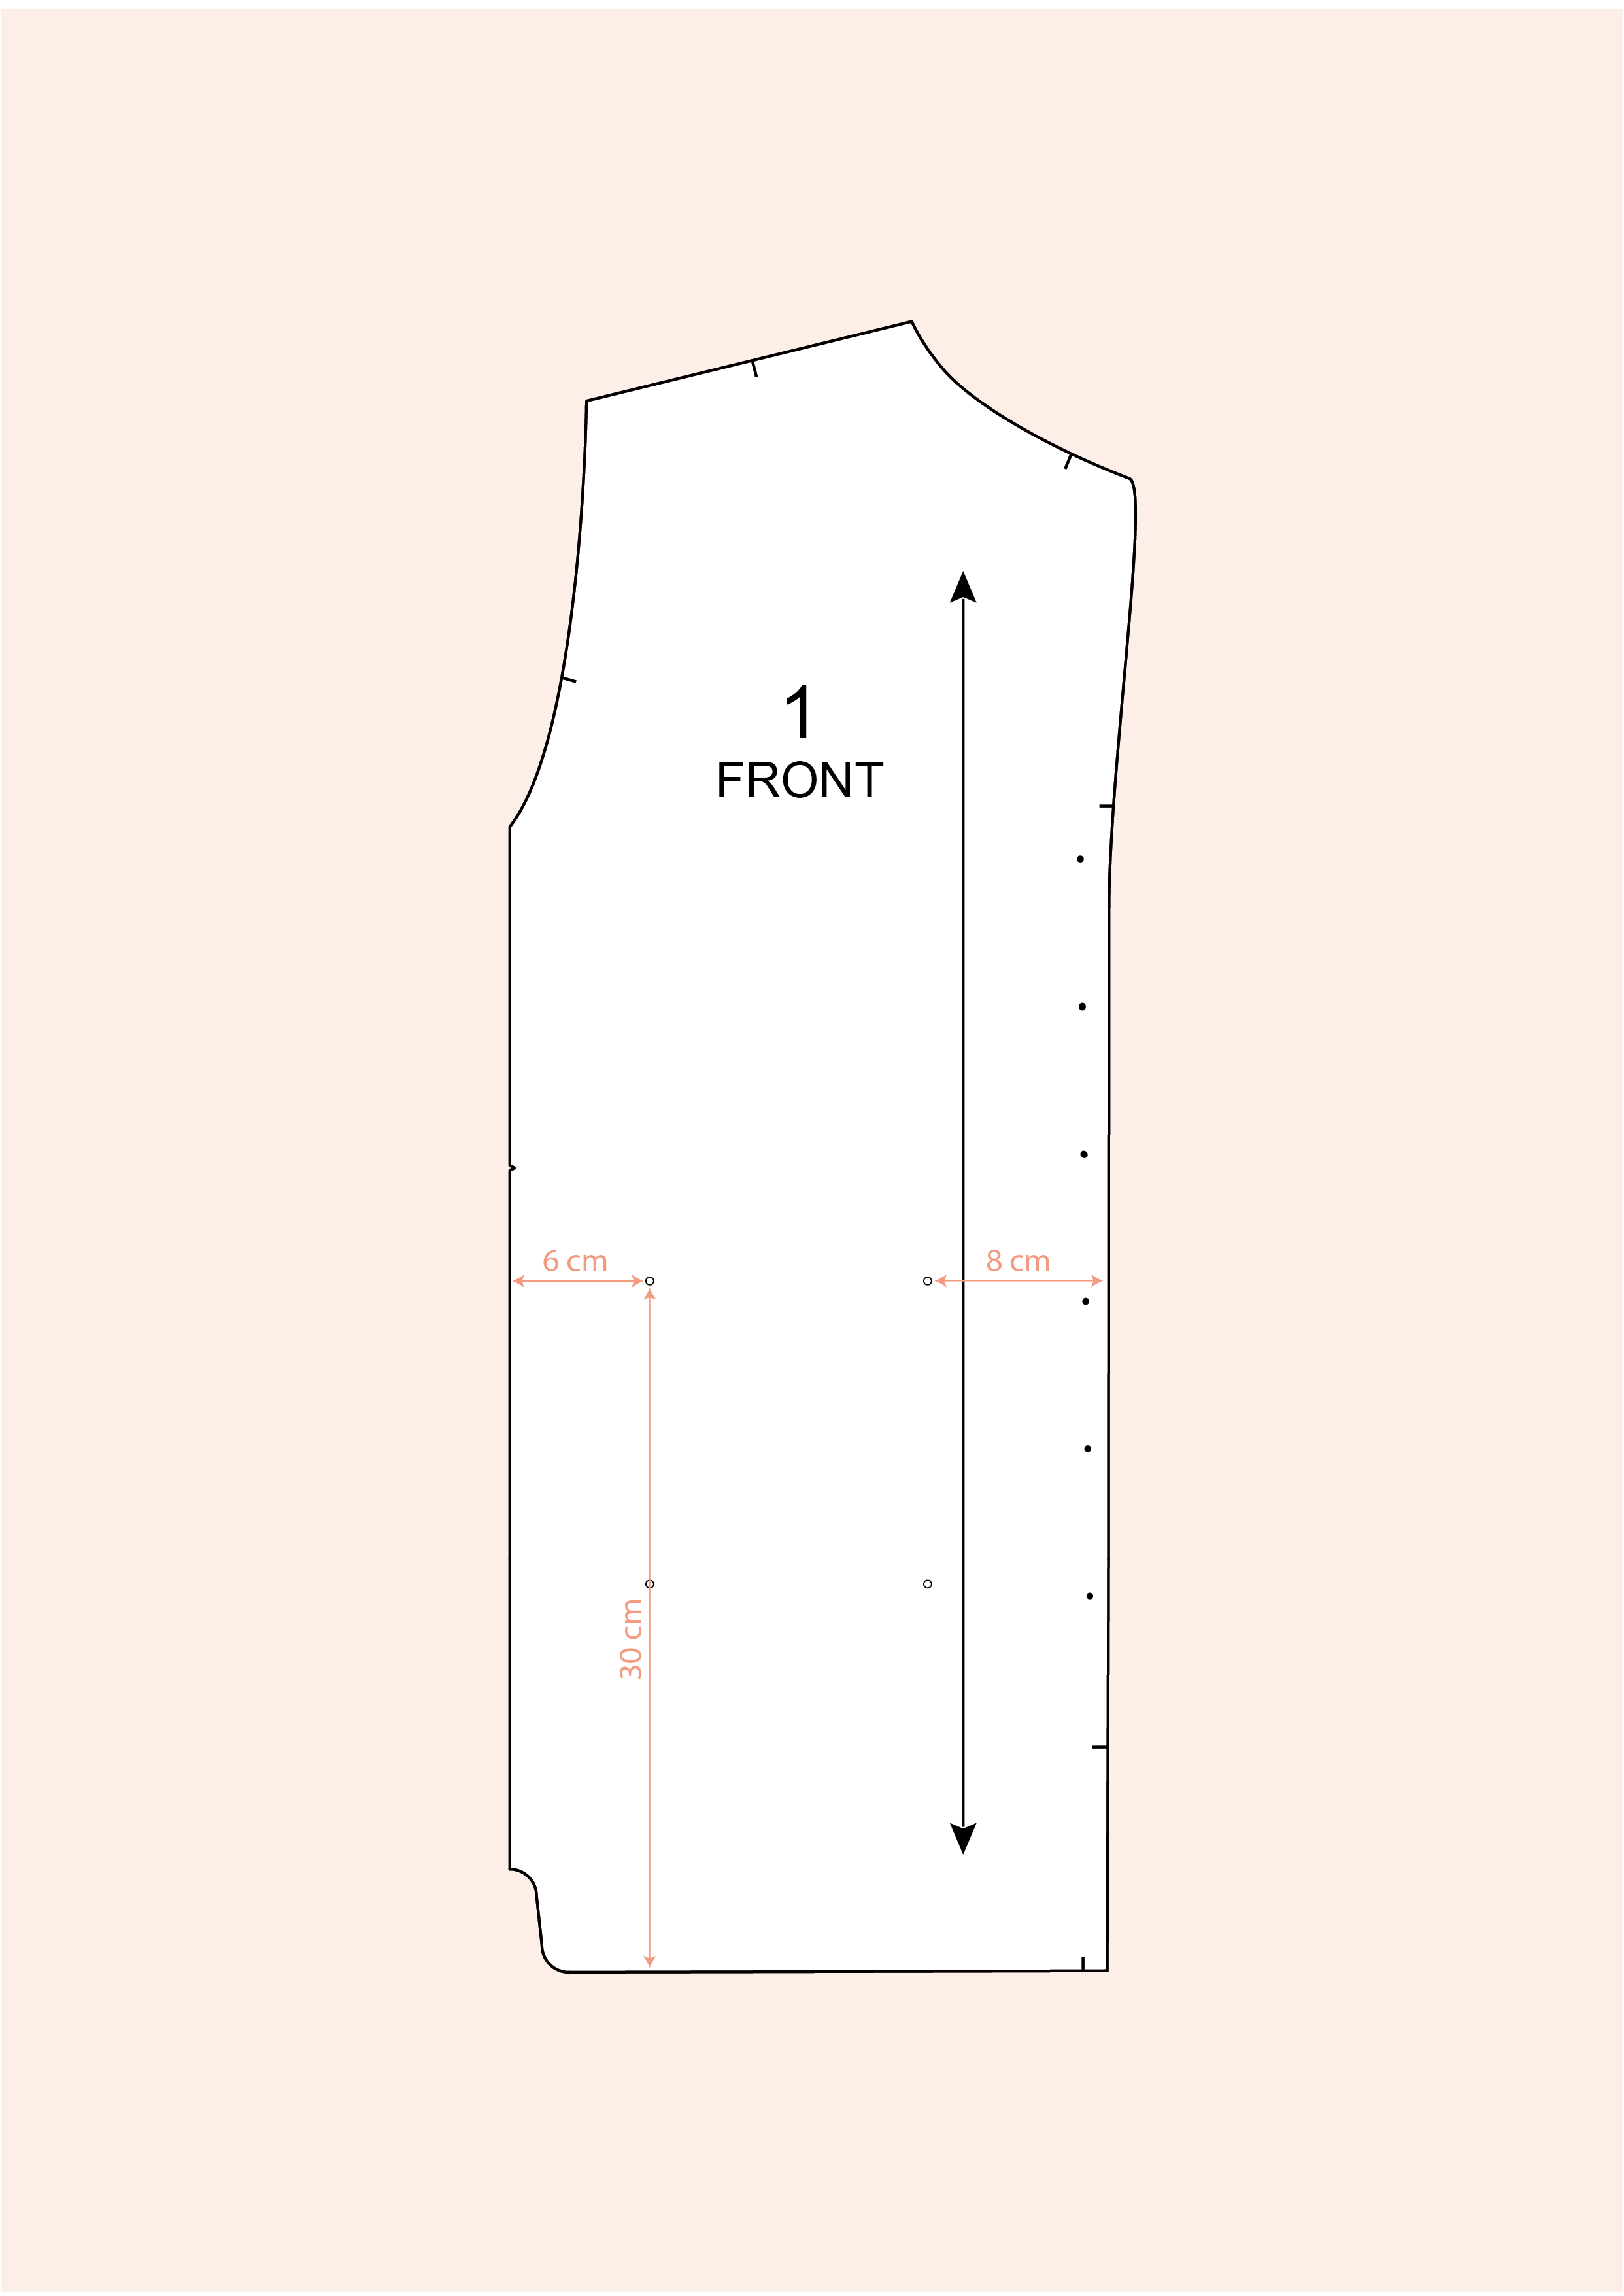
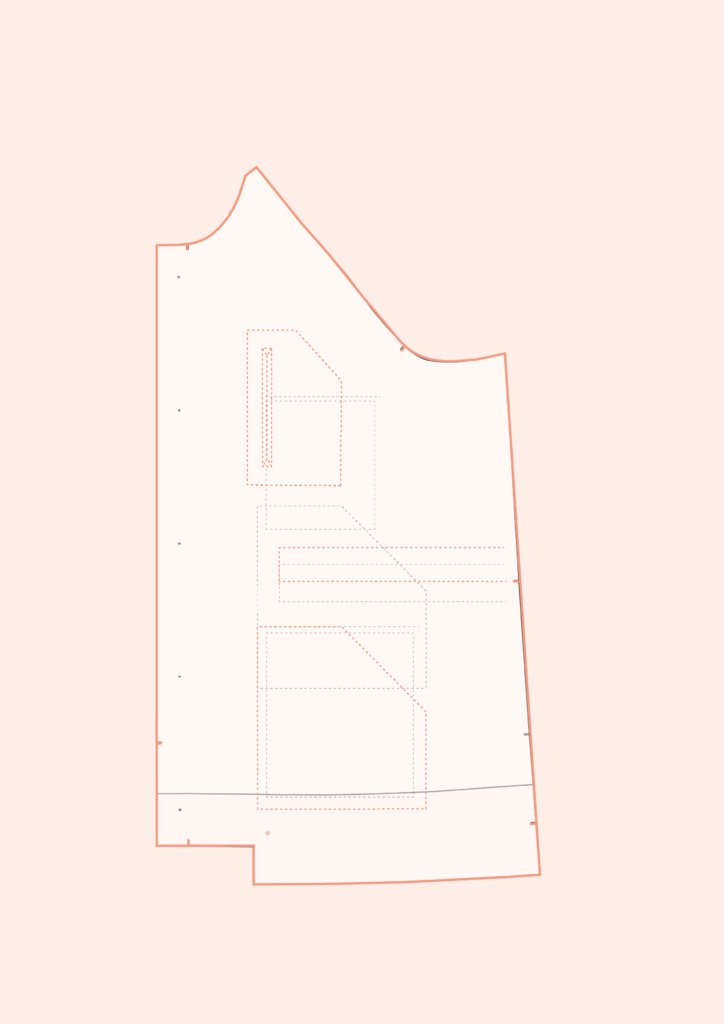
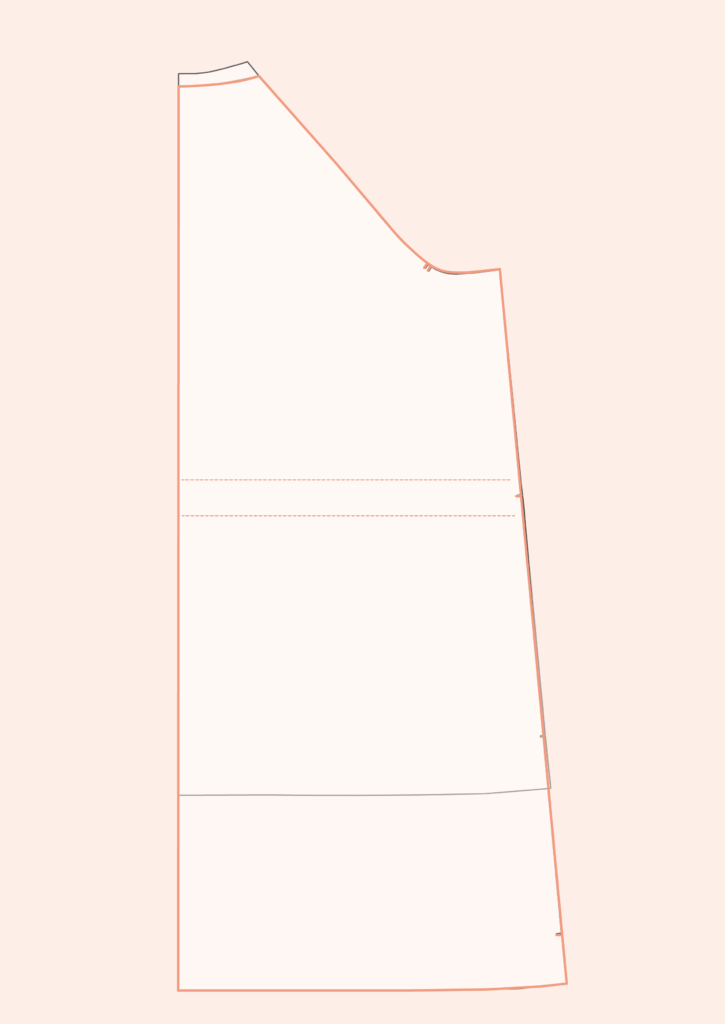
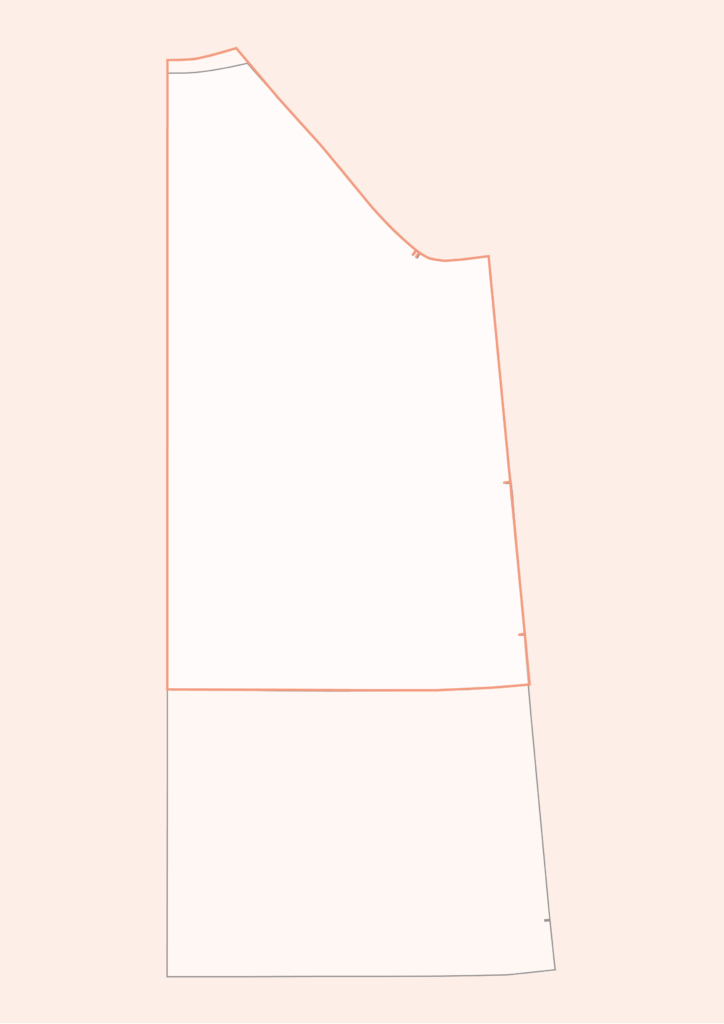
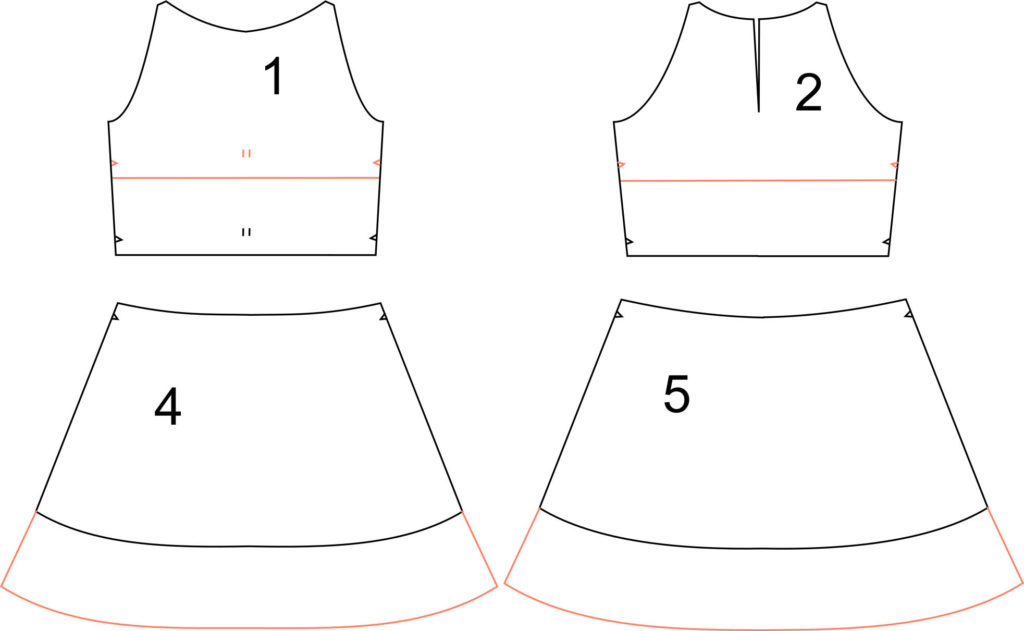
2. Cut the front and back pieces on the “shorten/lengthen here” line.
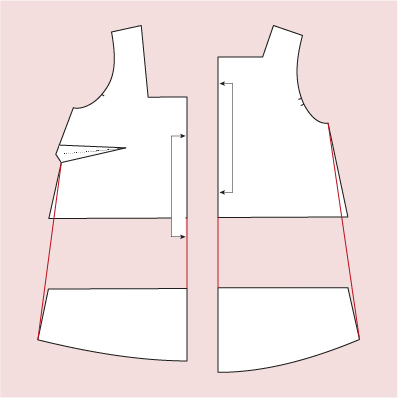
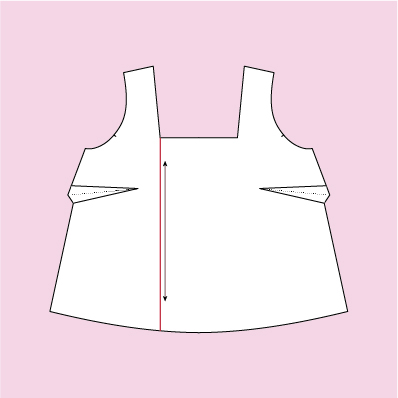
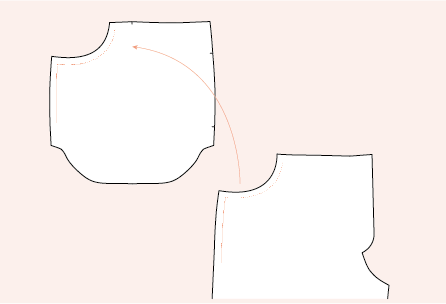
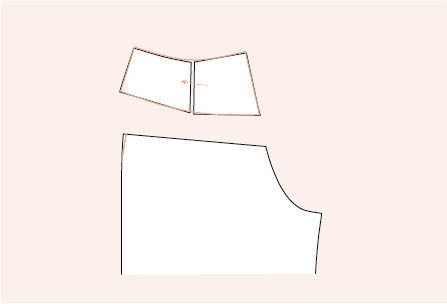
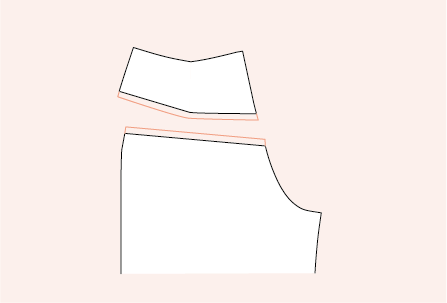
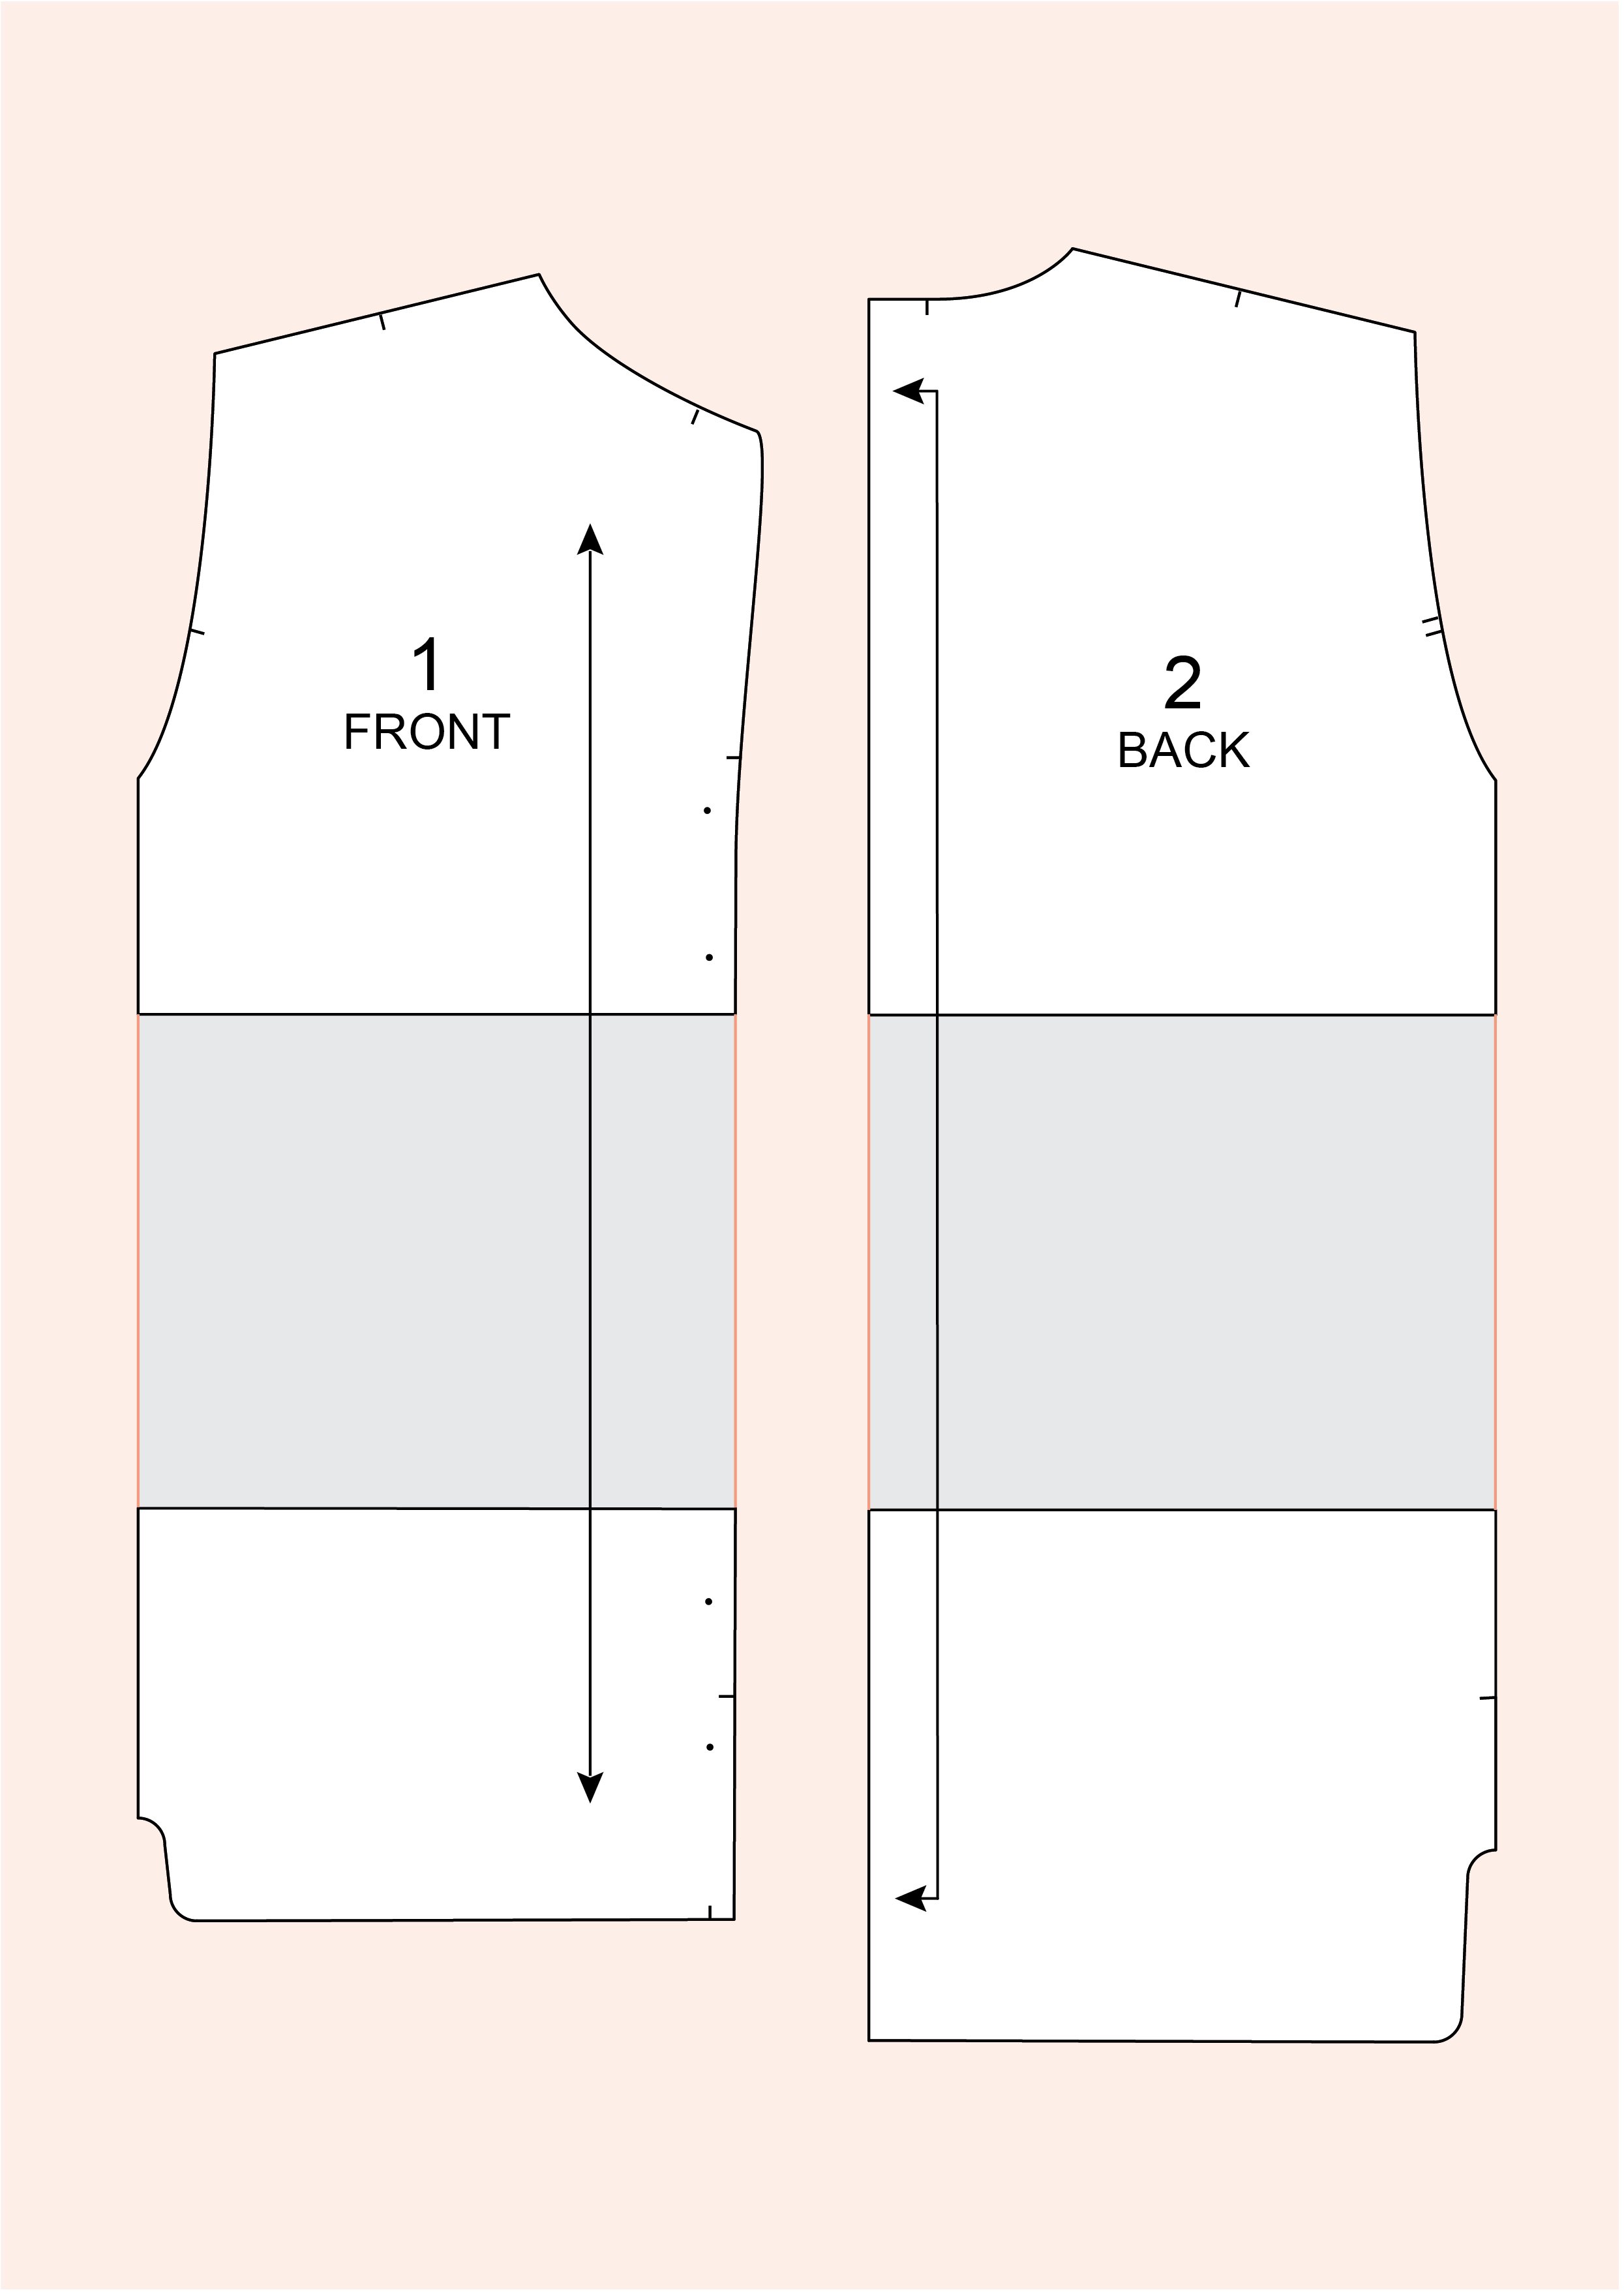
3. Separate the pieces with the same amount to the desired finished length. Join the armhole (or the bottom of the dart for the front) to the hem.


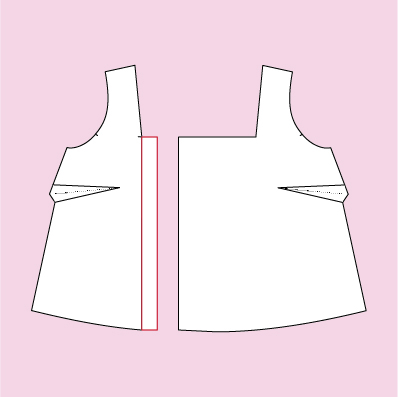
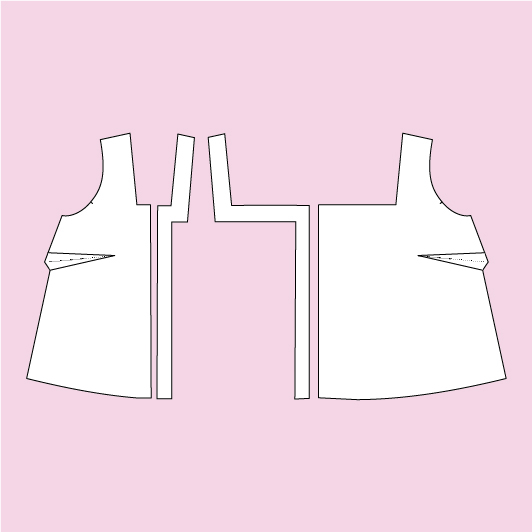
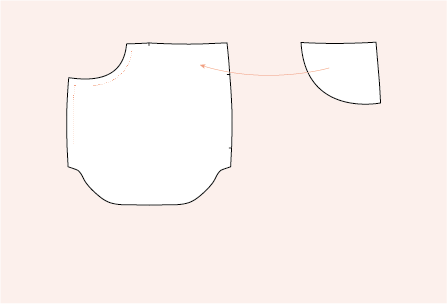
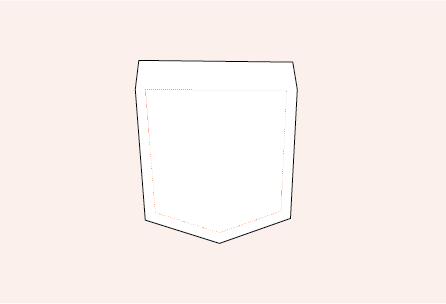
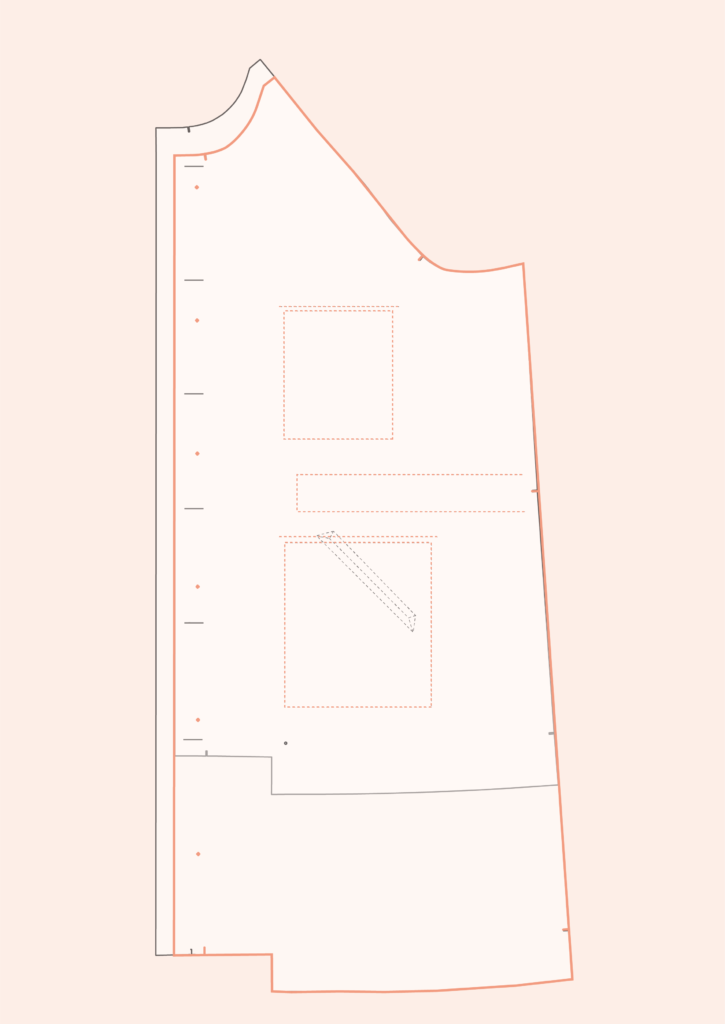
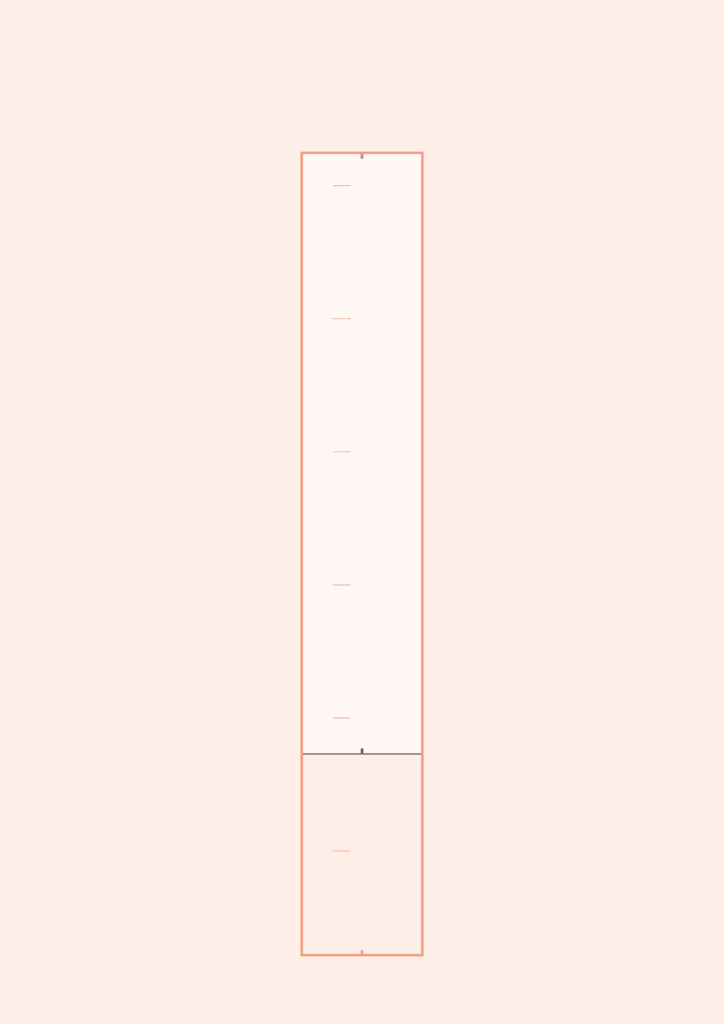
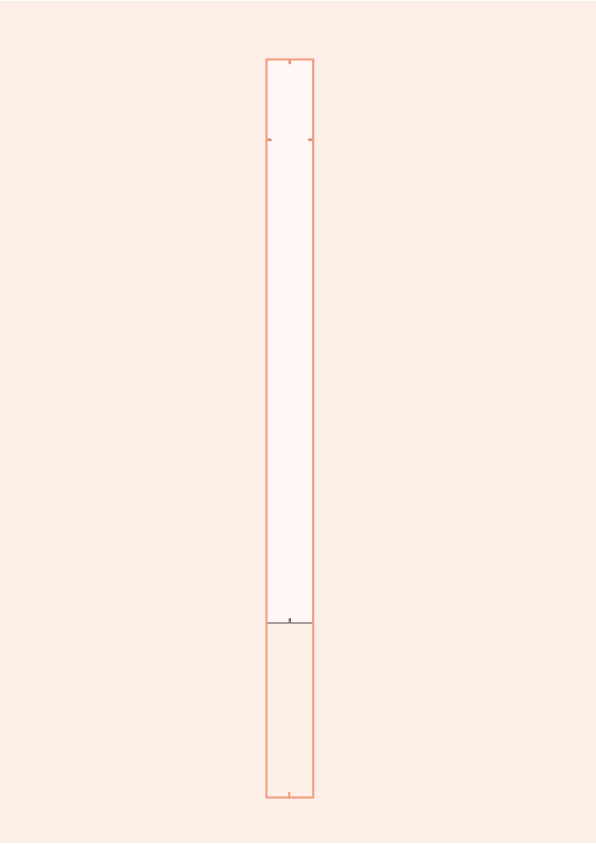
 3. Draw the whole front facing (pattern is on the fold). Cut the front facing just as you did the front piece.
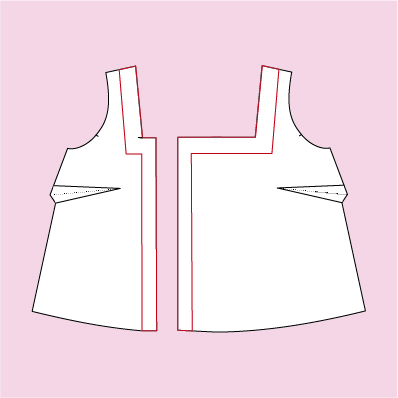


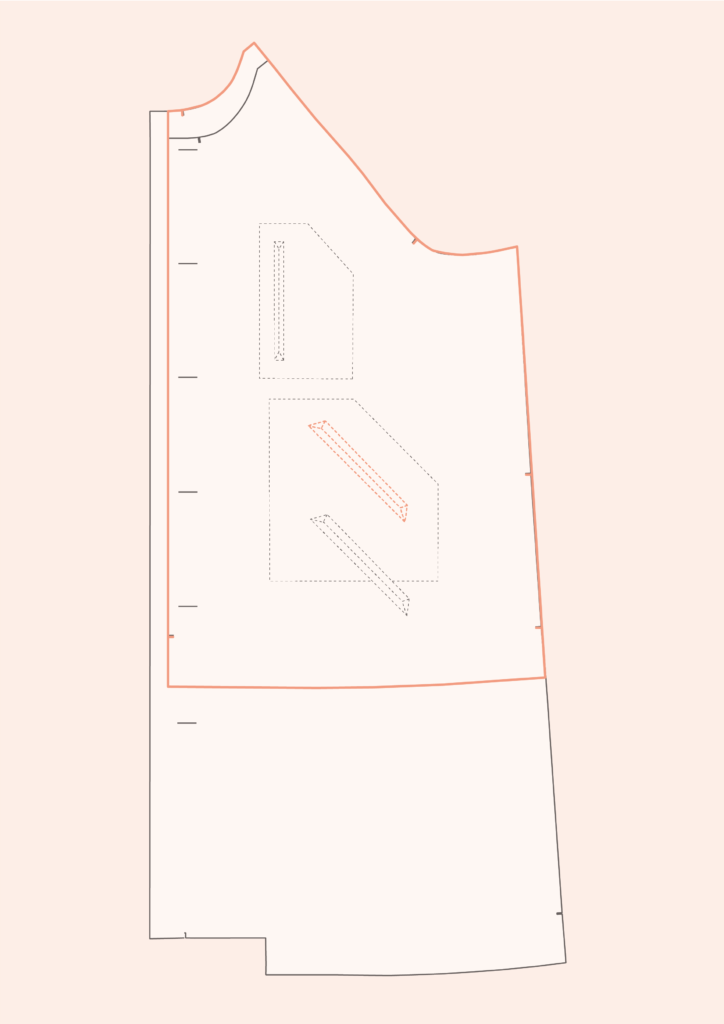


 I would then remove the back darts and replace the front ones by gathers. To make the dress easier to put on, I would remove the side zipper and cut the front skirt piece in half and continue the bodice buttonband on the skirt. As the waistline is now under the bust, I would remove the pockets but they can also be lowered if you wish to keep them.
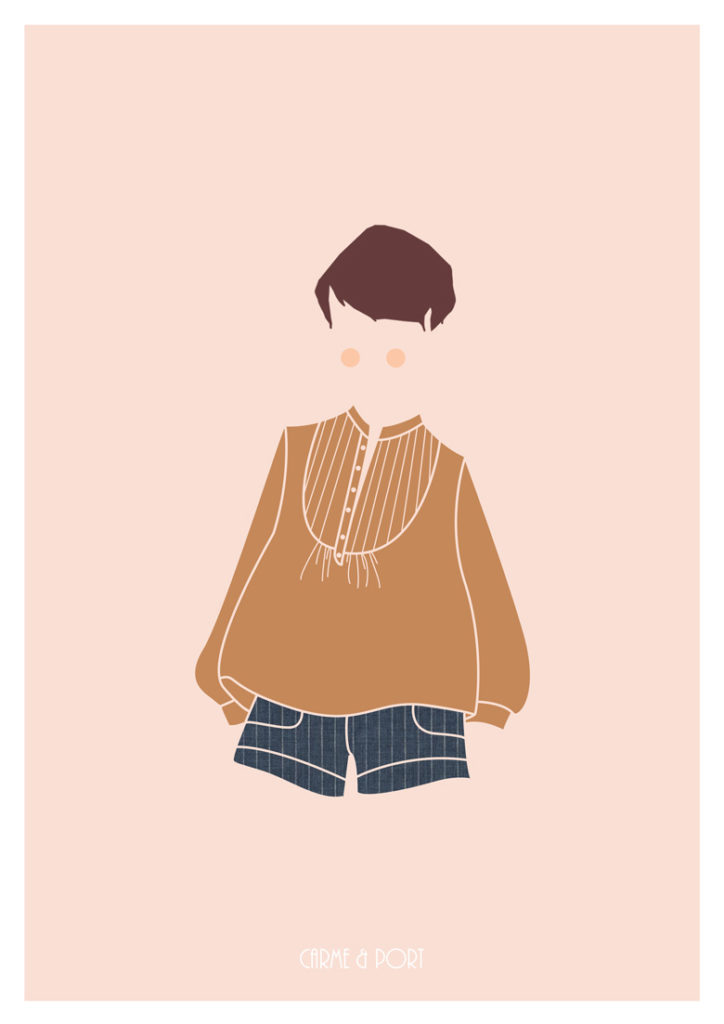
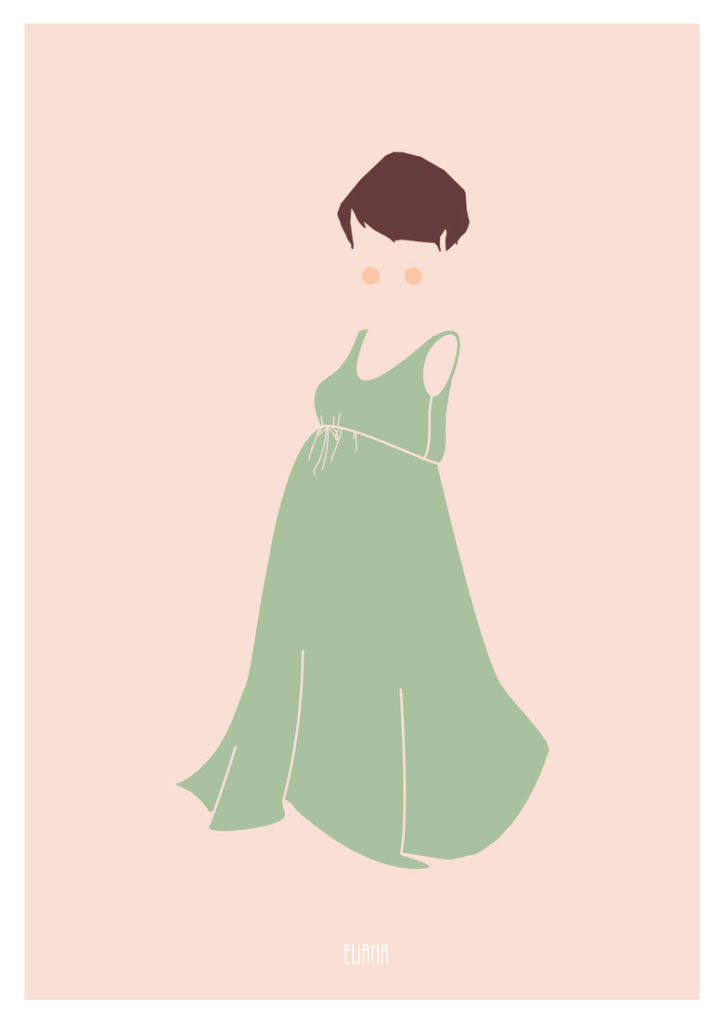
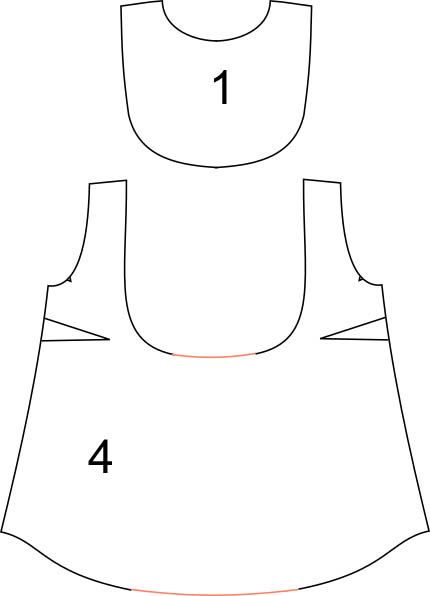 You just need to add fabric on the bodice centre front that will later be gathered and stitched to the front yoke as the original version.
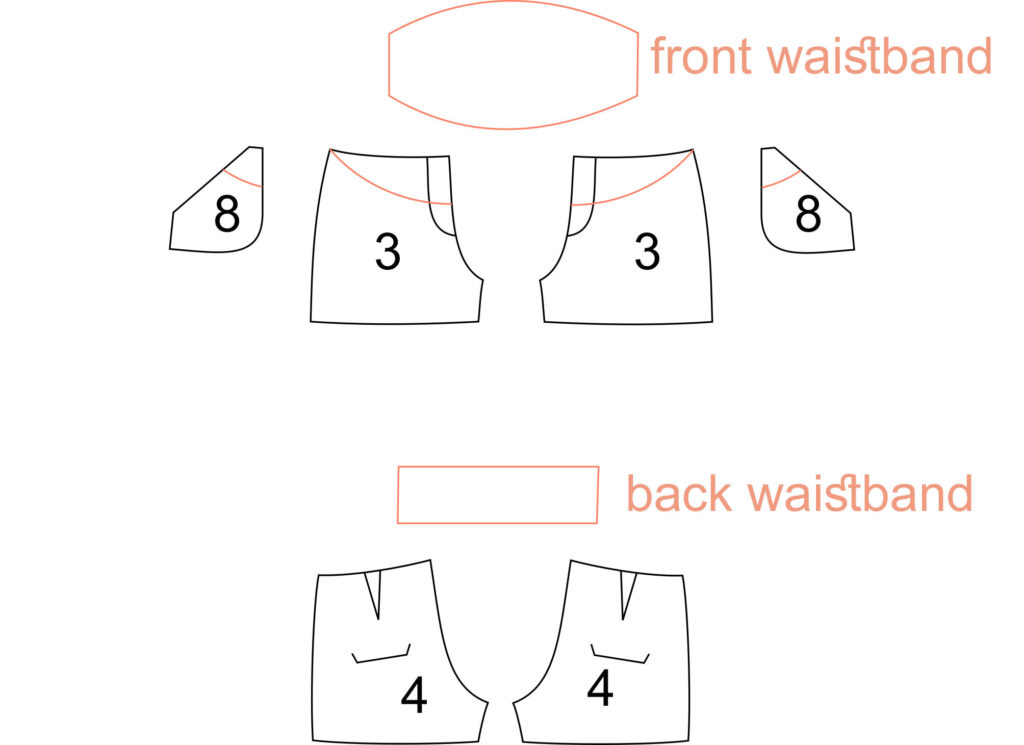
 You need to shorten the
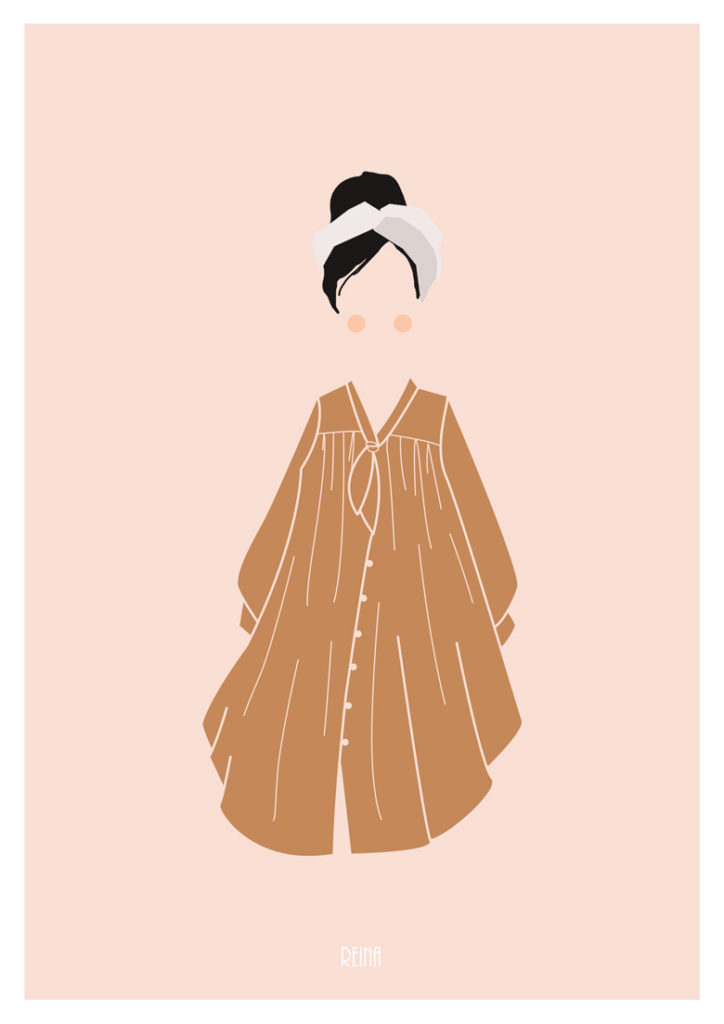
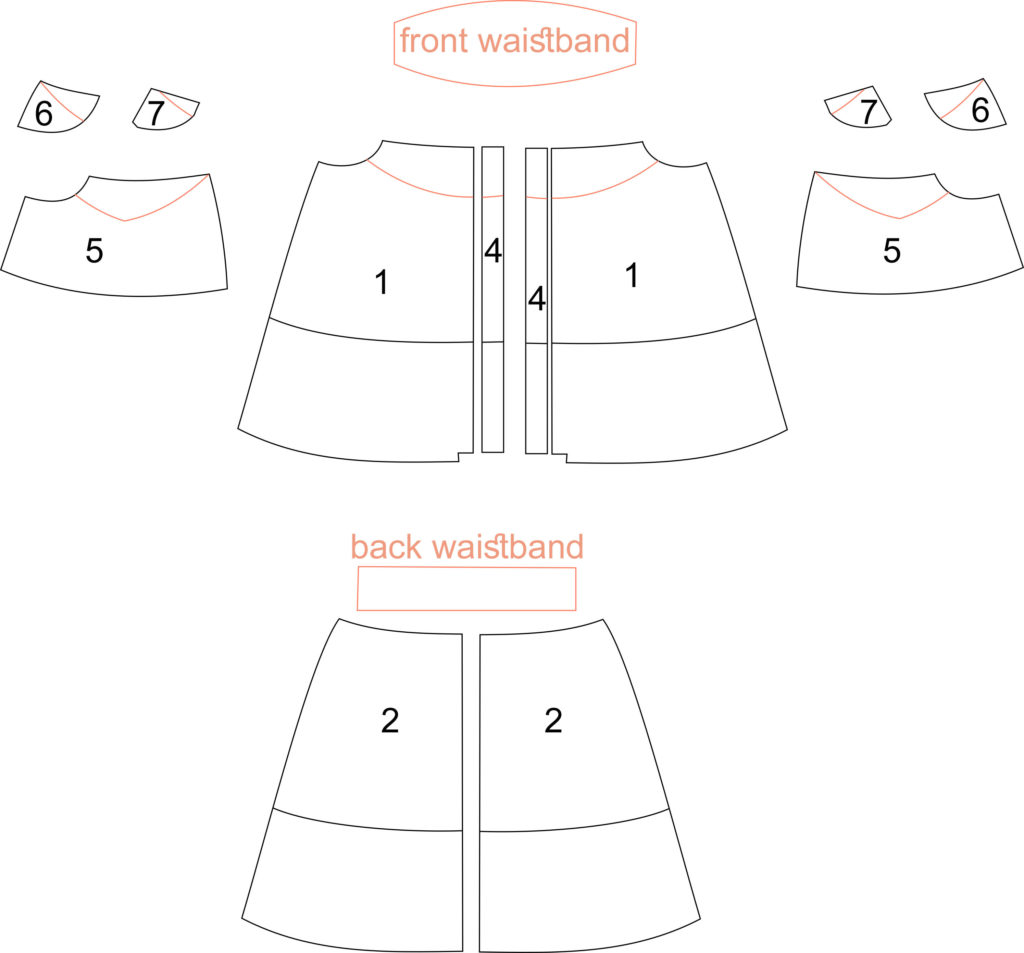 Check out the Port modifications above. You don’t need to make the buttonholes, as the skirt won’t be opened, you can stitch the buttons directly over the buttonbands. Pockets will nedd to be lowered slightly.
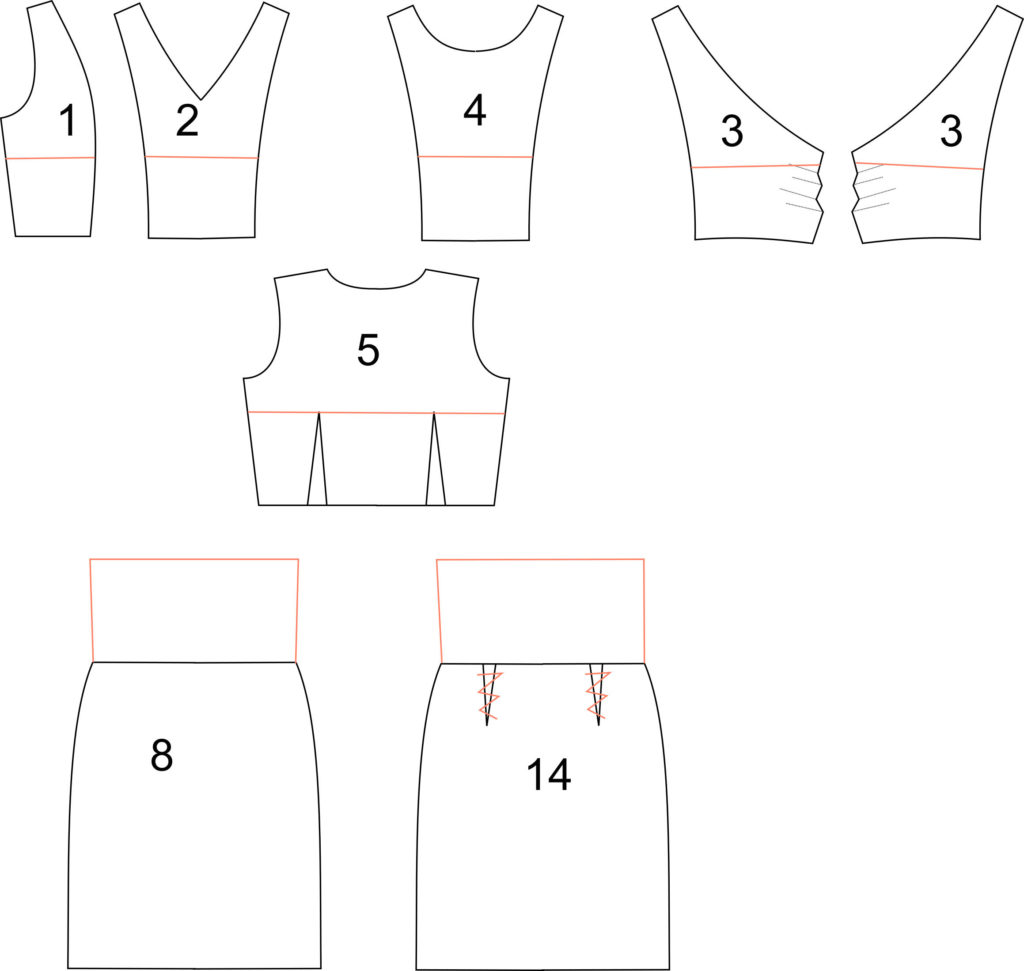 I would shorten the bodice pieces (all three views are compatibles) under the bust and remove the back darts. For the skirt, I recommand using view B, without seams, and lengthen the skirt at the waist. Make sure you choose a fabric with enough stretch ad why not add some soft gathers on the front around the waist?