
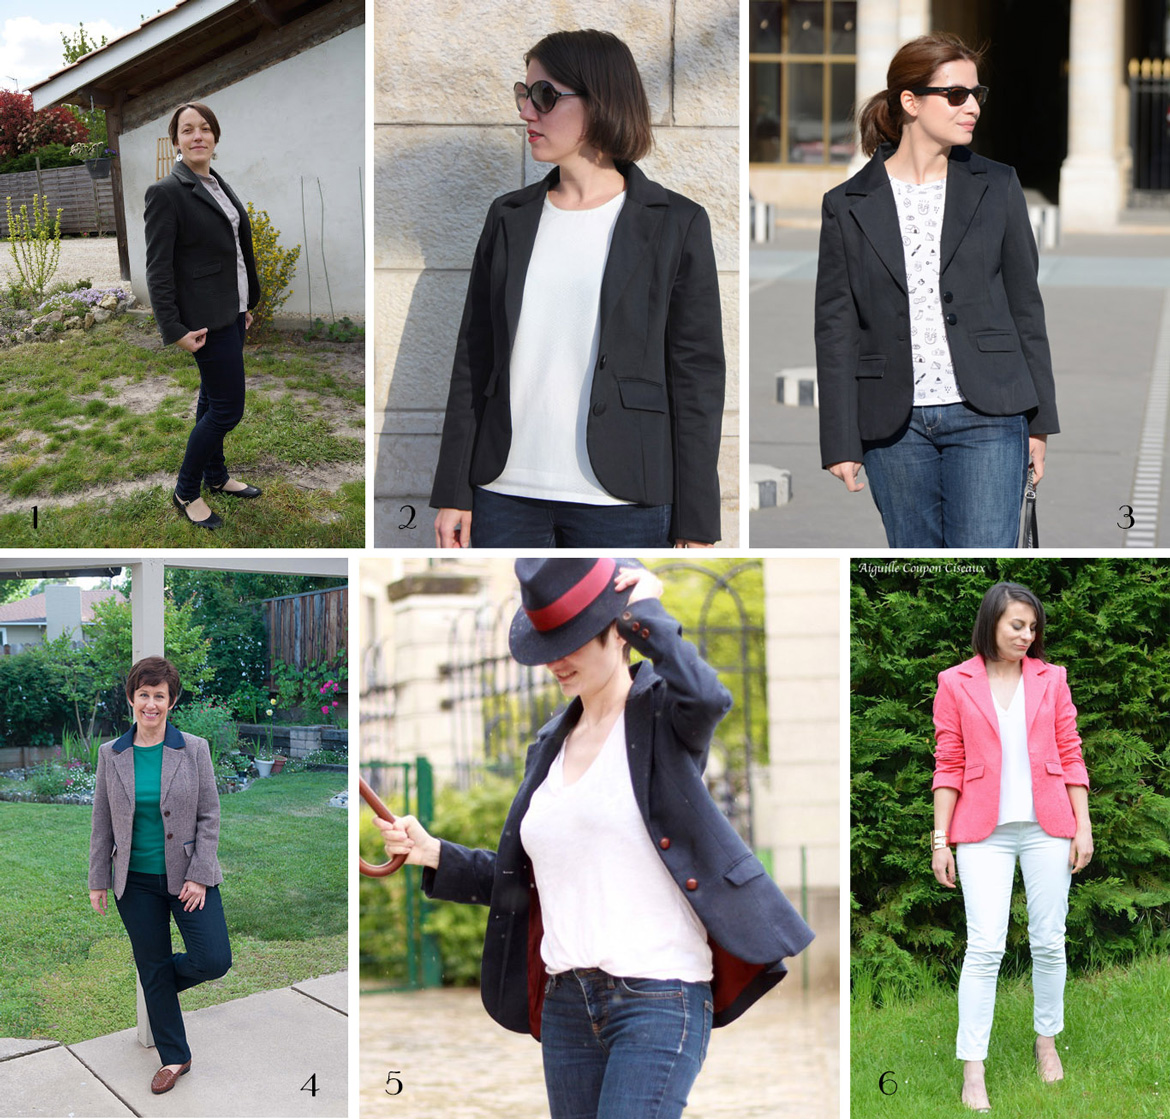
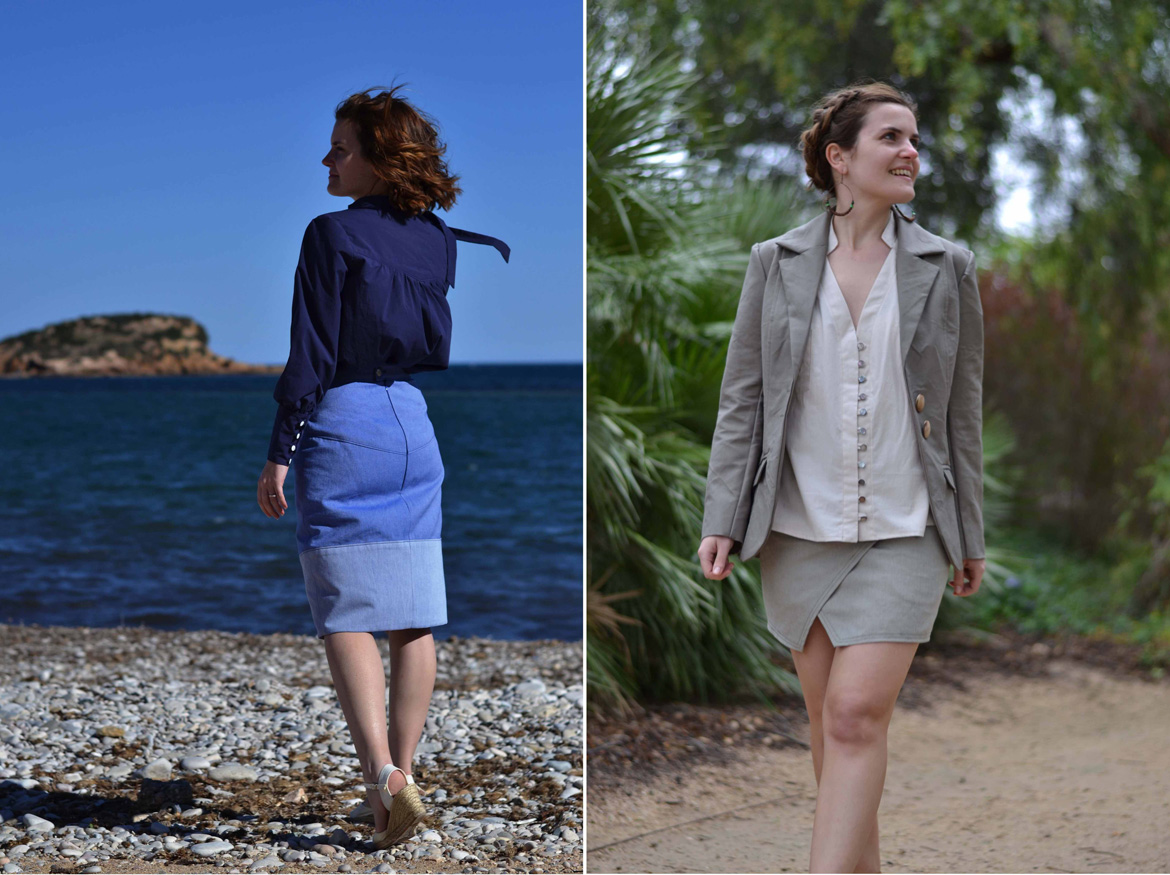
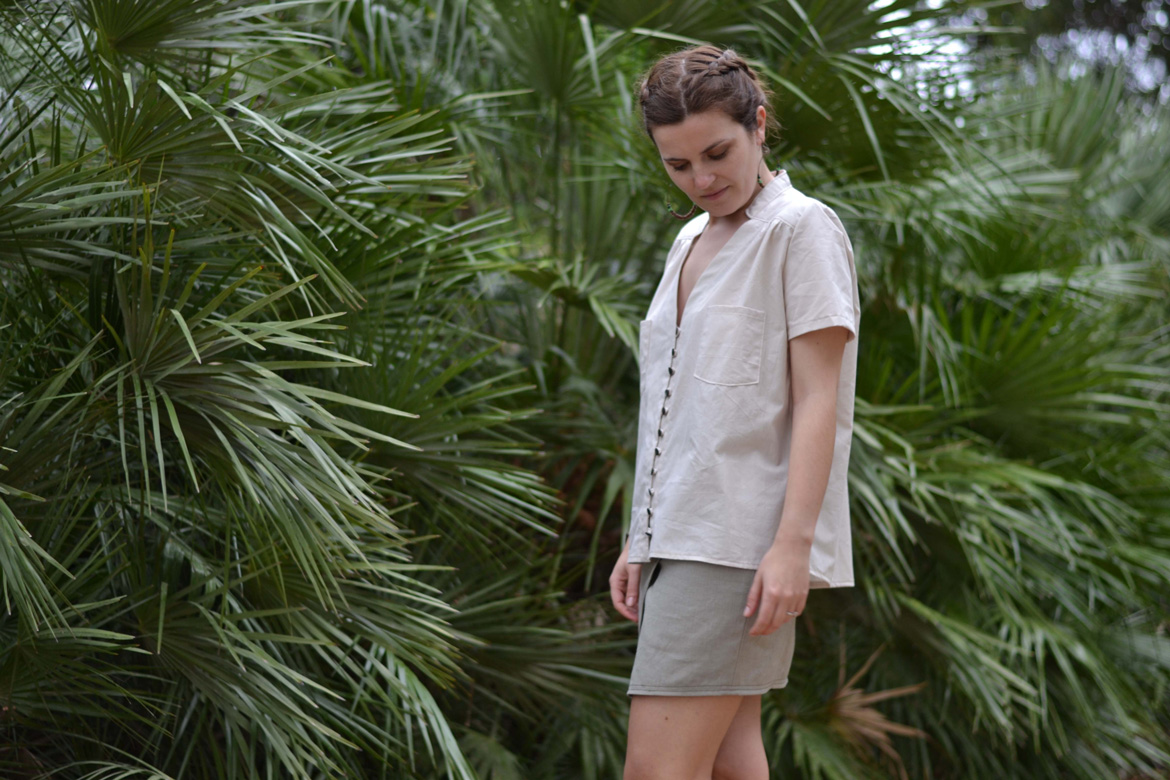
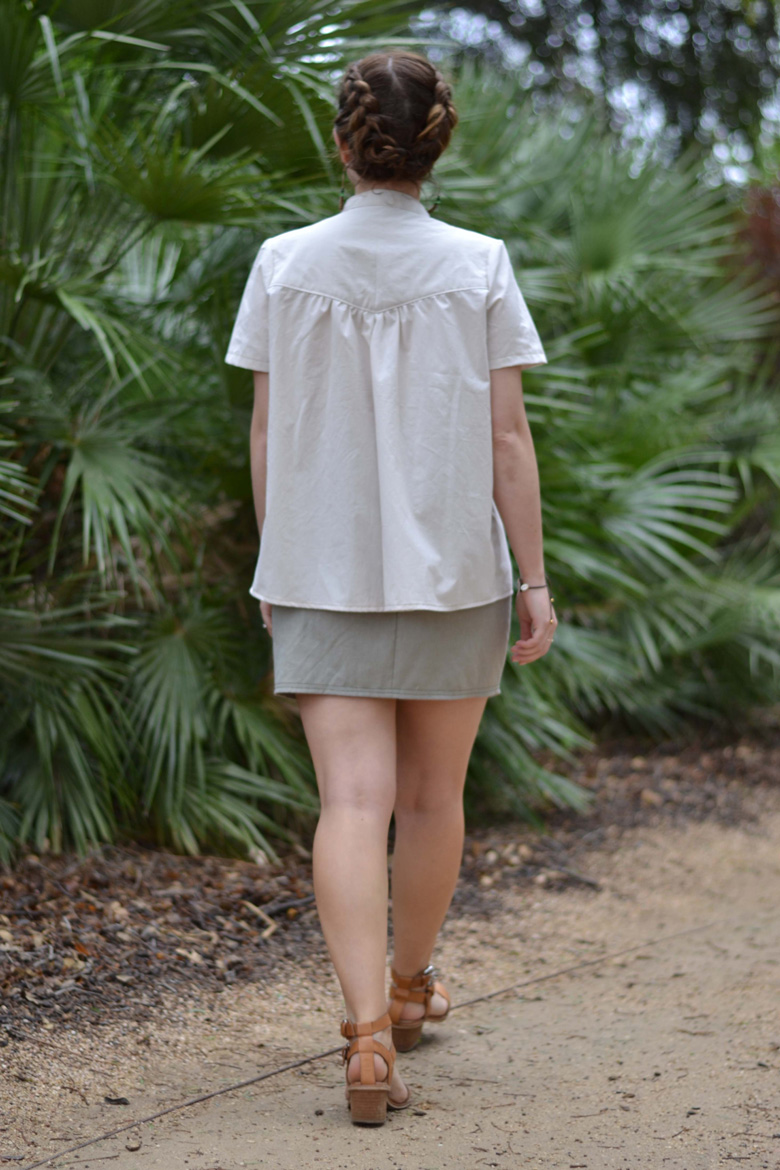
You might know it by now but jackets and coats are my favourite garments to sew. I love the tailoring aspect of sewing, the structure of these pieces, the time and patient hand-sewing involved in such projects.
With the Saler jacket, I wanted to offer a classic pattern with tailored details and timeless style. The pattern includes illustrated instructions and all the pattern pieces you’ll need: interfacing and lining have their own pieces. It’s a time consuming pattern and more recommended for an advanced seamstress but it’s also the perfect challenge for an intermediate one, thanks to the detailled instructions.
The Saler jacket features shoulder princess seams at the front and back for an easy fit, two pieces sleeves with a buttoned vent, double welt pockets with flap, it is partially interfaced following the modern method of fusing interfacing and entirely lined by machine (bagging technic).
The most important steps for making the Saler jacket is to take to amount of time necessary to make a muslin and mark your fabric.
Marking the fabric can be tedious and we often want to start sewing as soon as possible but believe me, when you’re done marking all your jacket pieces, putting them together is going to be so much easier.
As for recommended fabric, you can choose between a classic wool or tweed, linen or crepe for a summery version, gabardine or denim for a more casual look… Just make sure your fabric has a little bit of drape, it’s going to be easier (I don’t recommend using gabardine if you’re not already accustomed with jacket-making as the stiffness of the fabric is going to make it more difficult – I had to set my sleeves 3 times to get an ok sleeve cap, and it’s still not perfect while the sleeves of the jackets I made in light tweed went in beautifully). Another important detail is the choice of interfacing: I like to use weft interfacing as when fused, it follows nicely the drape of the fabric.


Gabardine “driftwood” and “blanc”: les Trouvailles d’Amandine
Wool: France Duval Stalla
I’m finishing the “zoom on” series with this Jacket, I hope you’ll like it!

 1. Sonia


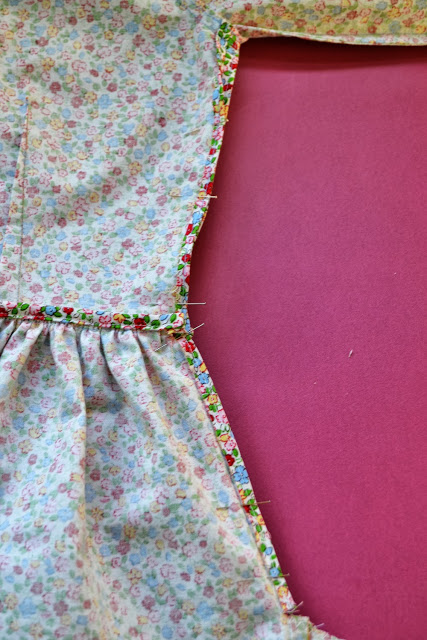
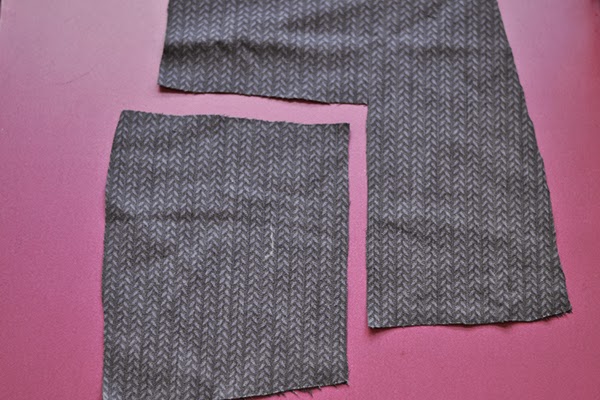 1. Here are your 2 pieces of fabric, right sides facing up. Seam allowances will depend of your pattern (usually 5/8″).
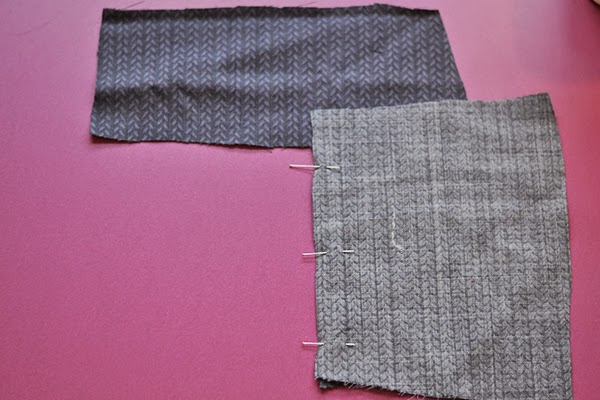 2. Pin the side together. As you can see, the top edges don’t meet: You should have about twice the seam allowance length
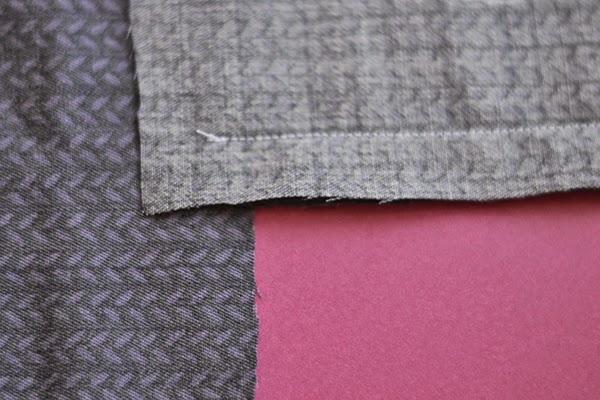 3. Stitch until the apex point (where the seam allowances meet) using short stitches.
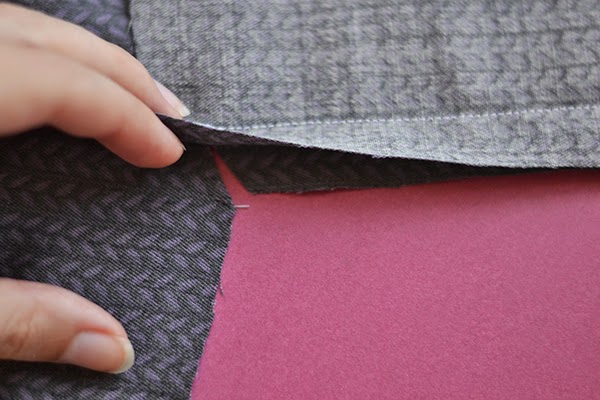 4. Carefully, clip the seam allowance up to the stitching line, (snip into just the bottom layer, the one with the angle in).
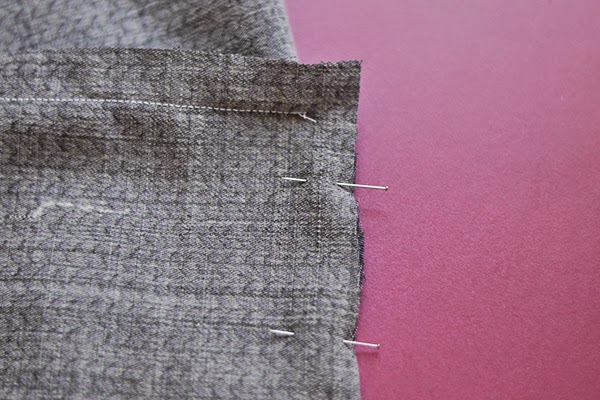
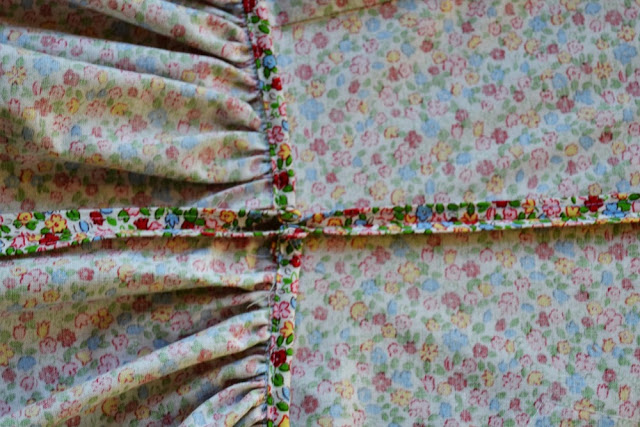
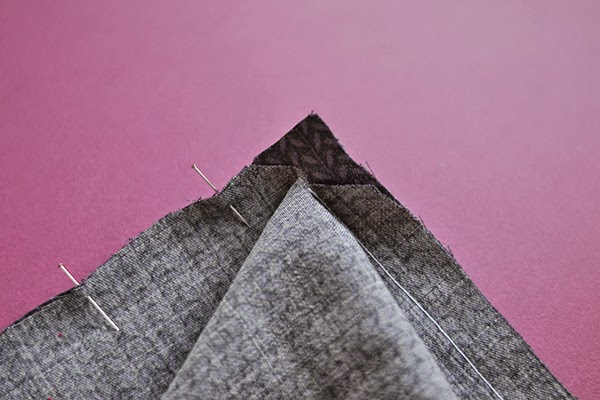 5. Pin the other sides together. You can see how it looks from both sides. Pivot the angle at the apex point so the edges meet and pin.
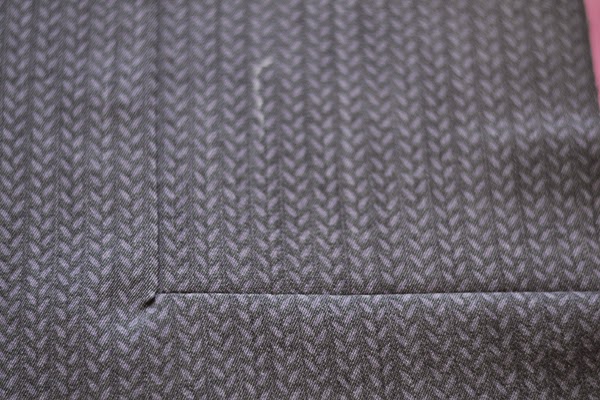 6. Press the seams to the outside. Here is the right side: if you see a little plucker like here, you can clip carefully a little bit closer to the stitches from the wrong side.
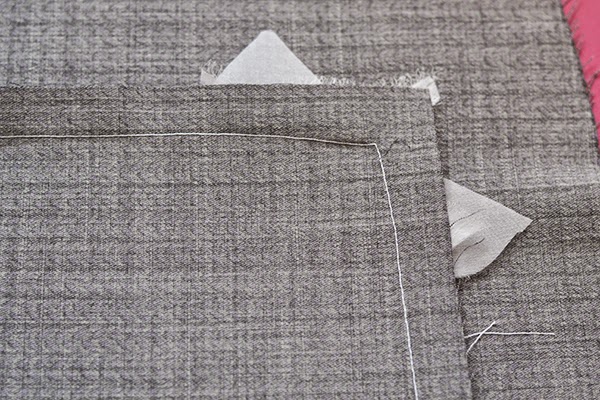
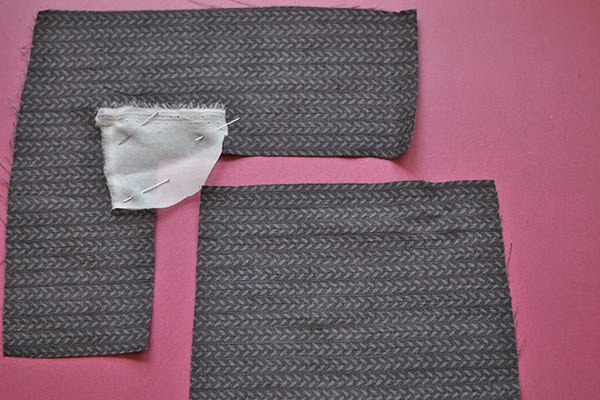 1. Pin a piece of organza over the inside angle, on the right side of the fabric. Make sure the apex point is covered (this is
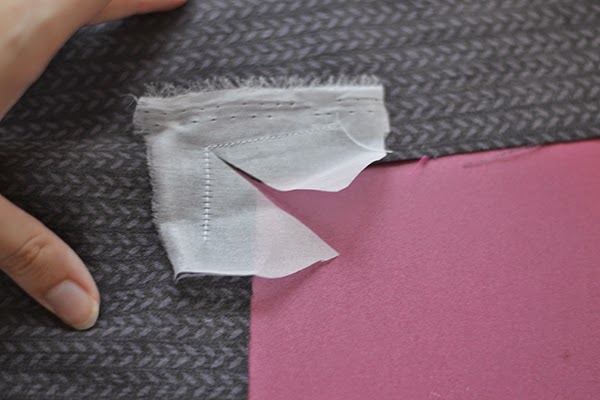 2. Stitch the organza around the angle, pivoting at the apex. Clip both layers diagonally into the corner, as close as possible
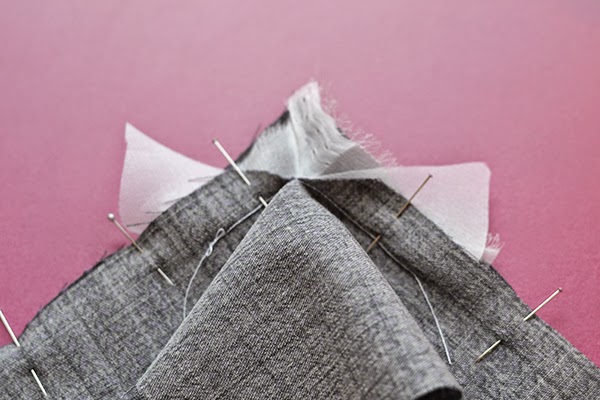 4. Pin the outer angle to the inner angle, using the piece of organza to lay both layers flat against each other. As you can
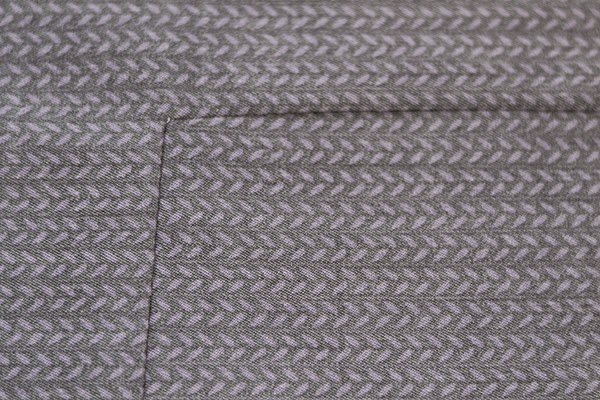
 5. Press the seam allowances to the outside. From the right side and from the wrong side of the fabric.


 Wow! Jen’s dress is amazing! Read more about it at her blog
  Kirsty’s gorgeous Liberty fabric looks so good. You can see more pictures of it here:
  Alicia did a great job with her Camí, I love the colourful fabric. She blogs at
 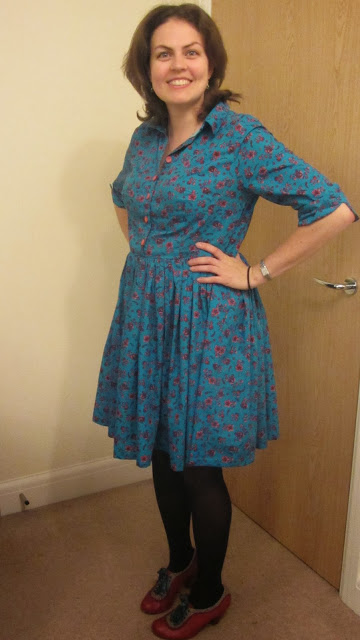 Another bold fabric: Claire from
  Elle went for a total vintage look and I love the contrast cuffs, collar and button placket. If you want to read more about her dress, go check her blog
 Maider from
  Smaida’s winter version is very elegant. See more pictures of her dress on her blog
 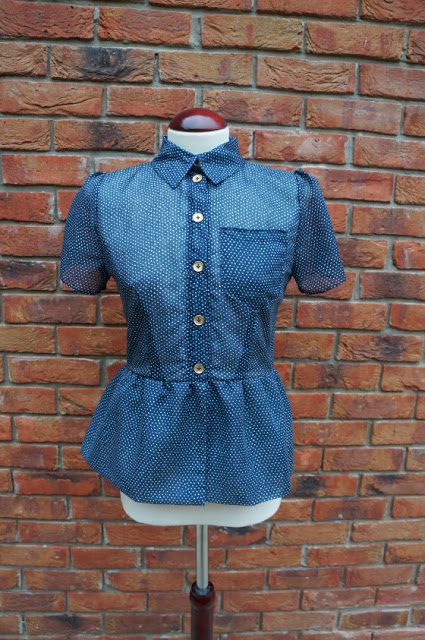 Lara from
 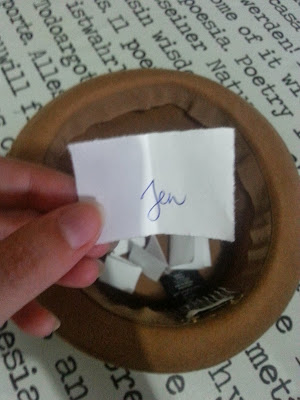 The lucky winner of the next pauline alice pattern is…………. JEN from Tea for Two!


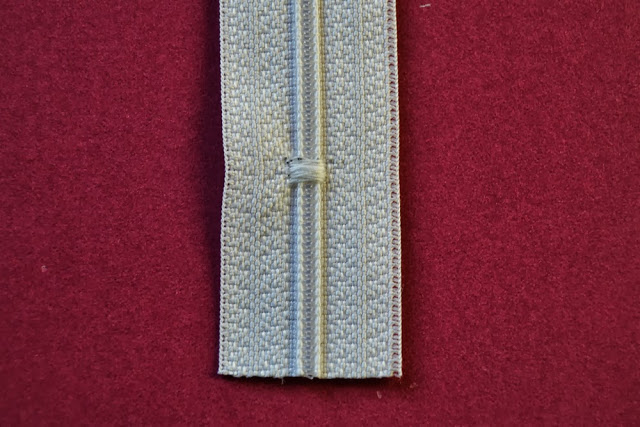 3.If your zipper is too long, secure the teeth closed by stitching over them at the desired length and cut the zipper at least 3 cm longer (1,2″).
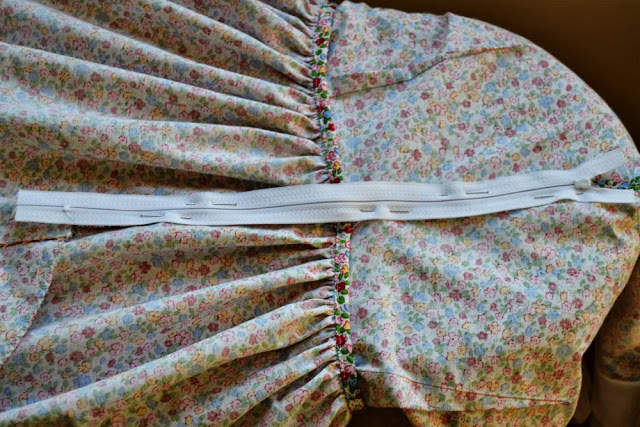 4.Place the zipper face down with the teeth on top of the seam allowances. Match the zipper top to the beginning of the zipper opening. Pin or baste in place. Make sure the zipper is well centered.