I love a full gathered skirt. It’s dramatic and so vintage looking as its emphasize the small of the waist and hides the hips, but sometimes, if your fabric is a little bit on the heavy side, you don’t feel like adding too much volume to your waist seam line.
So let’s see how your can draw a circle skirt for an amazing vintage look as well as a sleeker figure.
This pattern is to be cut twice on fold.
DRAW A CIRCLE SKIRT (PATTERN TO CUT TWICE ON FOLD)
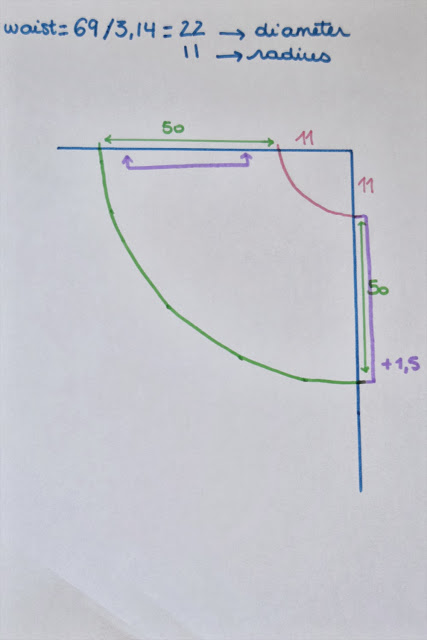 1.Get the finished measurement of the dress waist on the instruction page 2. For example, if you are making size 36, the waist finished measurement is 69 cm (27″). Divide it by 3,14 to obtain the diameter of your circle skirt pattern.
69 / 3,14 = 22 cm (approx.)
Then you need to divide it by 2 to have the radius.
22 / 2 = 11 cm
2.Start your pattern drawing a line the desired length of your skirt (for me 50 cm/20″ is a great length) and of your radius. For me, that would be a total of 61 cm (24″).
3.Draw a perpendicular line with the same length. Draw the waistline connecting the radius points in a nice and even curve. Do the same for the hem line.
4.Add the following seam allowances: 1,5 cm (5/8″) at 1 side seam and the waistline (not on the drawing, sorry) and the desired length at the hem. Draw a “cut on fold” bracket on the other side seam and you’re done.
ADD A LINING
1.This one is very easy! If your fabric is see-through or too light, you might want to line it. Take your skirt pattern and cut the 2 pieces in your lining fabric. Stitch the side seams together leaving the zipper opening unstitched and gather the waistline.
2.Attach the lining to your finished skirt before sewing it to the bodice. Treat the skirt and lining as one when attaching it to the bodice and setting the zipper in.
3.Hem the lining slightly higher than the skirt.


 2.Fold the pocket over and press the seam allowances toward the pocket.
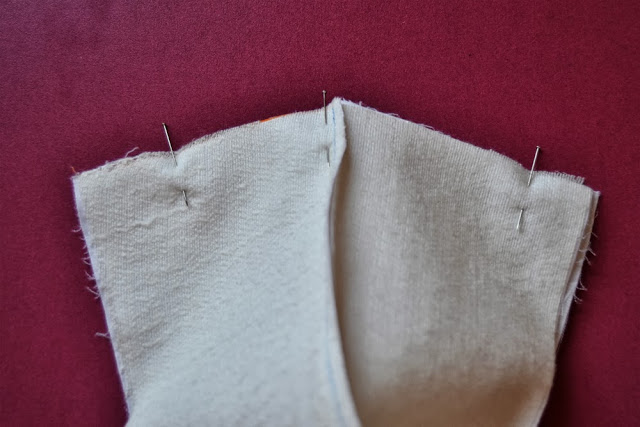
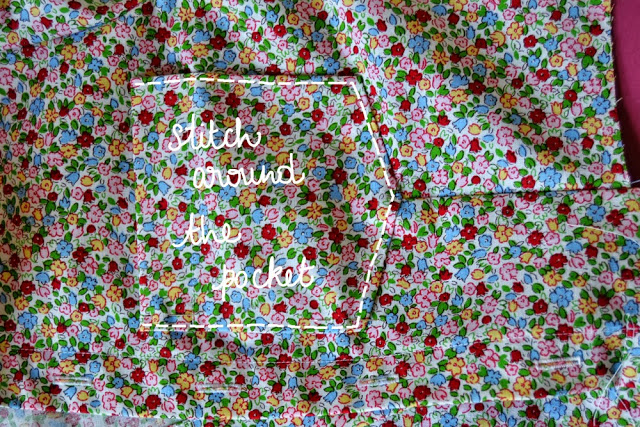
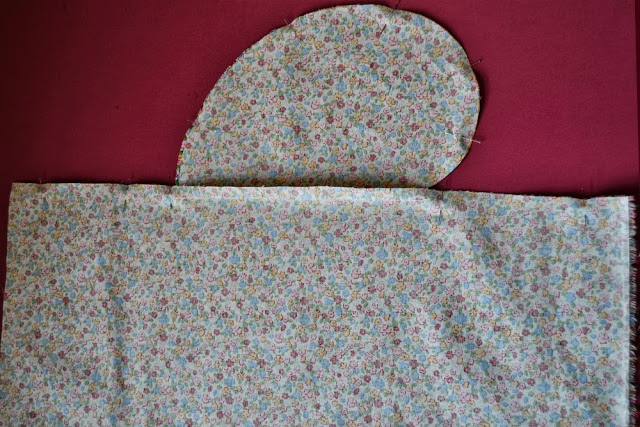 1.On the right side, match the seams of the two skirt pieces together all around the pockets, with right sides together and pin.
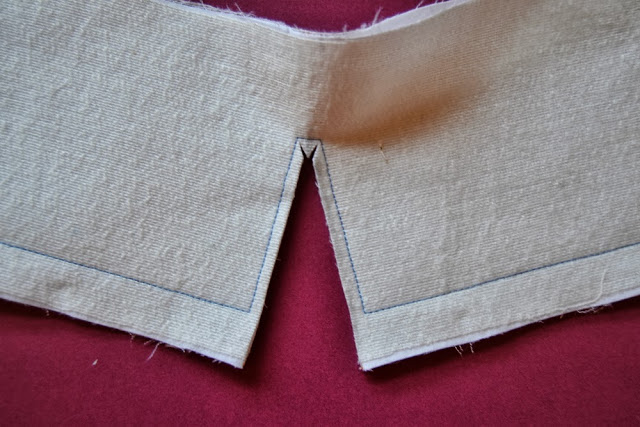
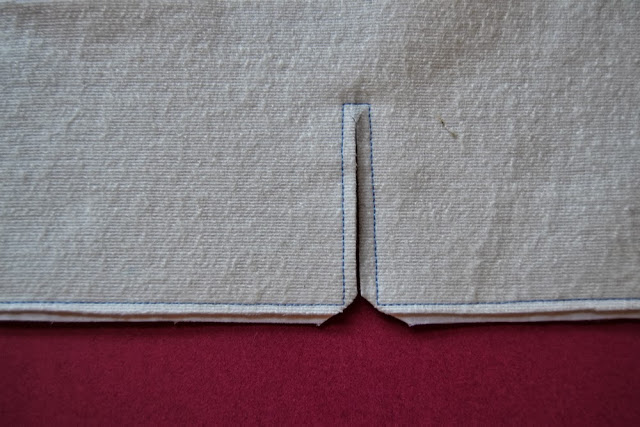
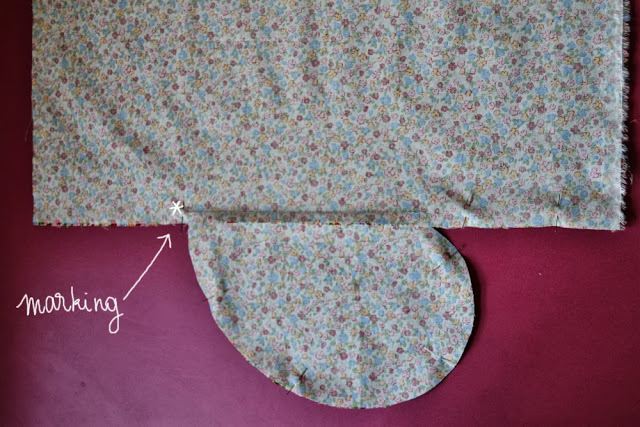 3. If you insert a regular zipper on the left side (that’s what I will do), match the seams, pin and start stitching from the zipper mark to the hem.
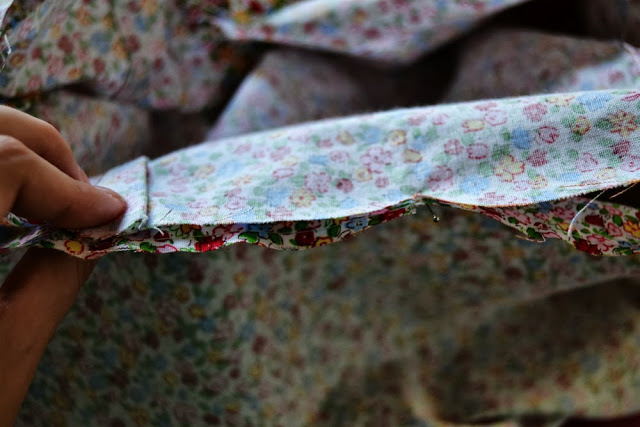
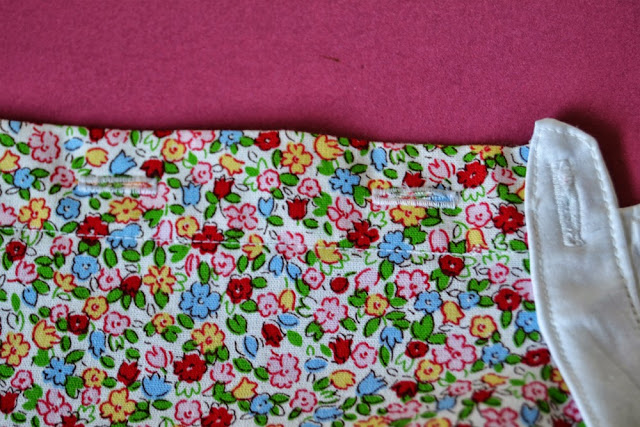
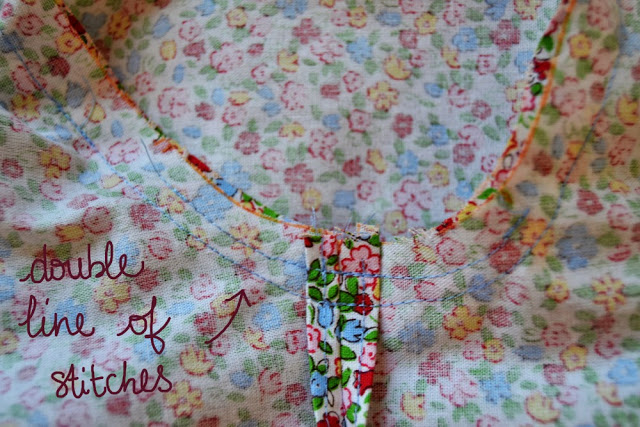
 1.On the skirt waist seam, baste 3 lines of stitches at 1,5 cm, 1 cm and 0,5 cm from the egde (5/8″, 3/8″ and 1/4″).
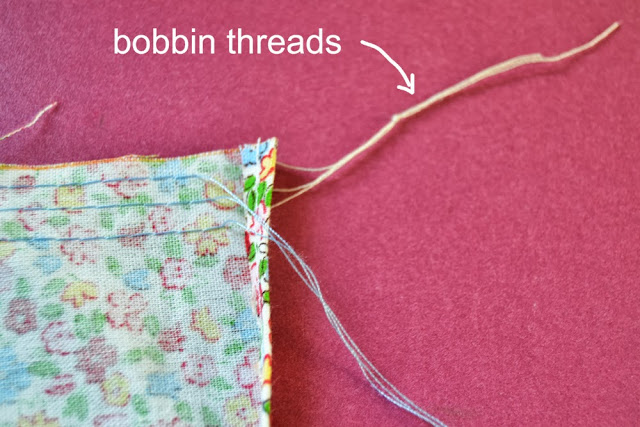
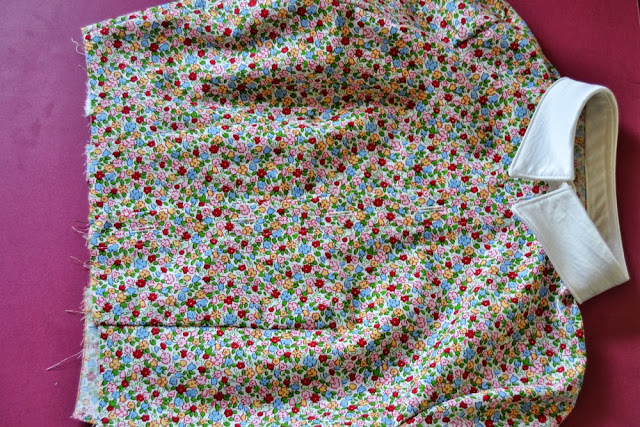
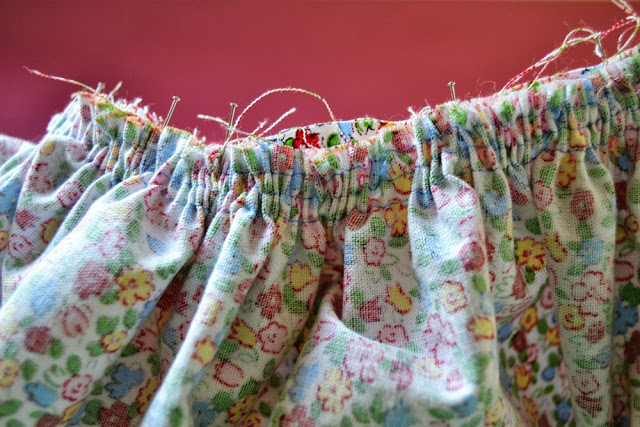 3.Match the skirt side openings, front and back center, side seam to the corresponding bodice marks, with right sides together and pin. Gather the skirt between the marks until it fits the bodice.
 1.Mark the buttonholes on the right side and the buttons on the left side. Mark the buttonhole and button on the under collar as well.
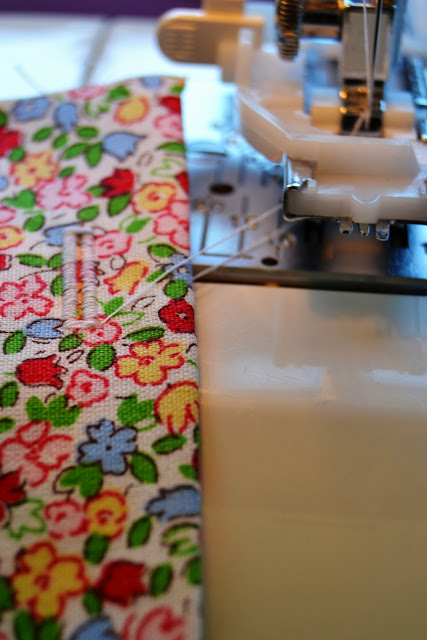 2.Stitch the buttonholes on the right side. Sew the buttons on the left side.
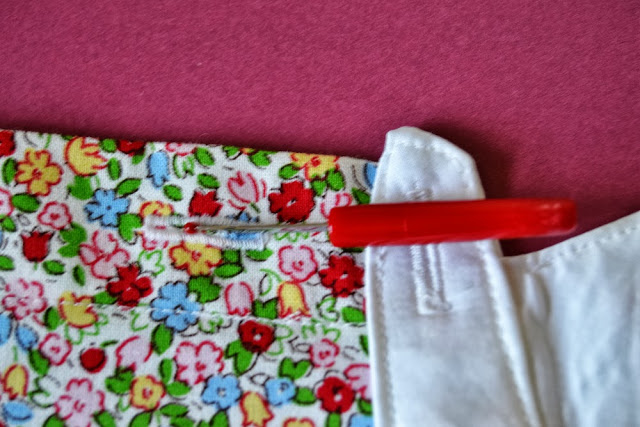


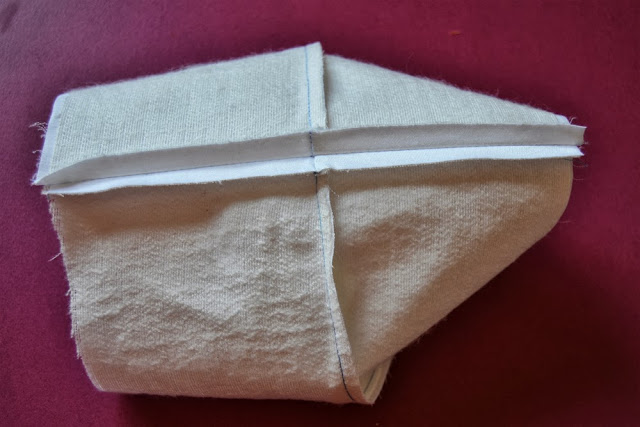
 1.Take your two cuff pieces, already interfaced and place them with right side together. Make sure the opening is marked (I drew only the slit but you can draw the whole box as in the pattern, it’s easier).
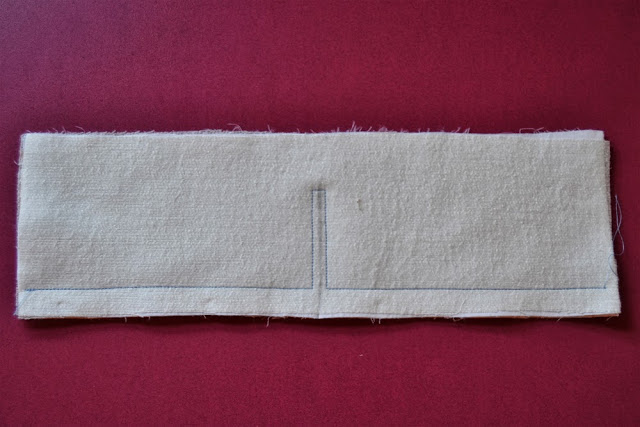
 6.Press the seam open.
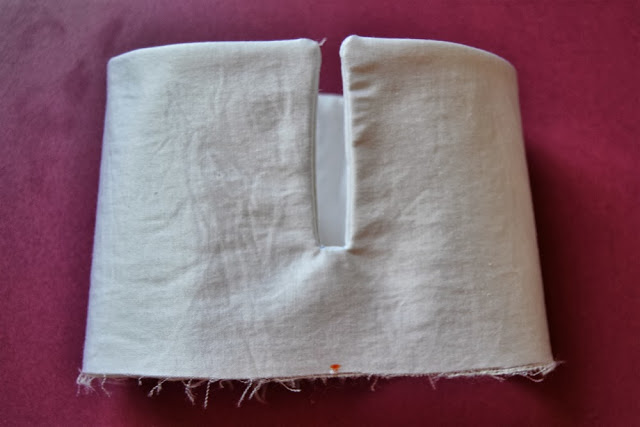 7.Turn the cuff inside out and press.
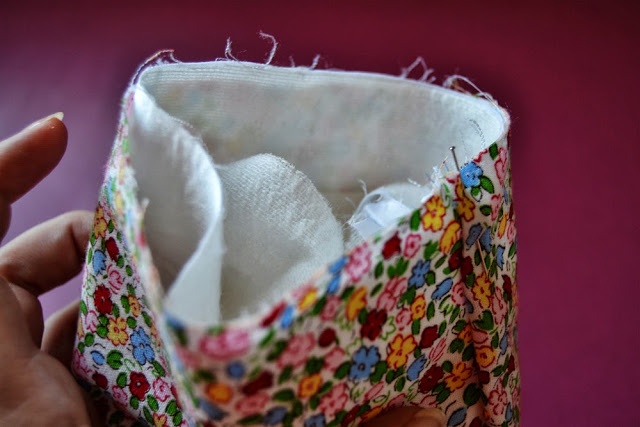
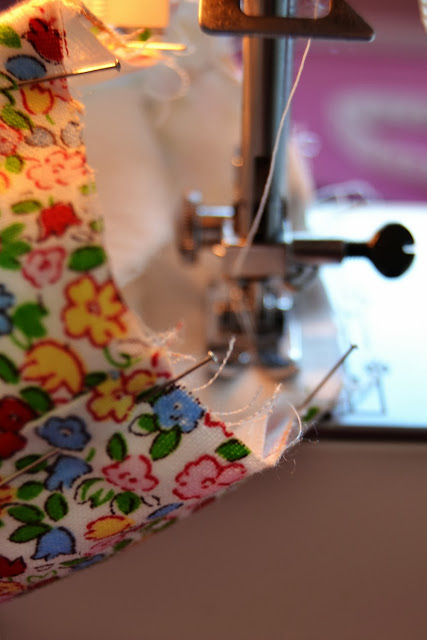 1. Now comes the tricky step: matching the cuff seam and the sleeve seam, pin the cuff inside the sleeve hem. Look carefully at the pictures and try before sewing. We will stitch the cuff like we would stitch bias binding. So the cuff right side is against the sleeve wrong side (believe me, try it! I inserted my first cuff on the wrong side.) When you have pinned it, stitch. Trim the seam allowances and press toward the cuff.
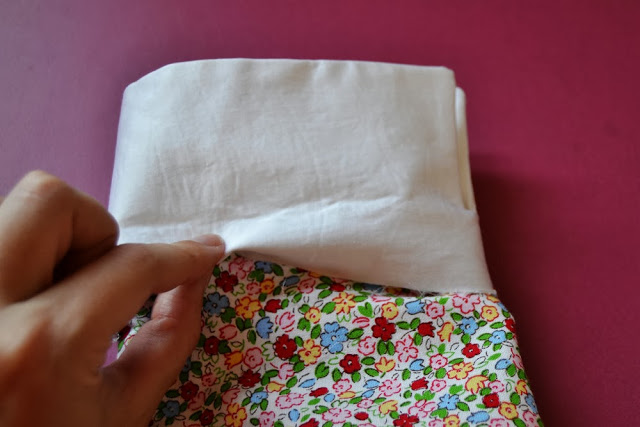
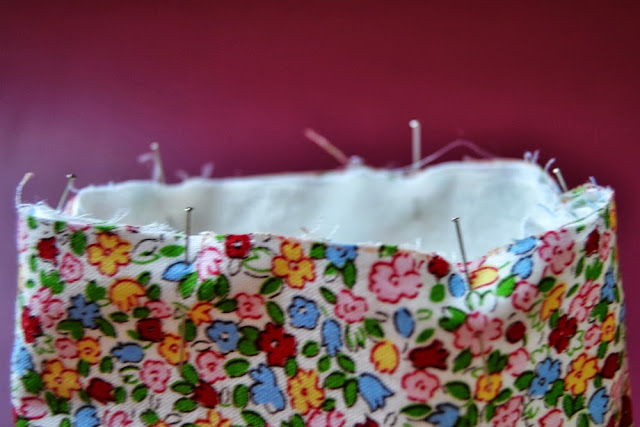
 2. Take the cuff out of the sleeve and press the seam allowance toward the cuff.
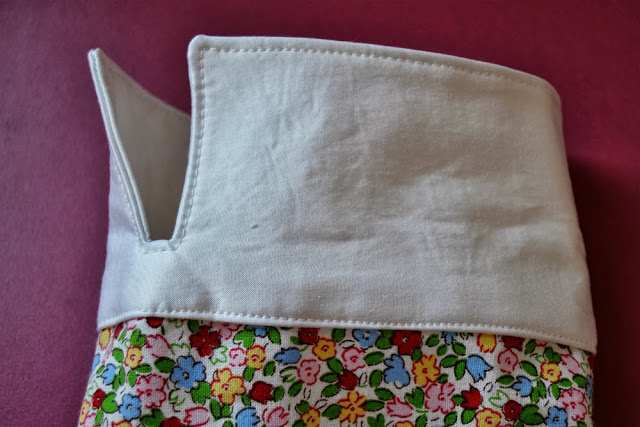 3. Topstitch!
 1.The first step is to make sure you have marked your fabric correctly. Take your sleeve piece and check that you have marked: the dots for easing, the top center, the two marks indicating the back and the one mark indicating the front. Those are important in order not to set the wrong sleeve in the wrong armhole!
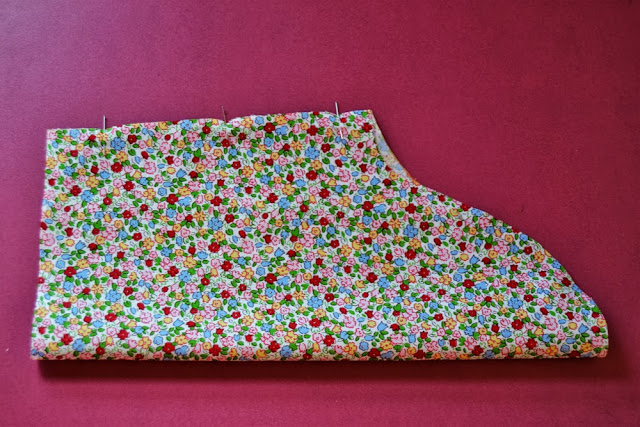 1.With WRONG sides together, pin the sleeve sides.
 4.Turn over, with wrong sides out and press the seam flat.
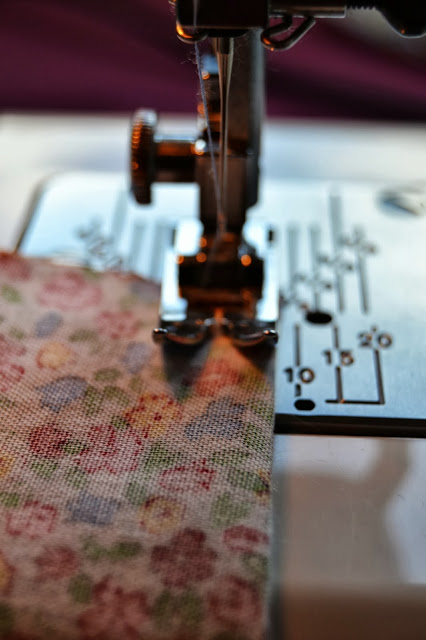 5.Stitch the side seam again at 0,6 cm (1/4″) or the presser foot width. You will be enclosing the seam allowances, creating a clean finition. Press the seam to one side.
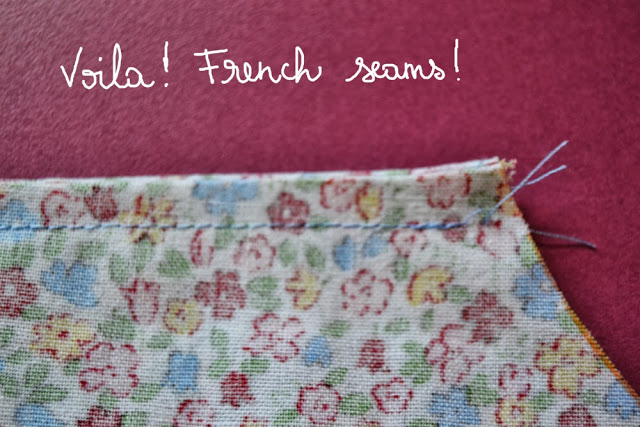 SET THE SLEEVE IN
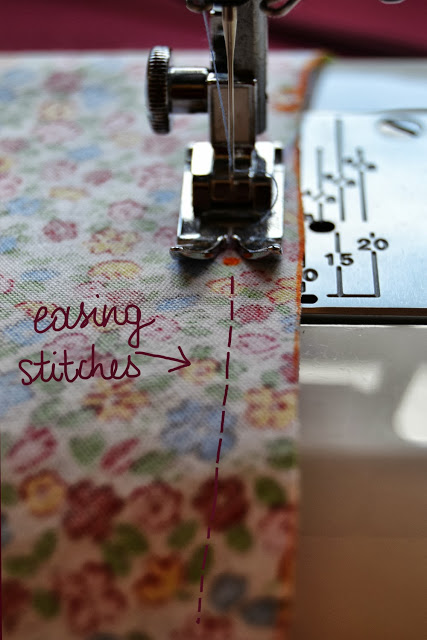 1.With a long basting stitch, ease the sleeve head from one dot to the other.
 3.When they match, pin and ease the fabric excess of the sleeve head with the basting bobin thread, making sure there is no pleats. When it fits perfectly, pin everything (don’t be afraid to over-pin!).
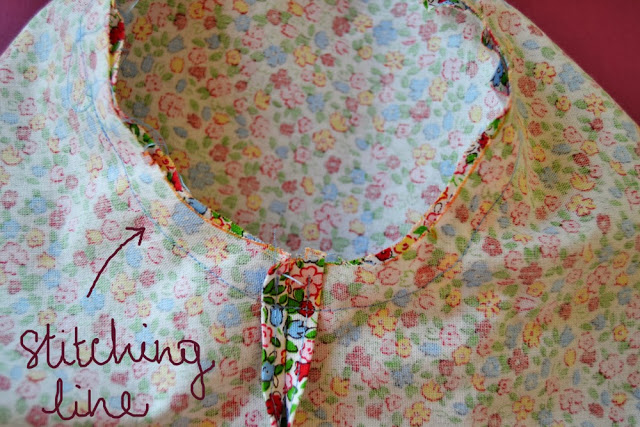
 4.Stitch around the armhole. Make sure there are no pleats at the sleeve head.
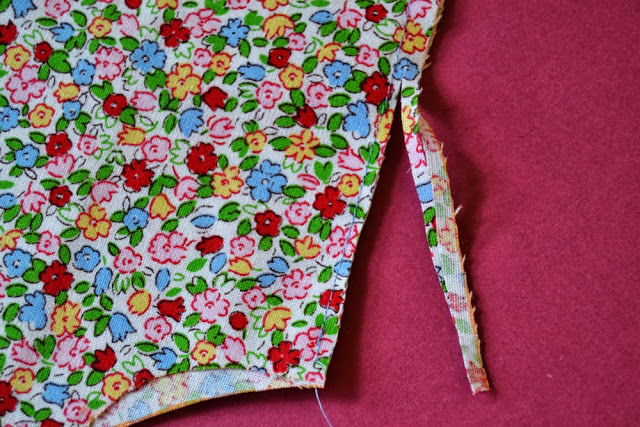
 2.Place the pocket over the bodice front left side and pin it matching the pocket bottom to the dart leg. Adjust the height as prefered. Mine is situated just over the bust apex.
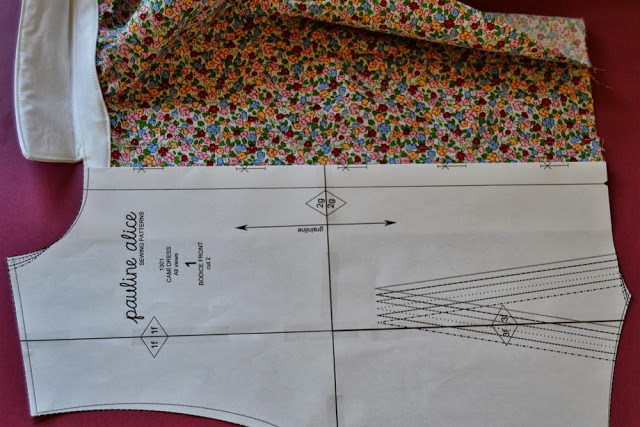
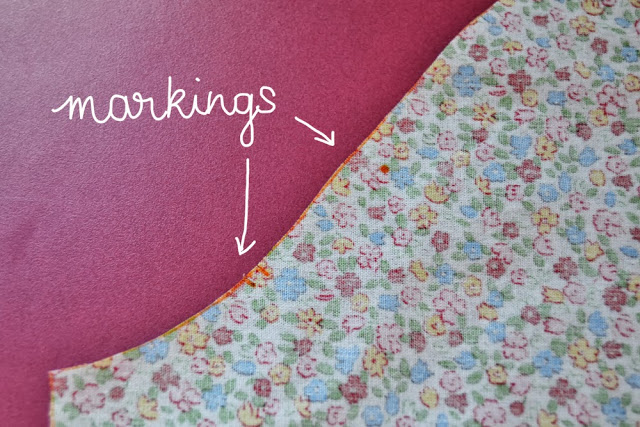
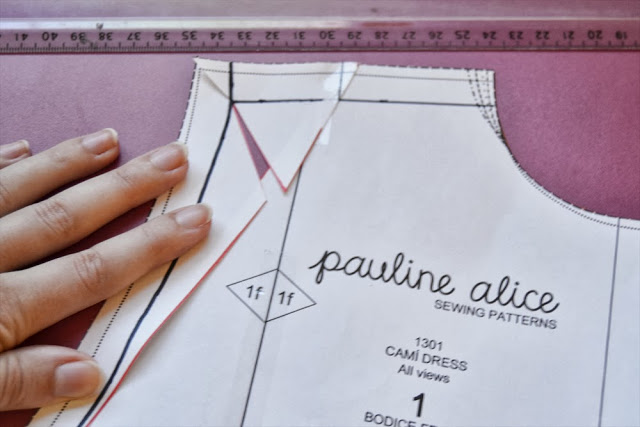
 1.Take your bodice front piece and make sure you have transfered all the markings (dart, sleeve marking, zipper marking).
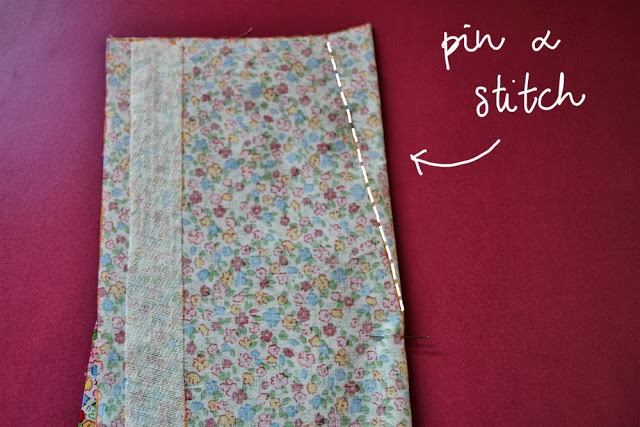 2.Fold the dart in the center with right sides together, matching up the dart legs. Pin into place.
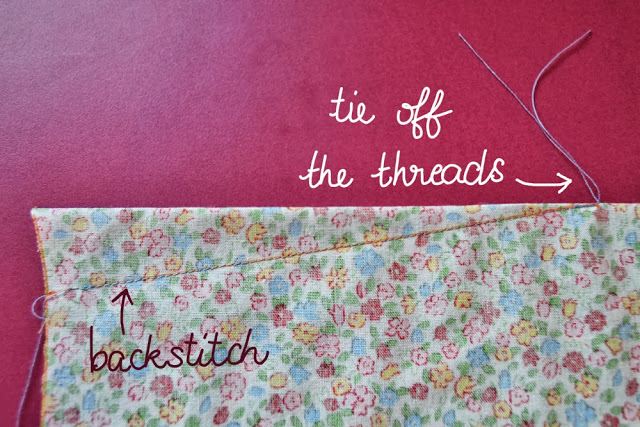 3.Stitch the dart: backstitch at the beginning but not at the end. When you arrive at the dart tip, tie off the threads.
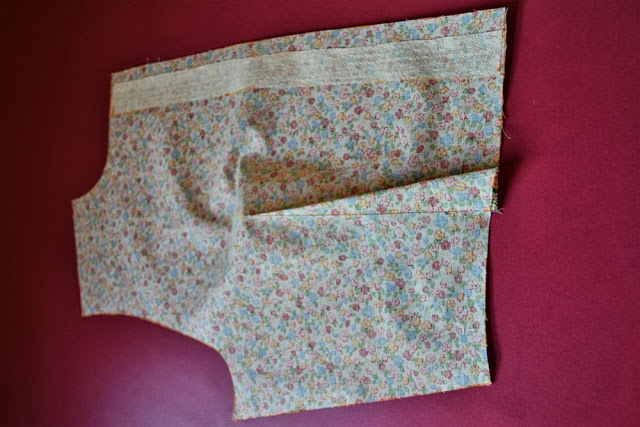 4.Press the dart toward the center.
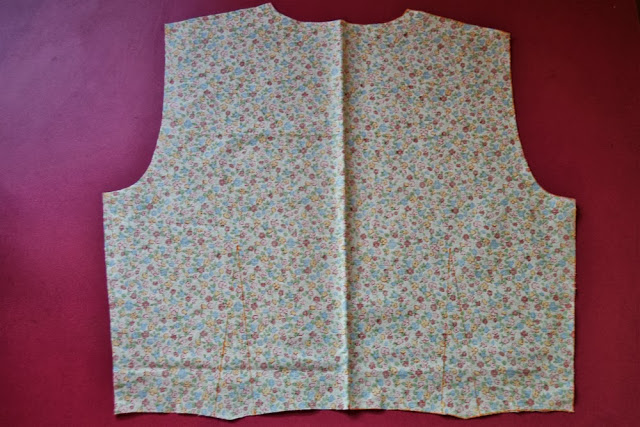 1.Take your bodice back piece and report all markings (darts, waist and collar center, sleeve and zipper markings).
 2.Stitch the darts like for the bodice front and press them toward center.
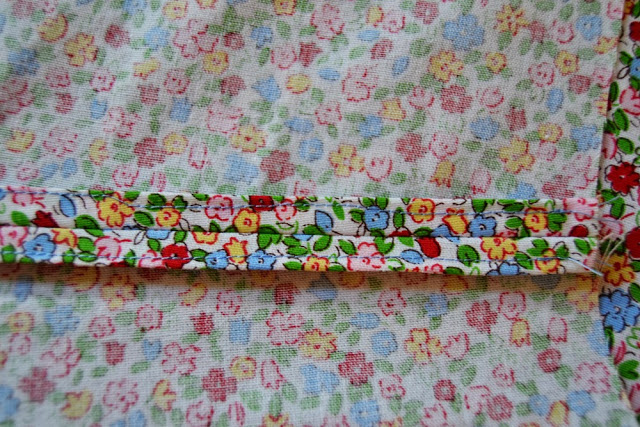 2.I decided to make a turned-and-stitched finish.
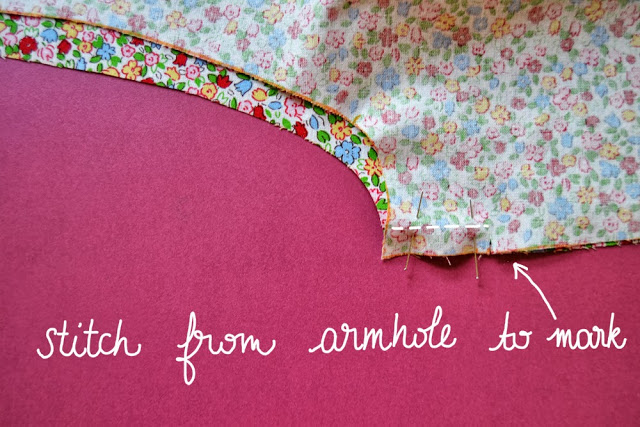 3.On the left side, stitch from the armhole to the zipper marking. Depending on how you finish you seam allowances, you might want to finish them before stitching the side seam (serger, zig-zag).
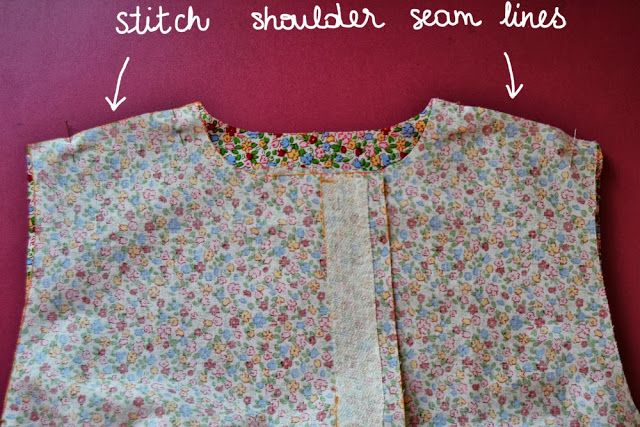 1.Pin the shoulder seams together with right sides together and stitch. Press the seams allowances open and finish them.
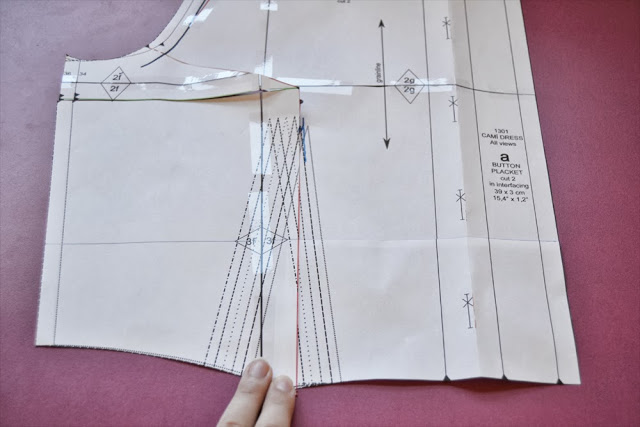
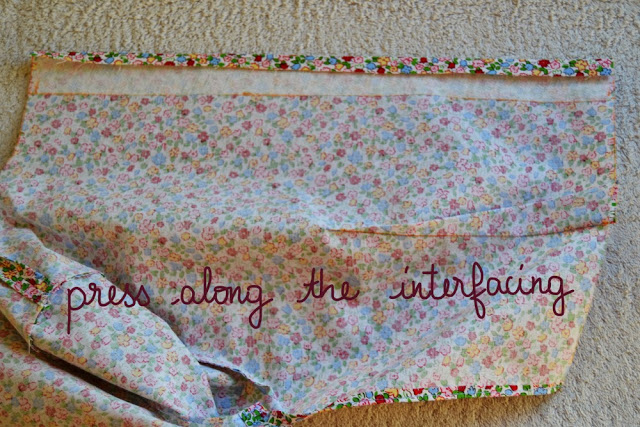 1.Take the bodice front. Fold and press the fabric margin (1 cm, 3/8″) along the interfacing, following the markings, like on the picture.
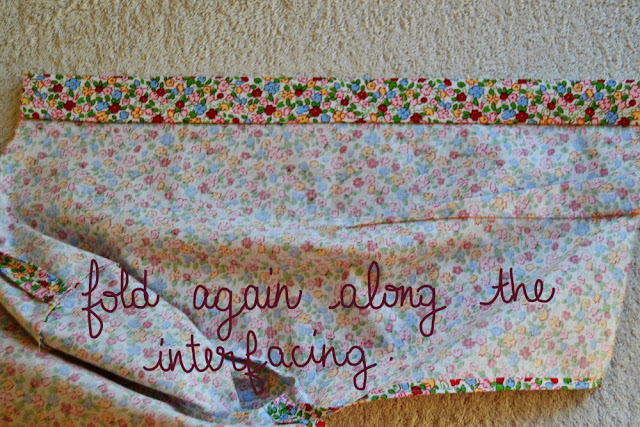 2.Fold again follwing the markings (3 cm, 1,2″) and press.
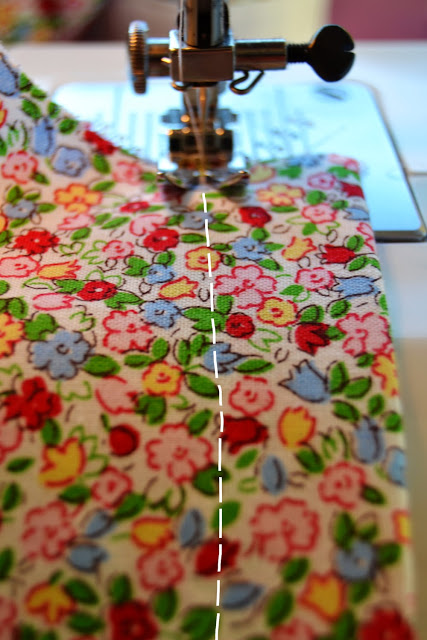 3.On the right side, stitch very close the fold. Repeat on the other bodice side.


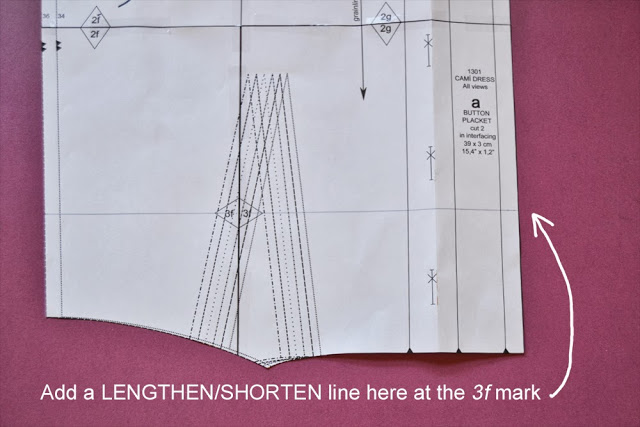 1.If the waist line of the muslin doesn’t hit at your natural waist, you might want to lengthen or shorten the bodice. First, you’ll need to add a lengthen/shorten line. It’s not on the pattern but it can be added at the 3f mark.
 3.To shorten the bodice, bring the pieces over each other and paste.
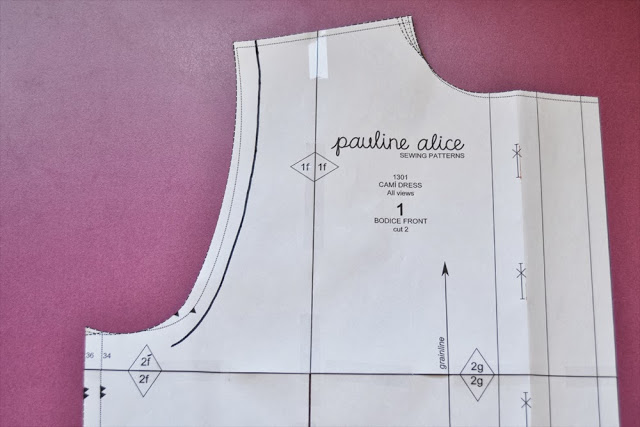 1.Draw the seam allowance line around the armhole (1,5 cm or 5/8″).
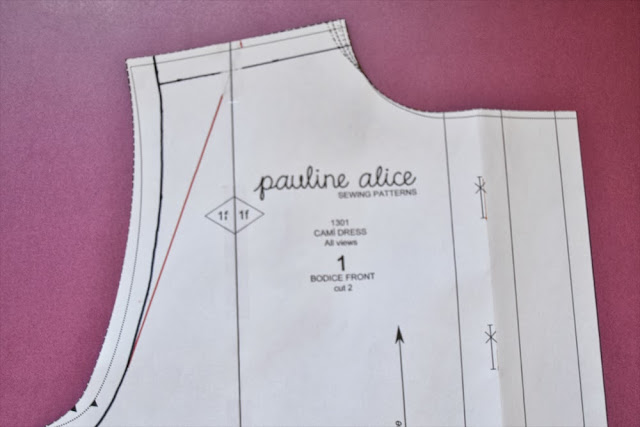 2.Draw the other seam allowance line at the shoulder (black). Join the shoulder center to the armhole line: red line.
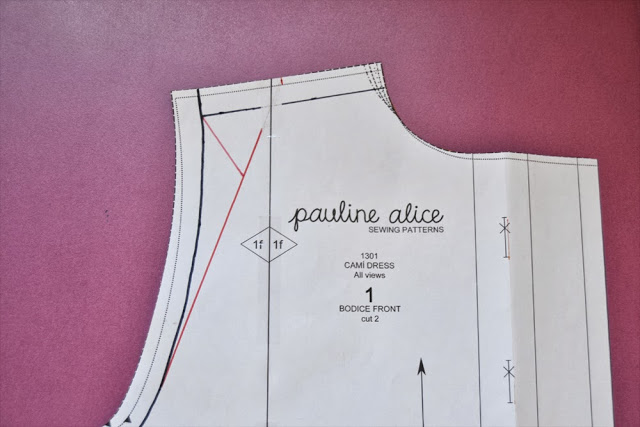 3.Draw a line from the shoulder angle to the red line.
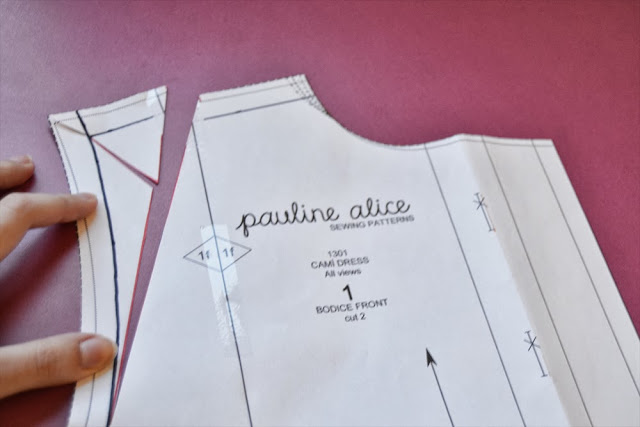 4.Cut the red lines making sure not to cut the black line. You now have a pivot point.
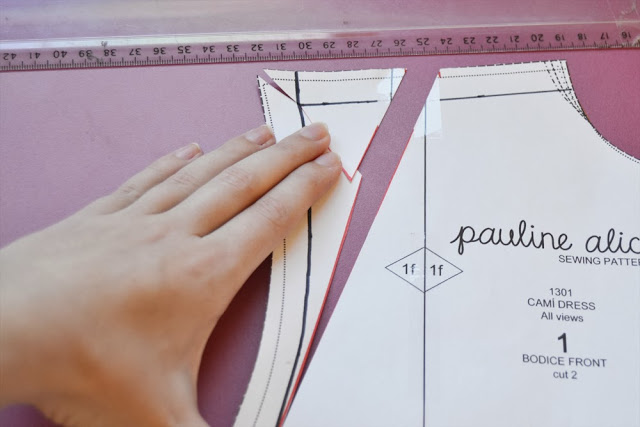
 5.To widen the shoulder, add the desired ease and paste over a piece of paper. To narrow the shoulder, bring the pattern pieces over and paste. Report changes on the back pattern piece.
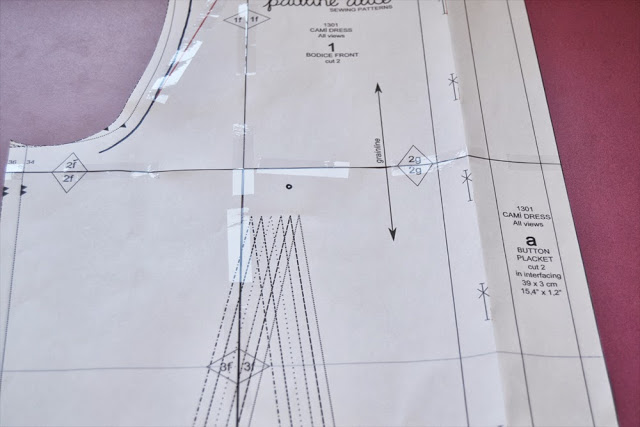 1.Draw the bust apex about 2 cm (0,8″) above the dart point.
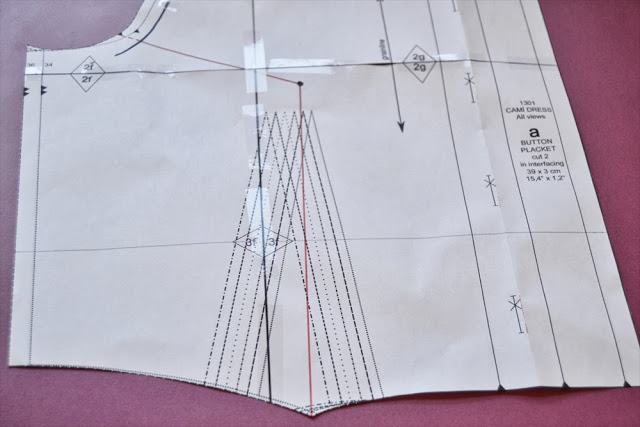 2.Draw 2 lines (in red) from the bust apex: one going to the middle of the dart legs and the other one going to the armhole (I joined mine to the triangle mark).
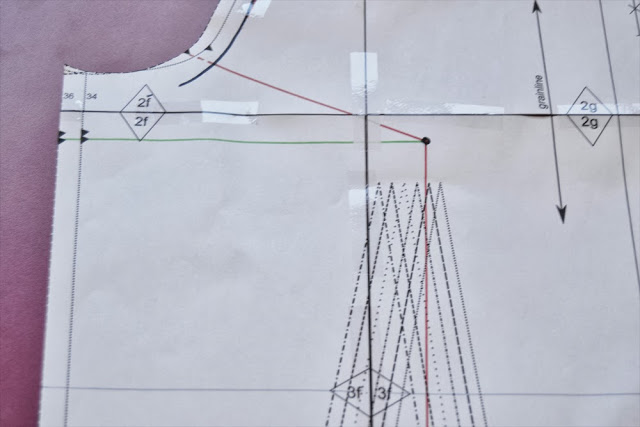 3.Draw a line (in green) parallel to the lengthen/shorten line if you have made it (if not, parallel to the 2f cutting line).
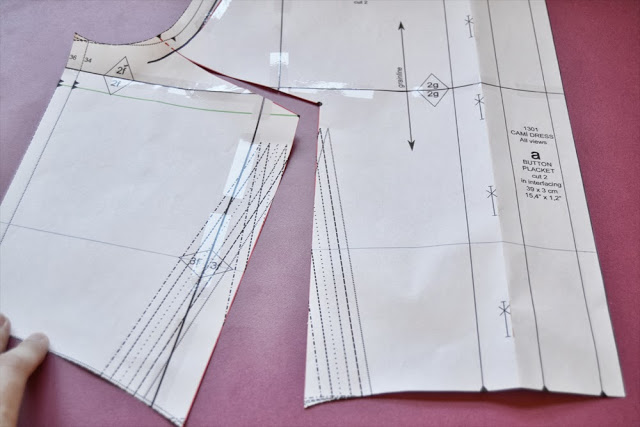 4.Cut the red line up to the black armhole line.
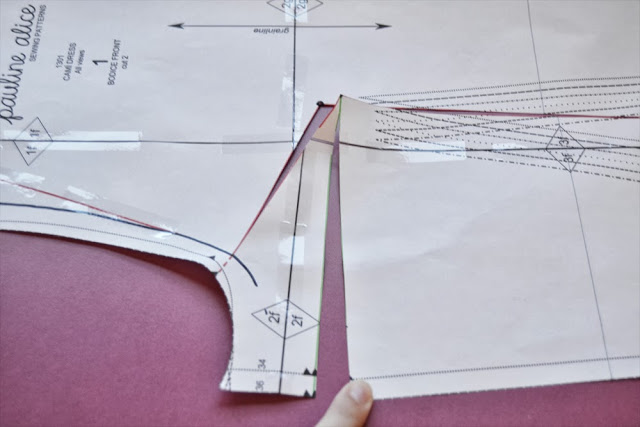 5.Cut the green line leaving it attached by 1 cm (3/8″) approx.
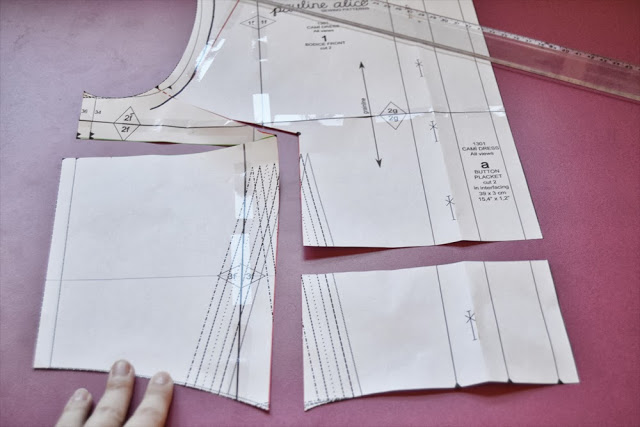
 6.Cut along the lengthen/shorten line to the red line. To make a Full Bust Adjustment, add the desired ease and match the pattern pieces. Paste them on paper and redraw the lines.
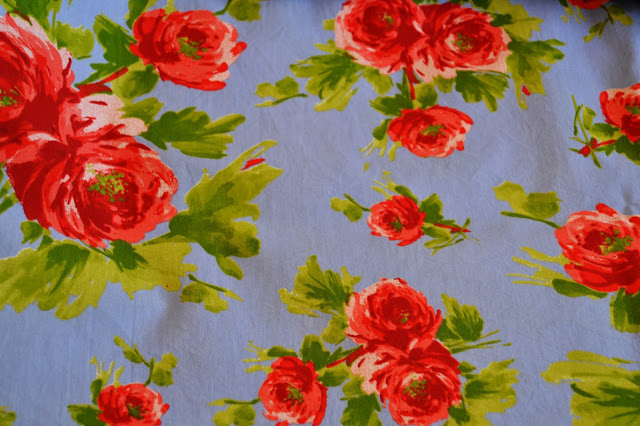 This fabric I actually had before but I think it would look beautiful paired with the Camí dress pattern. It would make a very romantic dress. How about changing the shirt collar for a peter pan collar for a more 1950’s retro look? It’s a cotton poplin with a nice drape, a little bit of stretch and it’s very soft to the touch.
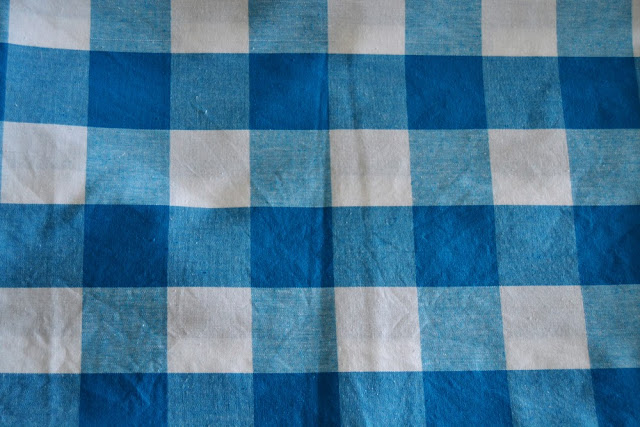 Gingham of course! There were 3 pattern testers versions made of gingham and they looked amazing. This one has bigger squares and would make such a cute summer dress with the short sleeves (very Dorothy from the Wizard of Oz!). There is a lot of variations possible: how about playing with the grainline for some pattern pieces? Or changing the skirt for a circle skirt?
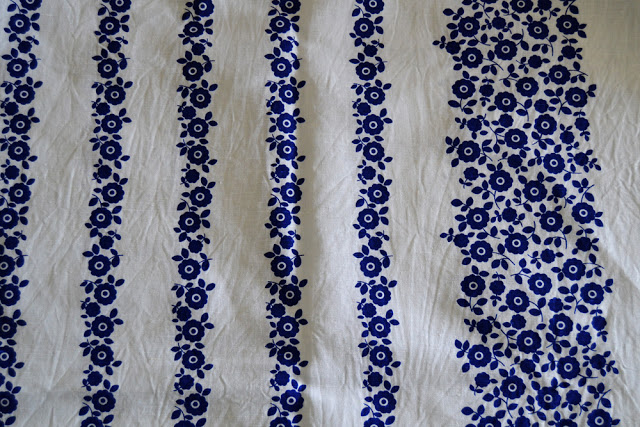 With its basic dirndl skirt (2 rectangles gathered at the waist), the Camí dress allows you to play with borders. I found this white cotton-linen blend with blue flowers stripes and a larger stripe border that would look nice at the hem line. As a spring/summer version it would be so pretty and breathable, yet not too prone to wrinkle thanks to the cotton percentage.
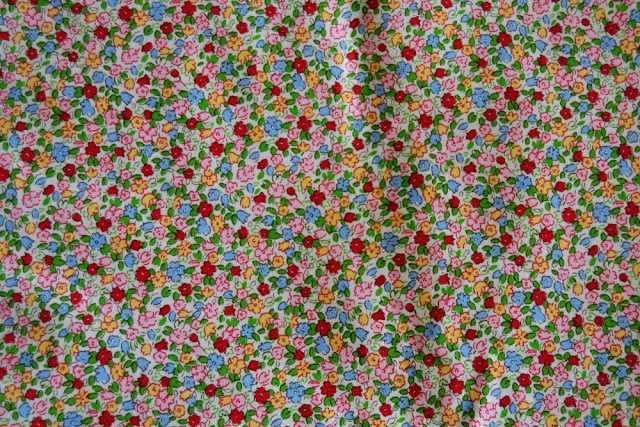 Finally, this is the fabric I am going to use for the Sew-Along. It’s a cotton fabric with little blue, red, yellow and green flowers. I will make the collar and cuffs in contrasting fabric: white cotton sateen. The one I have is a bit on the heavy side but it will do.