
Hello! Are you ready for the last Ninot jacket Tutorial?
I remind you that we saw previously how to make a bound buttonhole, the buttonhole opening on the facing and the welt pocket (click on the link to see the tutorial). Let’s start!
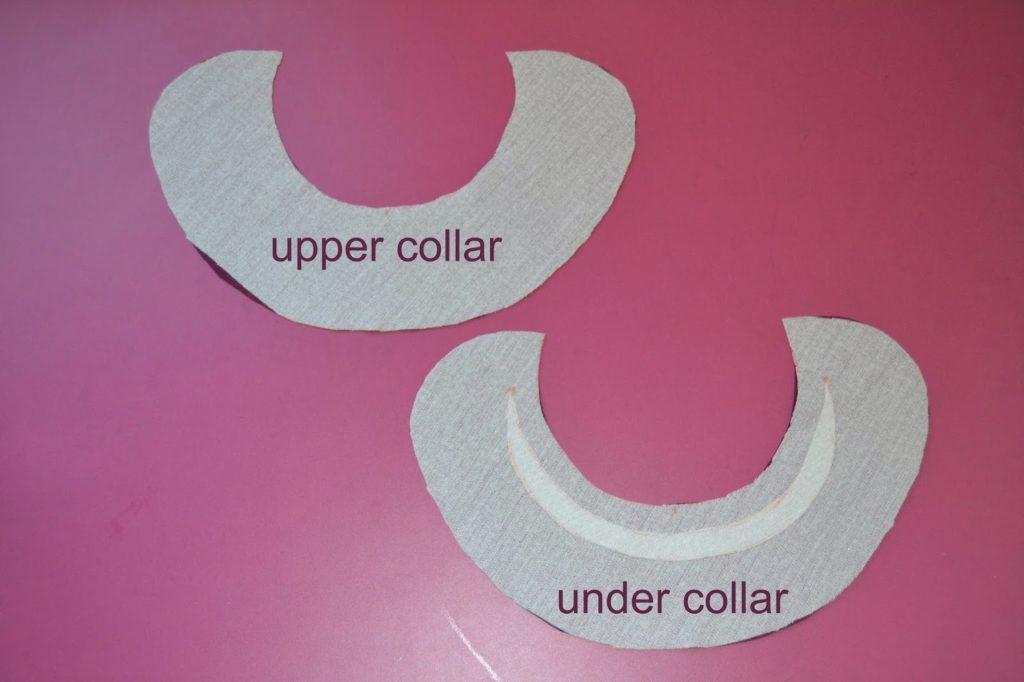
1.Apply interfacing to the under collar piece (here I have interfaced both to give more strength to my fabric, but you should interface only the undercollar with both interfacing pieces). Cut a piece of interfacing to form the collar roll, it should look like the bottom collar piece in the picture. This become your under collar and the other piece is then the upper collar.
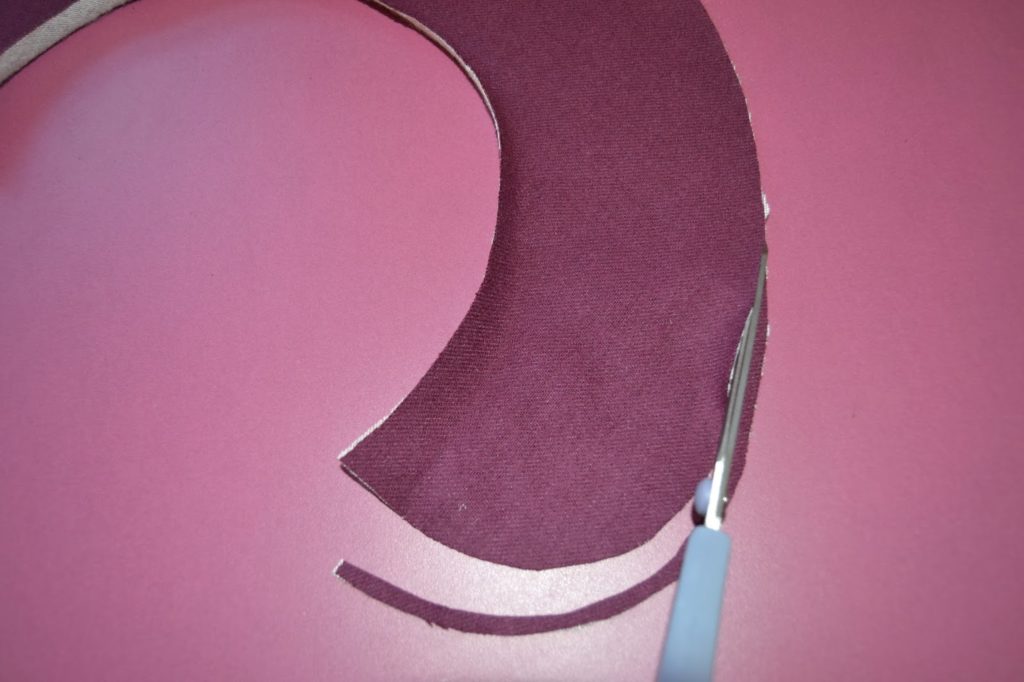 2.Take the under collar piece and trim about 2 – 3 mm (2/16″ – 1/8″) from the outer edge. This will account for the turn of cloth and keep the stitching line from showing.
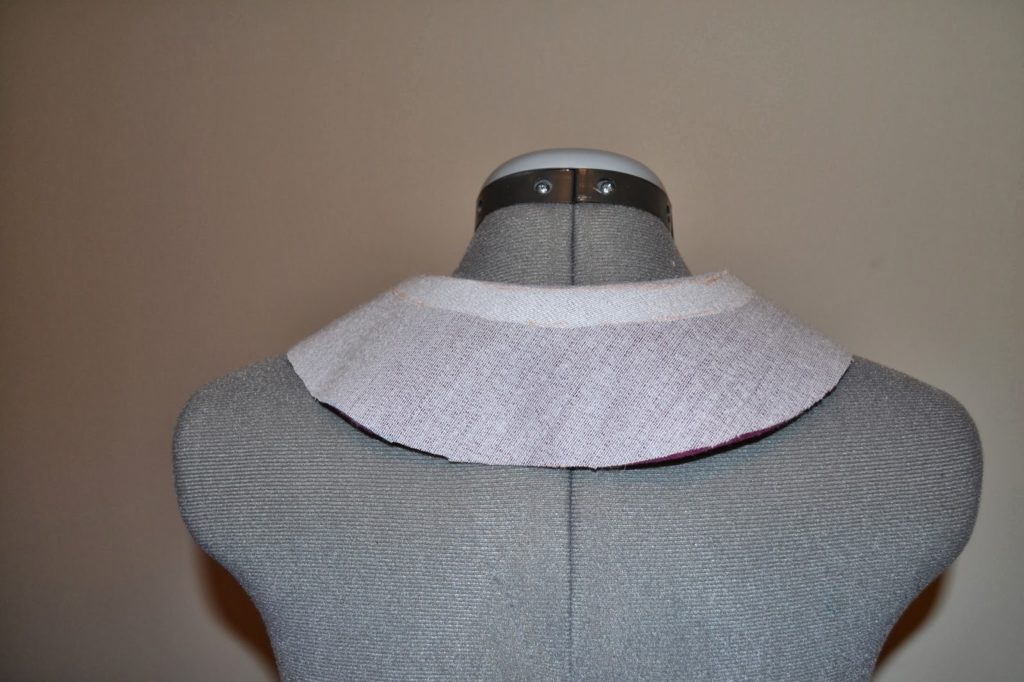
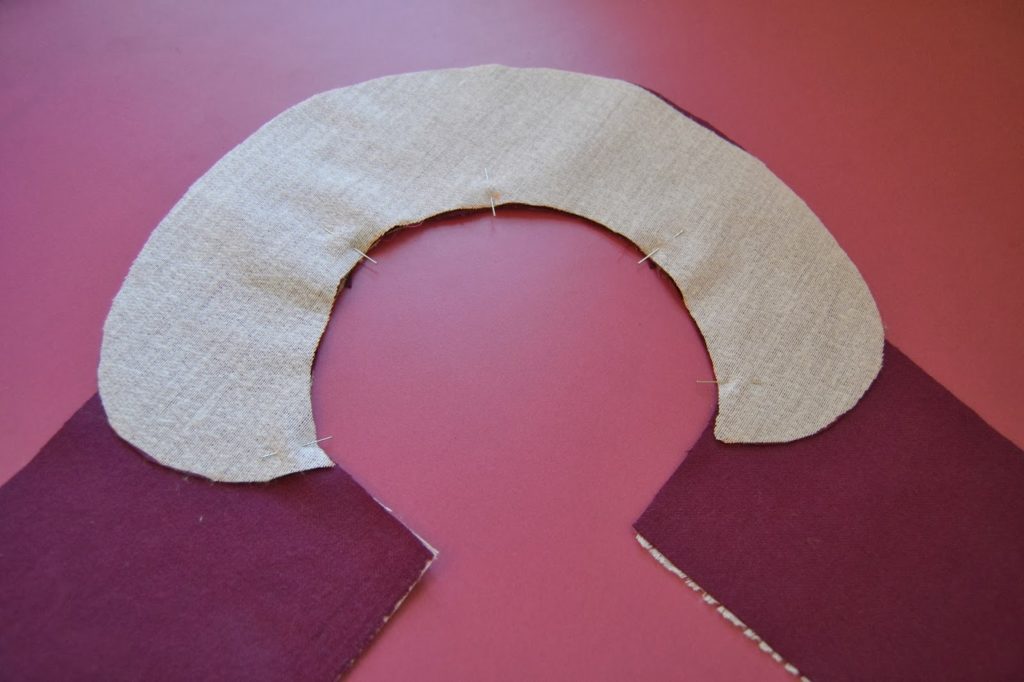
 3.Shape the under collar around your dress form if you have one (if you don’t you can use a folded towel about the size of your neck). Fold gently around the collar roll and pin in place. Steam the collar and leave it cool down at least a few hours (a full night is better).
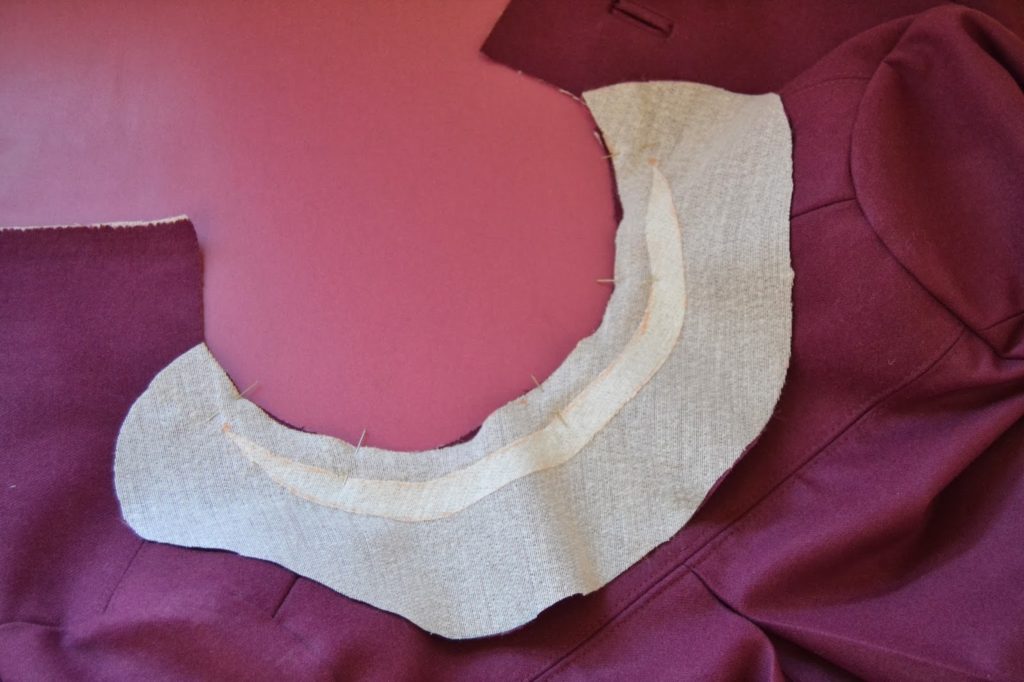
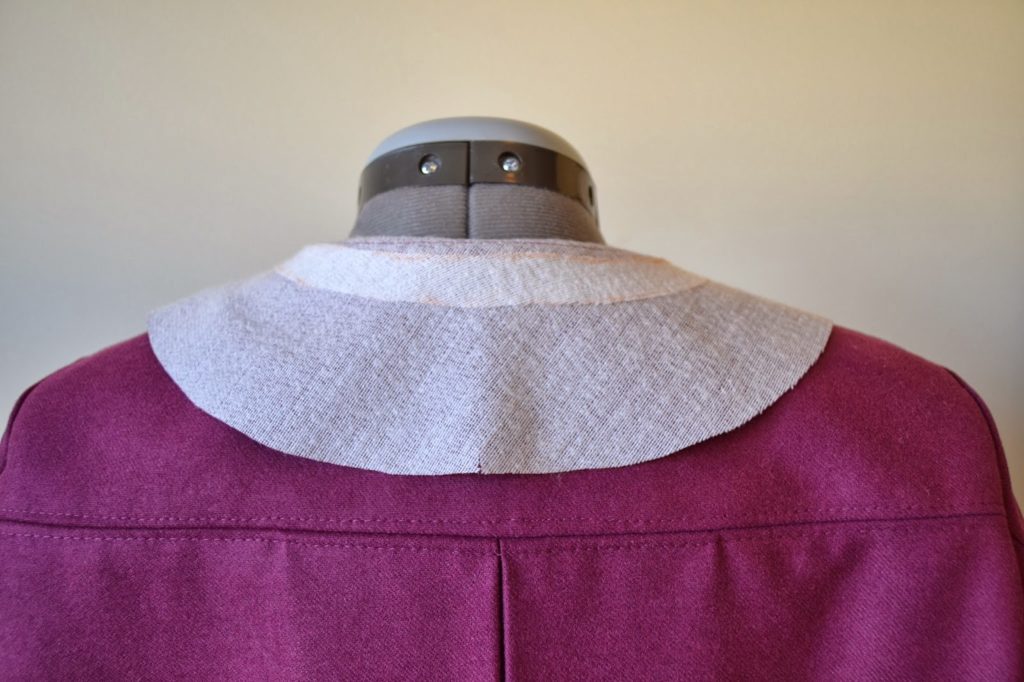 4.After the under collar is completely dry, pin it to the jacket shell matching center back and front marks. Stitch. Trim and clip the seam allowances to reduce bulk.
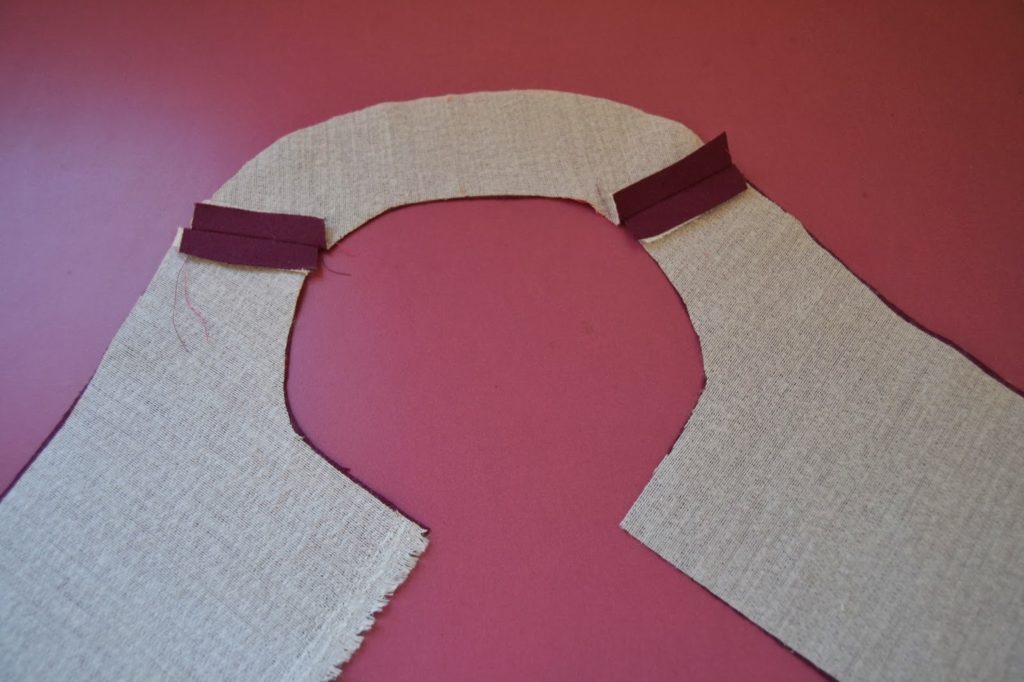
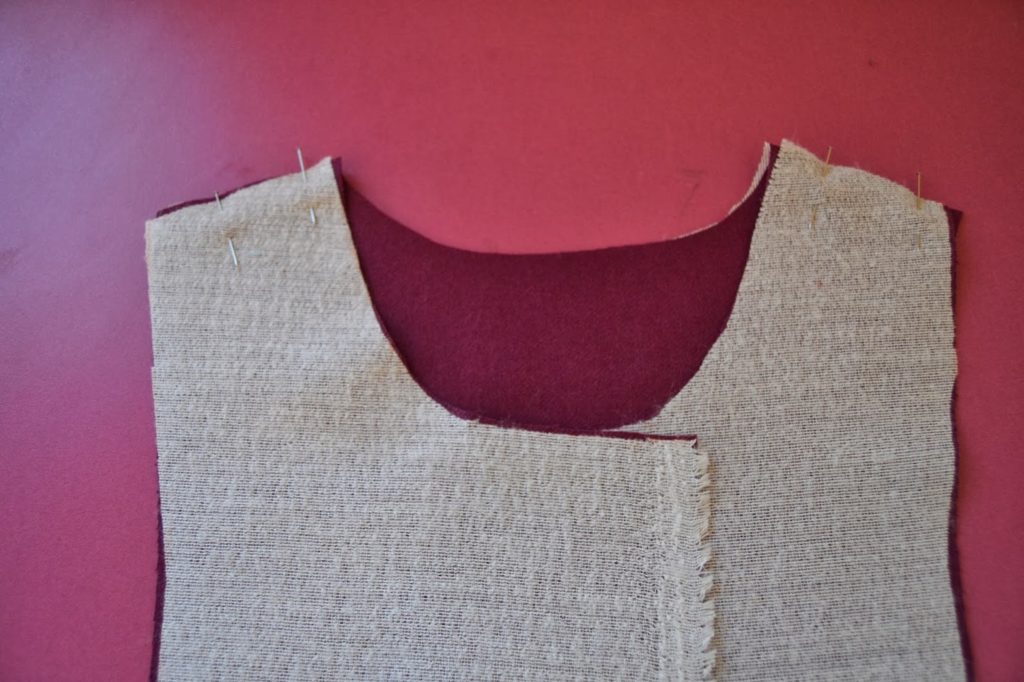
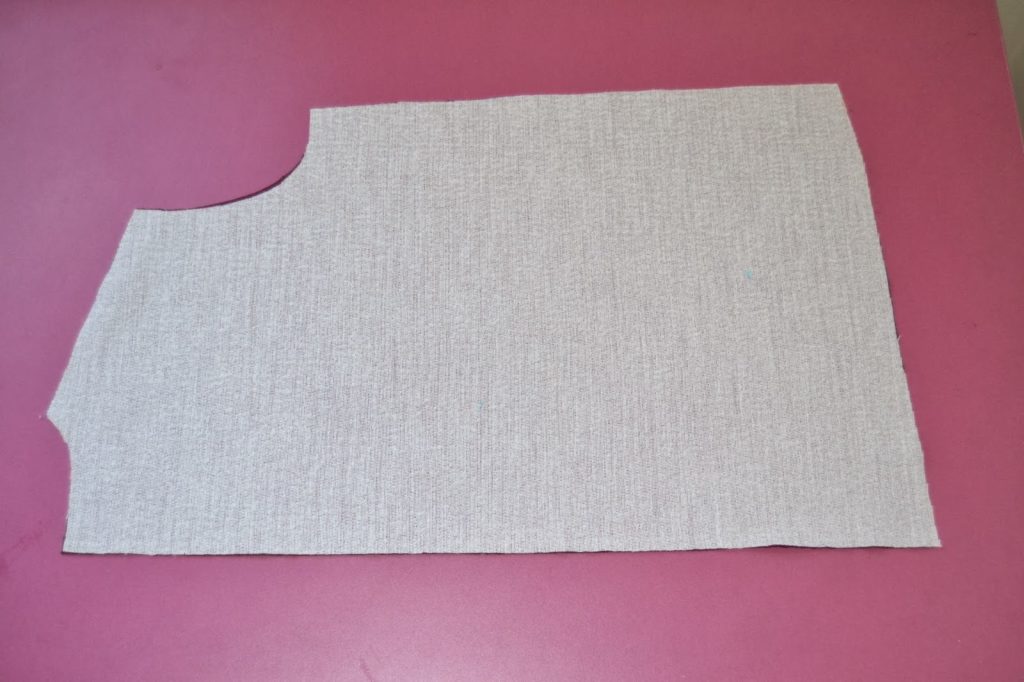
5.Take the front and back facing pieces and interface them. Match the shoulder seams, pin and stitch together. Press the seam allowances open.
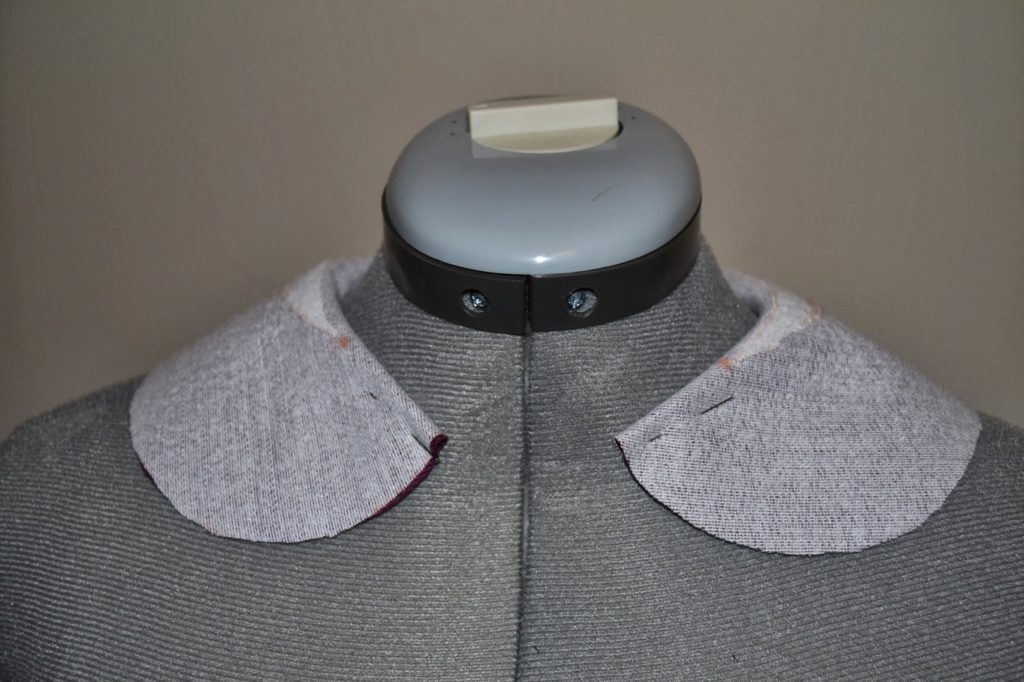
 6.Pin the upper collar to facing, matching center back and front marking. Stitch. Trim and clip the seam allowances to reduce bulk
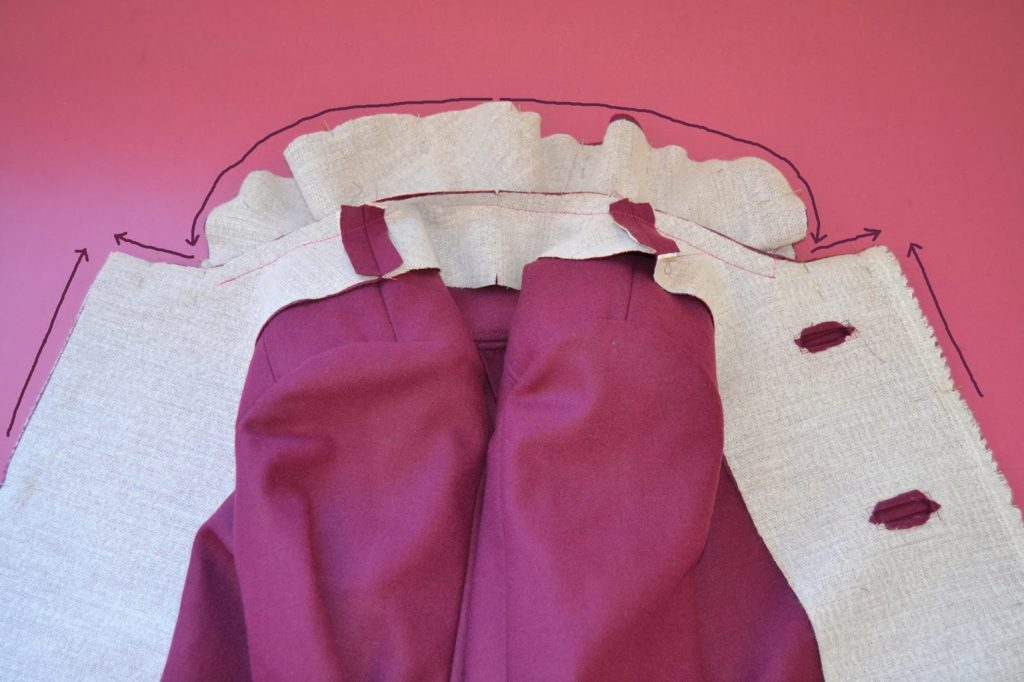

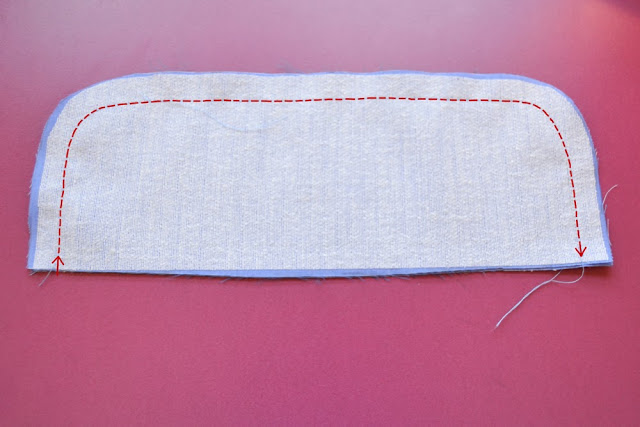
7.Pin the facing to the jacket like you would do for a normal jacket, pinning also the collars together. The under collar is slightly smaller than the upper collar because we trimmed it, so you will have to ease it a little bit while pinning them together. Start stitching from the center of the collar and stitch down to the collar end. Repeat on the other side. Then stitch the facings corners.
Clip and trim the seam allowances to reduce excessive bulk, especially where the collar meets the jacket.

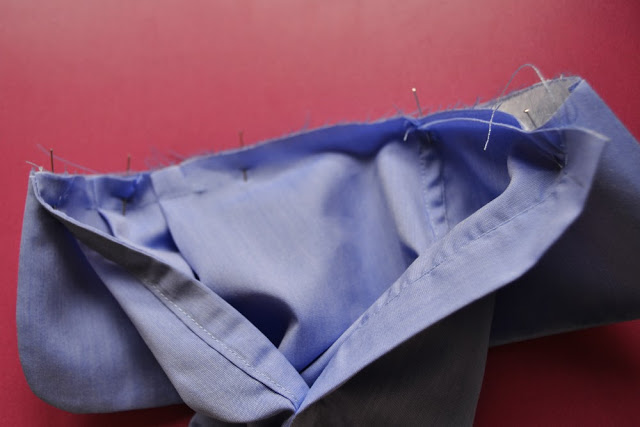
8.Here is the turn of cloth: see how the stitching line is kept under the collar? Press it flat nicely.
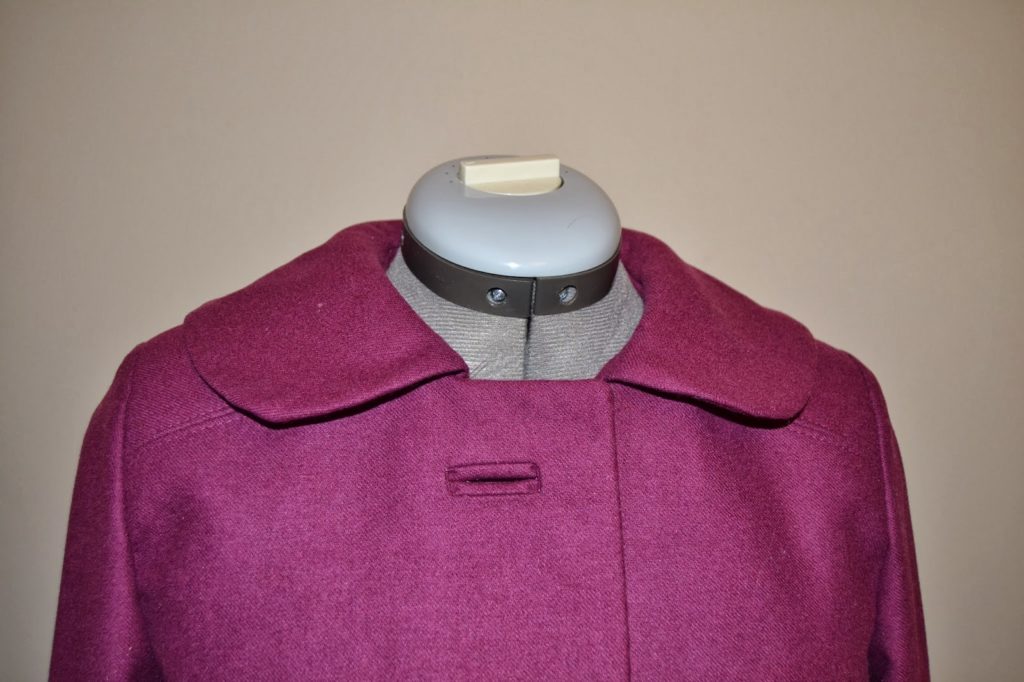
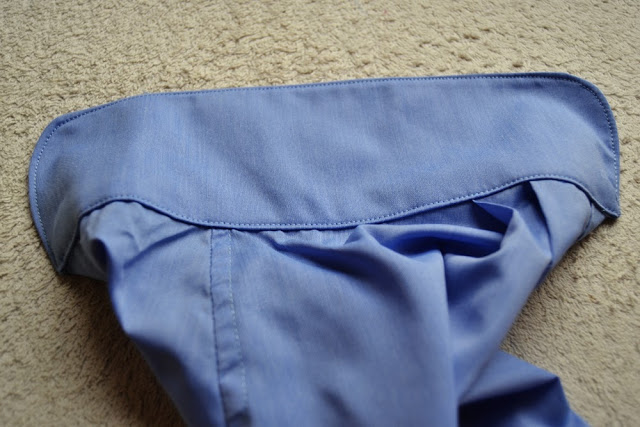
9.The finished collar! And as the facing is stitched to the jacket, now is the moment to finish your buttonholes and handstitch the opening to the buttonhole.
I hope the tutorials were useful for the confection of the Ninot jacket or any other jacket by the way.
Have a wonderful week end!


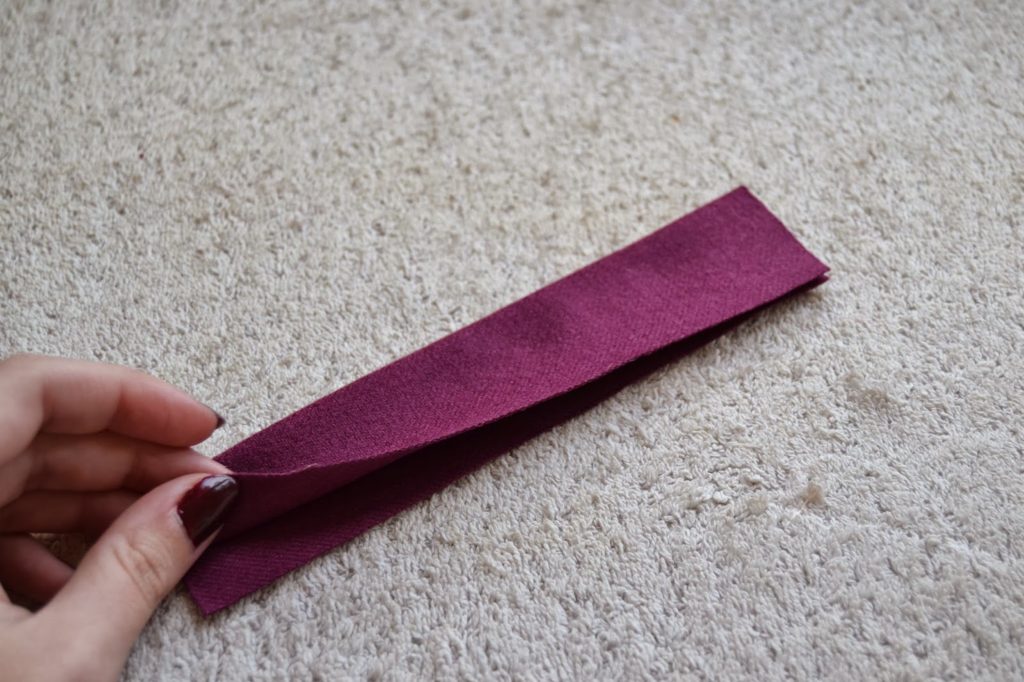
 3.Fold the welt piece in two with wrong sides together. Baste it at 1,5 cm (5/8″) from the outer edge.
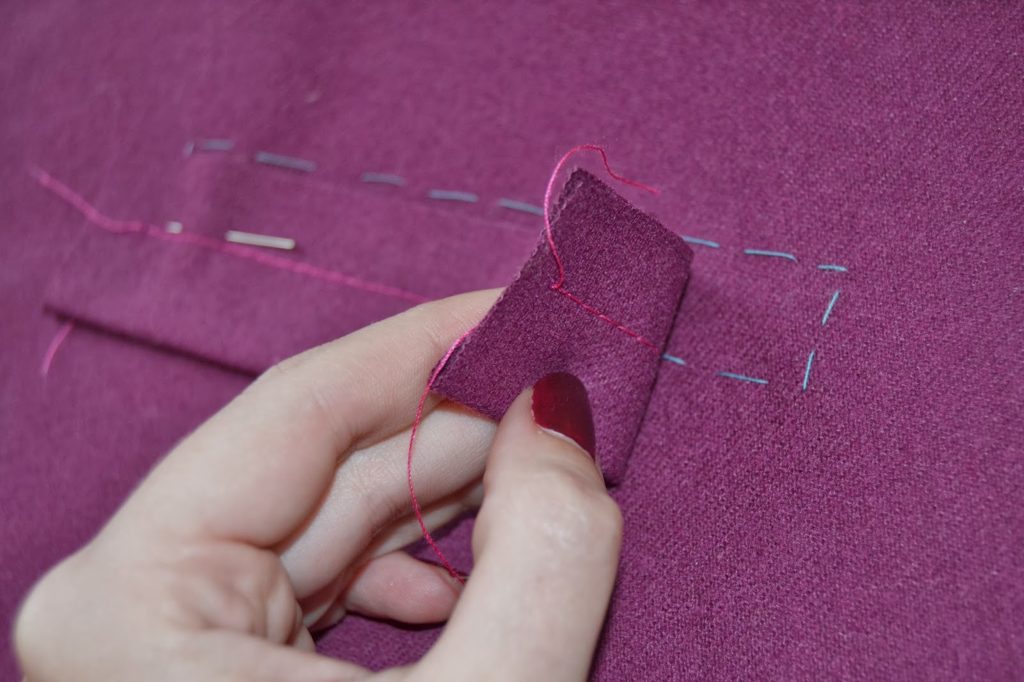
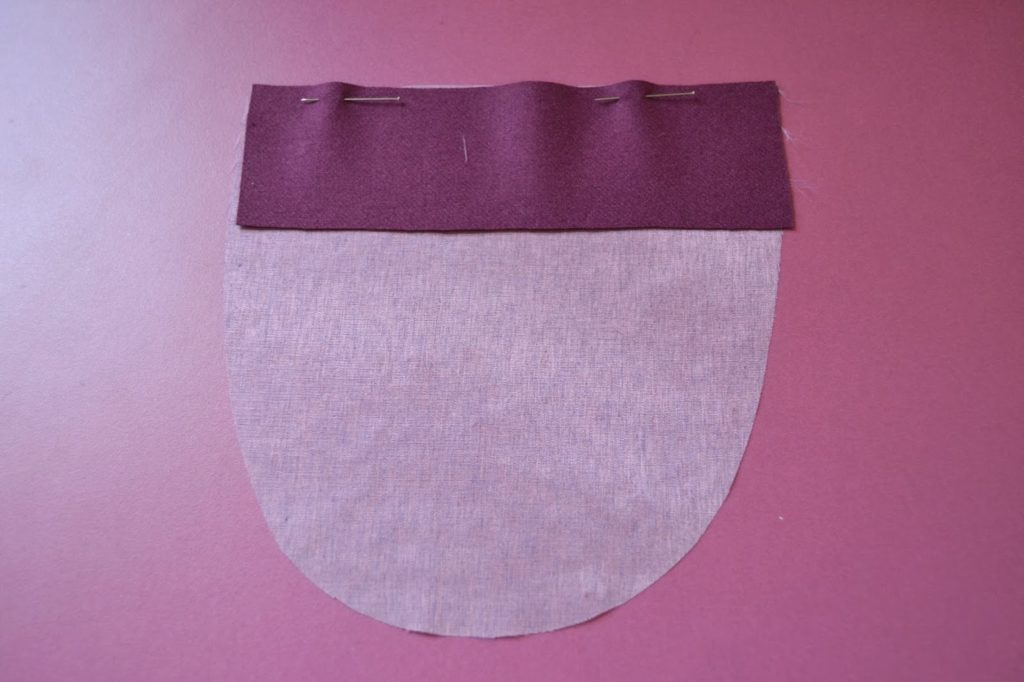
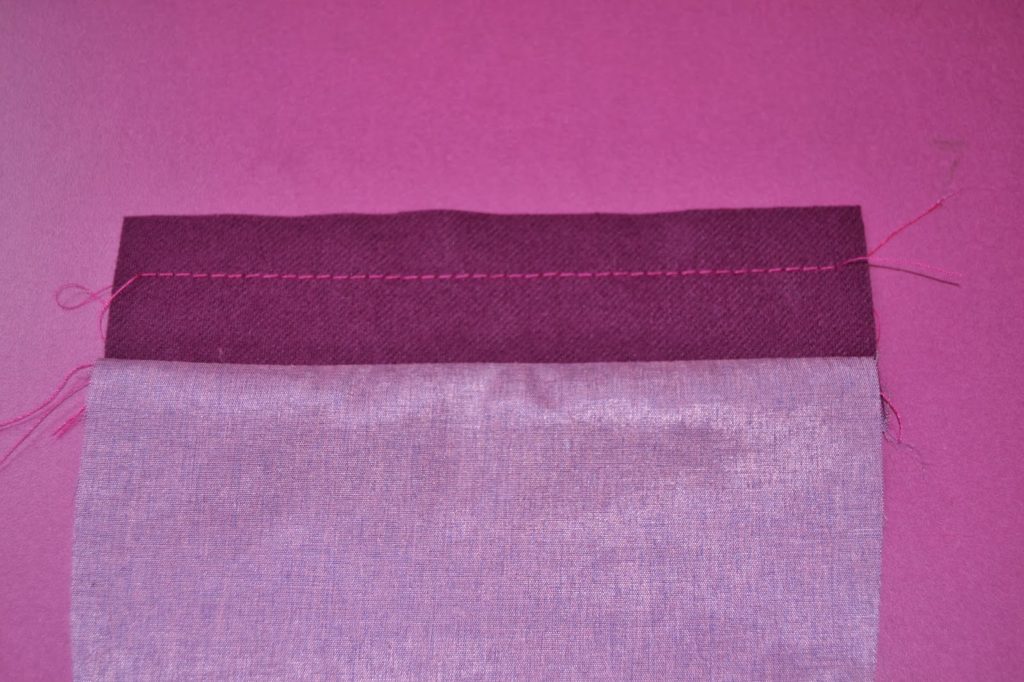
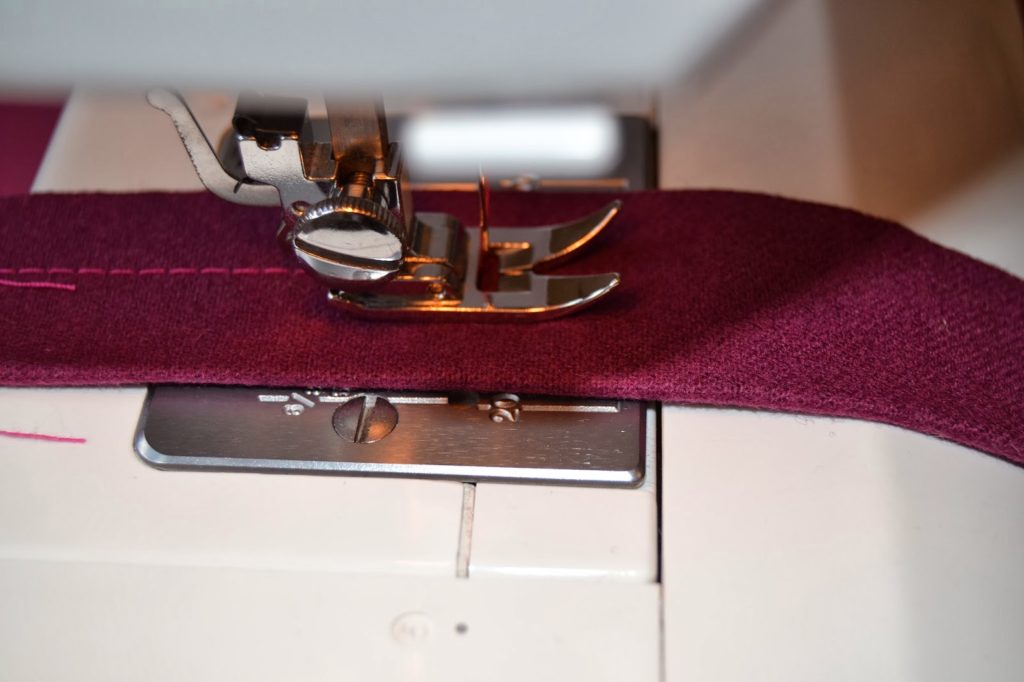
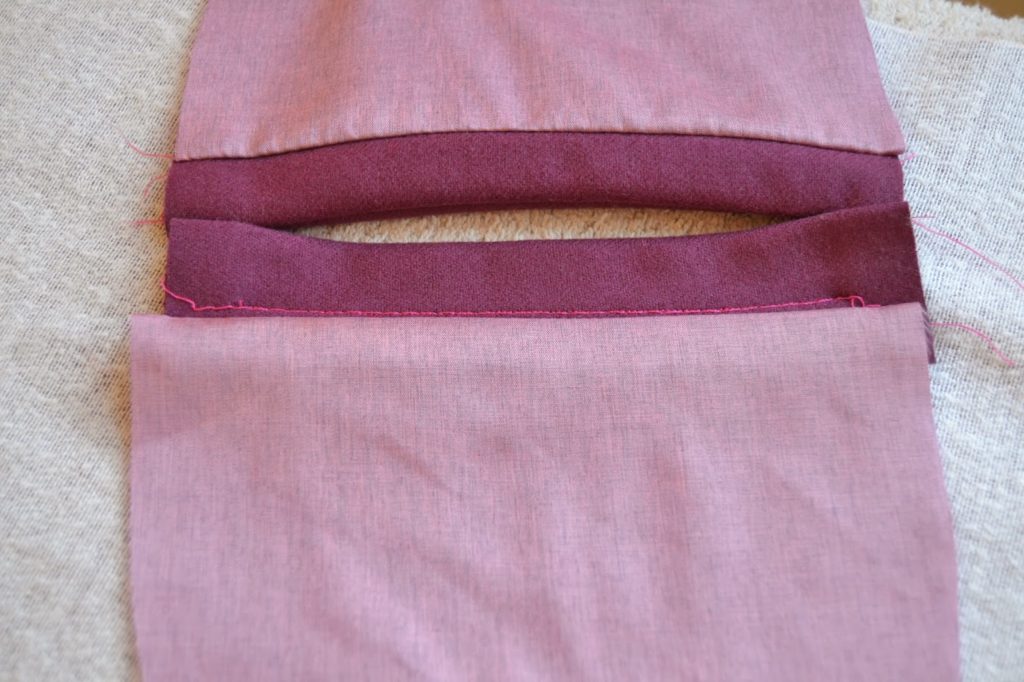
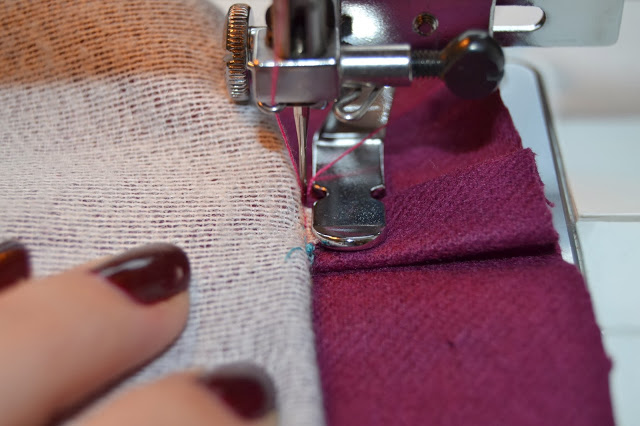
 6.With right side facing down (and the pocket upside down), pin the pocket facing to the pocket opening matching the basted lines. Stitch over the basted line, starting and ending 1,5 cm (5/8″) from the edges.
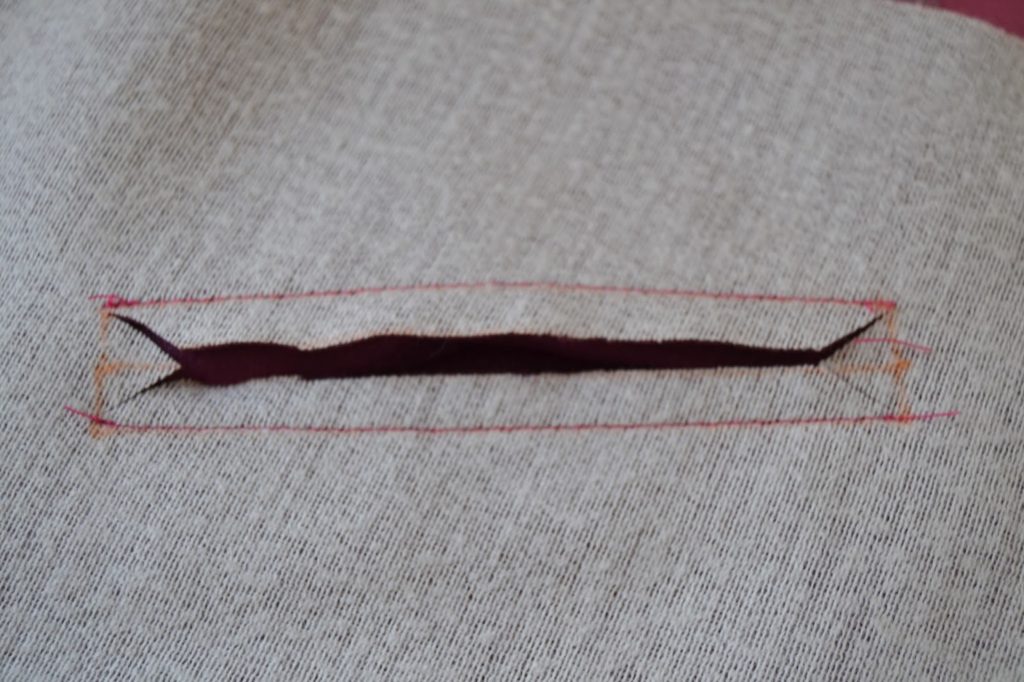
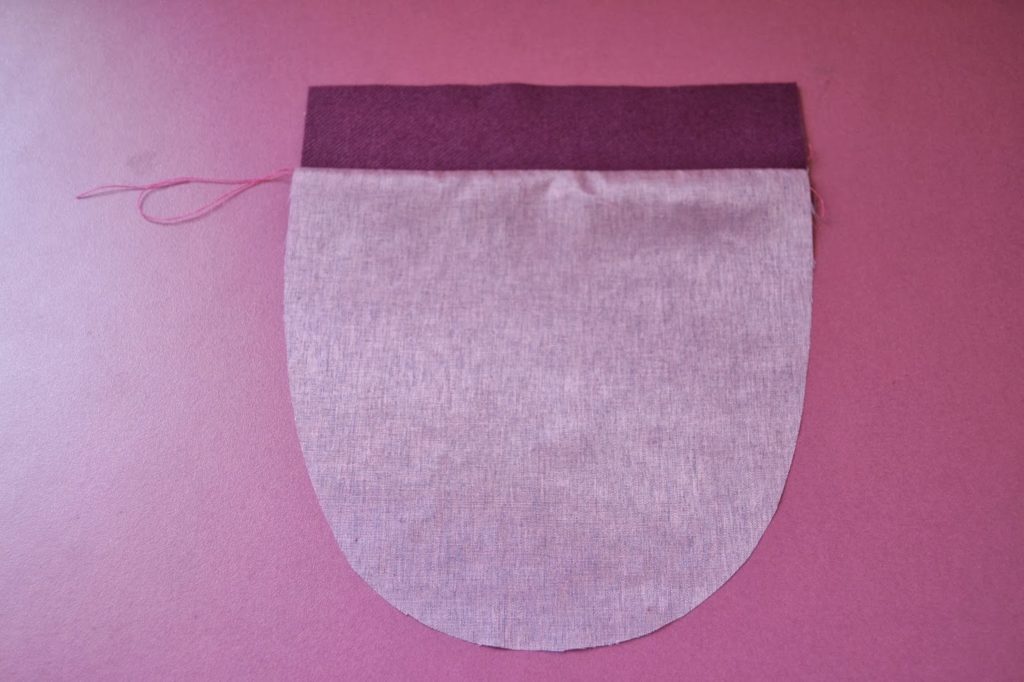
 12.Now stitch the pocket edges together. If you are making version B, finish the edge with bias binding.
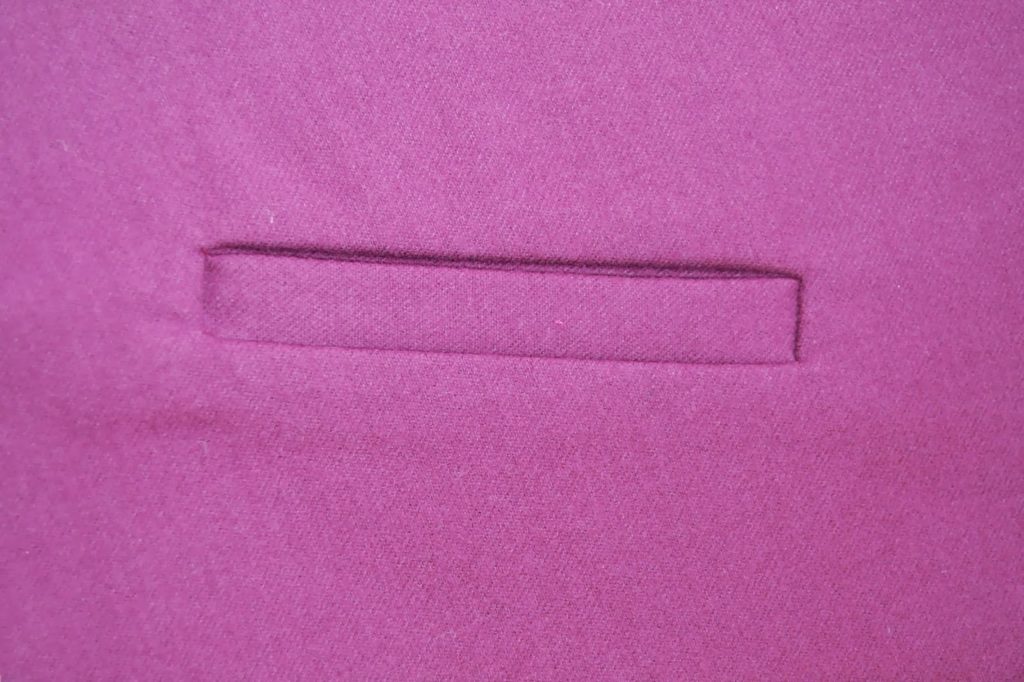

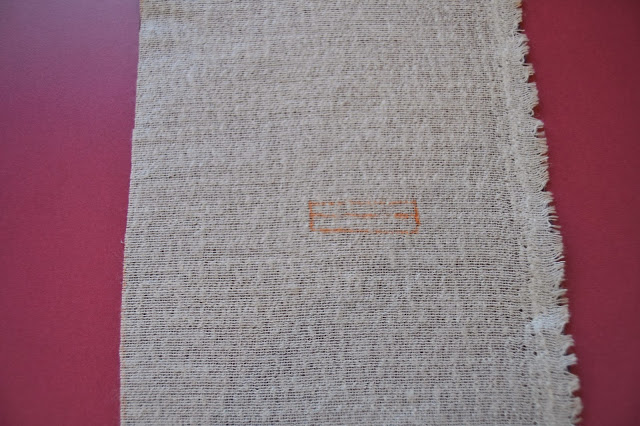

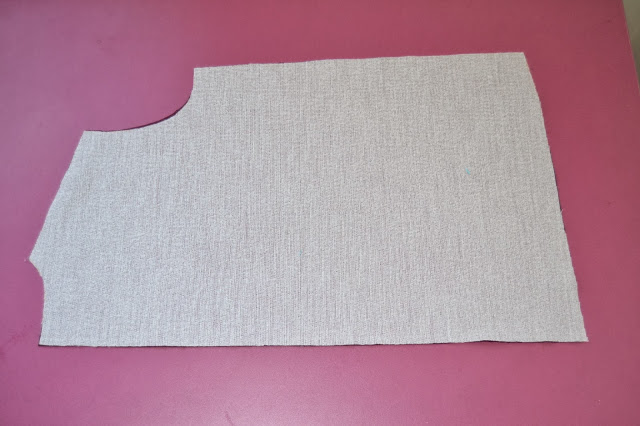
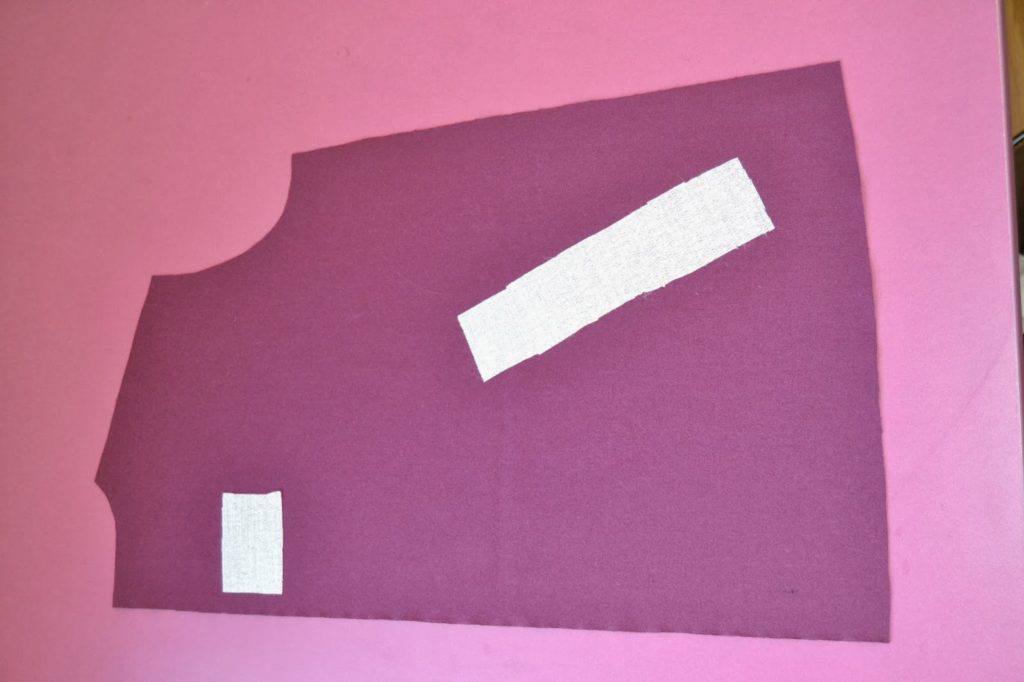
 1.Depending of the version you are making, you will want to interface the wrong side of the whole front piece of the pattern (Version A, lined) or only cut small rectangles of interfacing and apply them over the buttonhole markings on the wrong side of the front piece (version B, unlined).
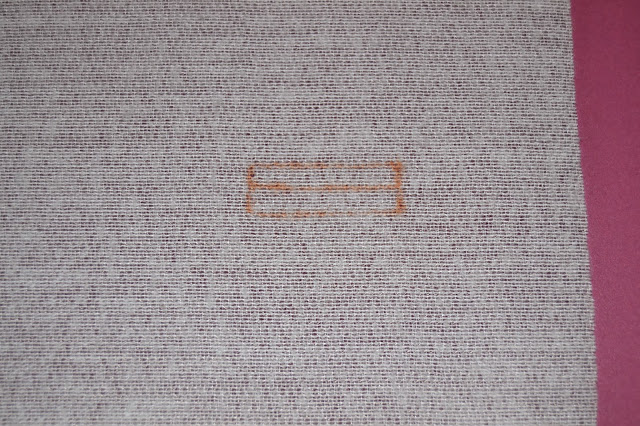
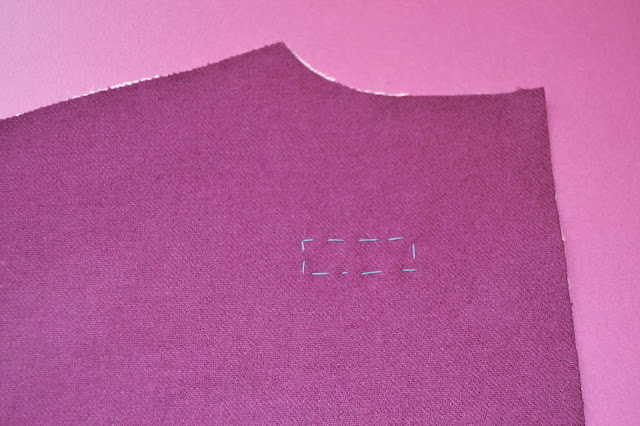 2.On the pattern, you will notice that you just have a line, not a box, to mark the buttonhole place. This is because the box dimension is going to depend of your button. Here is how to measure the box you will need to draw:
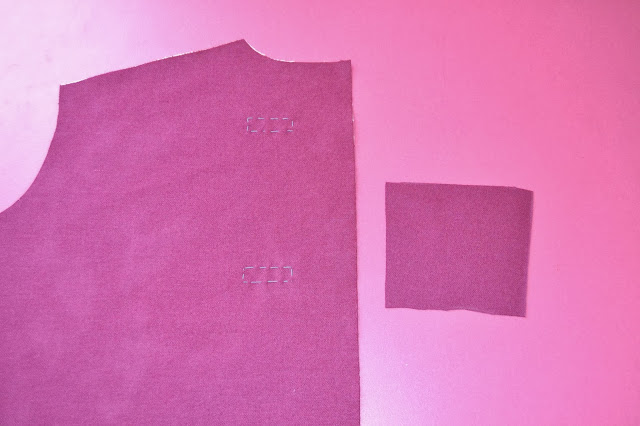
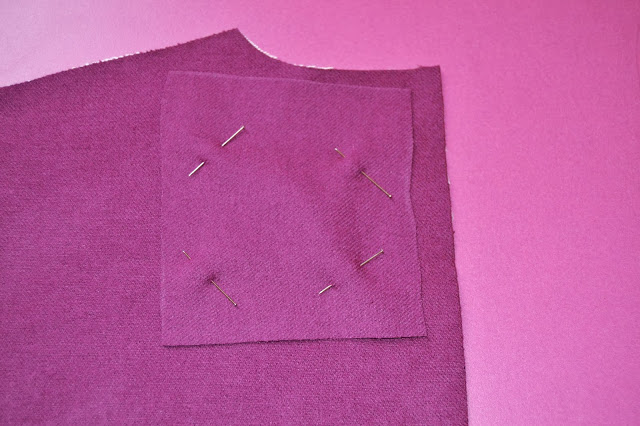 3.Cut a patch of fabric about 10 cm x 10 cm (3.9″ x 3.9″) on the fabric bias. We will trim the edges at the end so don’t worry too much about the size.
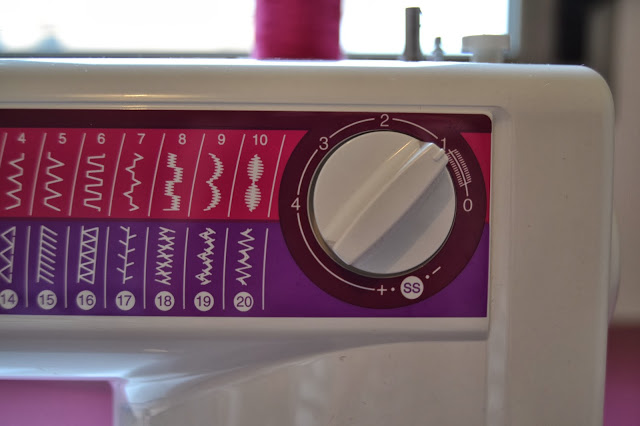
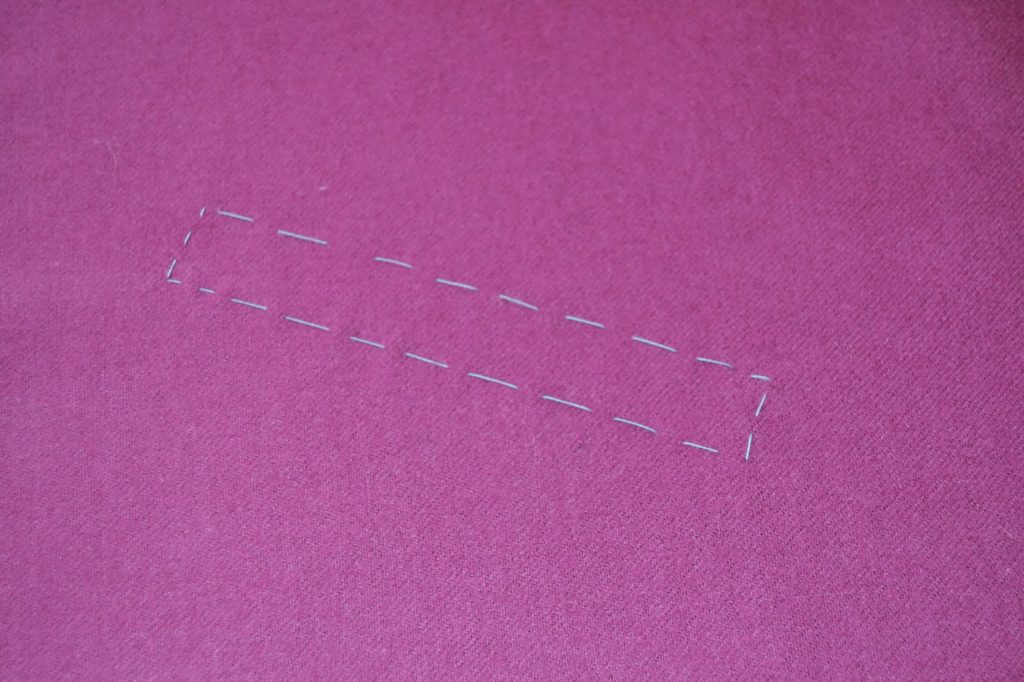
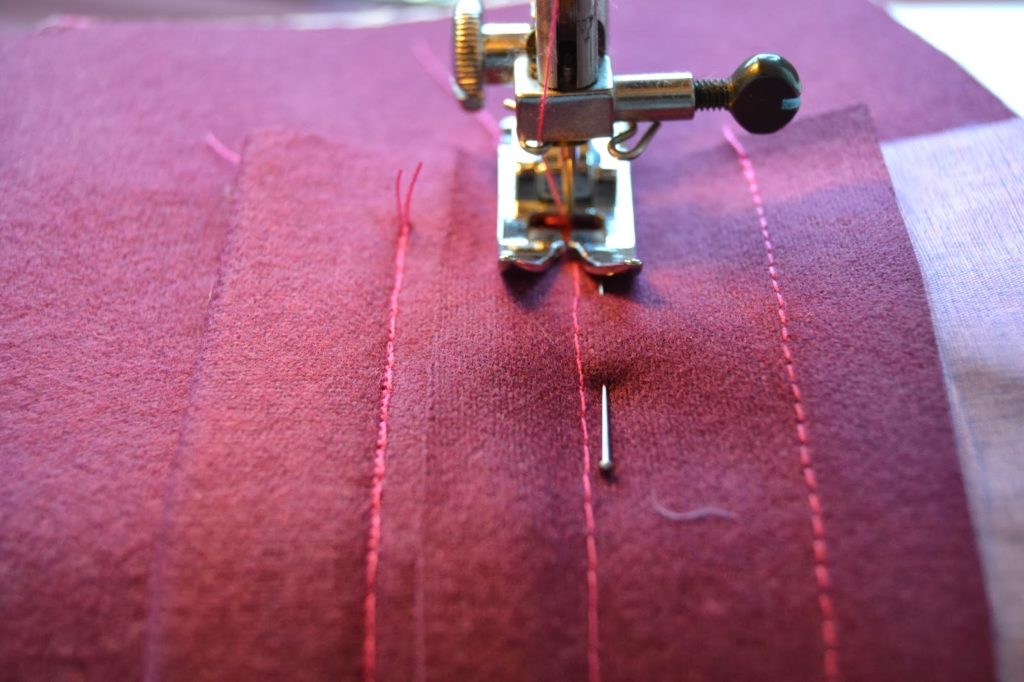
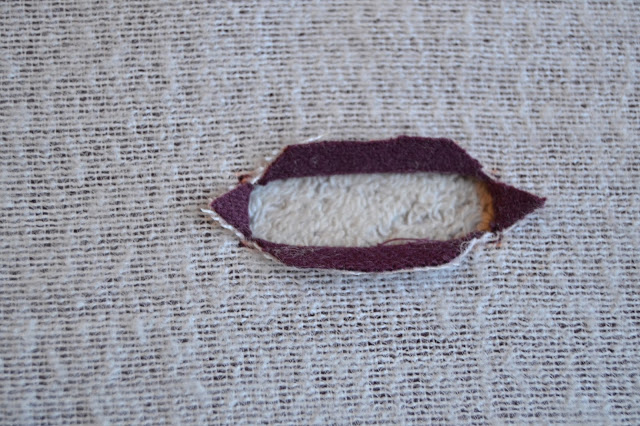
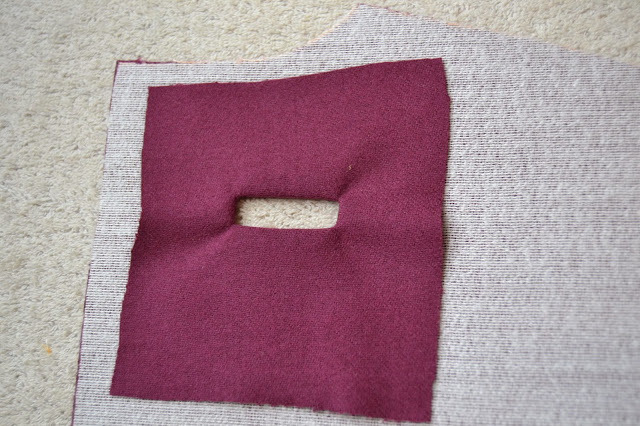
 5.Now you have to be very careful with this step! Cut through both layers (the front and the patch) from the center and cut in V into the angles of the box. You have to cut the closest possible to the stitches without cutting them (if you have small embroidery scissors, it’s a perfect time to use them).
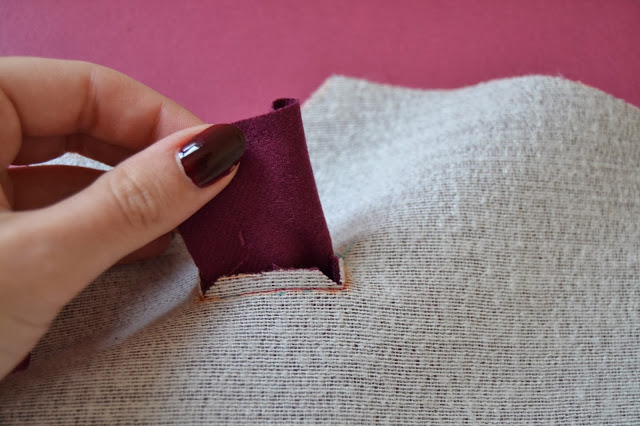
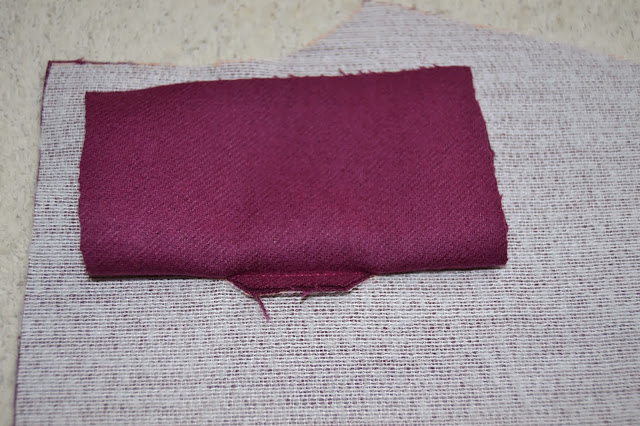
 6.Pass the patch through the open box. Lay it flat and press lightly. If the corners don’t lay flat, it’s because you haven’t cut close enough to the stitches during the previous step (fold it back carefully and cut a little bit closer).
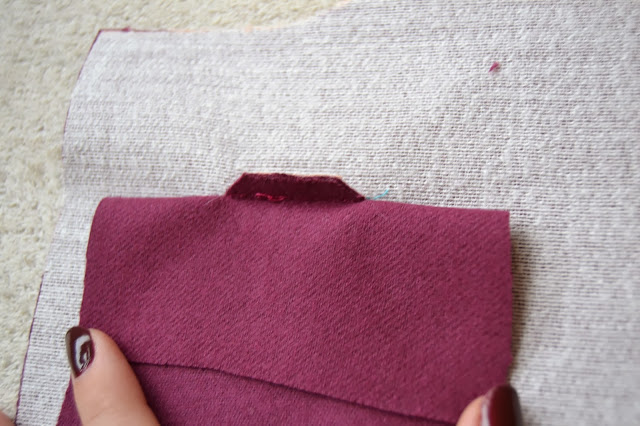
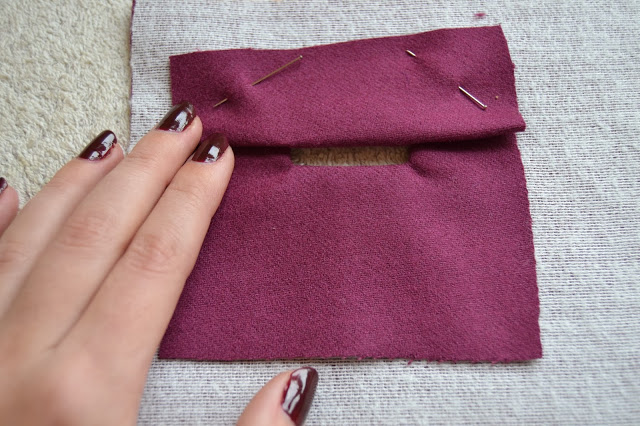
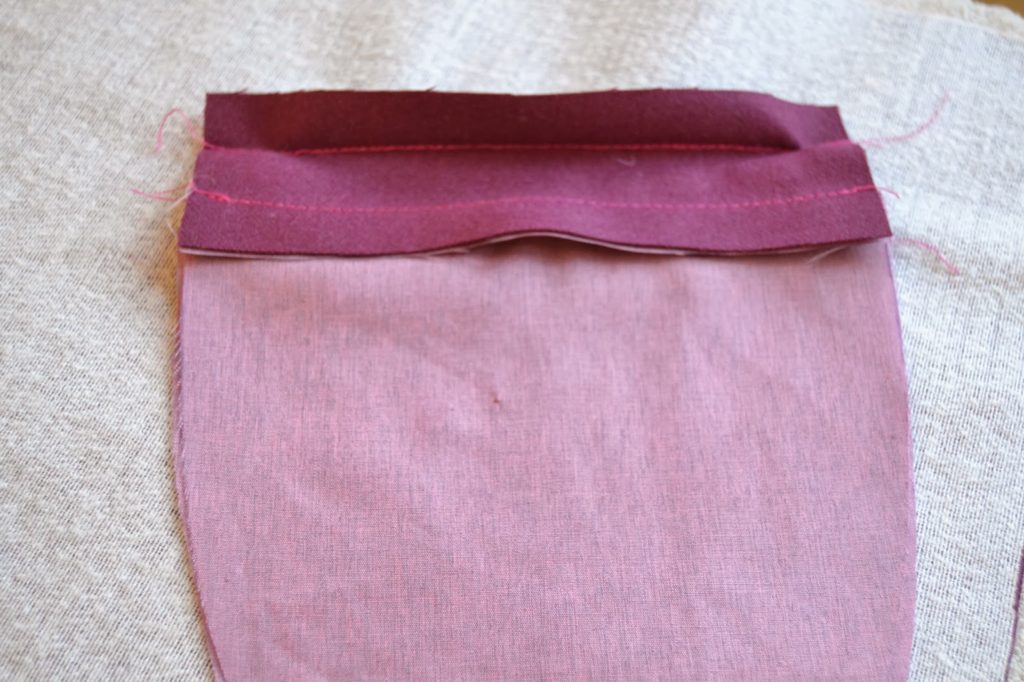
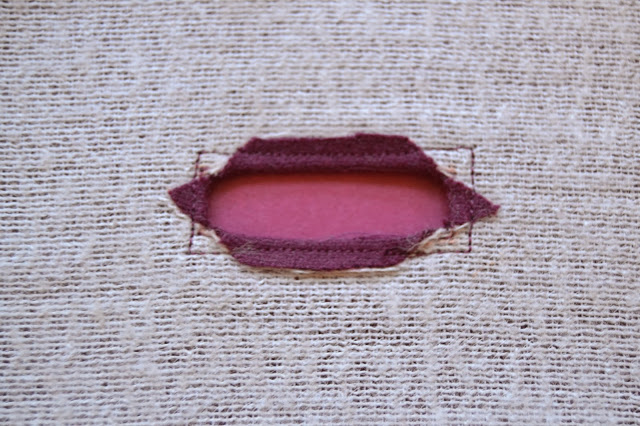
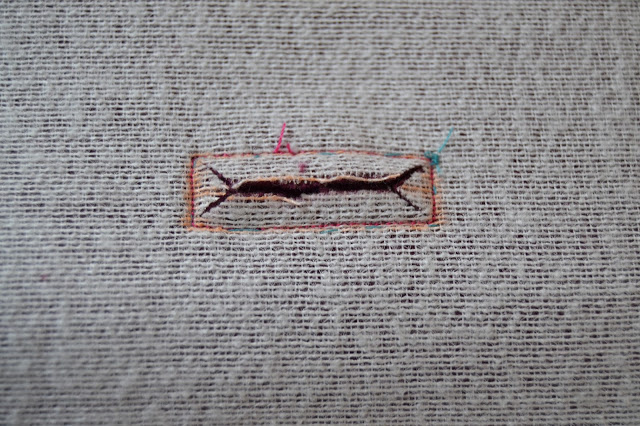
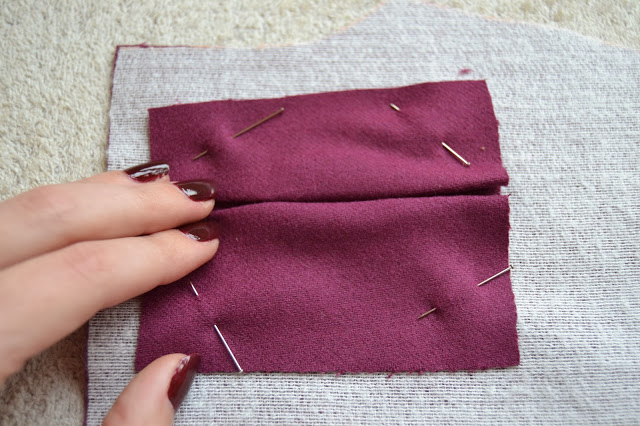 8.Fold the bottom of the patch in two to form the second “lip”. Both lips meet in the middle. Pin in place. You can press lightly so it keeps its shape, but be careful that the edges don’t show.
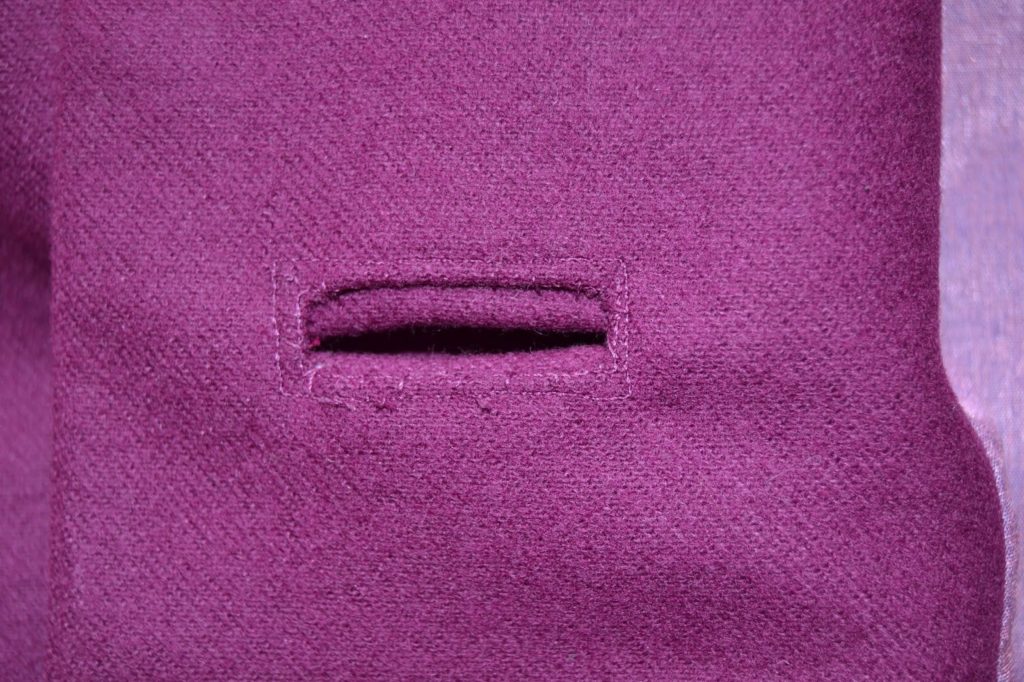
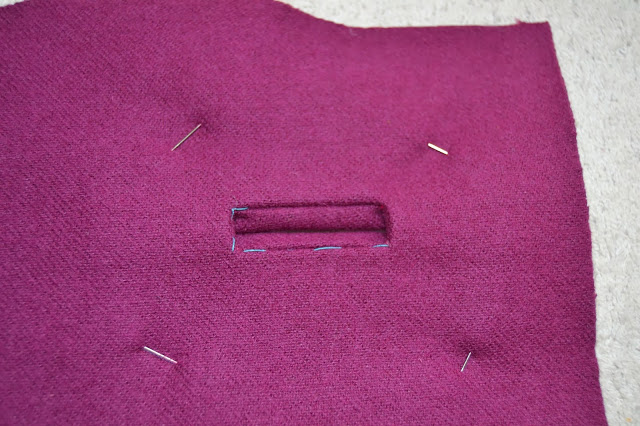 9.Here is how it looks from the right side!
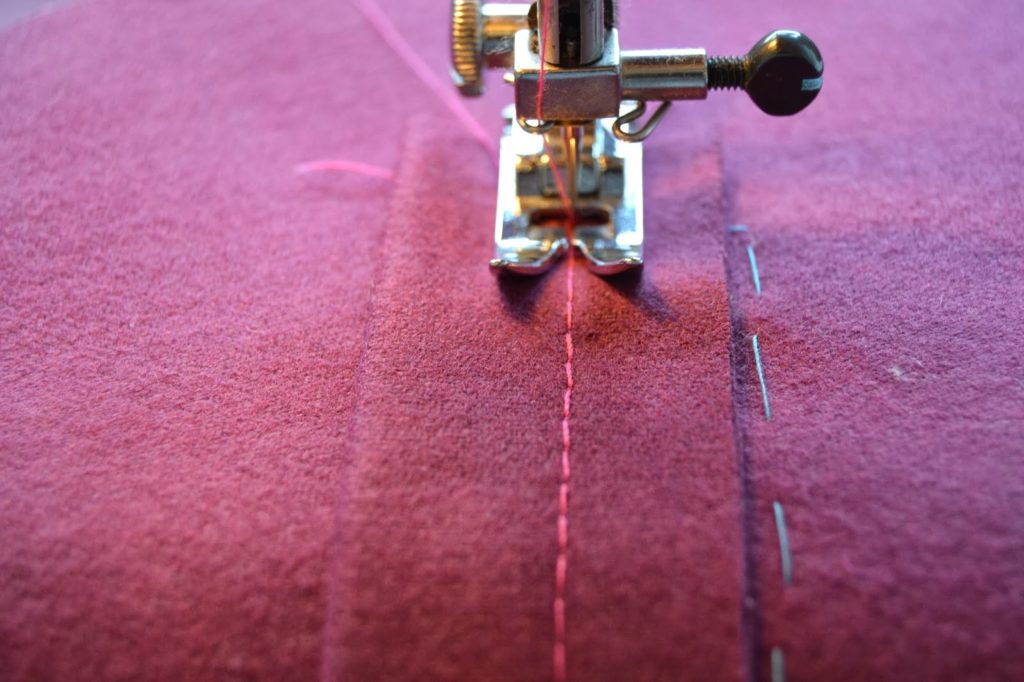
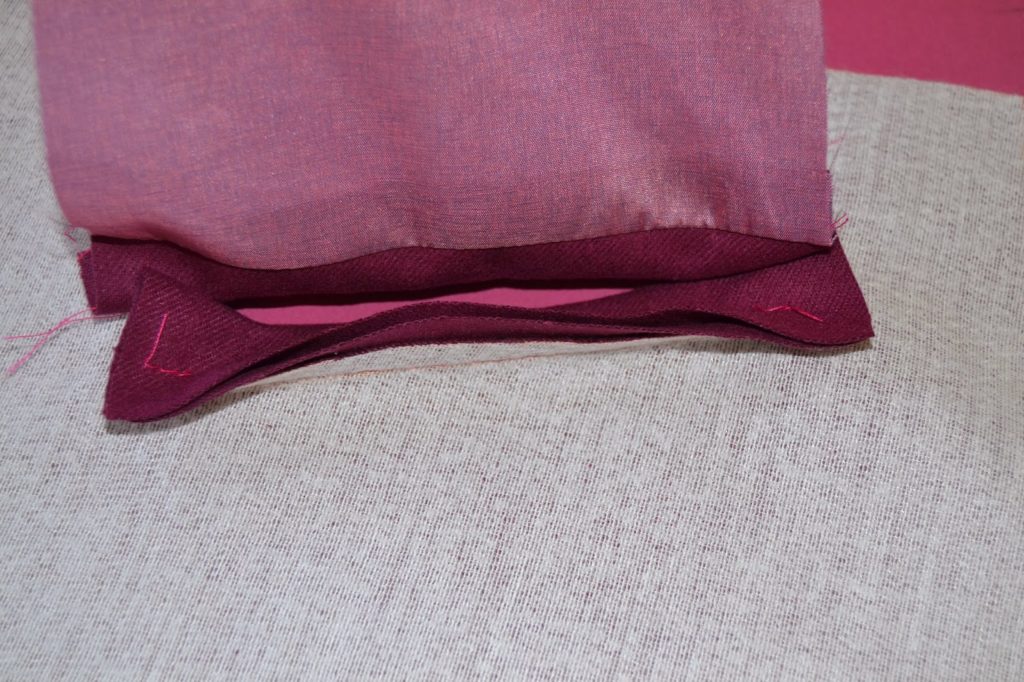
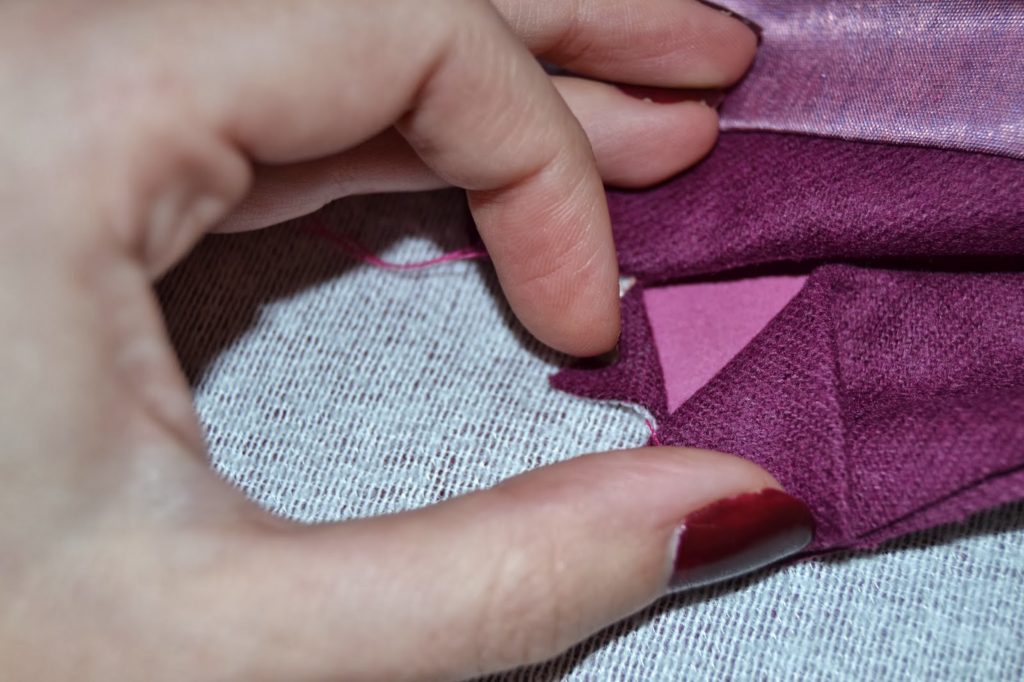
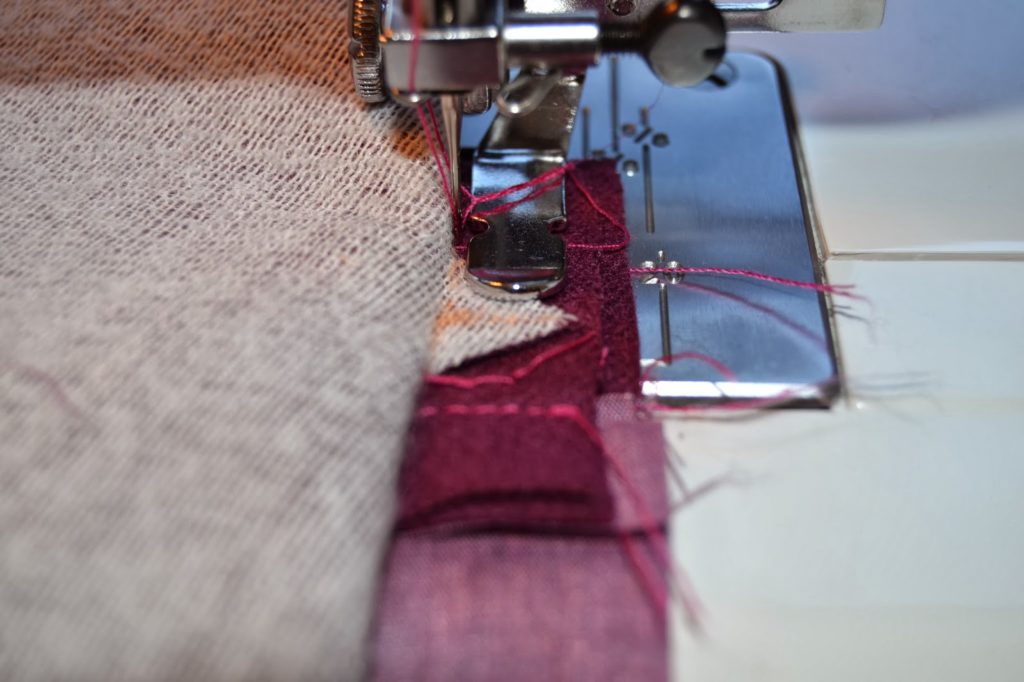
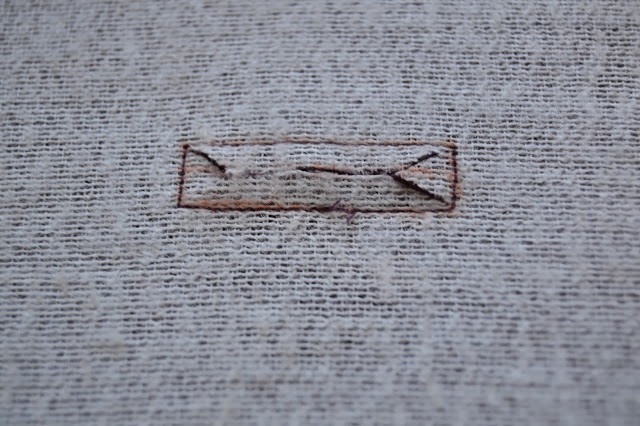
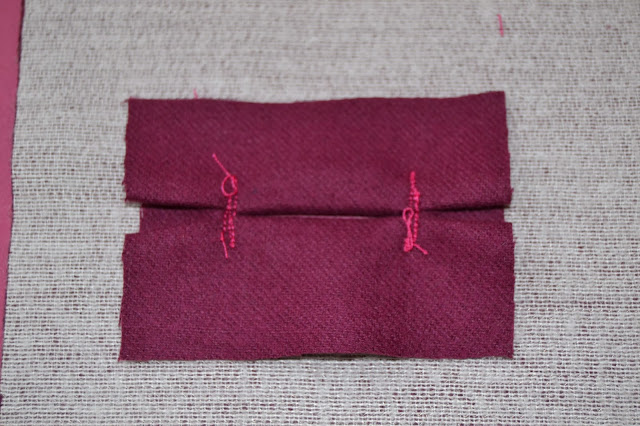 10.You might notice that there are small triangles at the ends of the box. Like on the second picture, stitch the small triangle to the patch, securing the folds. Use a short stitch length and stitch the closest possible to the fold of the triangle.
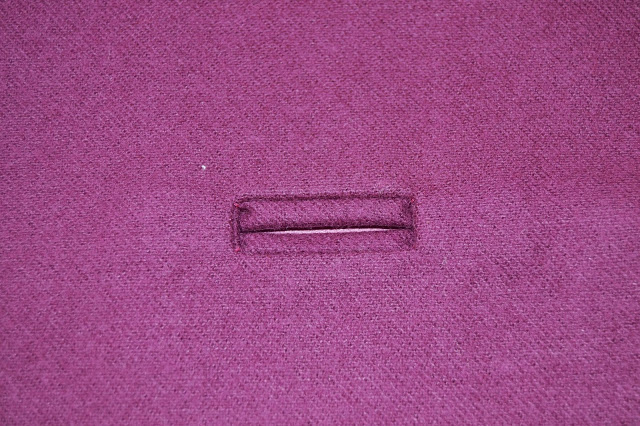 11.Remove the basting threads and make the other buttonholes!
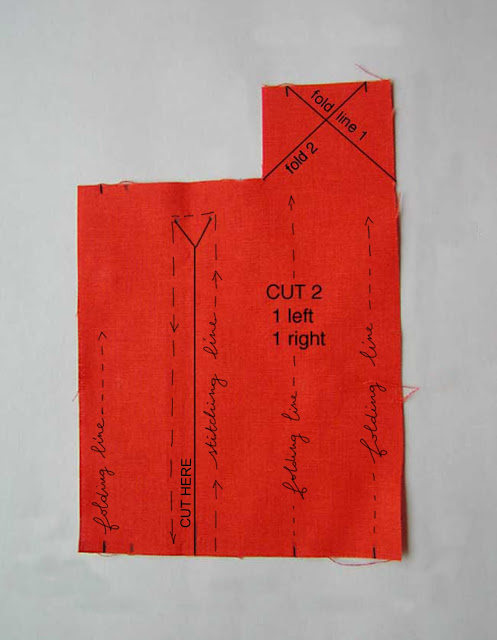 1. Here is what your placket pattern piece should look like more or less. It should come with your shirt pattern but if not, you can find printable templates quite easily.
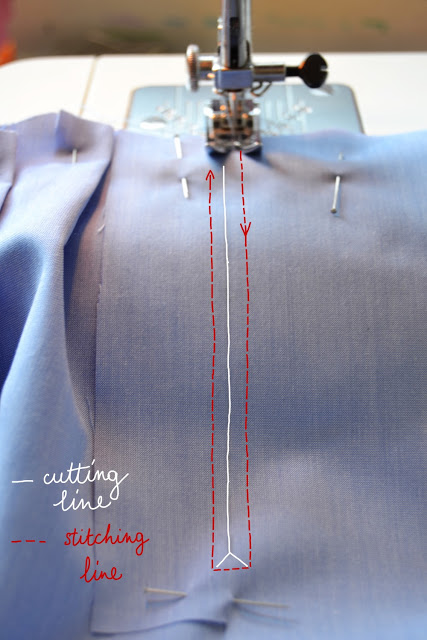
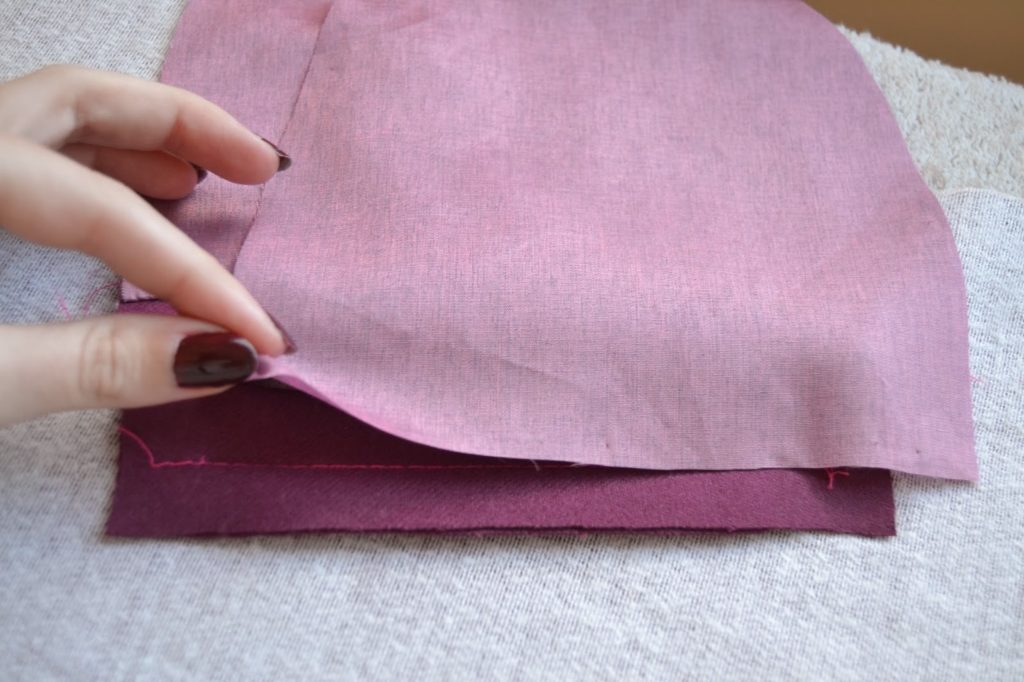
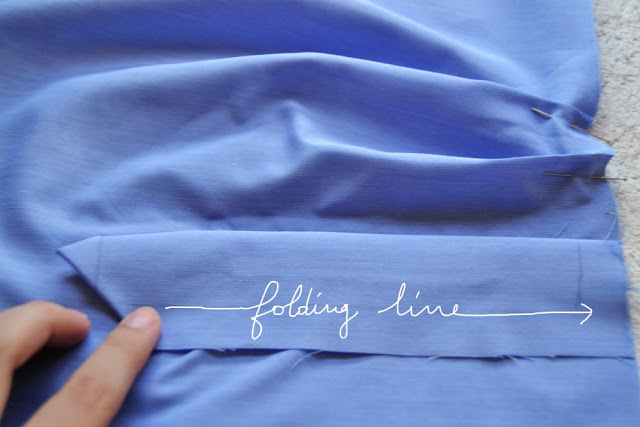
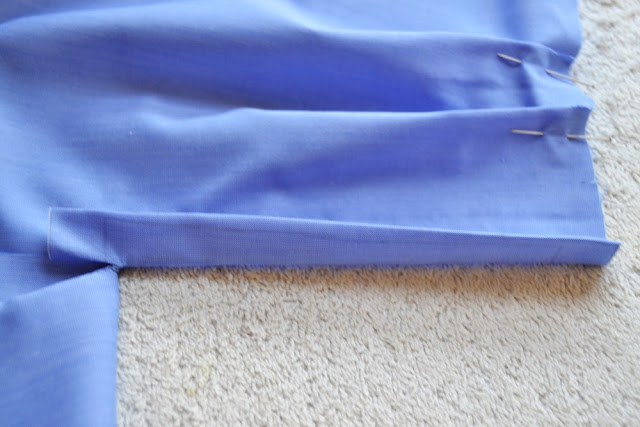 5. Take the small side and fold under along the folding line. Press.
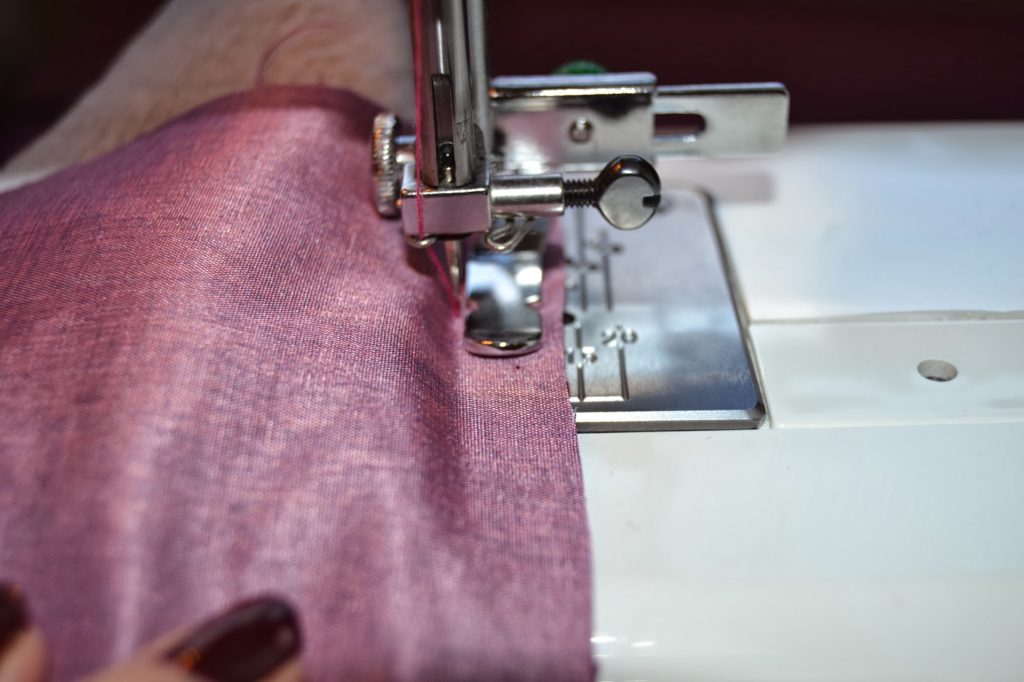
 6. Stitch very close to the folding line.
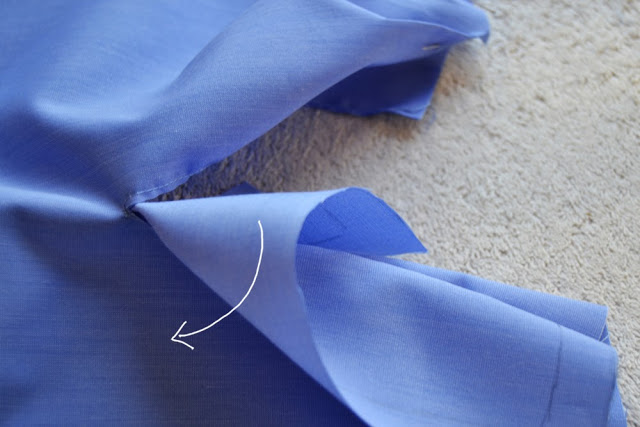
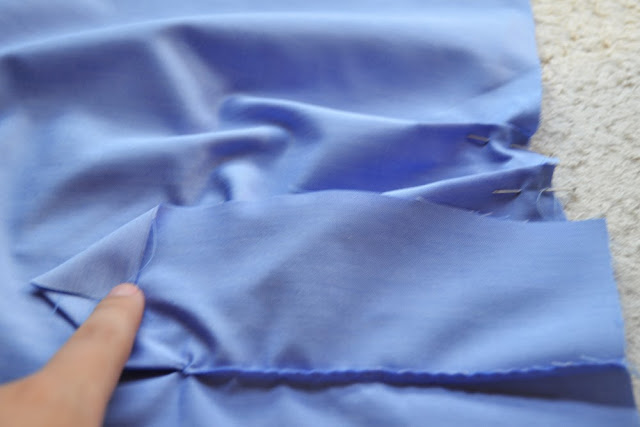 7. On the other side, fold the end forming a point. Press.
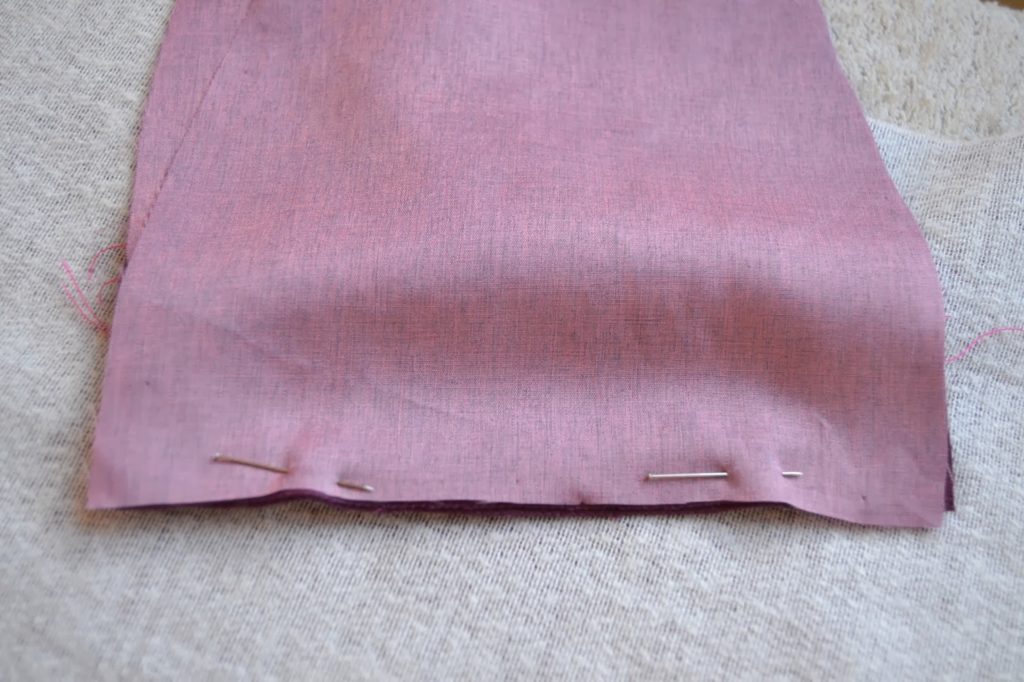
 9. Now we have folded and pressed the fisrt line, we are going to fold the other one and press it.
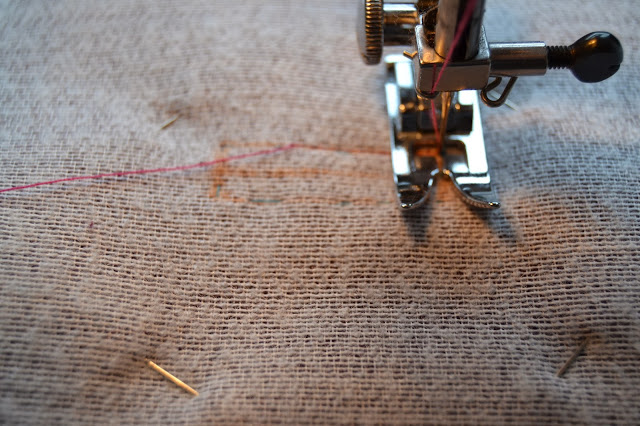
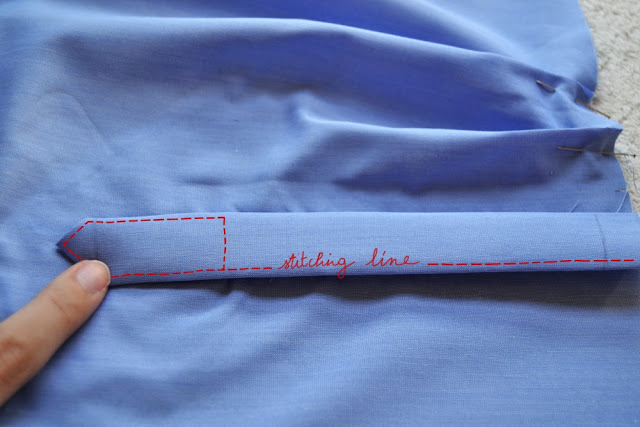 10. Place the pointed part over the small one. We are now going to stitch the red line, enclosing the raw edges under the placket.
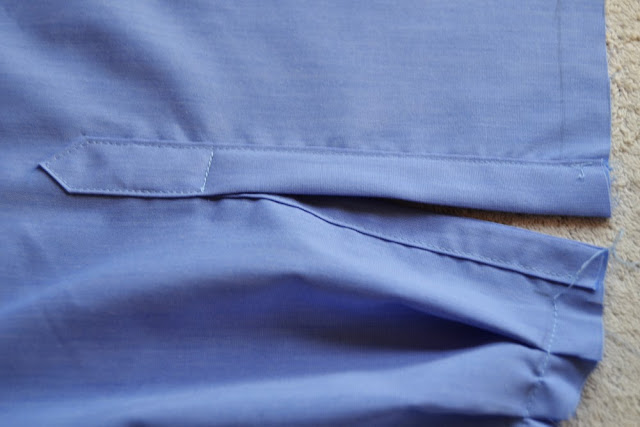

 16. Fold the seam allowance of the cuff inside, press it and edgestitch all around the cuff. You’re done! The only missing step is sewing the button and buttonhole.